Showing posts with label Classic Crafts. Show all posts

Tuesday, November 15, 2011

Quick Craft: Make the Most of Your Clothespins.

If you are like me, you lose chip clips as often as you lose clothes hangers and left socks. Where do they go? 
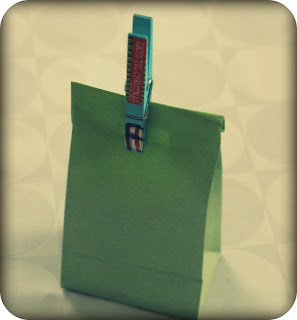
I can't answer that question, but I have found that it is handy to always keep a large bag filled with clothespins. They are cheap, they serve many purposes throughout our home, and I recently discovered that with a little extra care, they can put an ordinary chip clip or magnet clip to shame.  
Tools for the job:

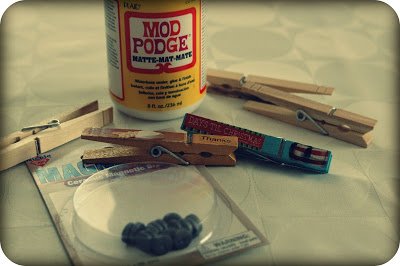
  • clothespins (you can find these at most grocery stores and convenience stores!)
  • Mod Podge
  • Paint and brushes
  • Magazines
  • Magnets and strong glue (ex. Gorilla Glue or Krazy Glue)

This little project is very simple;  a basic, painted clothespin is fun, but a highly detailed, customized clip could turn into the finishing touch on a Christmas gift.  I started out by painting several of our clothespins with a bright craft paint (I chose blue and gold.)  I was fortunate to have some skewers which I used to hold the clips as I painted them. When I finished painting I stuck the skewers into some floral foam that I had on hand.  Obviously you can clip them onto anything (an old book, a cereal box, etc.) while you let the paint dry. The skewers worked really well.  
While your paint is drying, decide how you want to decorate your clips.  I saw some really cute painted clips, and I plan to paint some clips before Christmas, but it required more time and patience and tiny brushes than I had on hand yesterday.  This time around, I simply went through the ads in the Sunday paper and pulled out tiny Holiday images and words and set them aside.
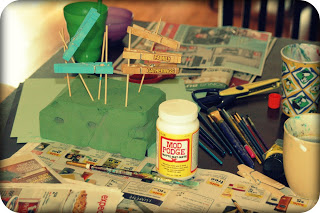
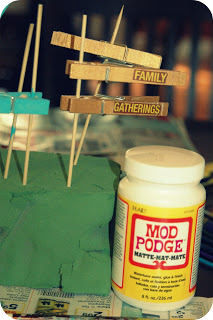
Once the paint on your clothespins has dried, it's time to crack open your Mod Podge.  If you want your images and words to fit snugly onto the surface of your clip, simply lay the clothespin onto your image, trace it with a pen and cut it to the exact size of your clothespin.  Then put mod podge onto the clothespin and press the image firmly in place.  Mod Podge over the image and around the sides of your clothespin, let it dry and you are ready to go! 
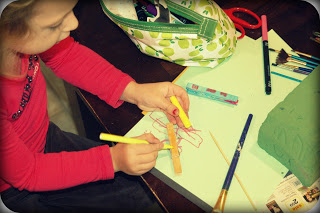
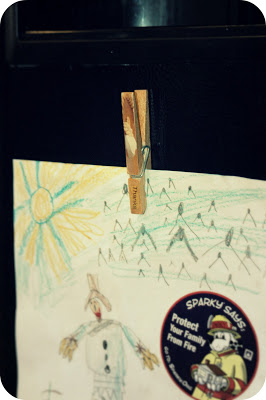
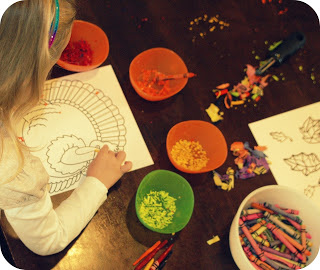
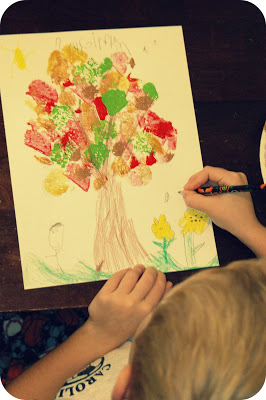
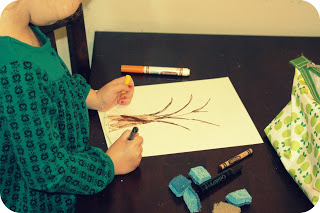
My daughter painted several clips and decorated them with markers. She had a blast!
Like I said, this is a simple, easy way to add some Holiday flair to your chip clips or wherever you hang children's artwork.  This may also be a way to add something special for a teacher gift (cut out the letters of his/her name) or whenever you need to clip down a bag of Christmas cookies.
If you want to make your clip into a photo or memo holder for your refrigerator instead, simply buy a packet of magnets (less than $2 at any craft store!) and use superglue to attach the magnet to your clothespin. Once the magnet has dried you have a great way to display any seasonal artwork!
This was a fun little project and I intend to paint a few more clothespins before Christmas Cookie season is here!

Tuesday, November 8, 2011

Classic Crafts: Melted Crayon Art!

Are you ready for a nostalgic project that will send you back to your childhood? Revisit the crayons of your past with your own kids--create some melted crayon art today!
Melted crayon art is simply good, slightly messy fun.  Have your kids scrounge up all those slightly broken crayons in the various crayon boxes scattered throughout your house while you get the rest of your supplies ready.
You will need:

  • crayons
  • a veggie peeler or knife
  • bowls or dixie cups
  • thick paper or cardstock
  • an iron & ironing board
  • wax paper


First, take your heavy paper or card stock and decide what you would like to decorate.  We printed this turkey, but I think leaves might have turned out better since the colors tend to melt together!  There are tons of options free online, or let your child draw something (large) on her own!
Once you have everything ready, choose several colors from the crayon box.  You will probably need to help your child make the crayon shavings.  We chose a few basic colors and shaved them into small bowls.  Simply peel off the crayon wrapper (a great job for little ones!) while you scrape the shavings into the bowls.  When you feel like you have enough colors, show your child how to sprinkle colors onto her drawing.  I let my 4-year-old do it all by herself. In retrospect, I probably should have removed some of the darker colors piles (yellows and oranges looked the best!) and also thinned out some of the thicker areas because they ended up being very dark.

Heat up your iron on a very low setting.  Place a large piece of wax paper on your ironing board to prevent wax leaking all over! Then carefully transfer your child's drawing with the crayon shavings on top.  Place a second piece of wax paper on top of the drawing and carefully iron over the wax paper.  As soon as all the crayon is melted, you are finished! It won't take much ironing at all.  Let the crayon cool completely, then remove the wax paper to reveal your child's colorful work of art!

I cut the outline of our turkey since the colors bled into each other so much, but my daughter was thrilled with the fun results.  I think leaves or a drawing with fewer details would work better for this project.

At any rate, take a step back into your past today and melt some crayons with your child.  Make some fun fall decorations and put those crayon scraps to use today!

Saturday, November 5, 2011

Classic Crafts: Sponge Paint a Leafy Tree!

Saturday mornings have officially turned into a crafty-painting time for us; it is the perfect day to make a mess with all our papers and paints.
I recently came across this little project in a magazine and although it is nothing completely new or original, my kids had a blast and they turned out really cute. Hopefully you will get a chance to let your little ones make this colorful painting to decorate your home this Fall!
First, gather a few basic supplies:

  • card stock or heavy paper (2 pieces per child)
  • a sponge
  • paints (fall colors--red, orange, yellow, brown, etc.)

While you are gathering supplies, give your child a whole piece of card stock and tell her to draw the trunk of a tree.  The trunk should take up most of the bottom of the page with branches spreading into the top half.  In the meantime, take another piece of card stock and draw a cartoon tree-top on the top half.  This will be your stencil.  If you are terrified of drawing your own tree trunk or tree foliage on top, here is a template.
Cut your "tree top" from the paper as your stencil.
Once you have cut out the center of your "tree foliage" and your kids have finished drawing the trunk (and anything else they want to add) then you are ready to paint.
Place the template directly over the paper.  I taped ours to the table to keep it from moving around.  Next take an old sponge (or carpet squares) and squeeze the paint onto a plate or large surface so they have plenty of room to dip. Remind them not to mix sponges--use one sponge per color or else everything will mix and be a big mess.

This is the fun part! Watch your kids create original designs inside the stencil.  I enjoyed seeing how different the trees looked even though they had the same template, sponges and colors.

Once they are finished with their work of art, simply remove the stencil, stand back and admire!  I love how these turned out, the kids had a blast and continued doing other sponge projects long after they finished their trees.