


Are cold, rainy, or snowy days keeping your children from running off pent-up energy outside?? Bring an outdoors game inside with a Hopscotch Mat! I taught my kids to play hopscotch in our driveway this summer. They loved it...and of couse, I was then cajoled into hopping through many a game with them. An indoor version takes a little time to prepare initially, but then it can be rolled out in a couple of seconds for instant fun.
Supplies needed:
- 2 1/2 yds canvas
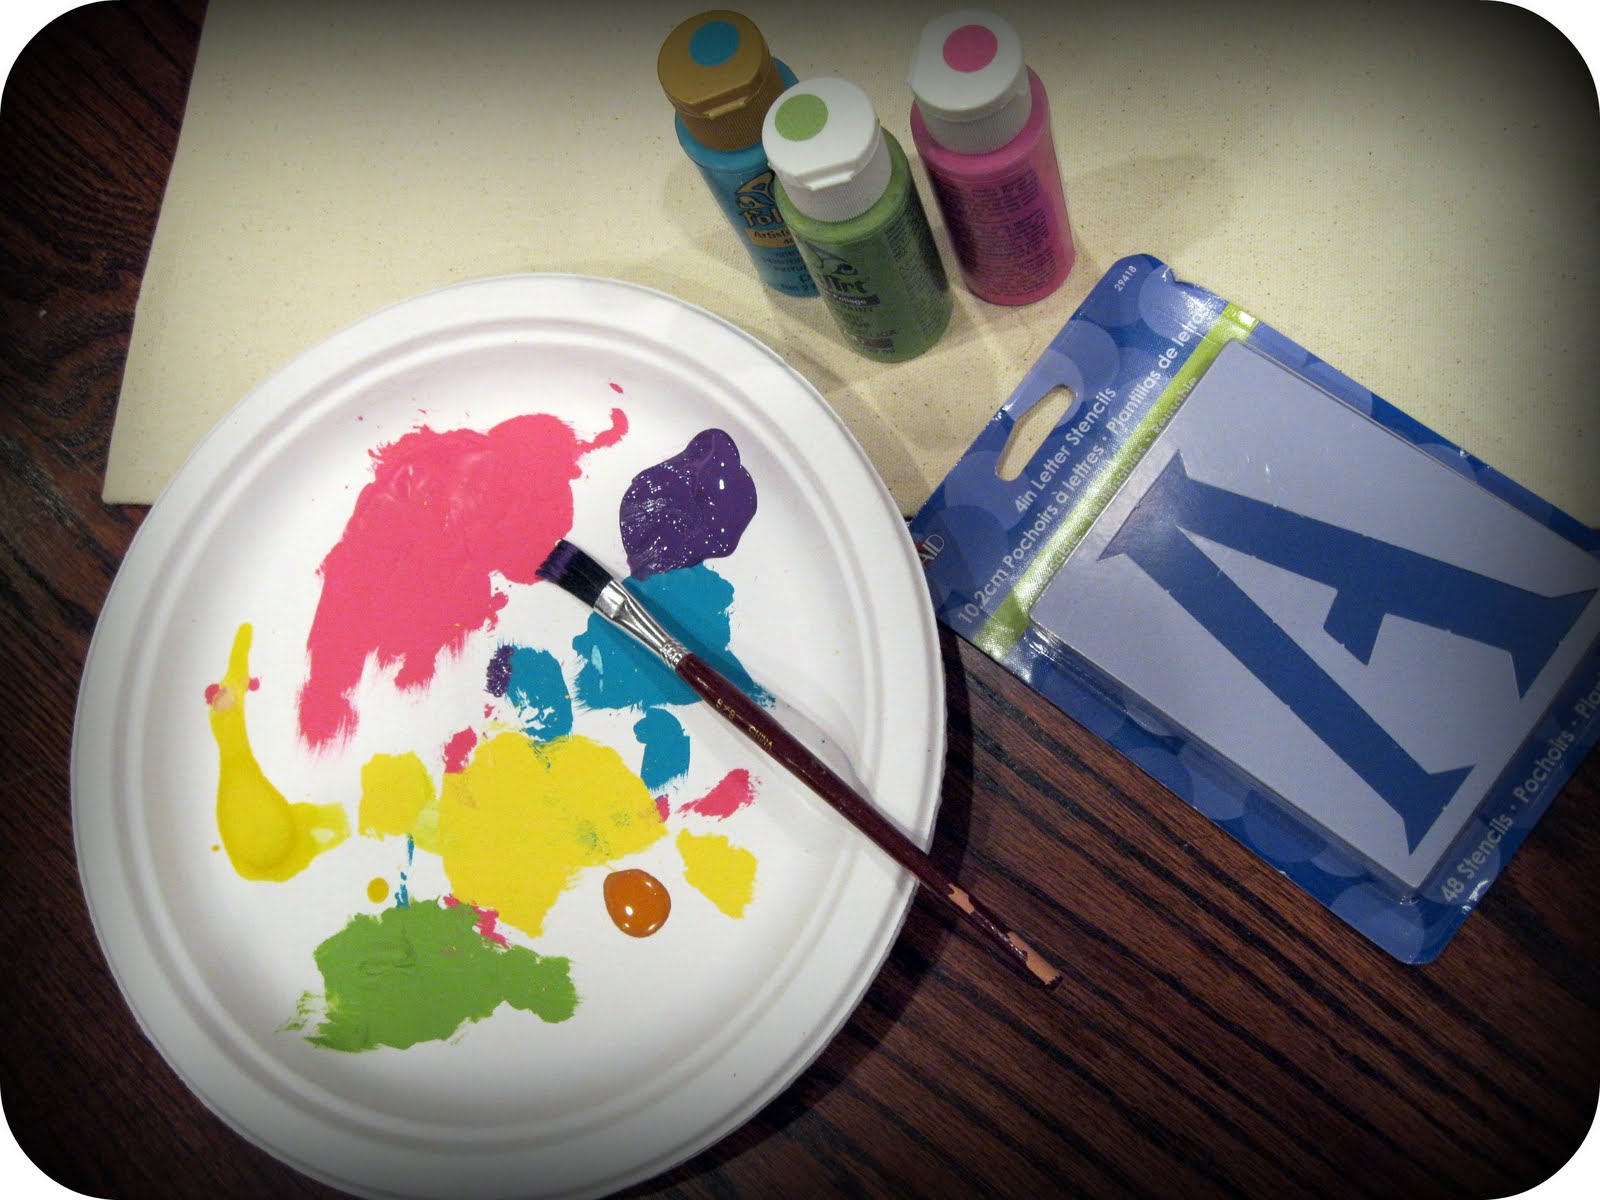
- acrylic craft paints in several colors
- stiff 1/2" paintbrush
- a large bowl or pan--square, rectangle or circle
- pencil
- measuring tape
- puffy paint (opt)
- sewing machine OR hot glue gun
- 4 fabric scraps and dried beans (for Beanbags) OR 4 Rocks
The canvas I bought at Walmart was 60" wide, so I bought 2 1/2 yards and cut it lengthwise to make 2 mats--one for my daughter and one for a gift.
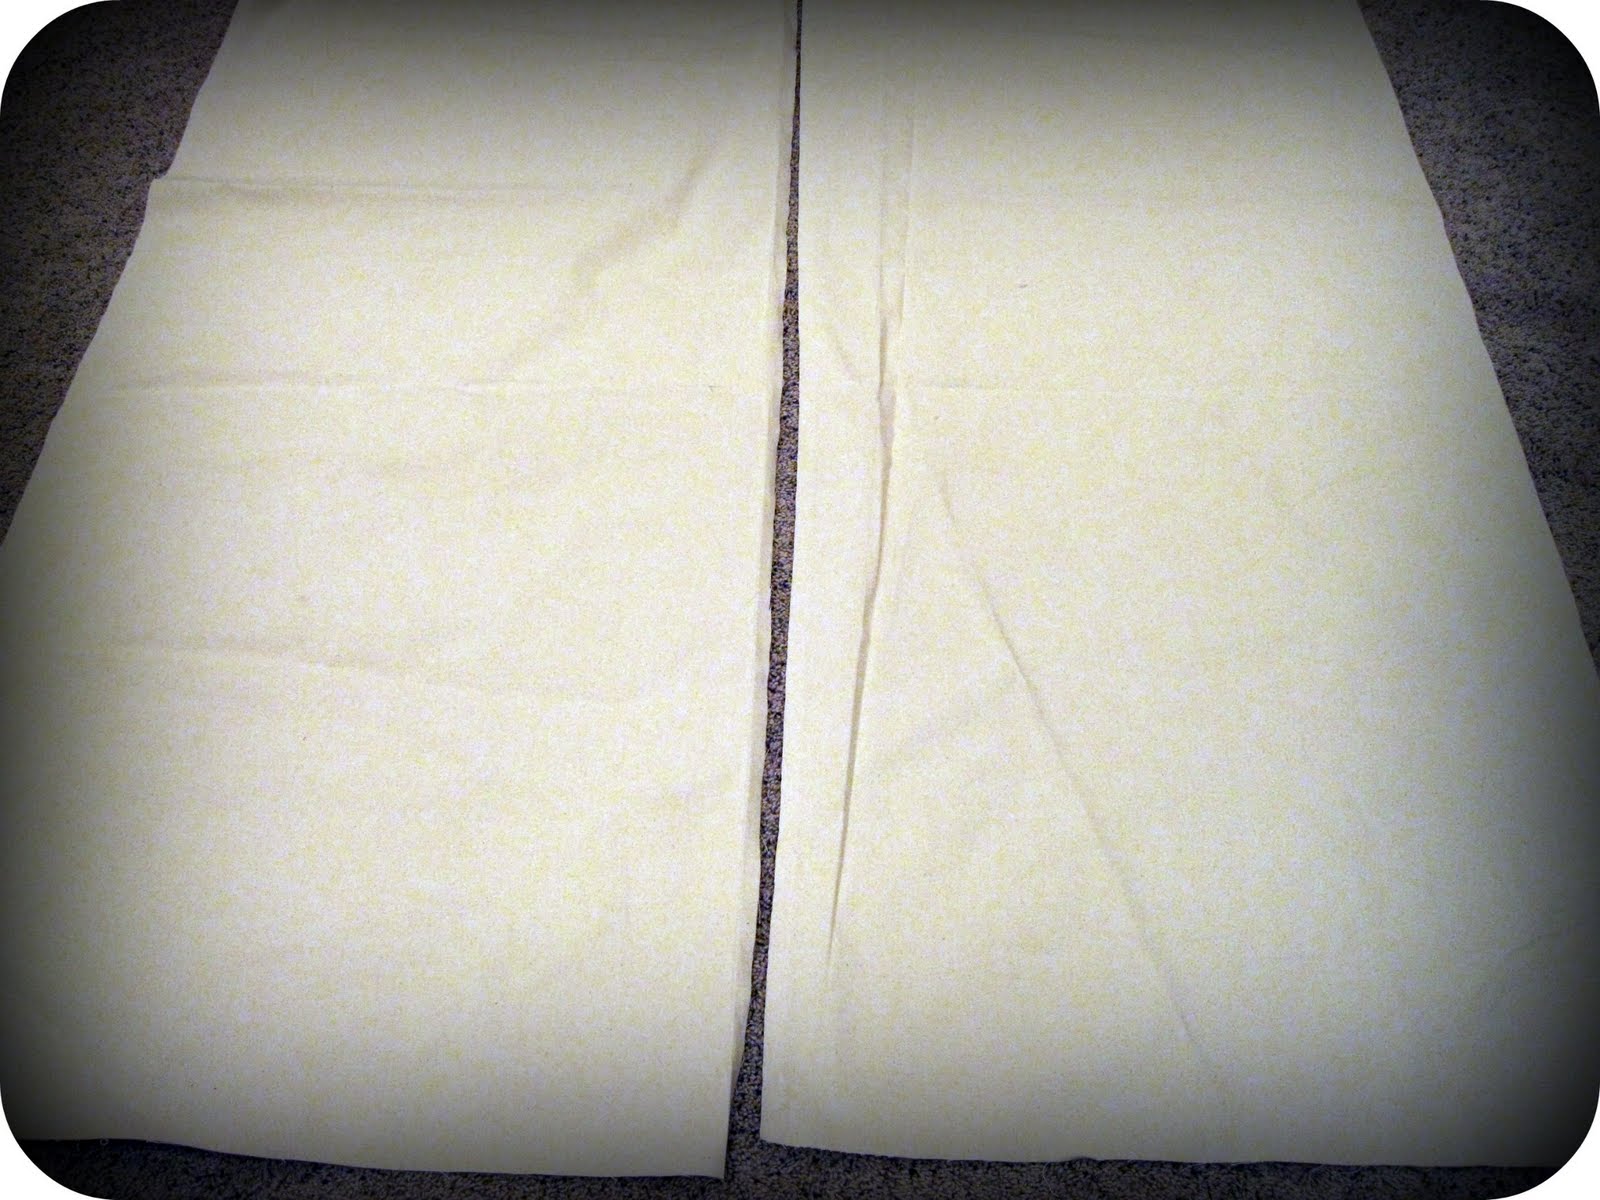
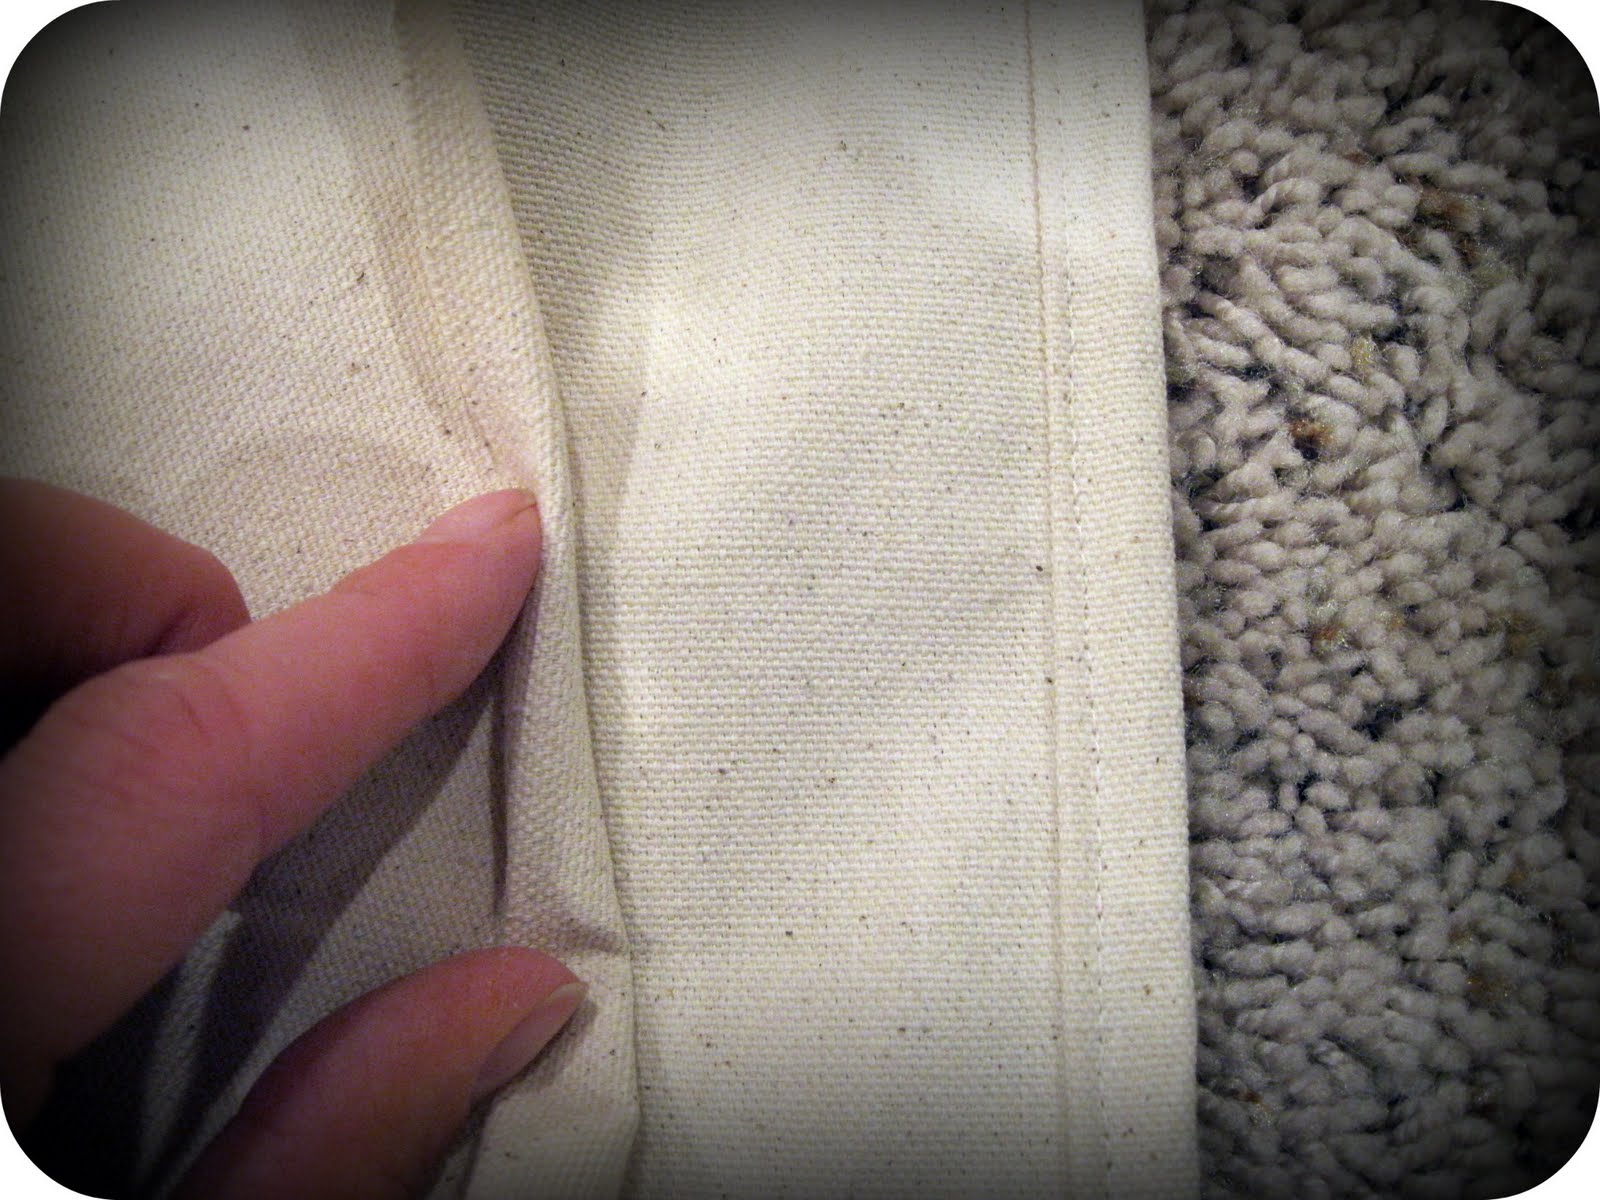
To finish the raw edges, fold them under 1/4", then fold under again and stitch all around. If you don't sew, you could hot glue them under.
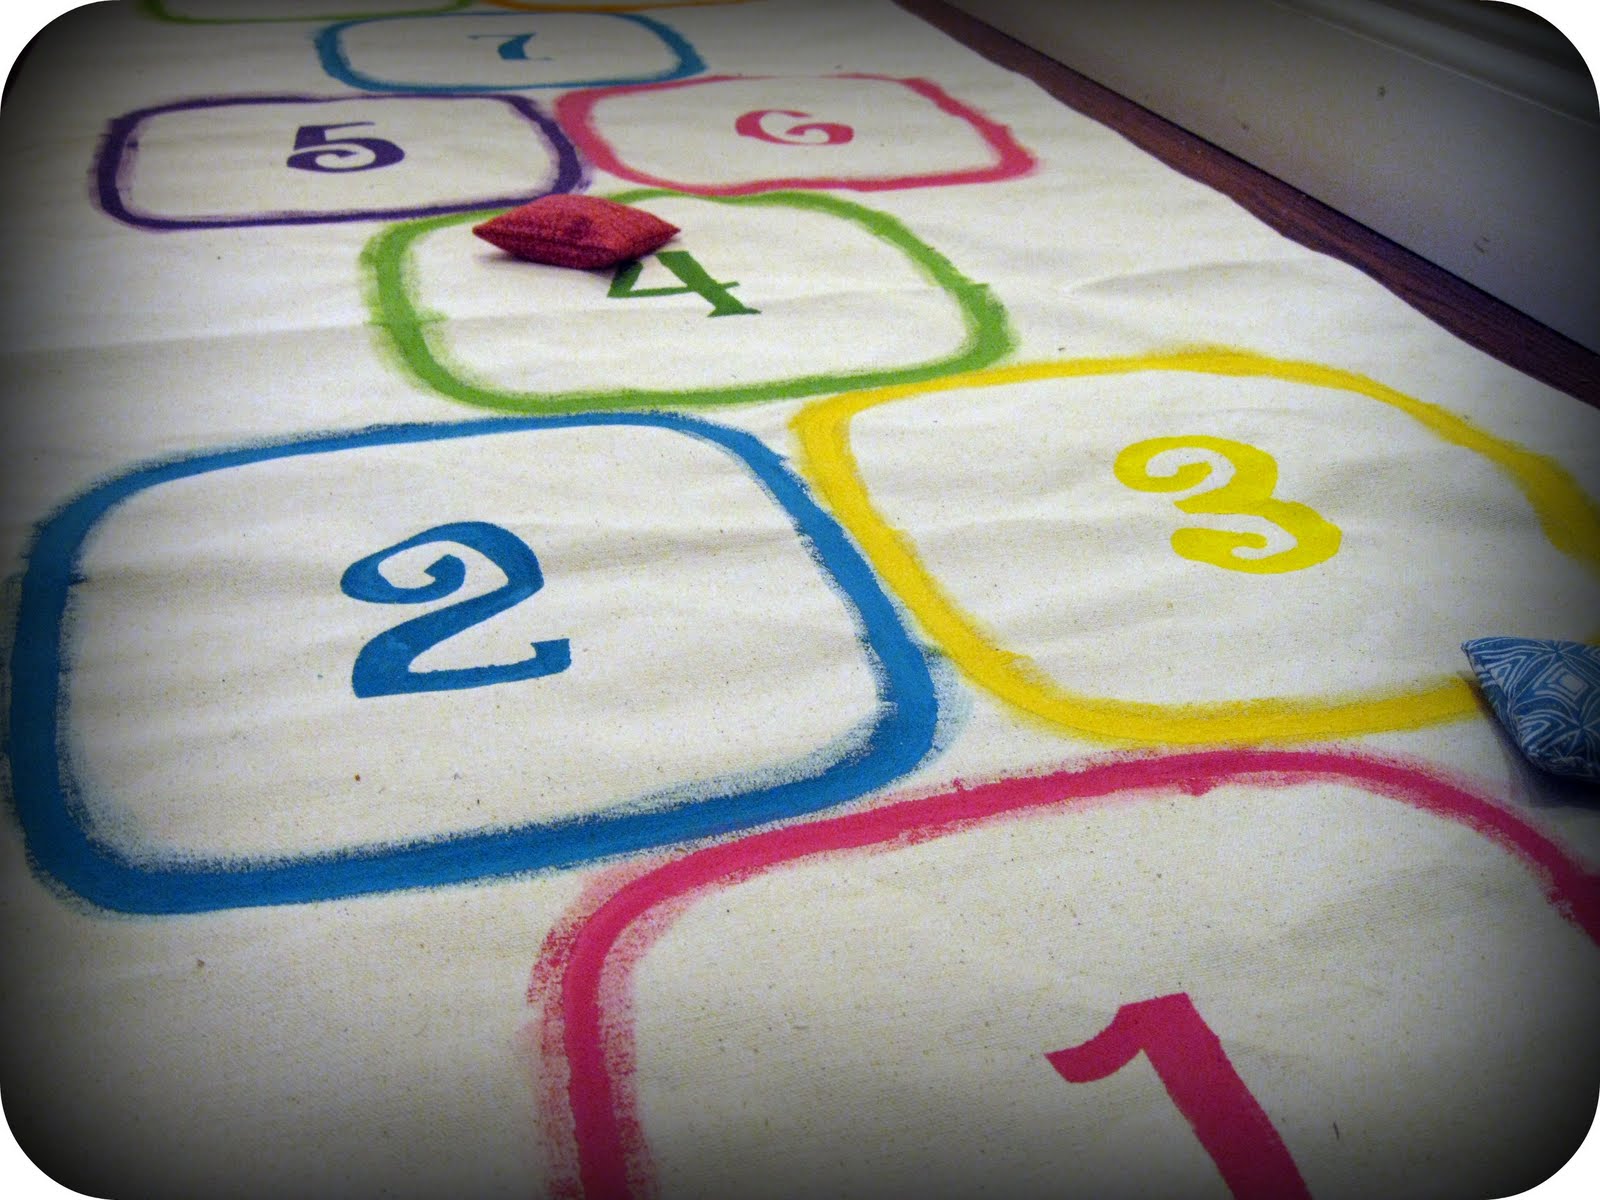
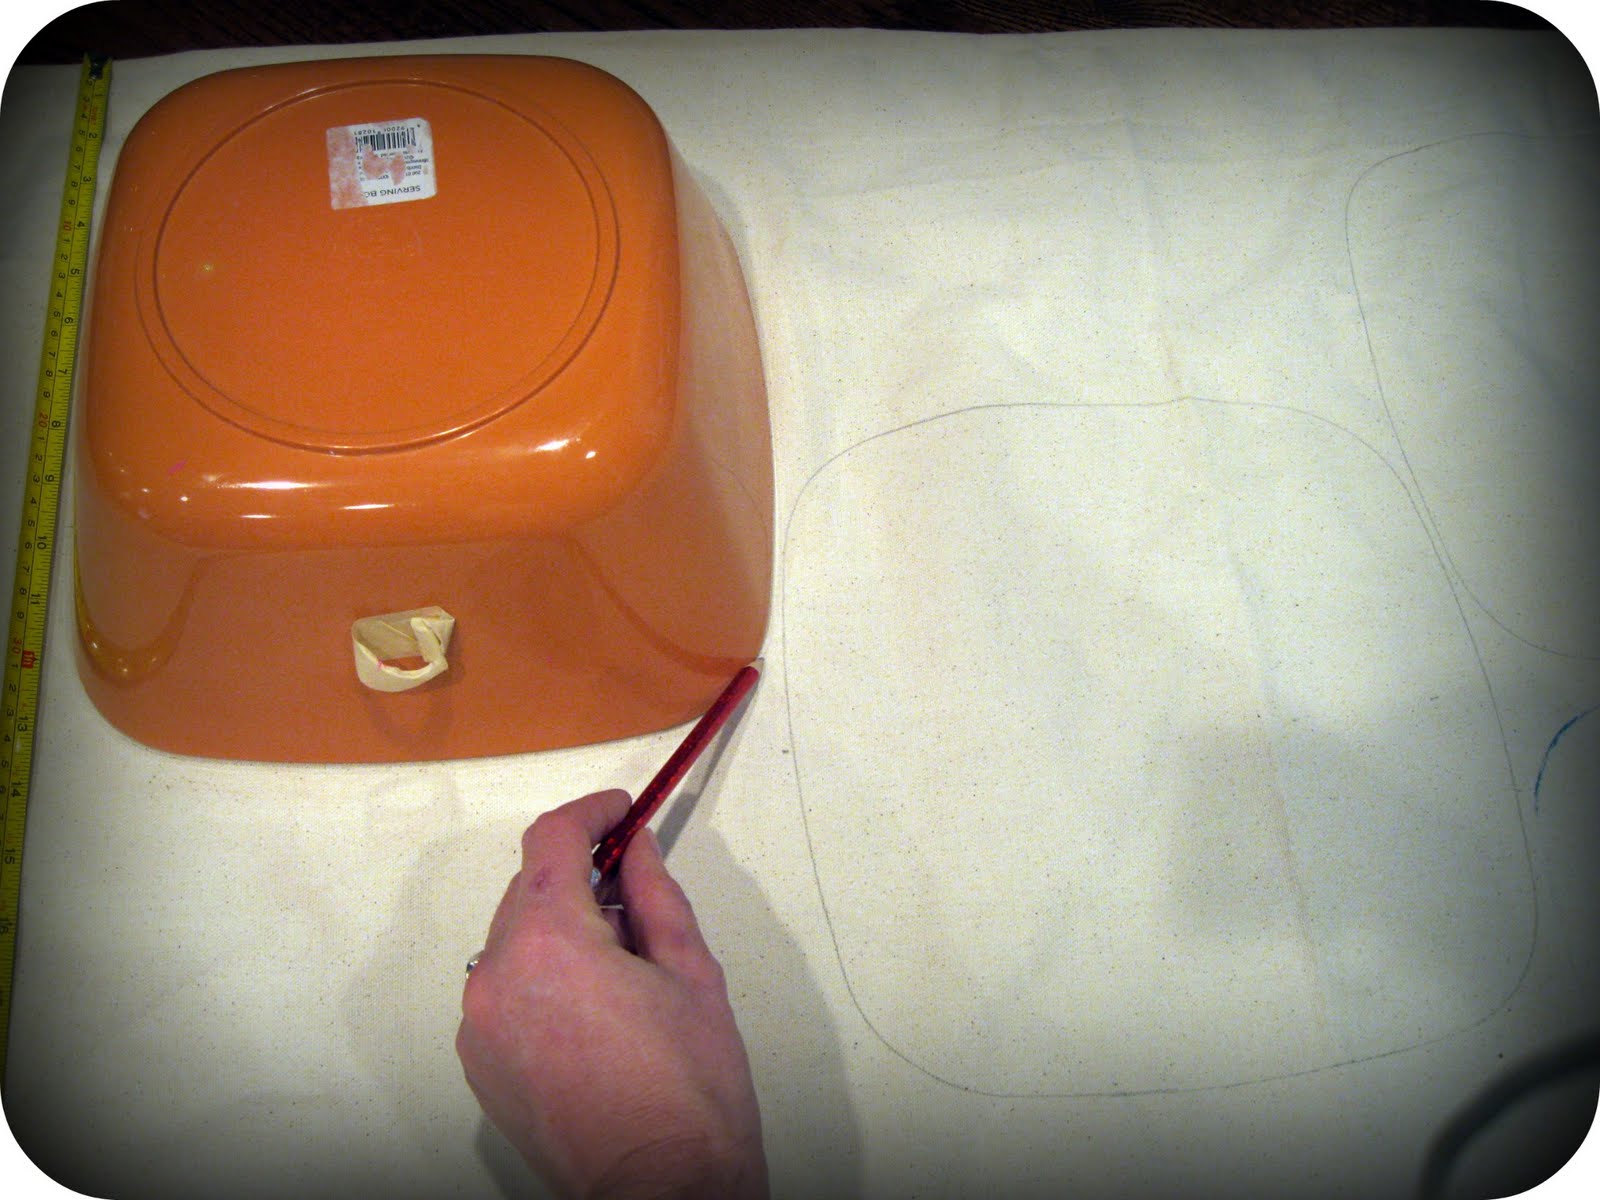
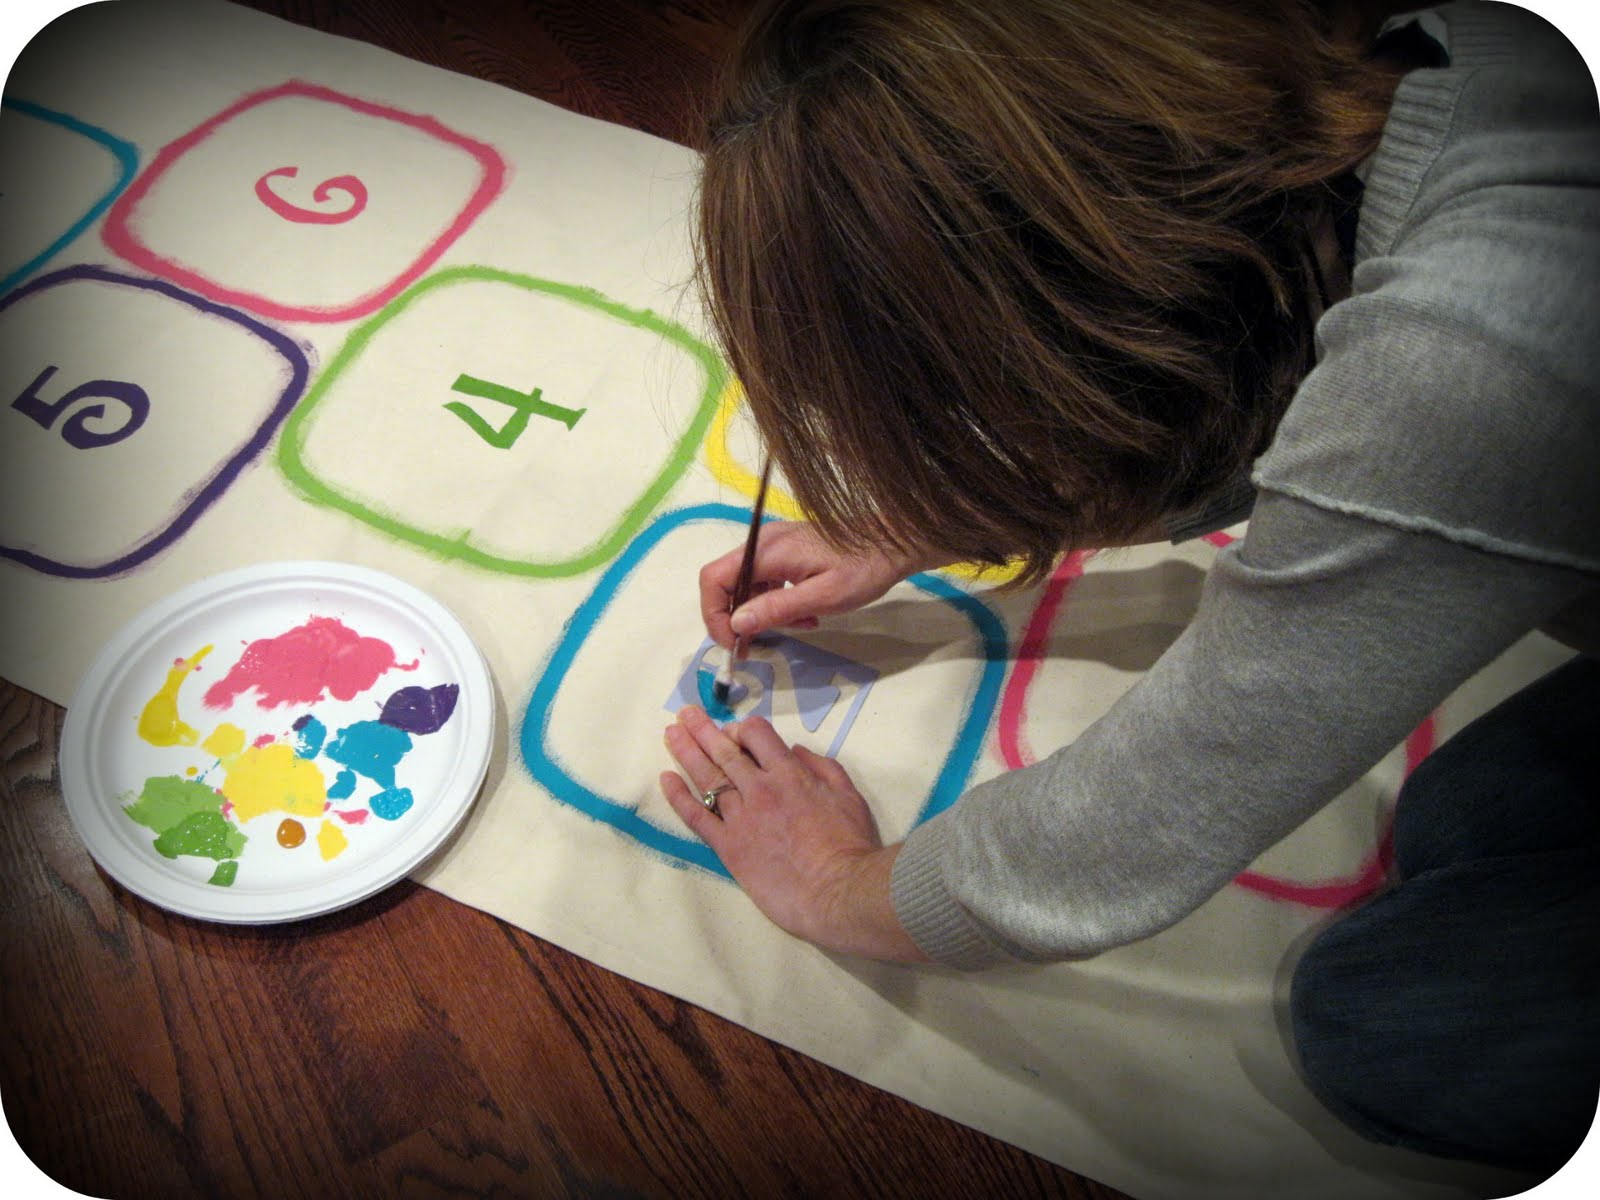
For the hopscotch squares, I decided it would take forever to tape them off in order to paint straight lines. Instead, I had this rounded-square bowl in my cupboard that would work perfectly. You could use a square pyrex dish, a rectangle dish, or a large round mixing bowl. Even a combination of shapes would make a fun design! You probably want your bowl to be approx. 10-12 inches diameter.
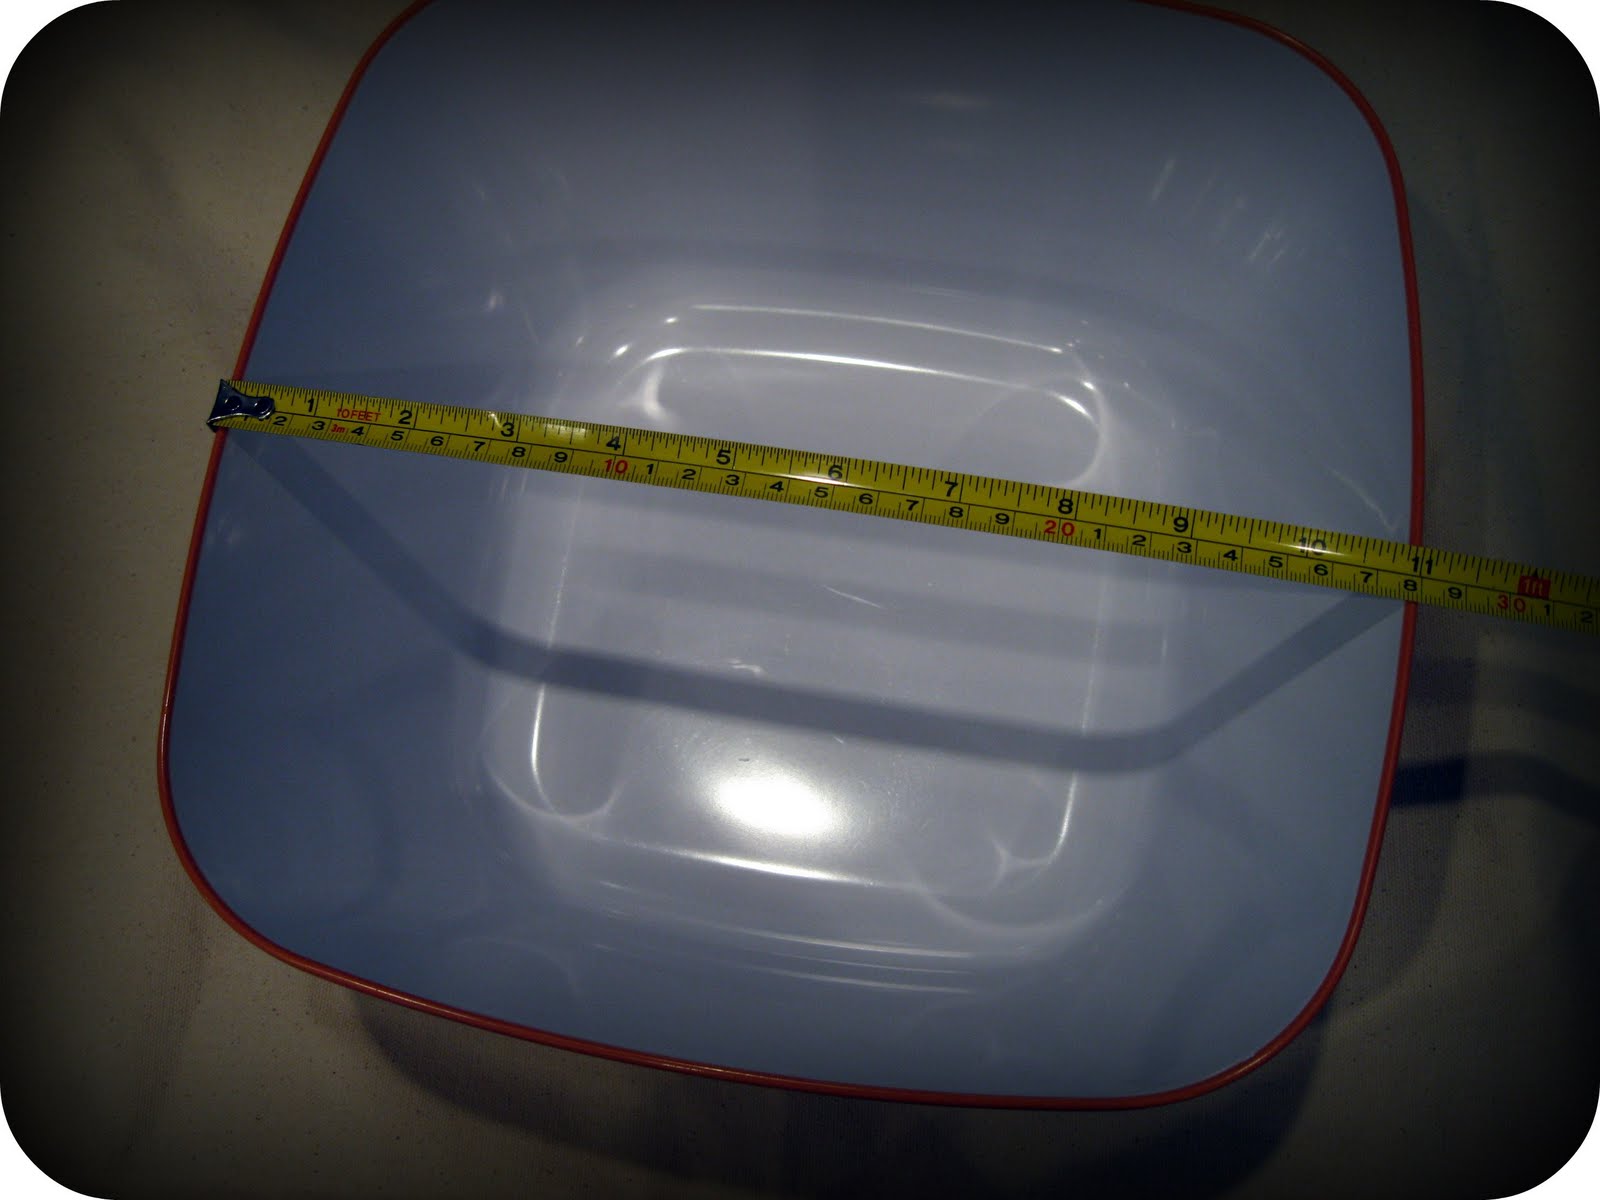
Measure your bowl and then determine the center of your canvas width. Make some pencil dots to mark the center and give yourself some guides for the squares. At first, I tried painting the rim of the bowl and stamping it on the canvas...but it was too thin a line and hard to hold the slippery bowl.
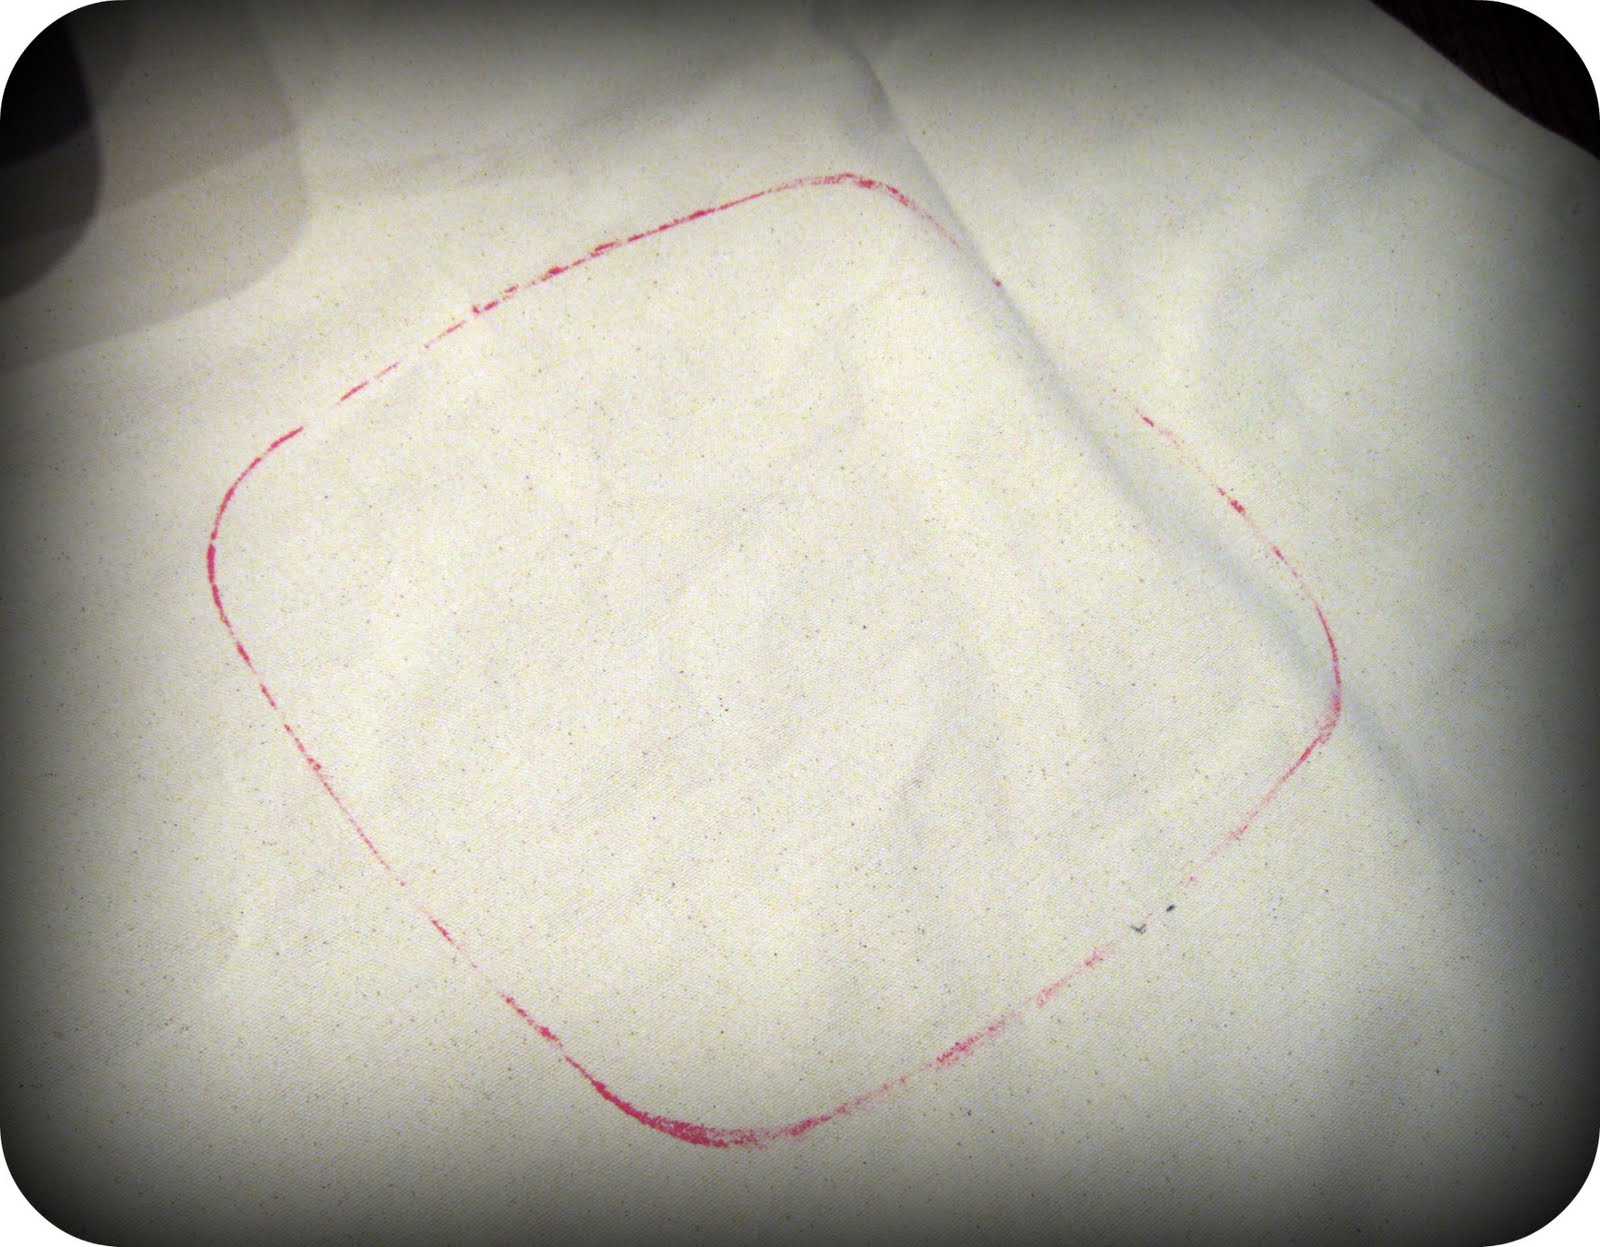
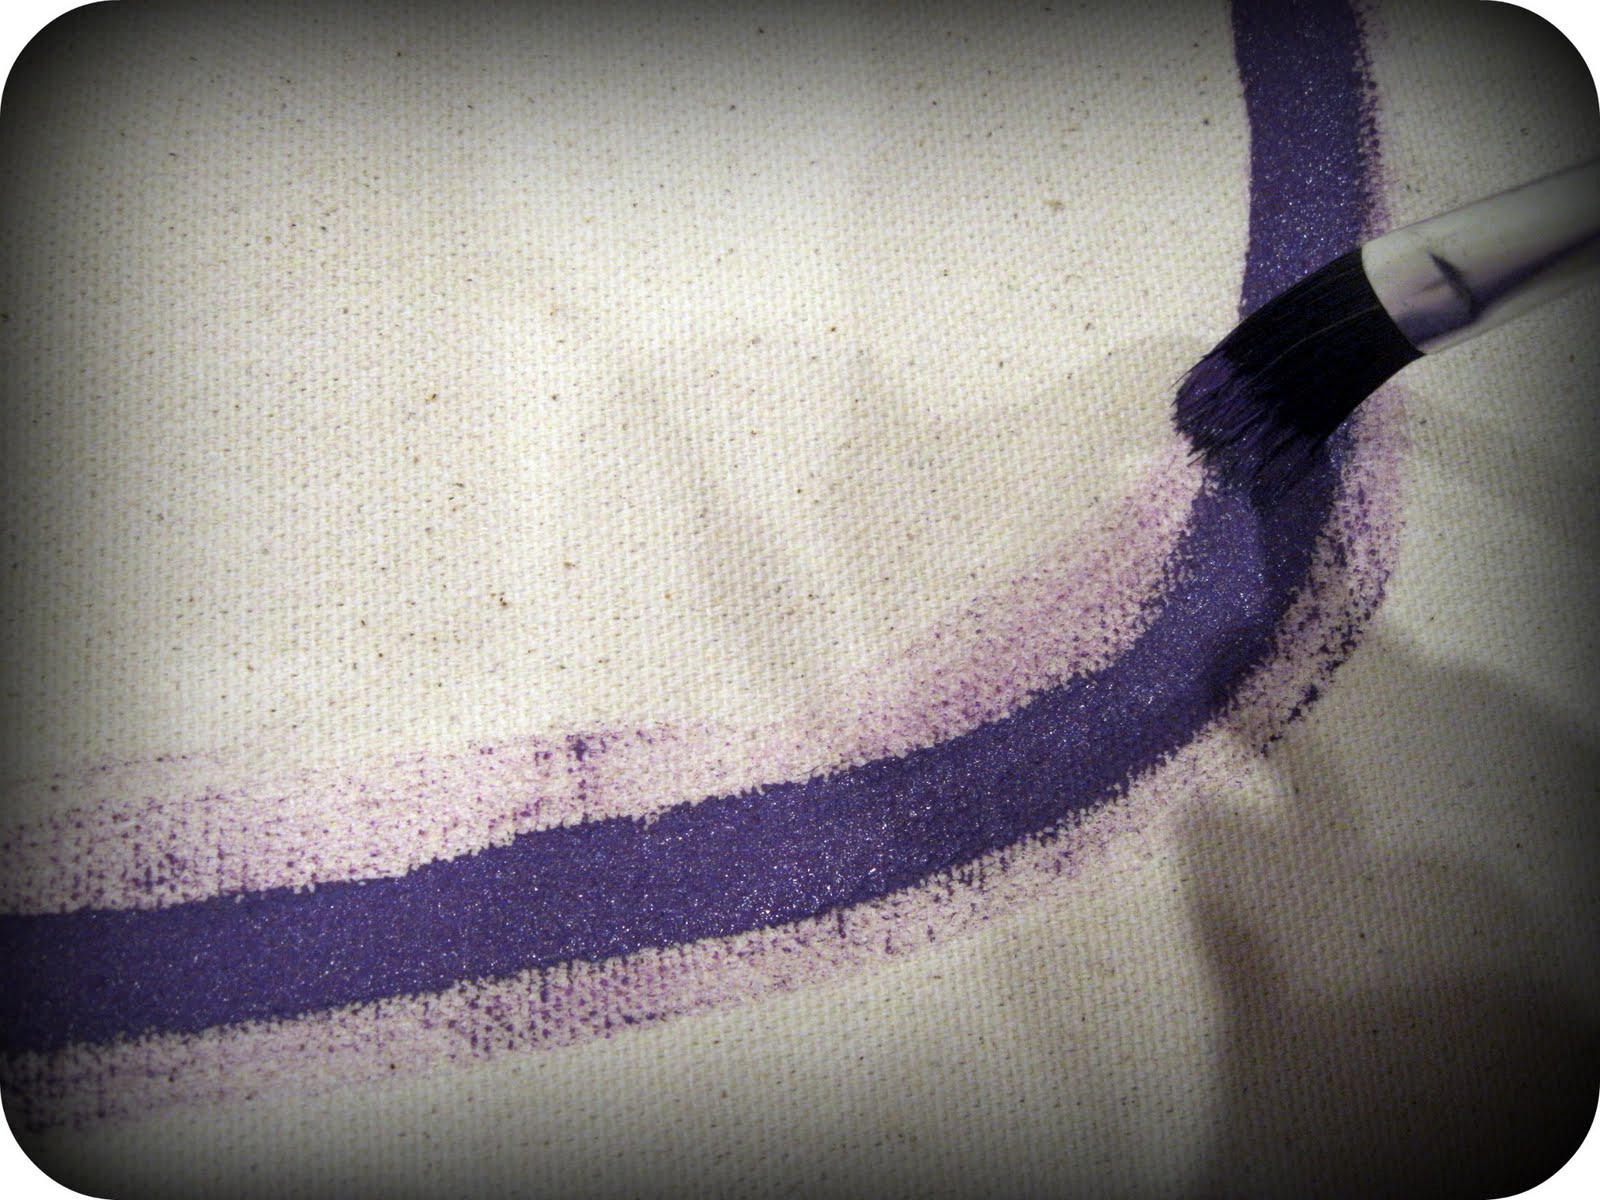
So then I just traced it with a pencil and painted over the pencil lines with a fat paintbrush. Much easier!
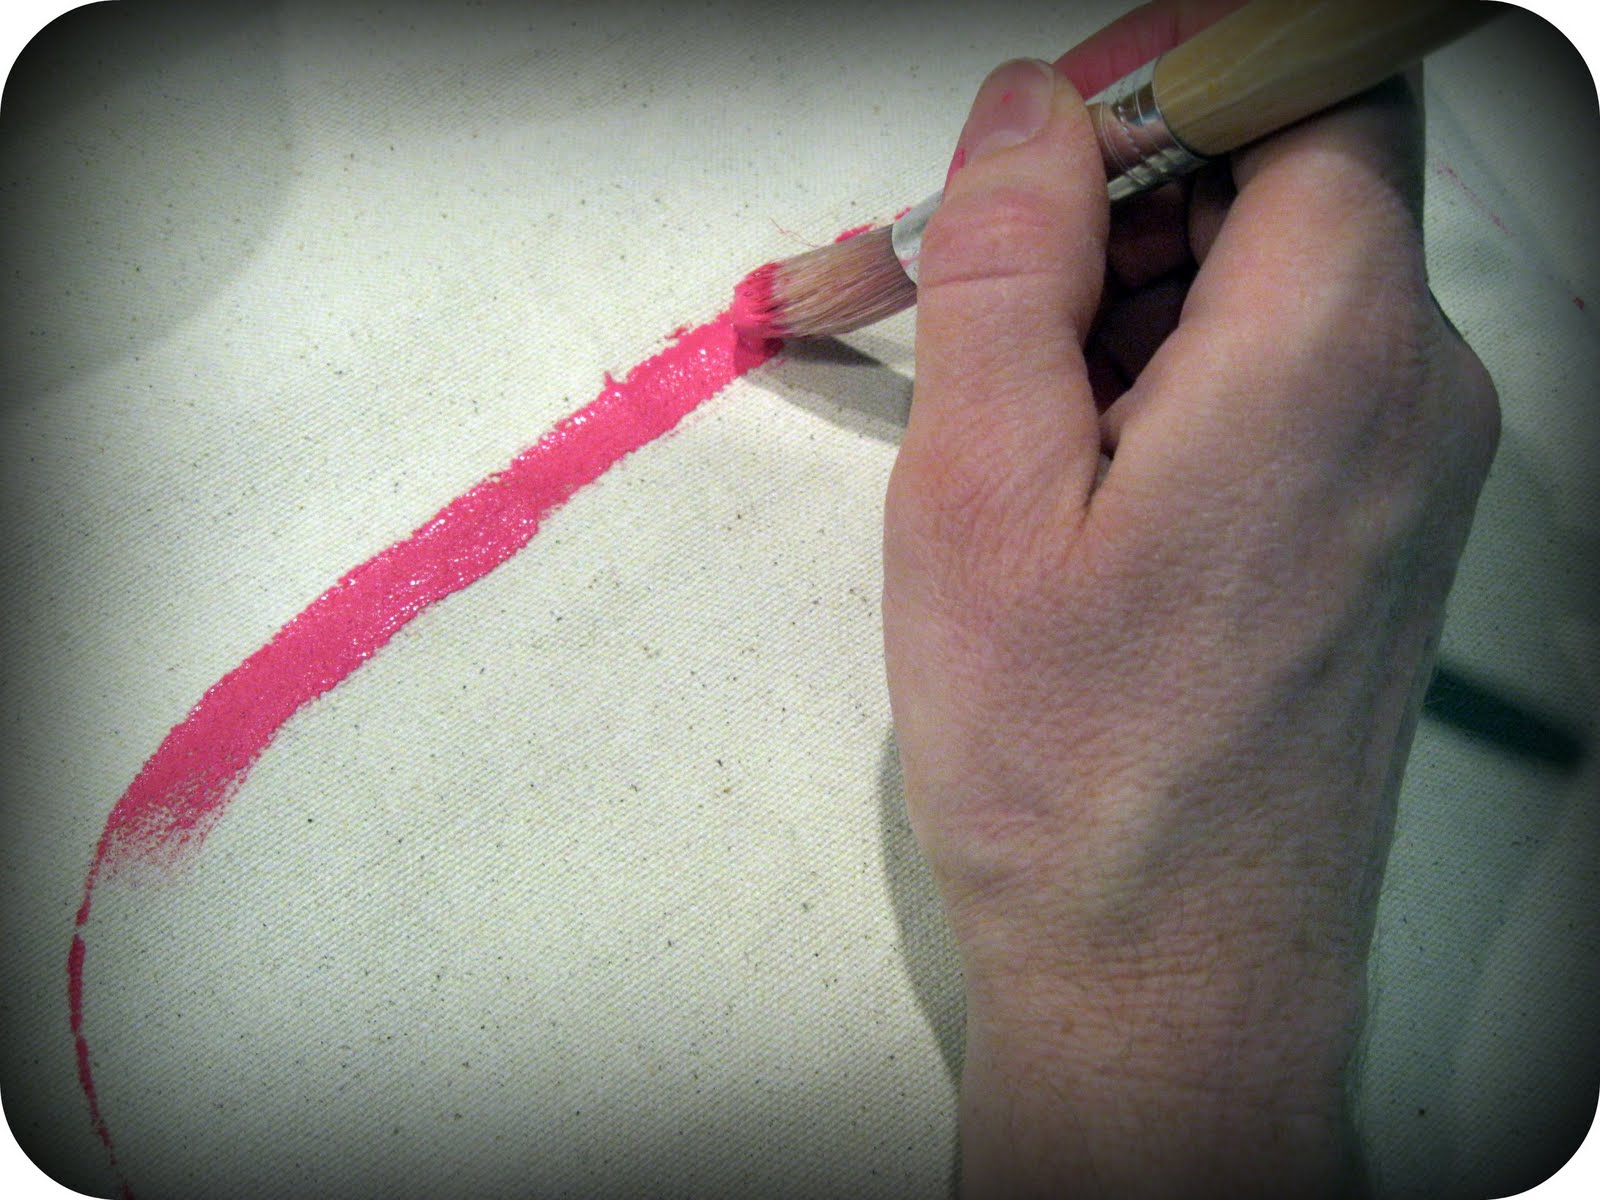
I painted the lines (with a stiff brush) as evenly as I could, knowing they would not be perfect without tape guides. Afterwards, I went back over the lines with my brush fairly dry and feathered out the edges to look like chalk dust.
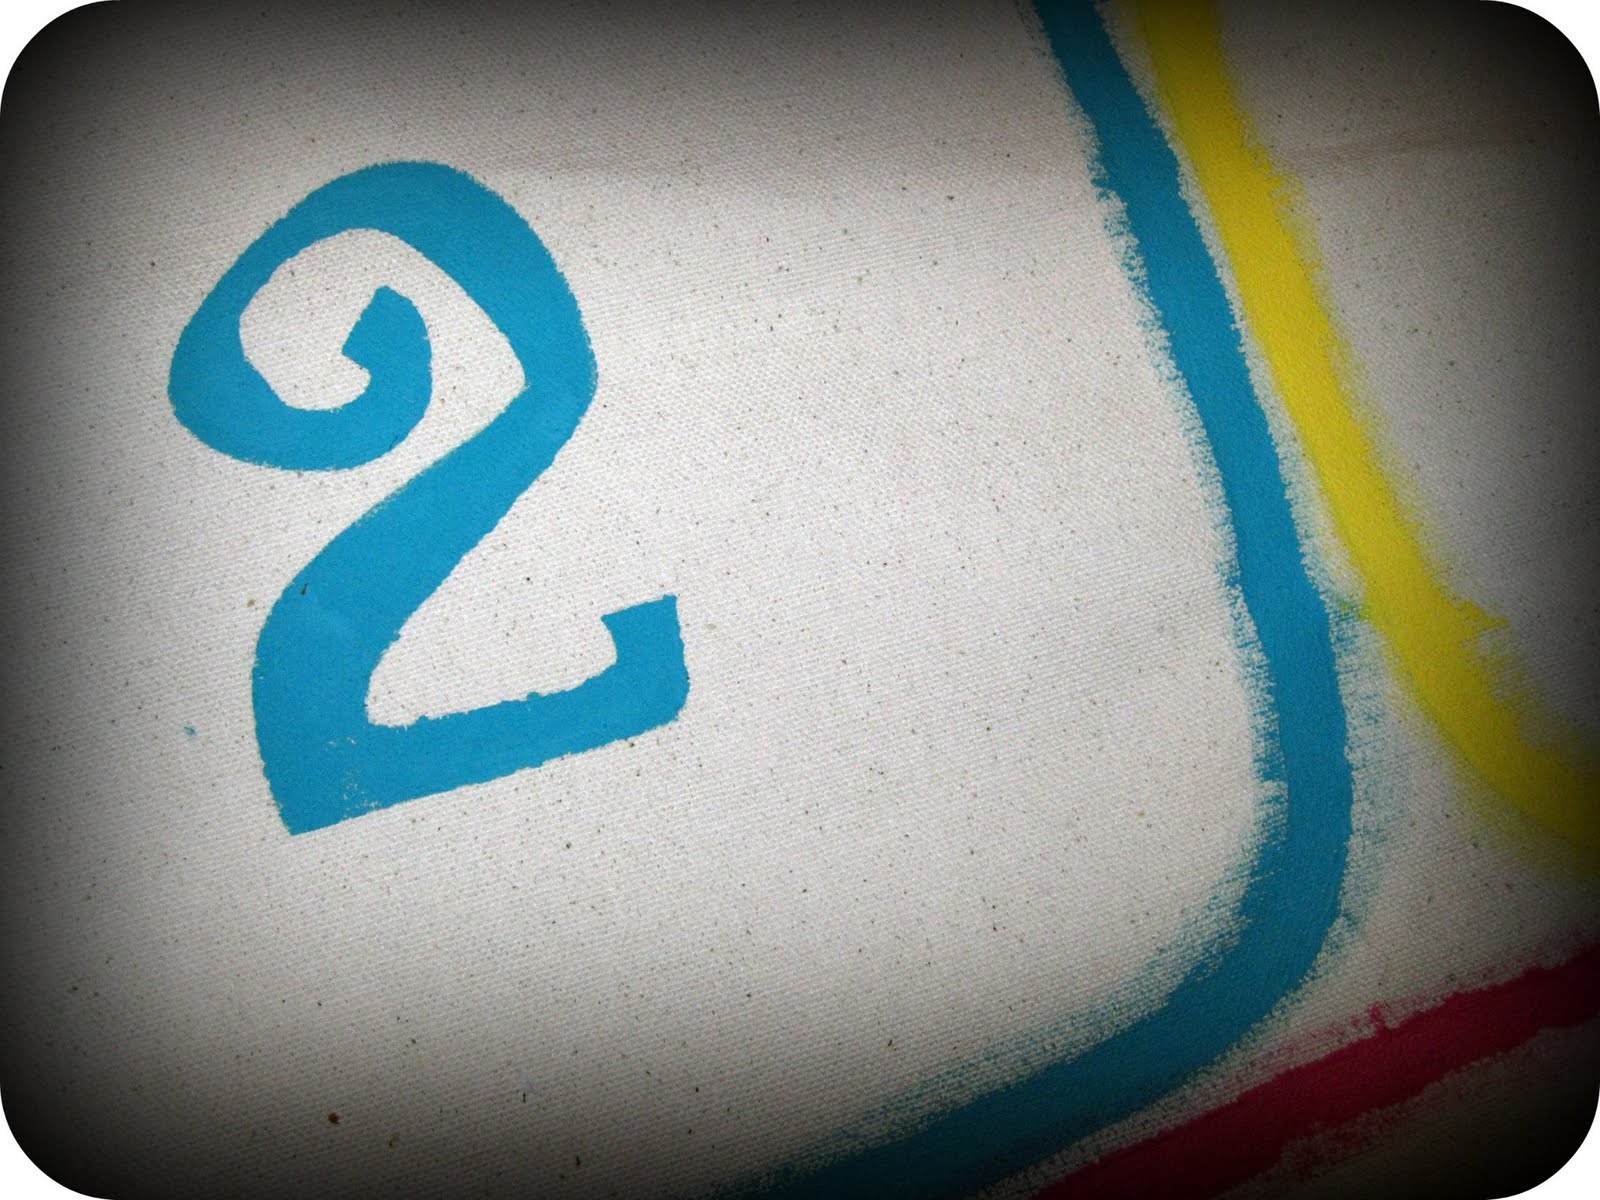
Now, for the numbers. You could print out your own fun numeral font at home on cardstock to make stencils, but I opted to save time and buy a $4 set of stencils at Walmart. I love these 4" whimsical numerals.
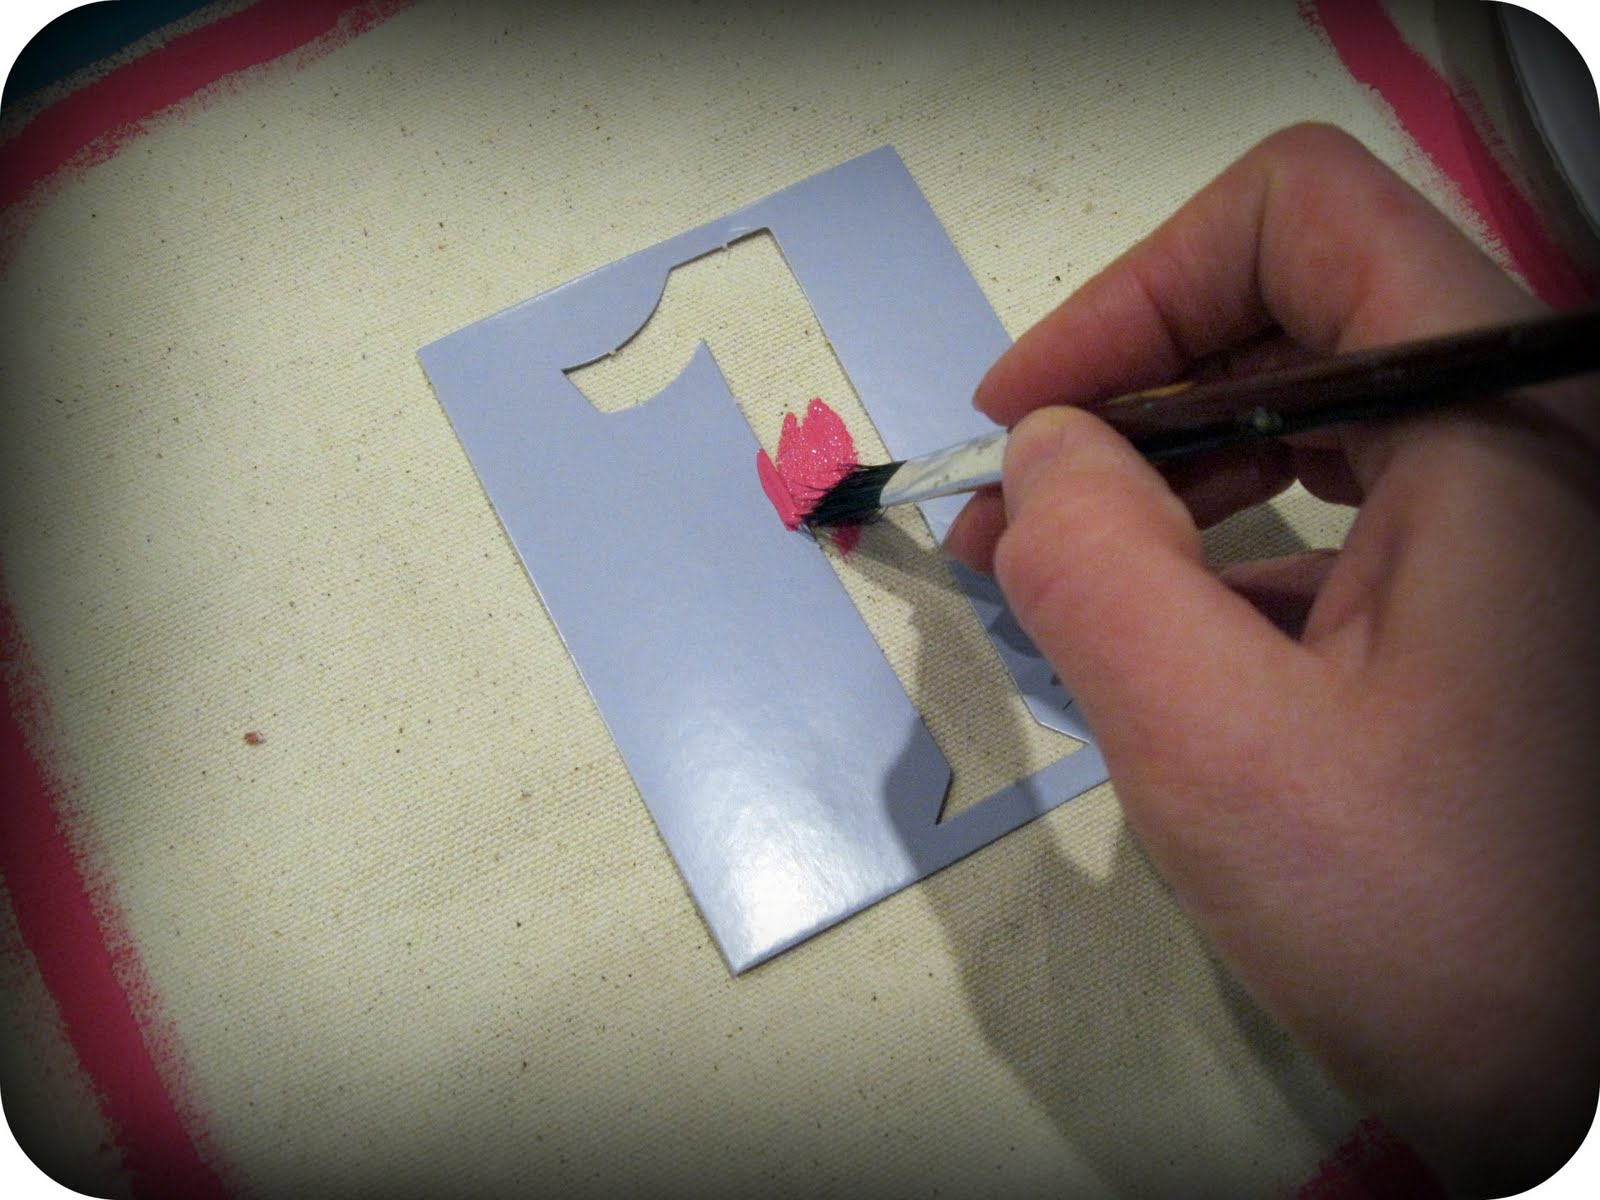
Measure the placement if you want to be precise--I'm more of an "eyeball-it" kind of girl. Holding the stencil with one hand, I dabbed the paint inside (not too thick!) and carefully peeled the cardboard away.
Then I touched up any rough spots and filled in the gaps.
Only one thing more needed for the game: Beanbags...or rocks.
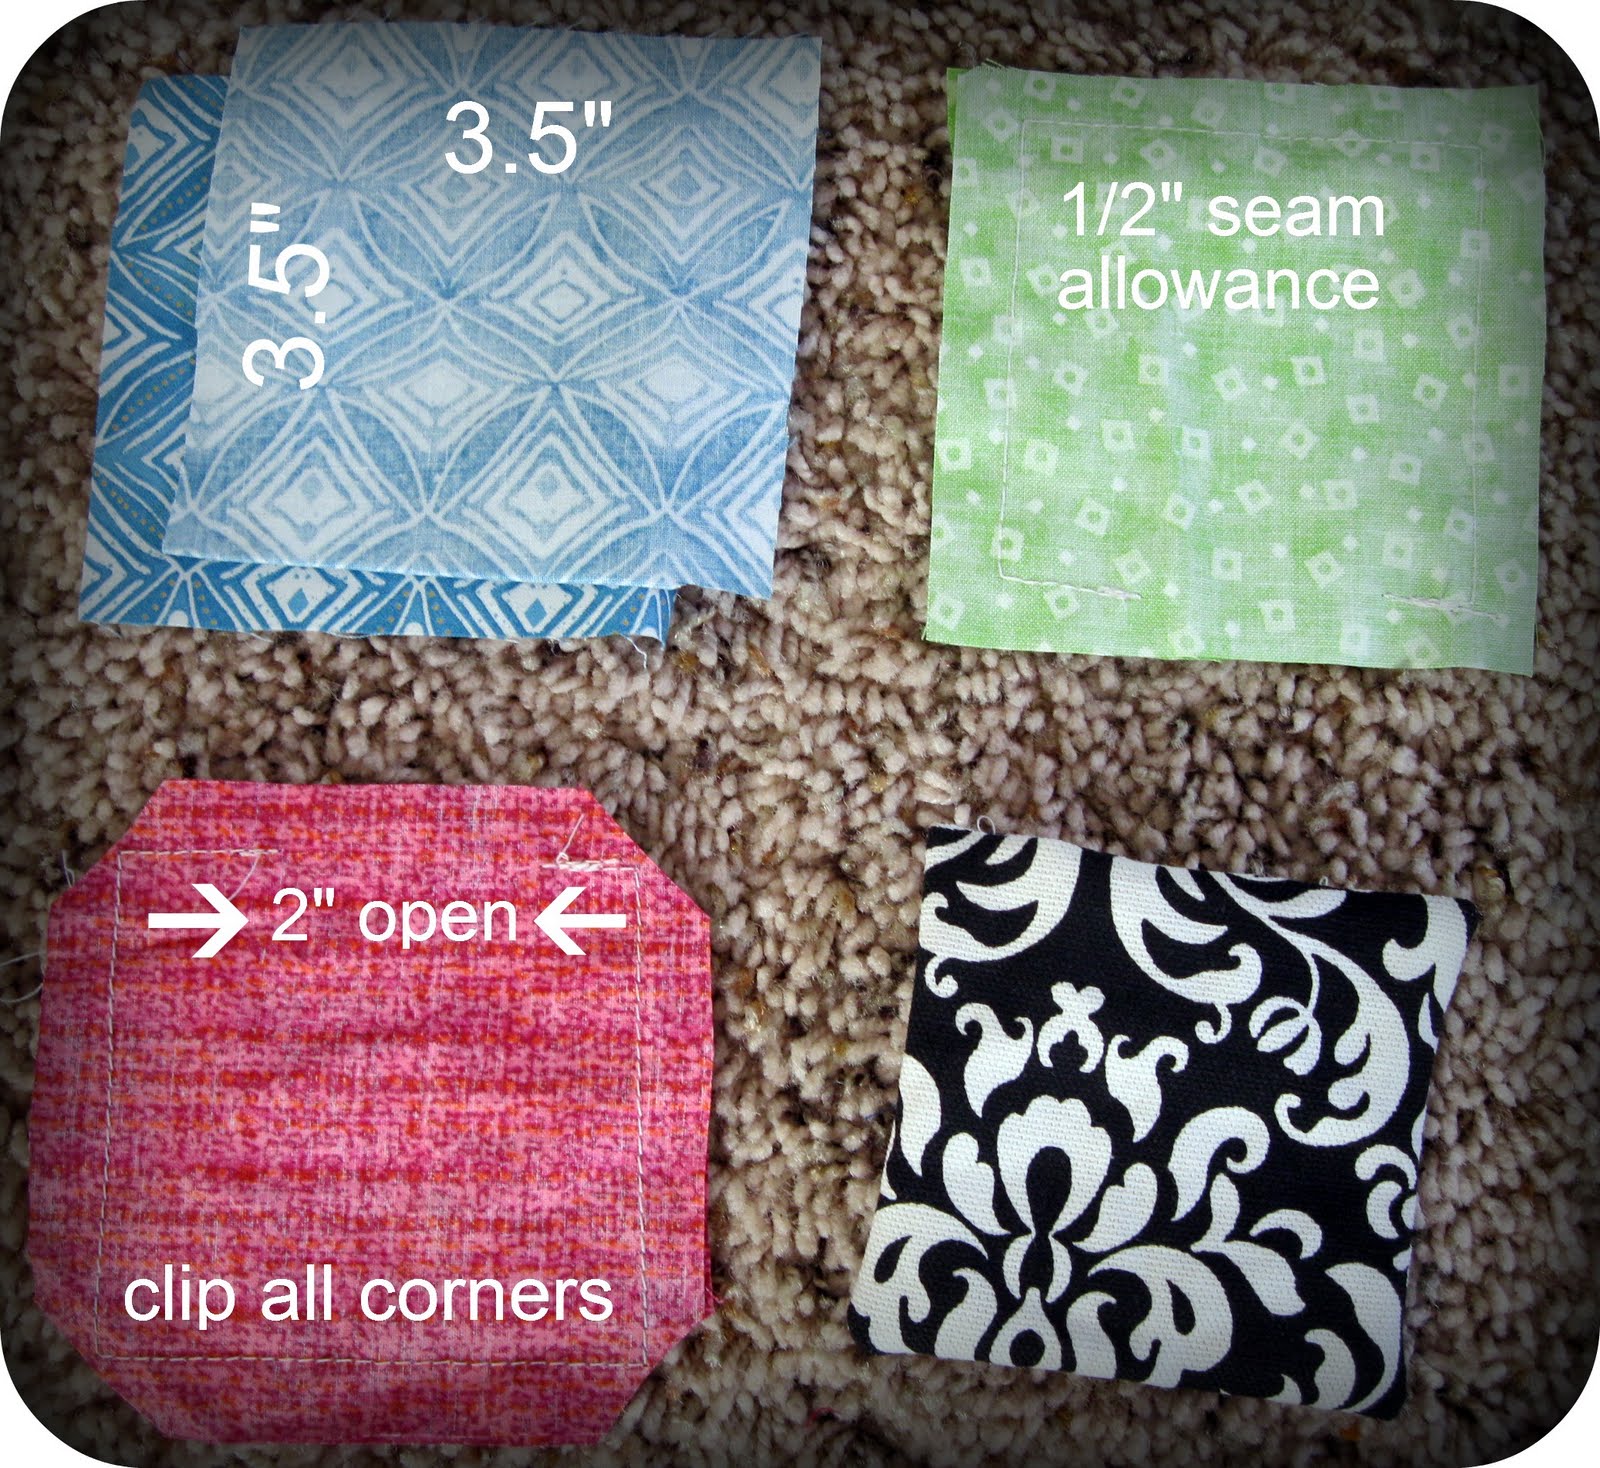
If you don't sew, just find 4 clean rocks and paint them different colors. For mine, I used 4 fun fabric scraps to make little beanbags. I cut 2 squares of each color to measure approx. 3 1/2" x 3 1/2". With a 1/2" seam allowance, they turned out to be 2 1/2" square. Stitch around 3 sides and the very edge and corners of the fourth side, leaving 2 inches open. Clip all the corners, then turn right side out and poke out corners.
Spoon in dried beans or rice so it is fairly full but not stuffed.
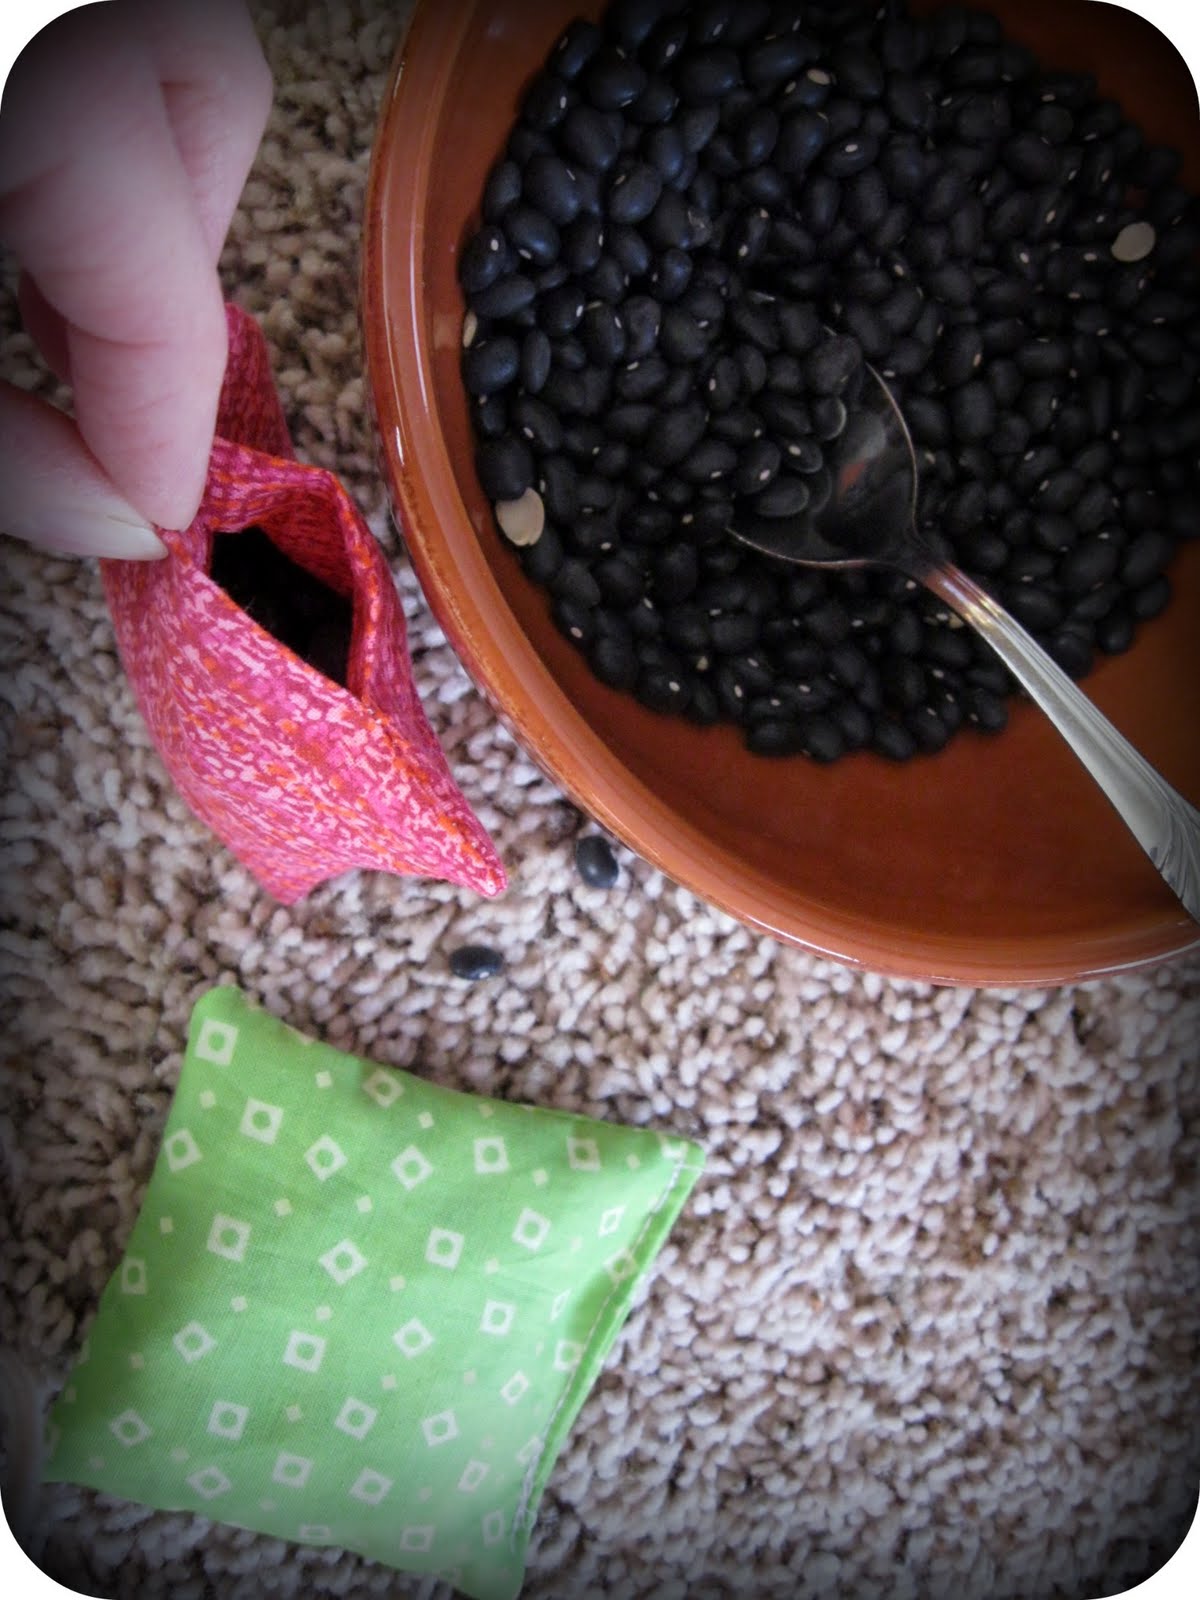
Now fold in the raw edges on the open side and stitch closed. One final thing you may want to do is add a few squiggles of Puffy Paint on the underside of the mat to keep it from slipping on a wood or tile floor.

If you're a little rusty on hopscotch rules, refresh your memory here or here. And now your Hopscotch game is all ready for some energy-burning, indoor fun!


