


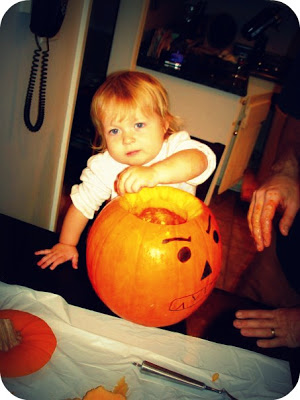
We have been carving pumpkins with our kids for at least the past 4 years. Sometimes we go to a pumpkin patch and select the perfect pumpkin for our family, but if funds (or time) are limited, they are just as happy with an equally perfect pumpkin thrown in the cart from our super-center. Kids really don't care.
The main thing is to create a memory with your kids, and the #1 rule is to have fun and don't worry about the mess. Tell yourself up front that it's a bath night and let them get involved in the process!
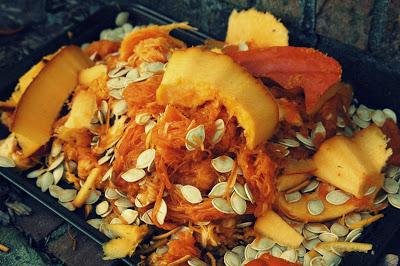
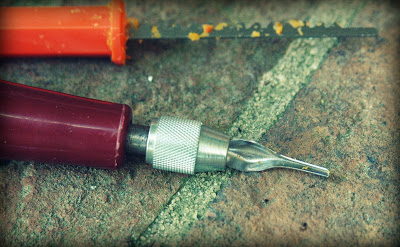
Before I begin basic pumpkin carving 101, let me recommend a few tools for the job. Of course any old knife and any kitchen spoon will work as a pumpkin carver and scraper, but if you are willing to splurge on the tiny carving sets (knife and scraper) sold in most convenience stores, you will save yourself a lot of time and energy. It's important to scrape the inside as cleanly as possible.
I also discovered a GREAT use for an art tool I had lying around. If any of you are really looking to take pumpkin carving to the next level, or if you have linocut printmaking in your past, track down your Speedball Linozip set like I did. It was so easy and fun to peel away the layers using my old printmaking tool!
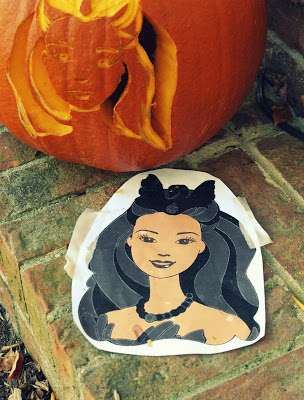
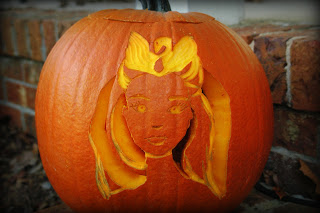
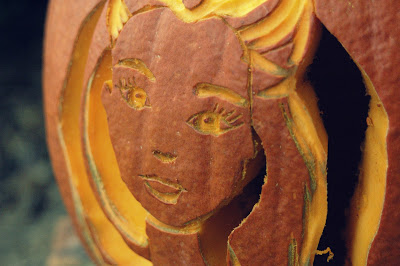
Once our drawings were lightly traced onto the pumpkins we went to work carving. My husband used the carving tool to make all his cuts and was finished in about 15 minutes. I made all my deep cuts, then went back in and peeled back the layers of skin from my pumpkin. There are several tutorials online for how to do this effectively. I wish I had watched one of them before carving, but it was still fun and my daughter was thrilled!
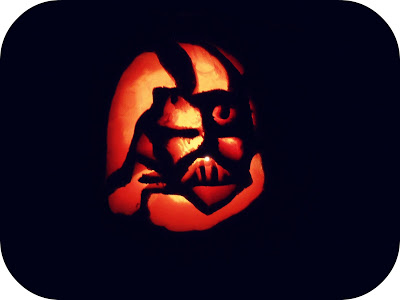 |
| My husband's Darth Vadar! We lost one of the eyes, but he still looks intimidating--especially at night! We will not be entering any pumpkin carving contests anytime soon, but we had a great time digging our hands in the pumpkins and choosing the perfect thing to carve for and with our kids. I would highly recommend making this a family tradition--this is the perfect week for you to go discover your very own Great Pumpkin rising out of the pumpkin patch. We'd love to hear your favorite pumpkin carving or any tips you might have! |
Leaves
by Elsie N. Brady
How silently they tumble down
And come to rest upon the ground
To lay a carpet, rich and rare,
Beneath the trees without a care,
Content to sleep, their work well done,
Colors gleaming in the sun.
At other times, they wildly fly
Until they nearly reach the sky.
Twisting, turning through the air
Till all the trees stand stark and bare.
Exhausted, drop to earth below
To wait, like children, for the snow.