


Who knew a couple of boxes of pasta and some food coloring could provide my kids with multiple fun and learning activities enjoyed over a couple of days' time?! One of my son's home school lessons this week showed how to dye pasta and make beads to string. We dug out several kinds of noodles and prepared several cups of colorful beads. But the necklaces were just a start...we have actually used these noodles for three more activities so far. And happily, it took a whole 10 minutes of prep with things I already had on hand!
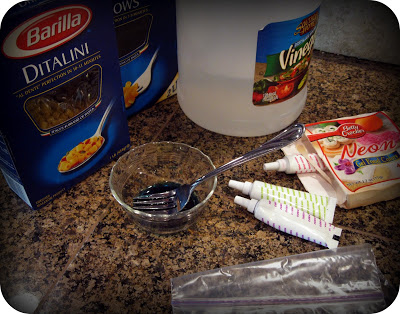
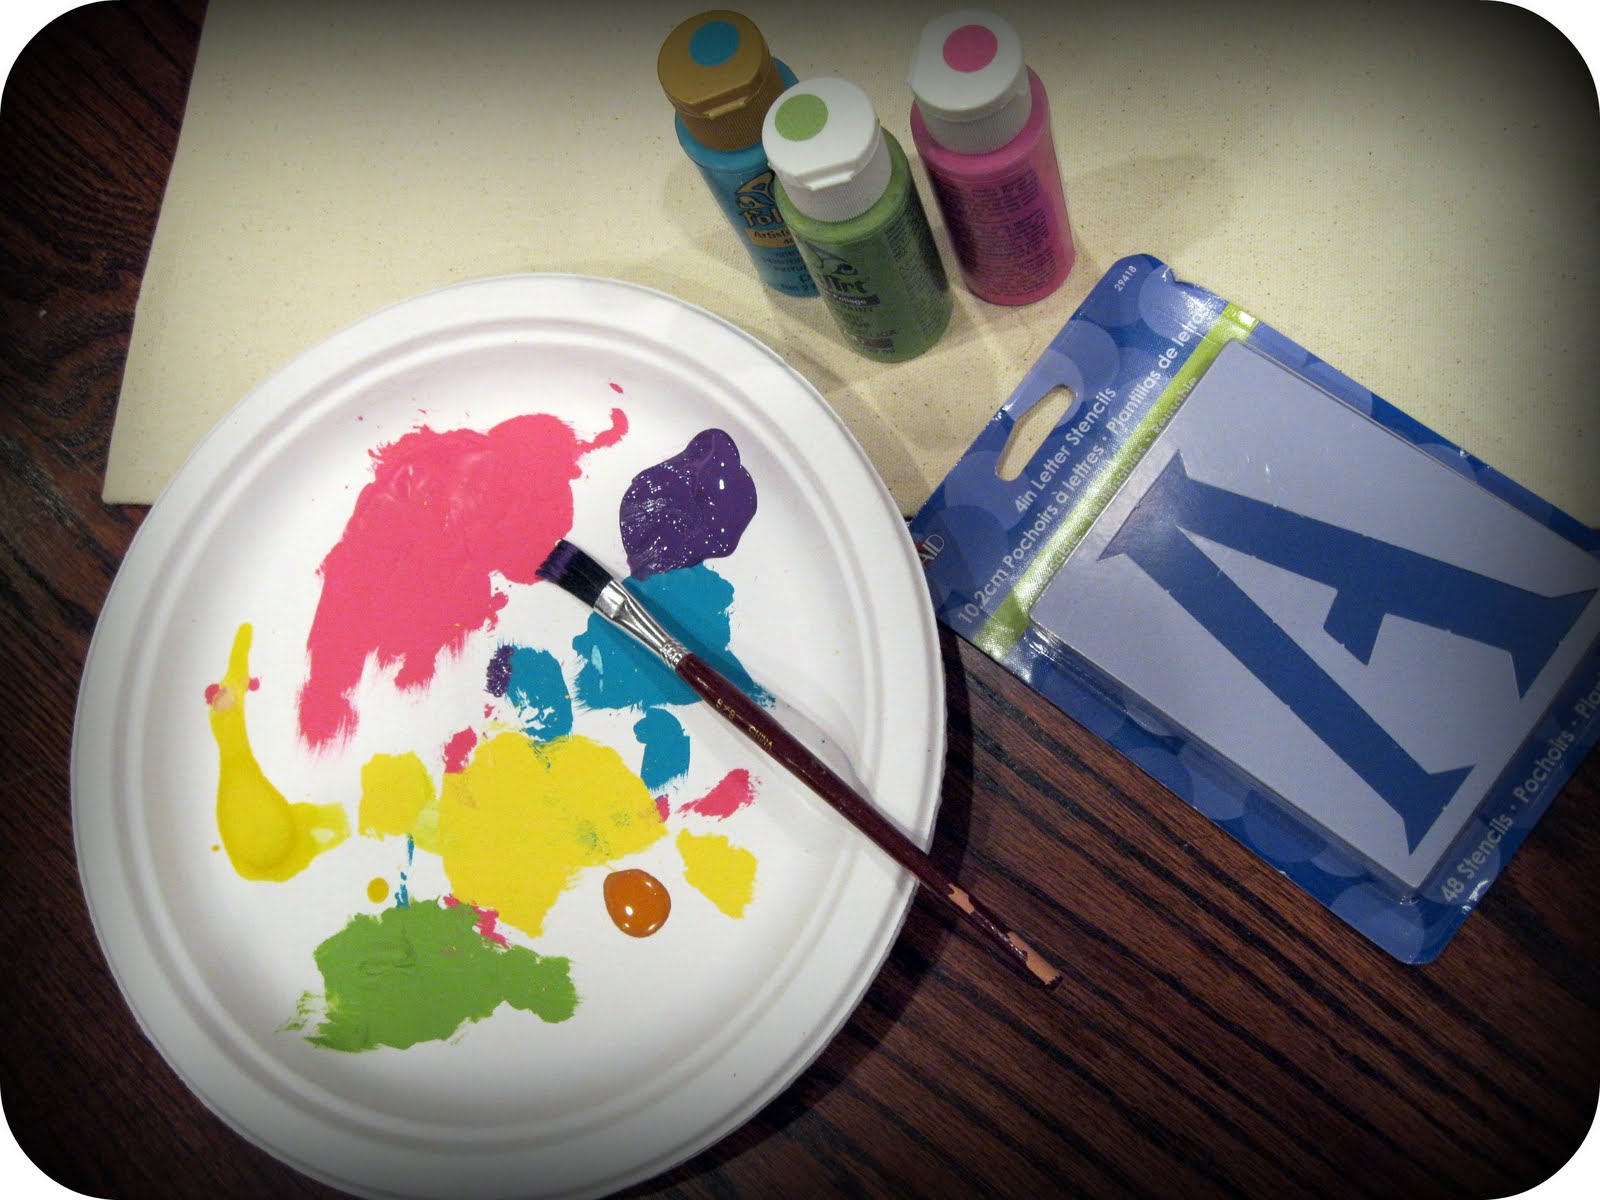
First, for the dye job. Materials needed:
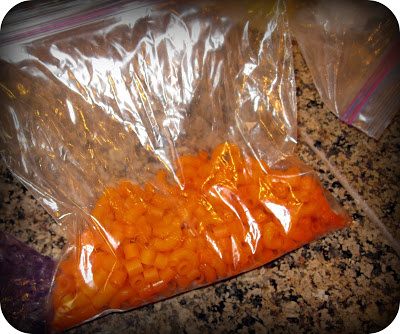
Put a cup of dry pasta in a ziploc. Add 1 TBSP of the vinegar OR rubbing alcohol and several drops of food coloring to the bag. Close it up and gently smoosh it around to color all the pasta.
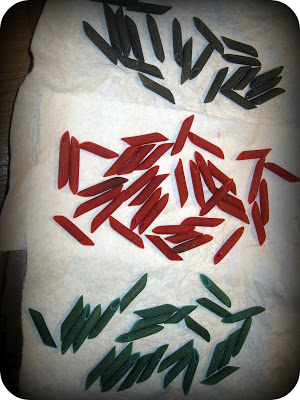
Empty it on paper towels to dry. Best to leave it overnight.
I only had food coloring gel around, and a couple of the colors didn't dye the pasta so well by this method. So I actually mixed the gel with the rubbing alcohol and a cup of water in a bowl and we let the noodles sit in it for 7-8 minutes until the color "took." Not too long or the noodles would get mushy. That worked much better for us.
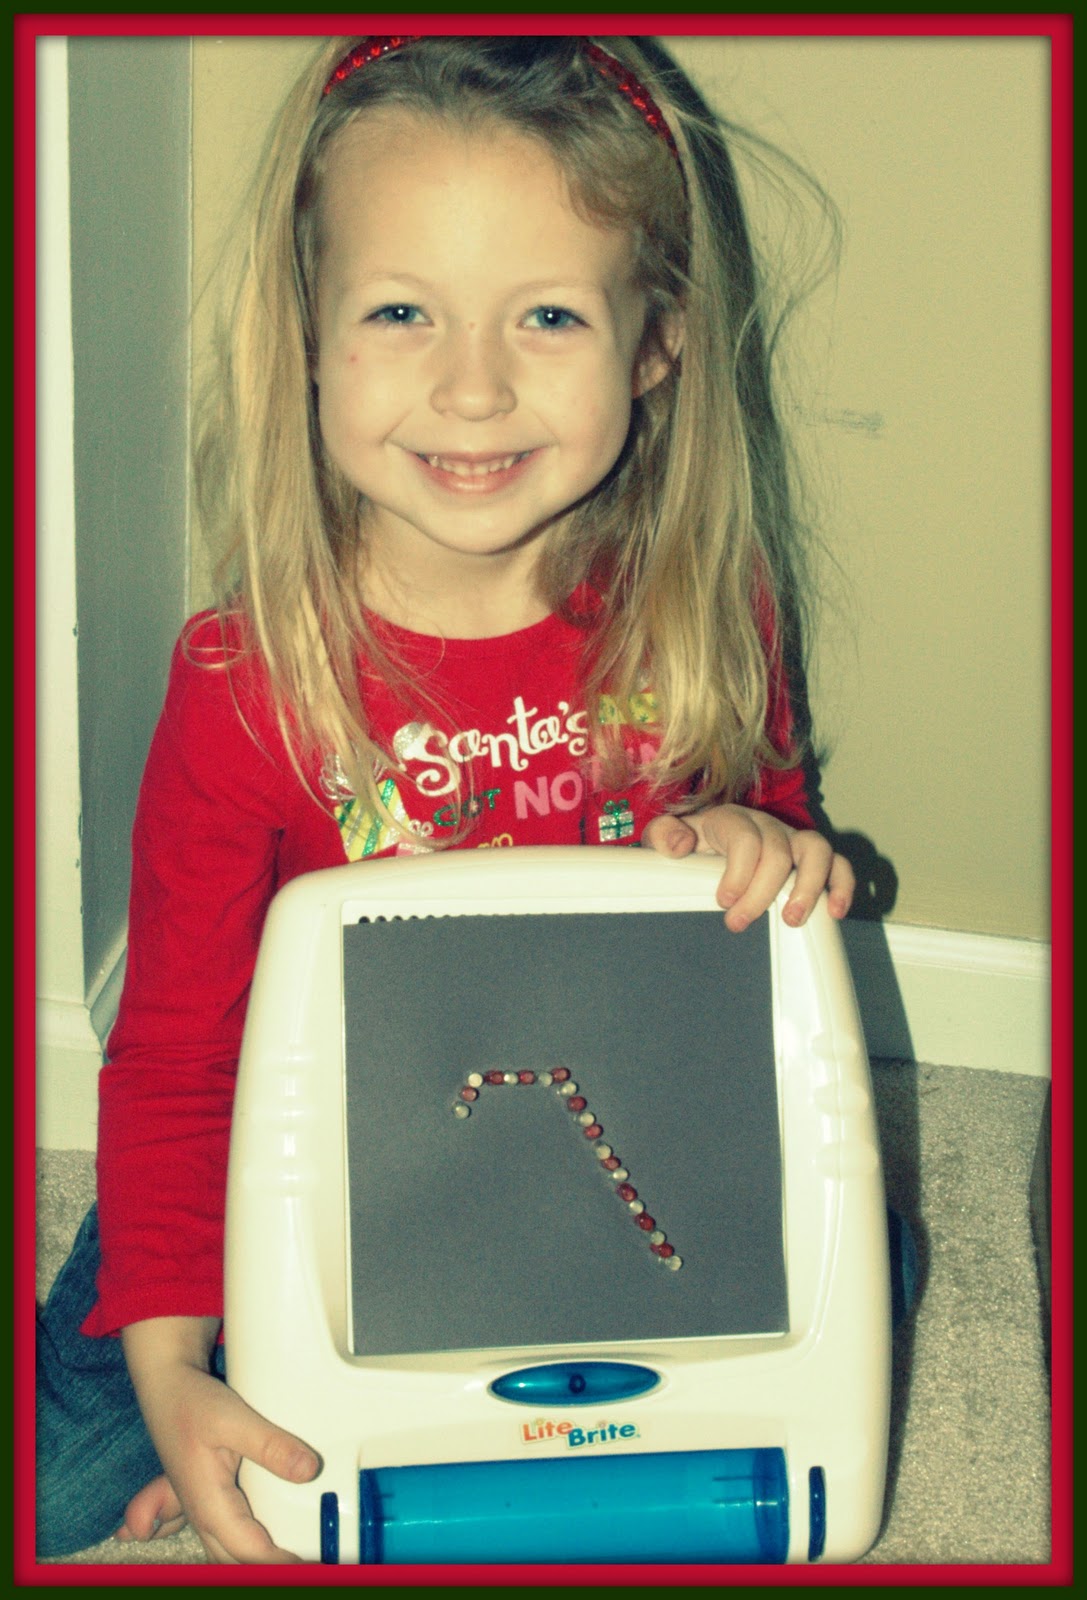
Noodle Fun #1: Beading!

String the beads on plastic elastic cord for necklaces or bracelets. Love the bright colors!
Noodle Fun #2: Sorting!
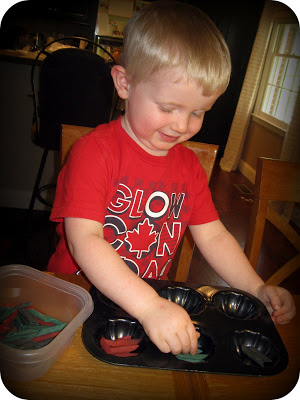
Using the sorting idea from this post, I gave my 2-year-old a muffin tin and several colors of pasta mixed together in a bowl. I showed him how to sort the colors in separate tins.

He LOVED it and sorted over and over for an hour-and-a-half! My 4-year-old thought it was super fun and did it several times too...first by color, then by shape.
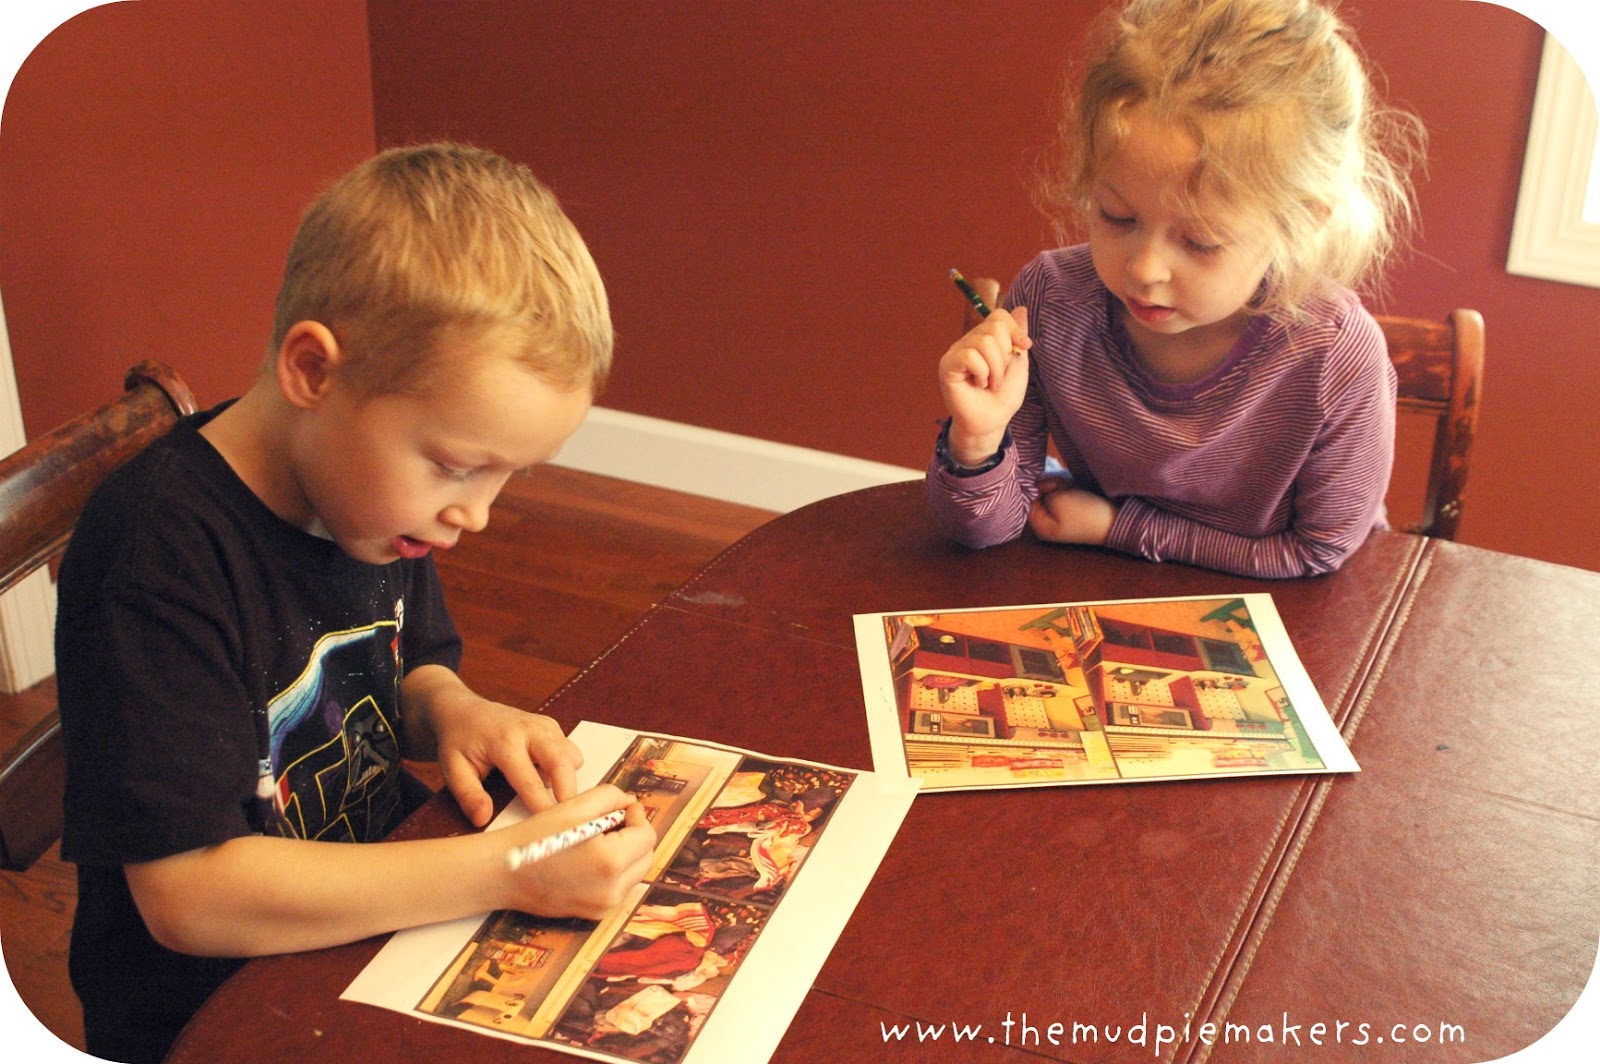
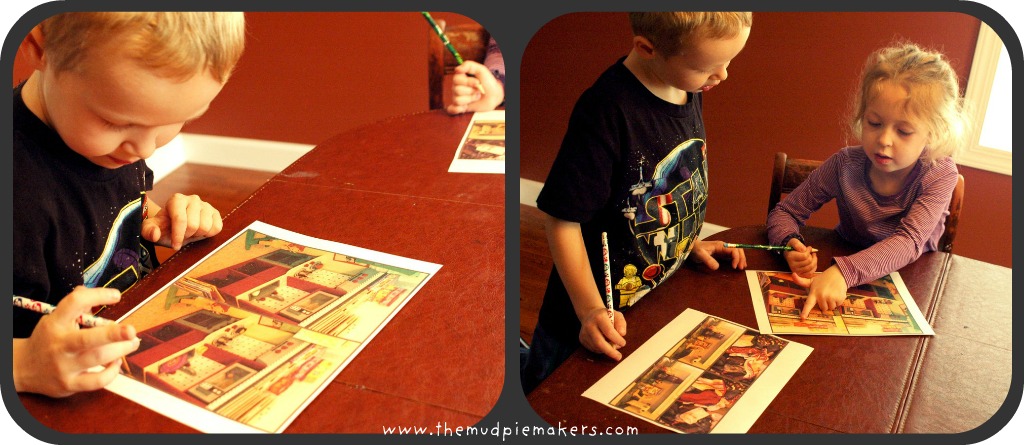
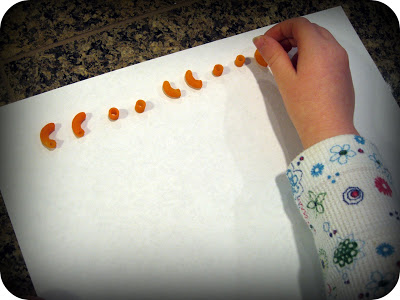
Noodle Fun #3: Math Manipulative!
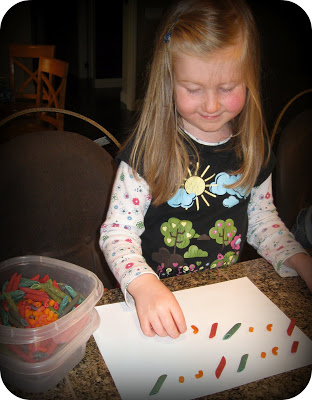
Use the pasta to make patterns. I laid out a pattern of various colors/shapes on a paper, and then asked my daughter to copy it. I hadn't tried this before with her, and she really liked the activity. She even made a complicated pattern for ME to copy! Noodles=learning fun for everyone.
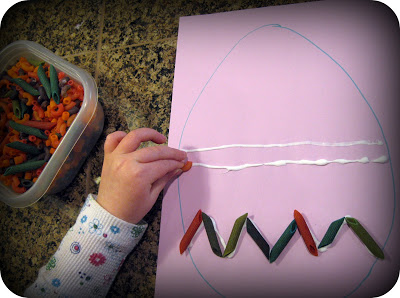
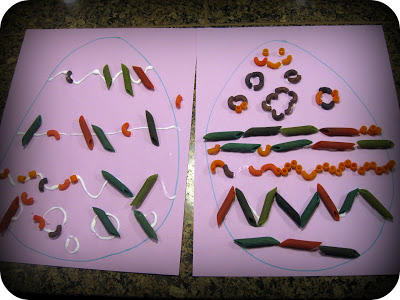
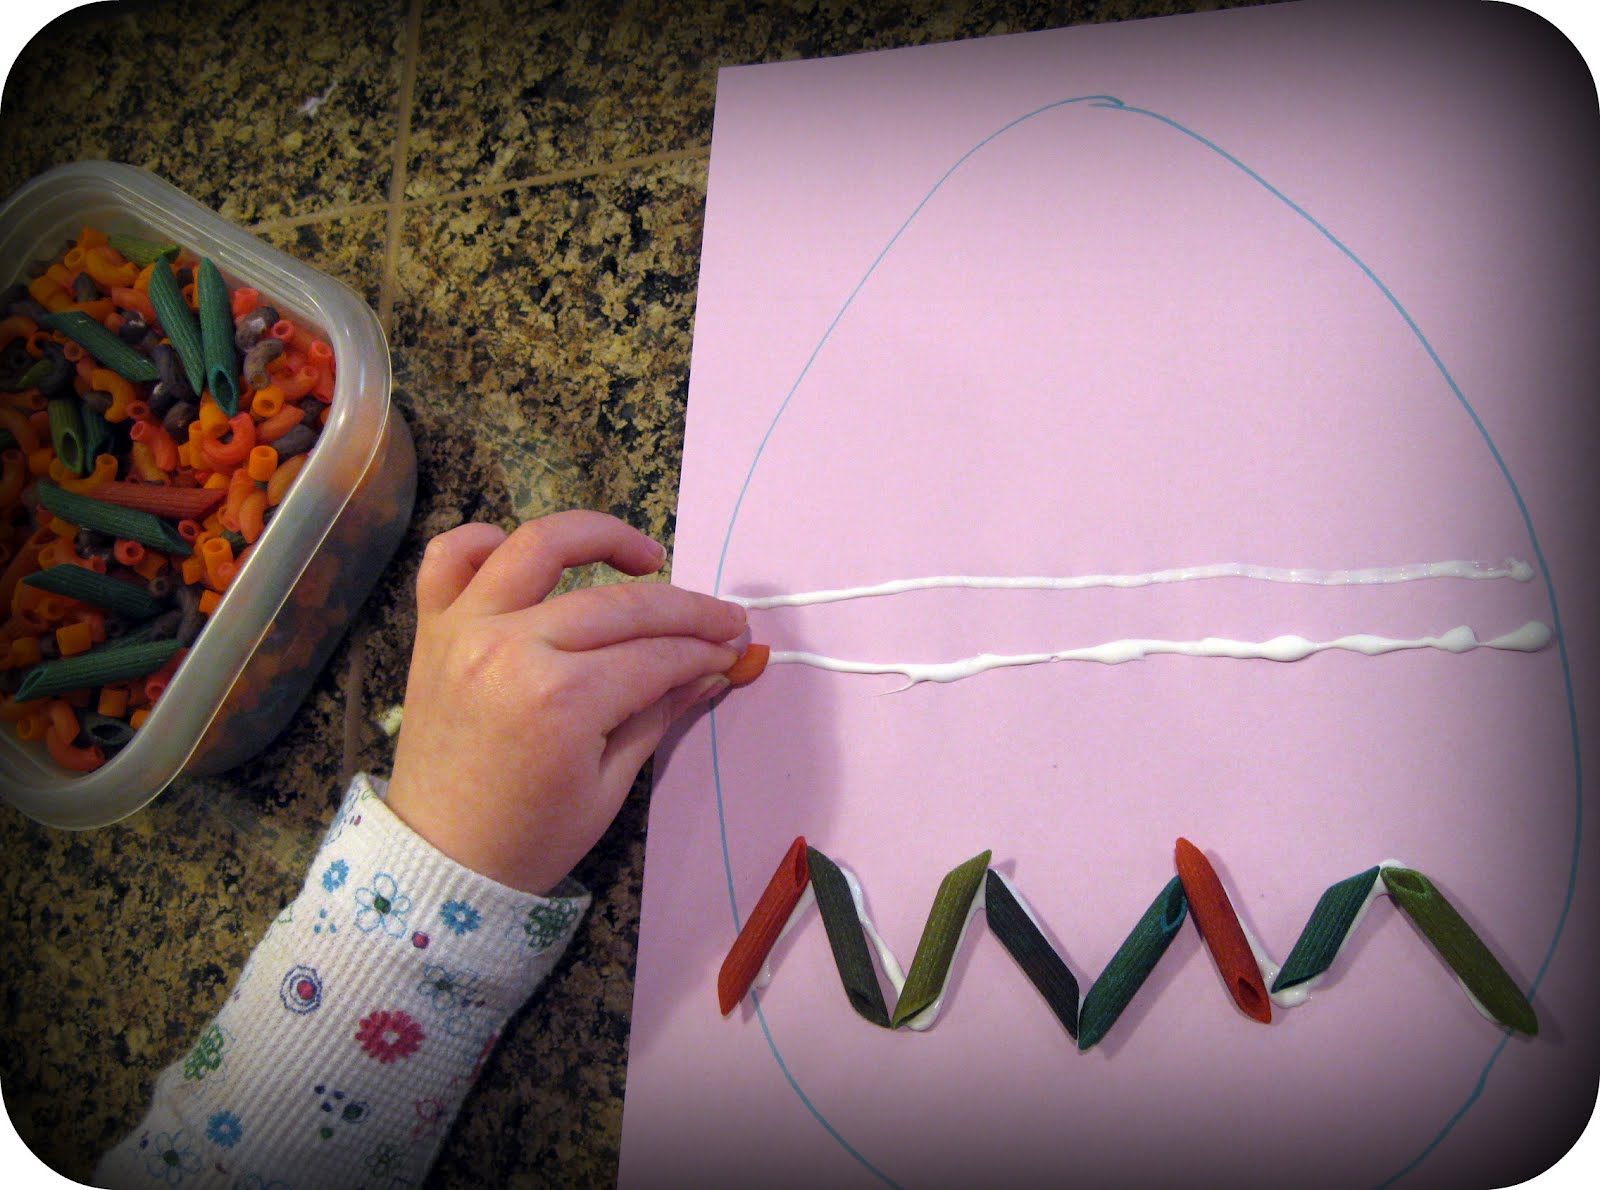
Noodle Fun #4: Easter craft!
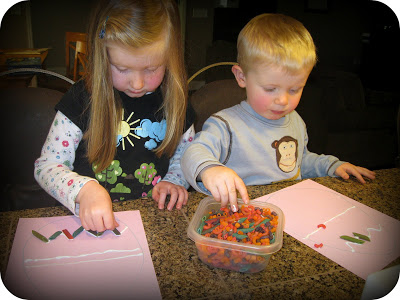
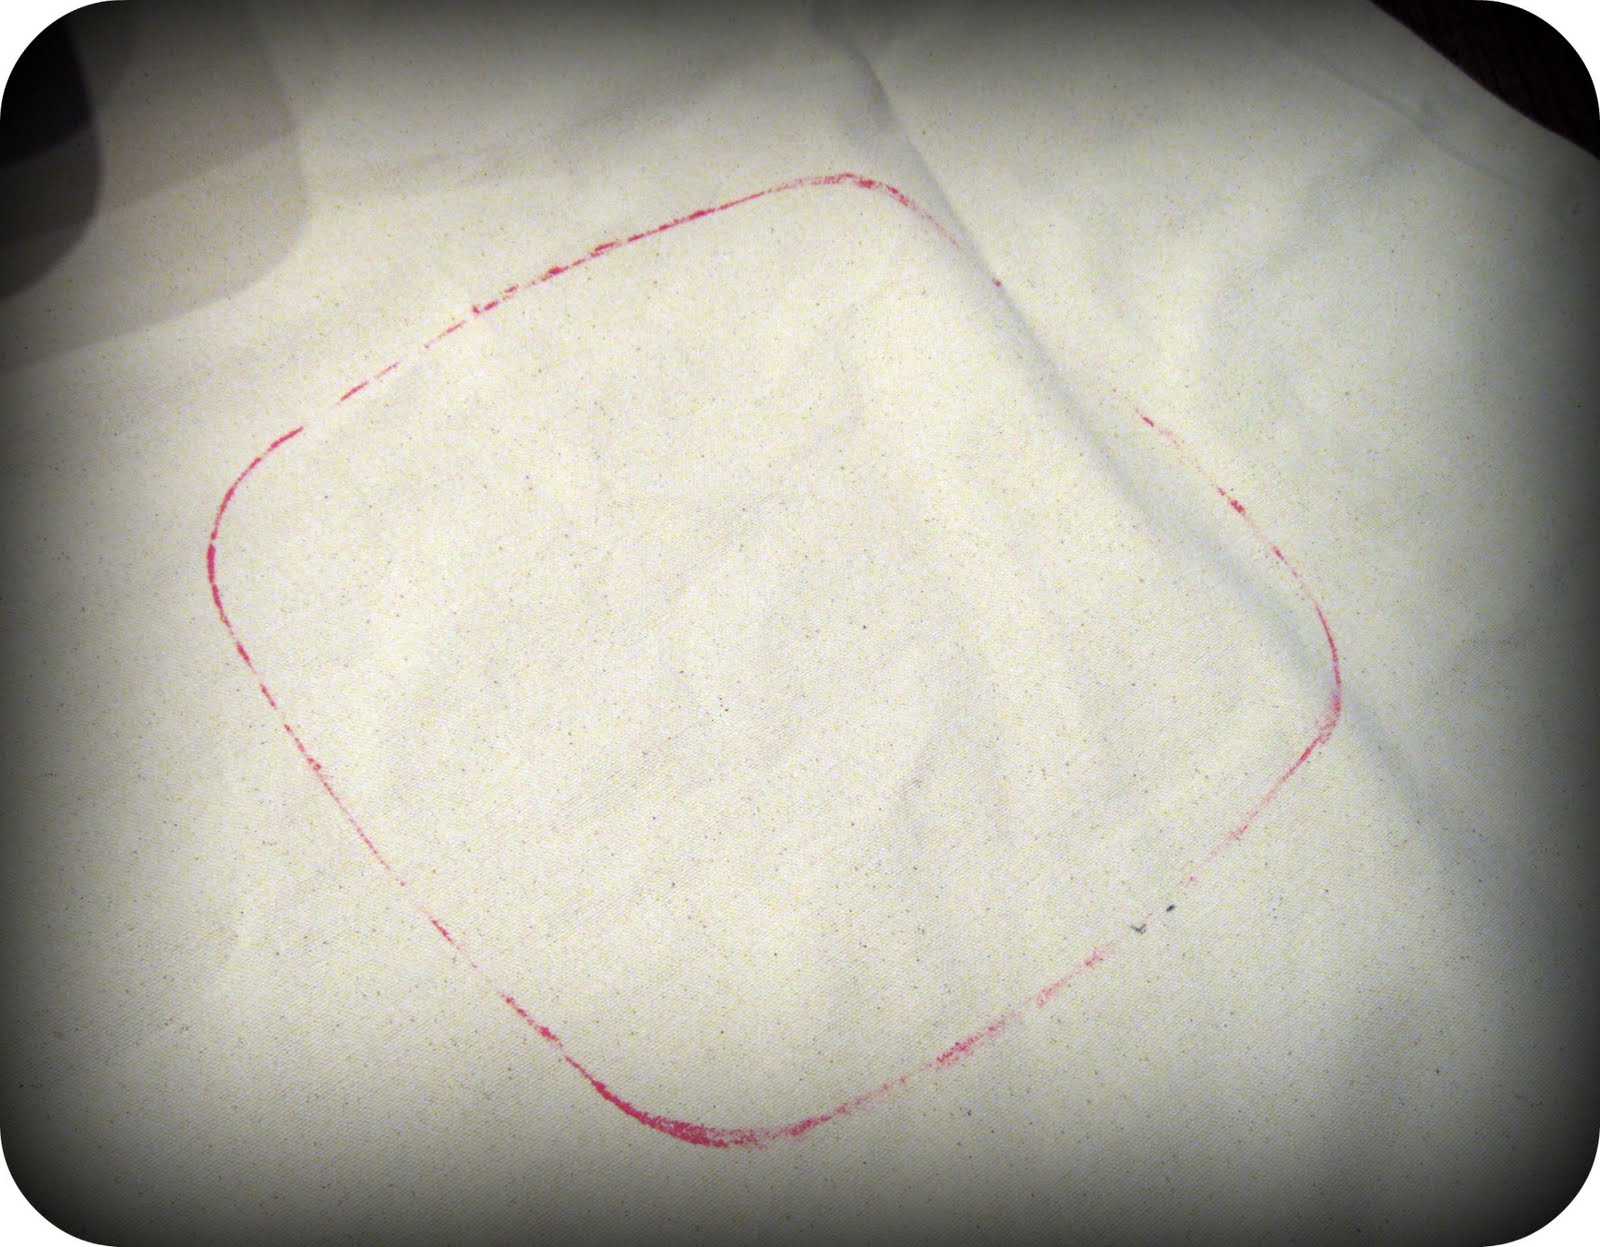
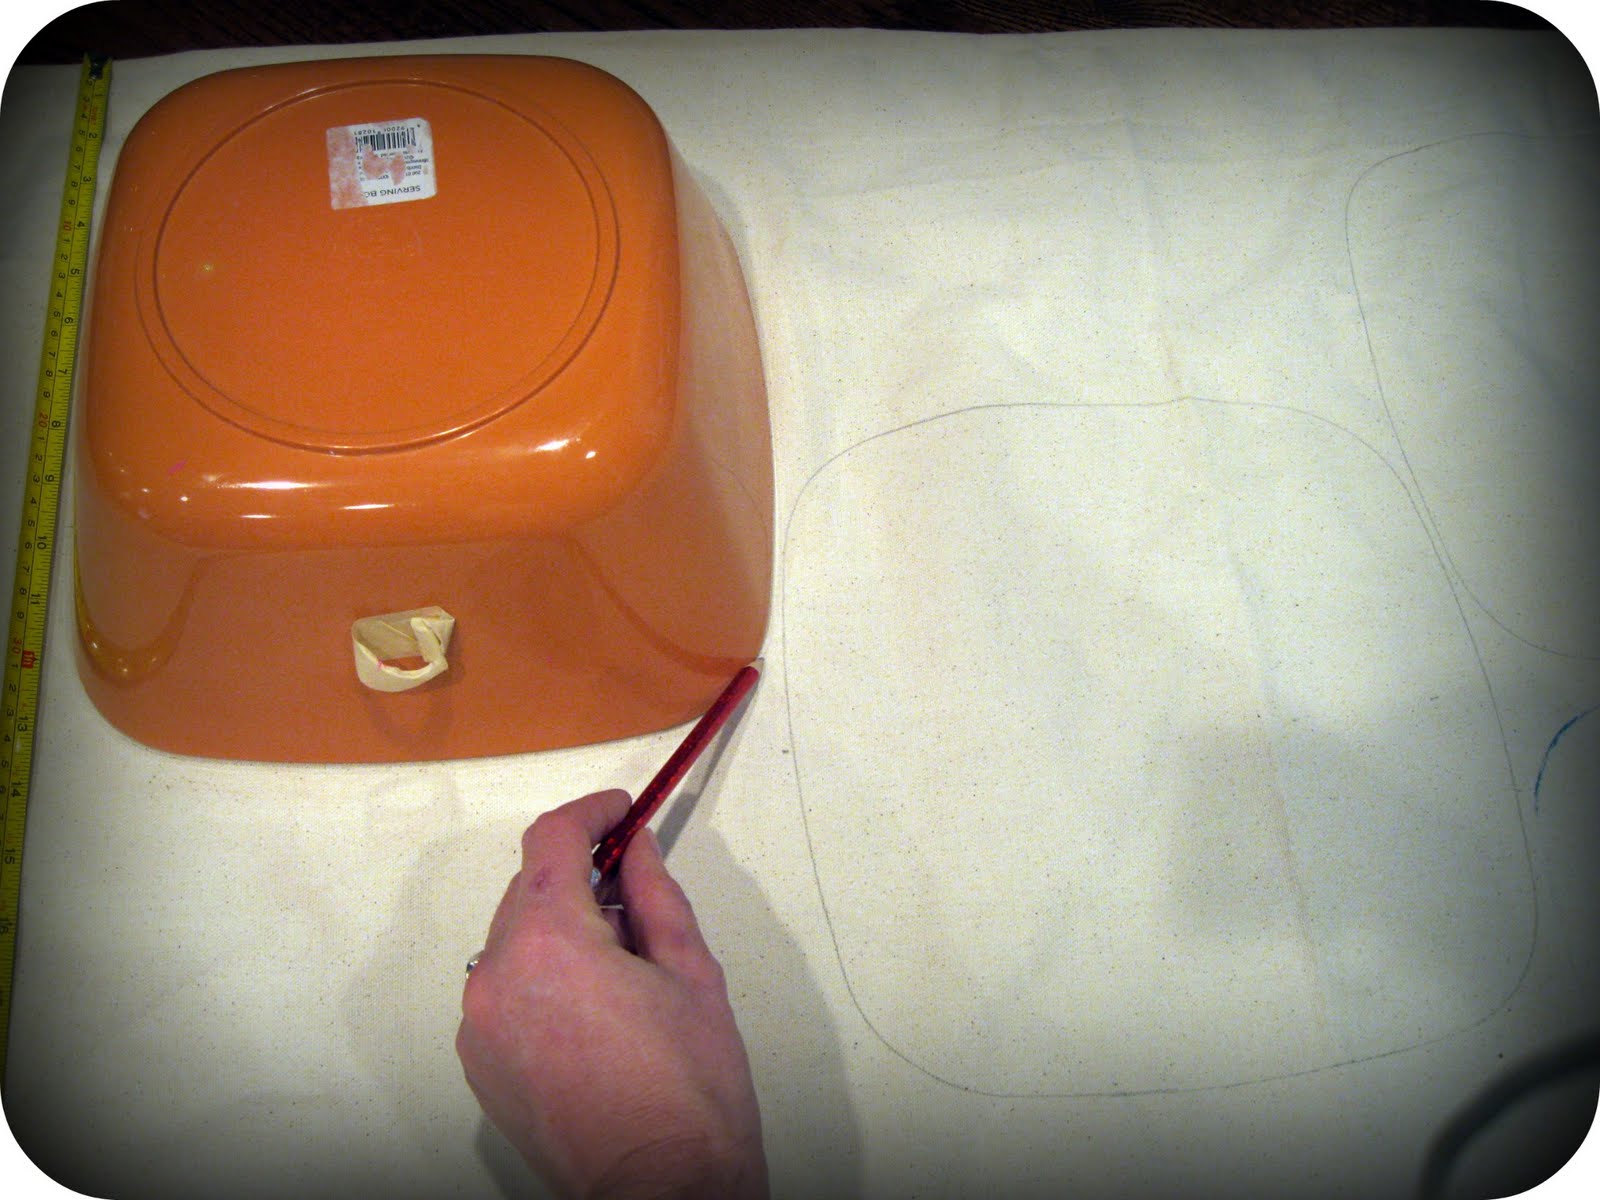
I drew an Egg shape on colored paper, added some craft glue, and then had the kids decorate their Easter eggs. They loved their pretty eggs.
Gotta love when you can make several new and exciting activities for FREE with a few supplies from the pantry!
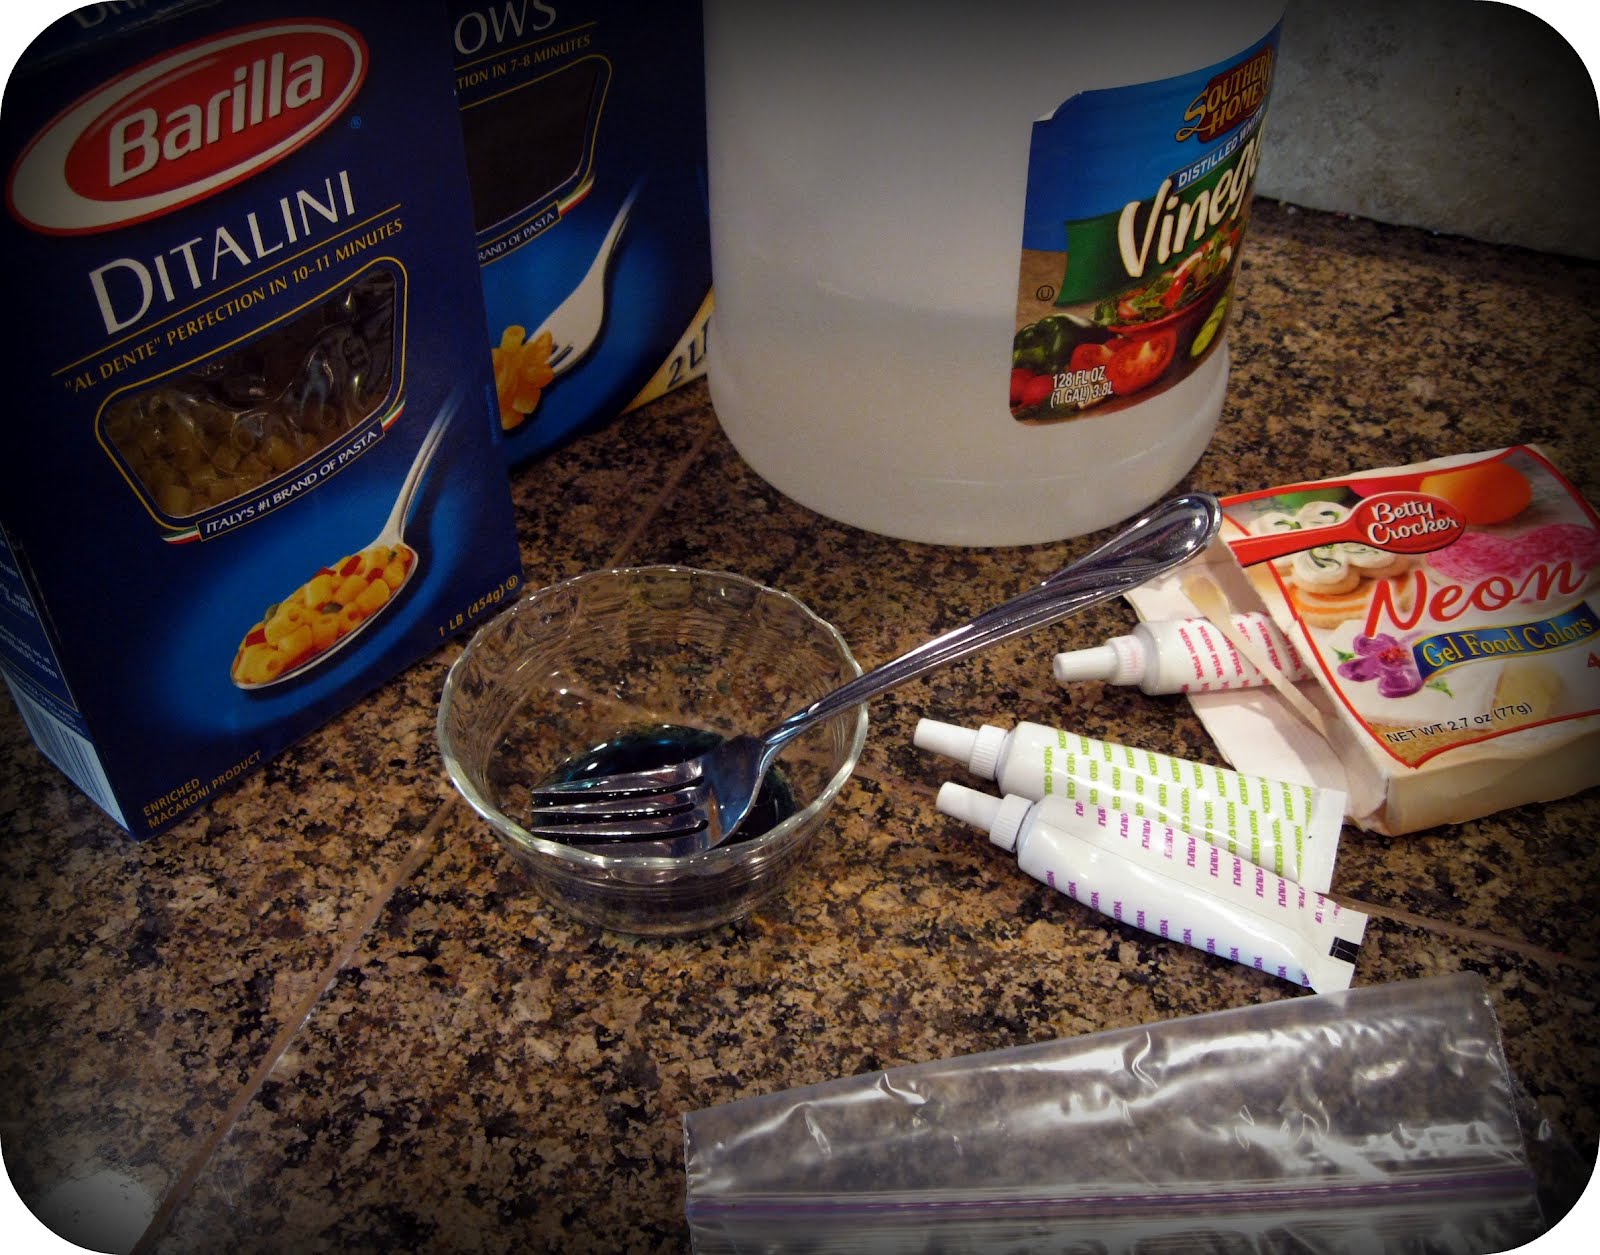
First, for the dye job. Materials needed:
- dry pasta in various shapes
- vinegar OR rubbing alcohol (the vinegar smell will linger, but may be preferable option if you fear a noodle "taste-test")
- small plastic ziploc bags
- food coloring
- paper towels on trays
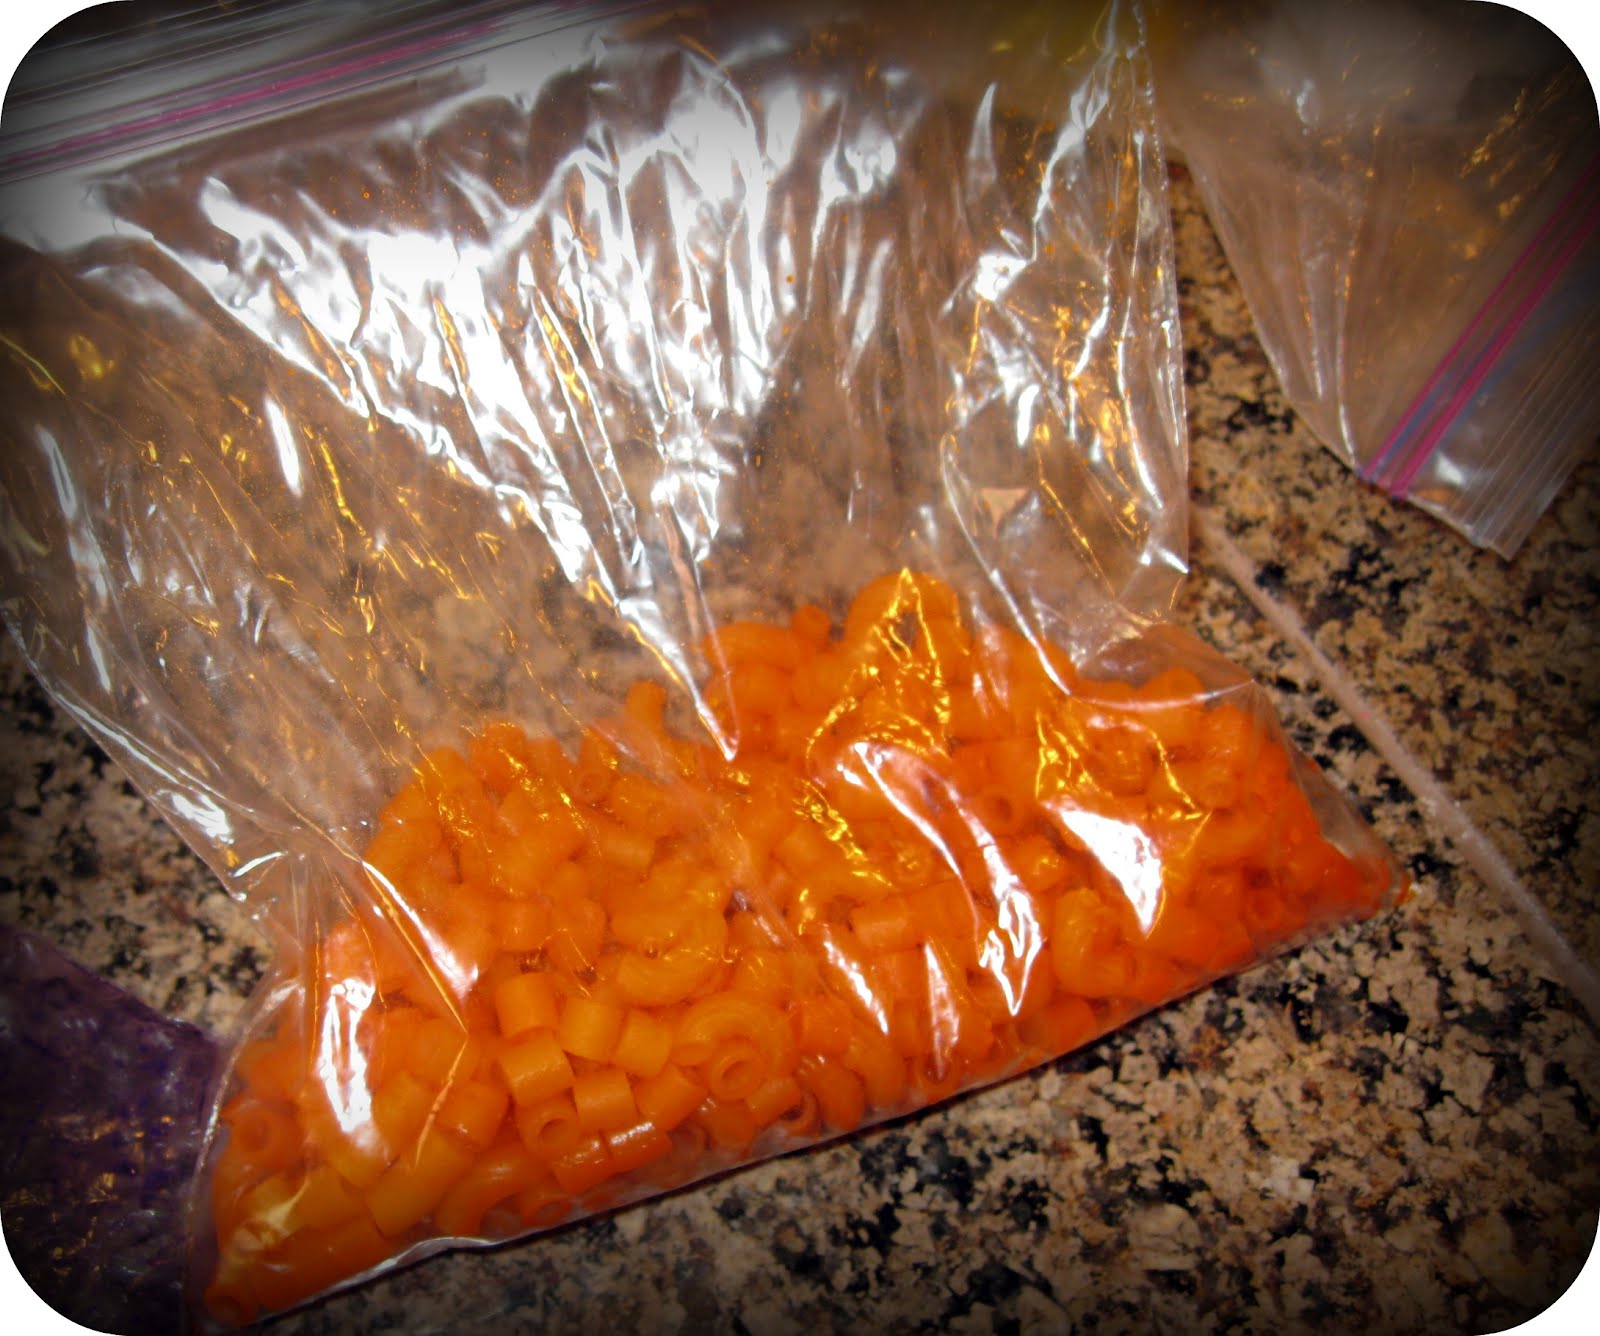
Put a cup of dry pasta in a ziploc. Add 1 TBSP of the vinegar OR rubbing alcohol and several drops of food coloring to the bag. Close it up and gently smoosh it around to color all the pasta.
Empty it on paper towels to dry. Best to leave it overnight.
I only had food coloring gel around, and a couple of the colors didn't dye the pasta so well by this method. So I actually mixed the gel with the rubbing alcohol and a cup of water in a bowl and we let the noodles sit in it for 7-8 minutes until the color "took." Not too long or the noodles would get mushy. That worked much better for us.
Noodle Fun #1: Beading!
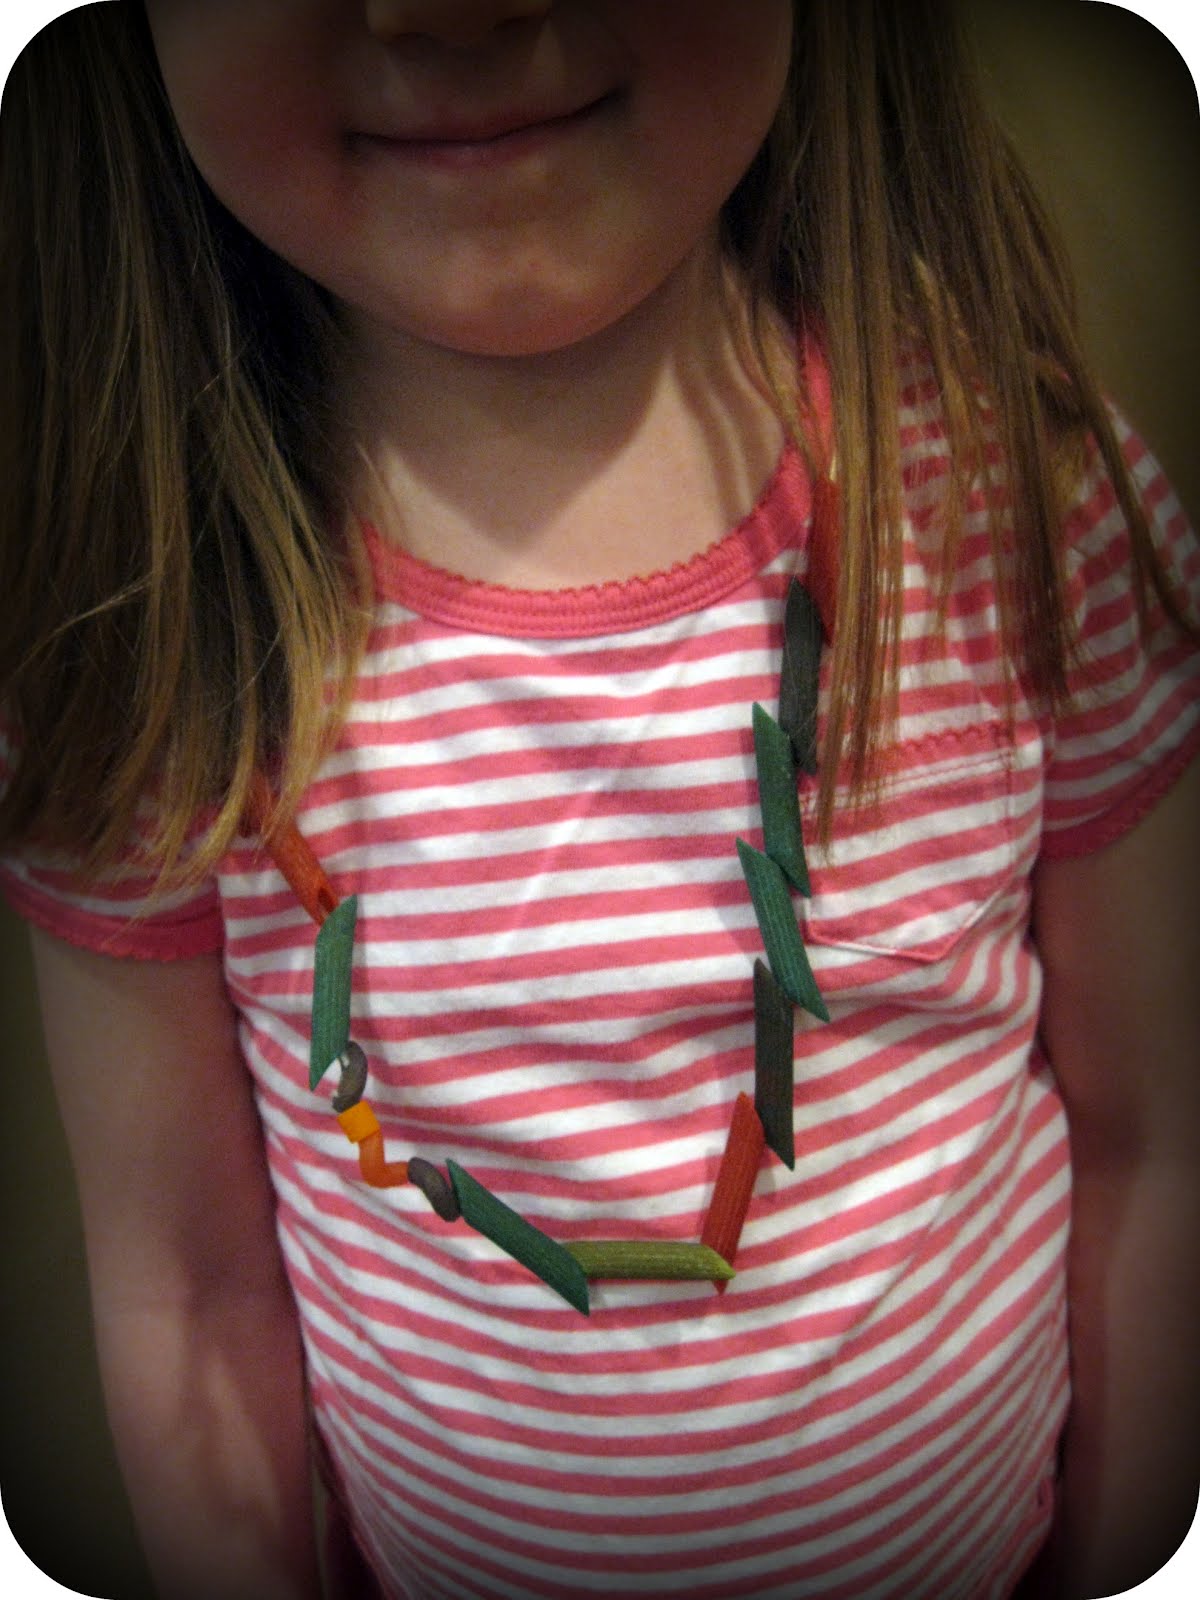
String the beads on plastic elastic cord for necklaces or bracelets. Love the bright colors!
Noodle Fun #2: Sorting!
Using the sorting idea from this post, I gave my 2-year-old a muffin tin and several colors of pasta mixed together in a bowl. I showed him how to sort the colors in separate tins.
He LOVED it and sorted over and over for an hour-and-a-half! My 4-year-old thought it was super fun and did it several times too...first by color, then by shape.
Noodle Fun #3: Math Manipulative!

Use the pasta to make patterns. I laid out a pattern of various colors/shapes on a paper, and then asked my daughter to copy it. I hadn't tried this before with her, and she really liked the activity. She even made a complicated pattern for ME to copy! Noodles=learning fun for everyone.
Noodle Fun #4: Easter craft!
I drew an Egg shape on colored paper, added some craft glue, and then had the kids decorate their Easter eggs. They loved their pretty eggs.
Gotta love when you can make several new and exciting activities for FREE with a few supplies from the pantry!