Showing posts with label outside. Show all posts

Monday, May 7, 2012

Kid Creativity: Bounce Back Game Time.

Sometimes a new game will spring up when we least expect it. I love it when my kids come up with something entirely on their own; I'm always happy to help point them down the pioneering path.


Since it was blazing hot by 9 a.m. on Saturday, our only outdoor option was to pull out the tiny inflatable baby pool and splash around.  After a while my 6-year-old got bored with the little pool and started looking for another outdoor option.  


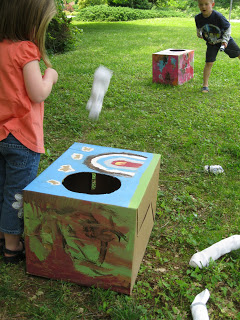
We have two boys in our house, so we are constantly bouncing with bouncy balls. There are balls in every shape and size, from the least bouncy to the bounciest.  I don't mind a bouncy ball one bit.  I will take 10 totes full of bouncy balls over 1 harmonica or drum any day.


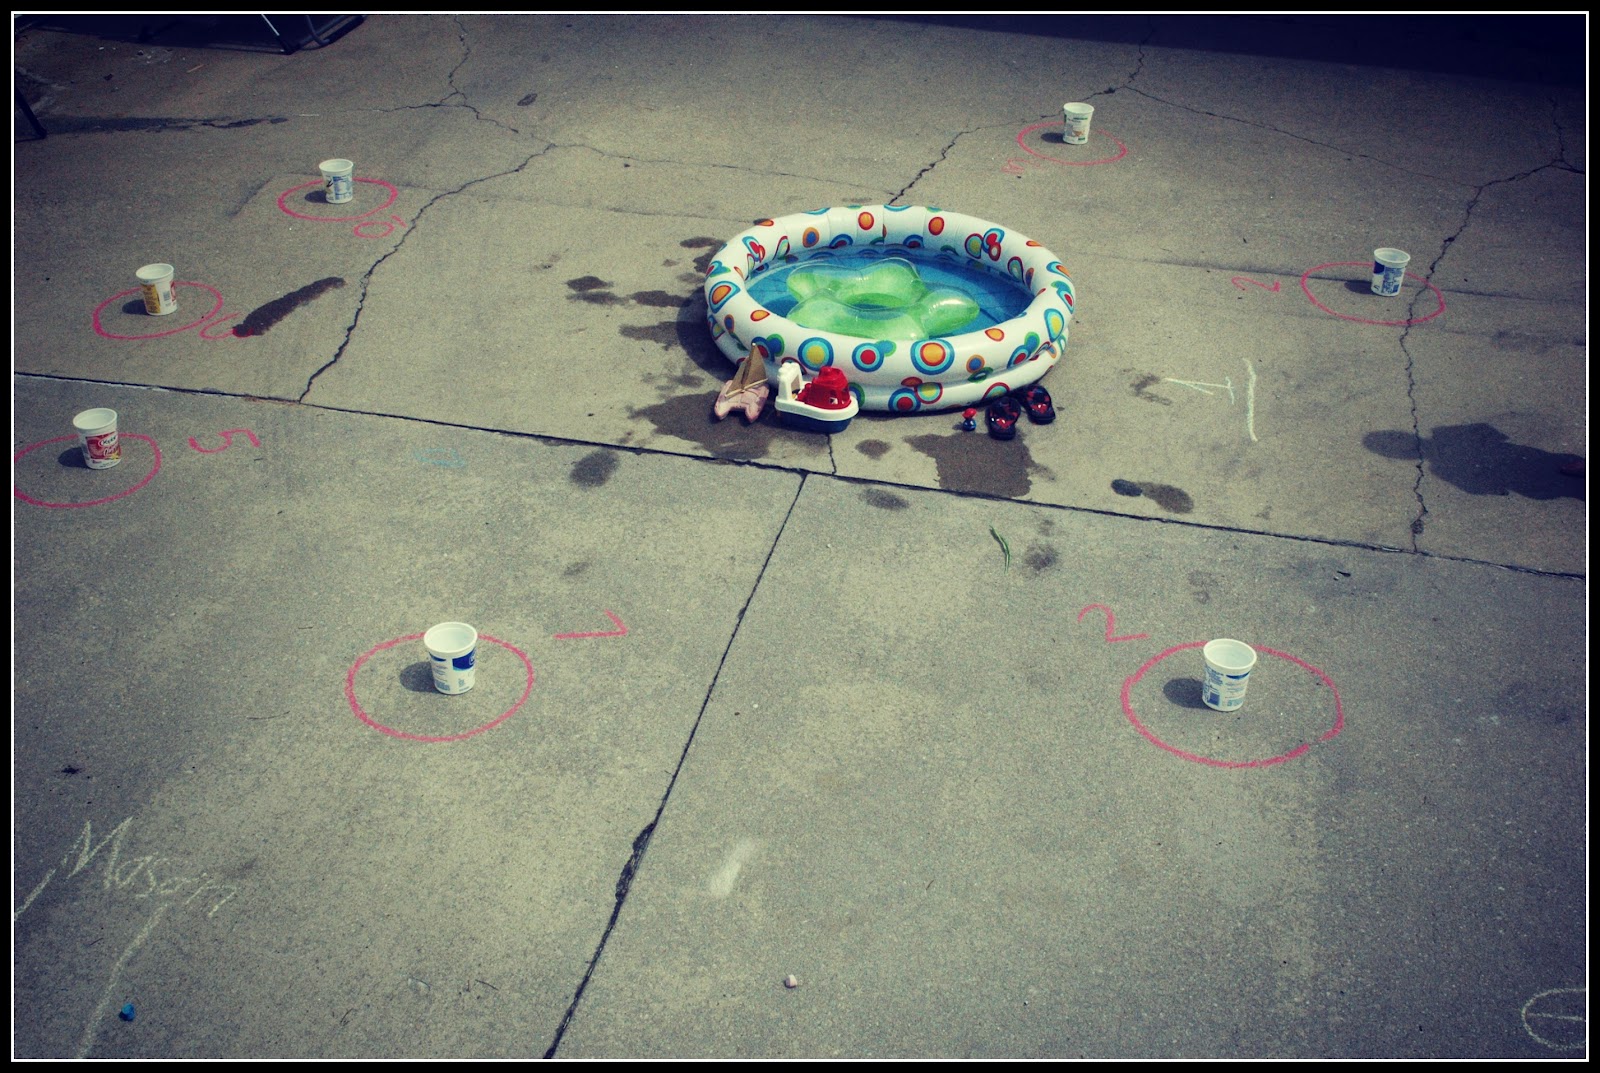
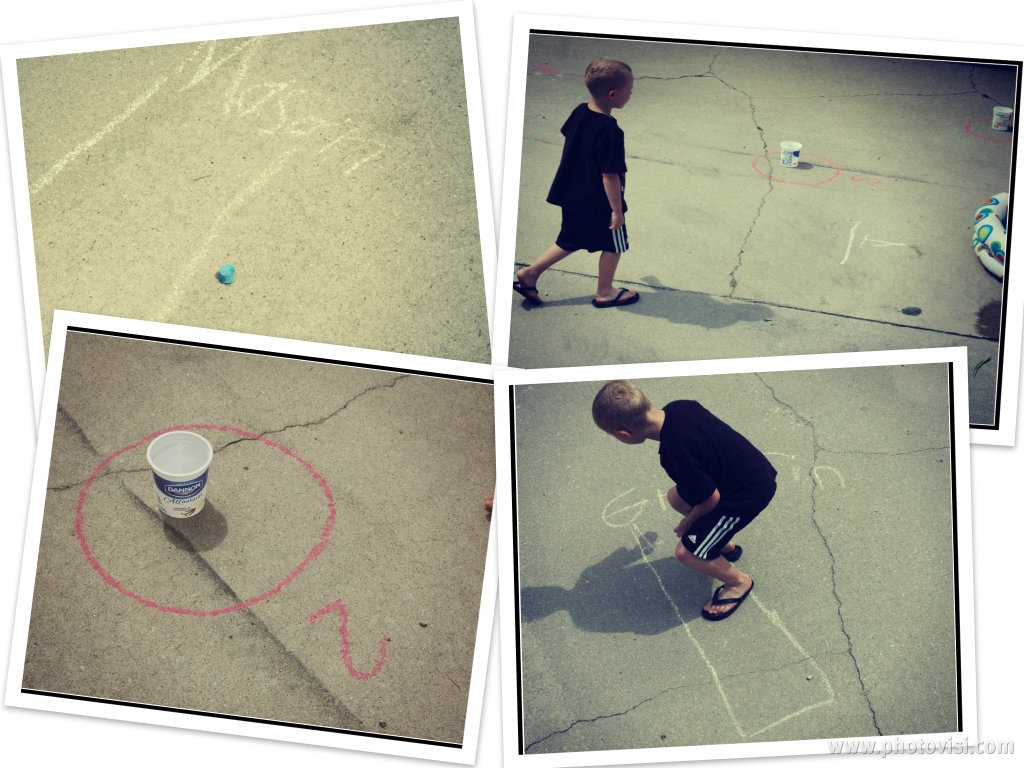
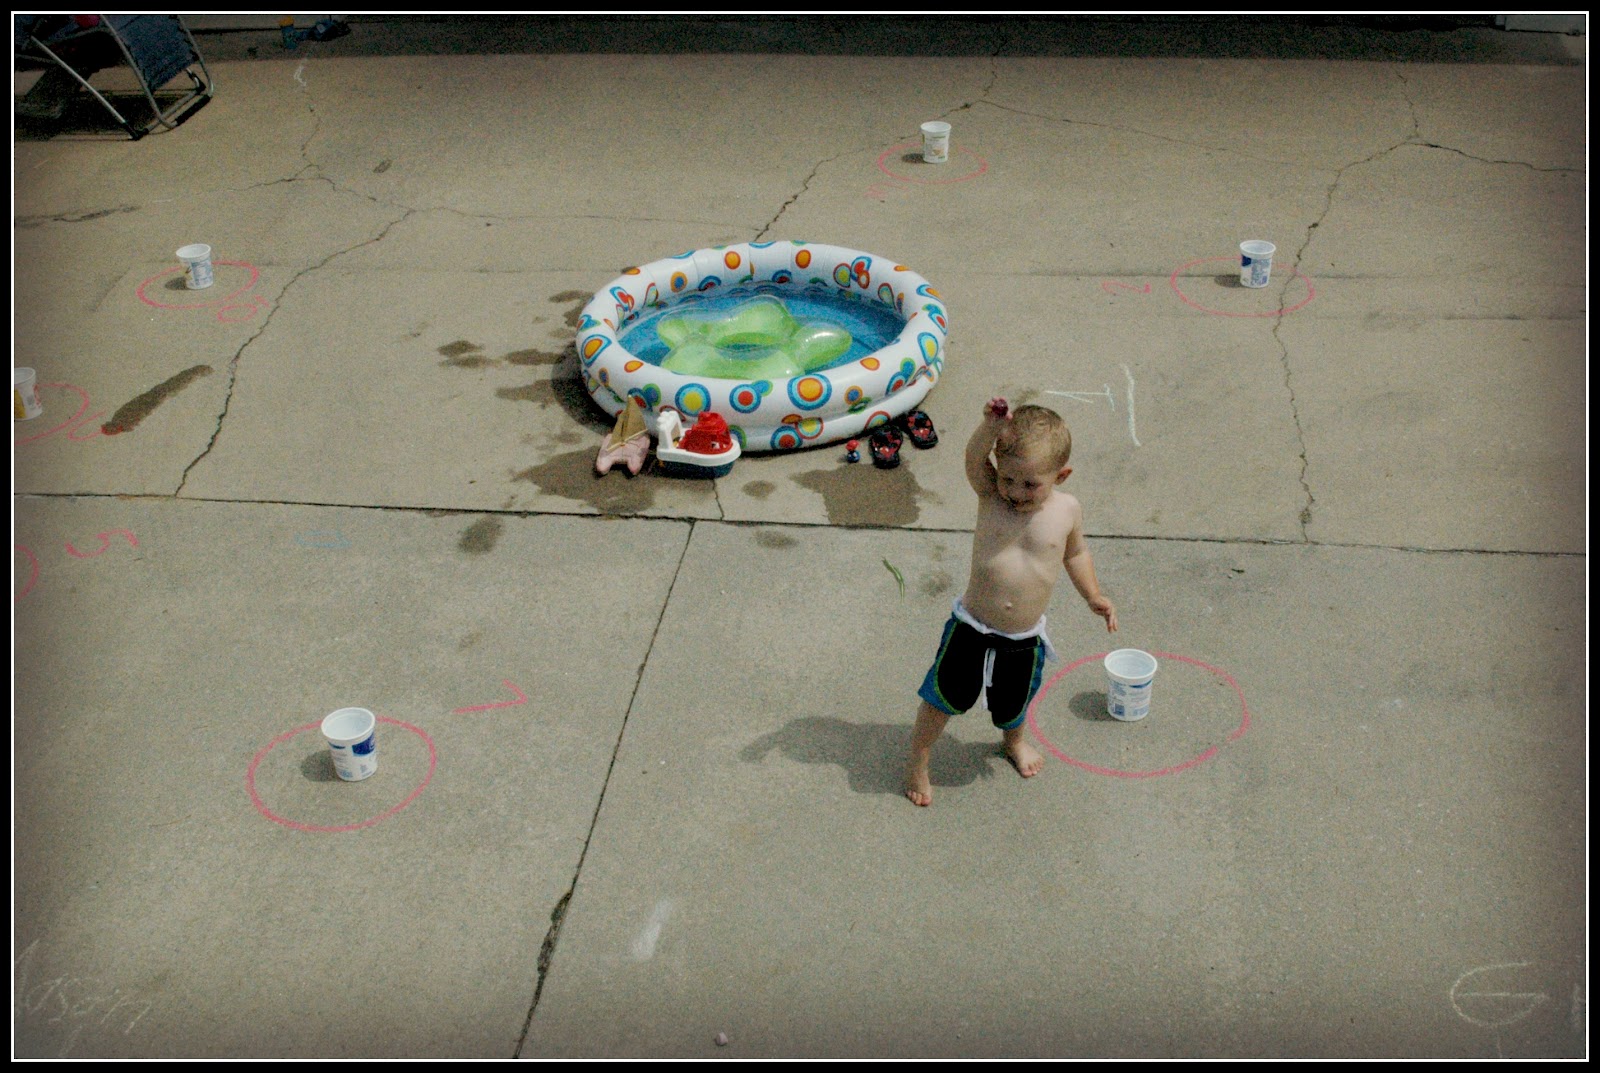
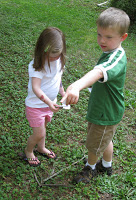
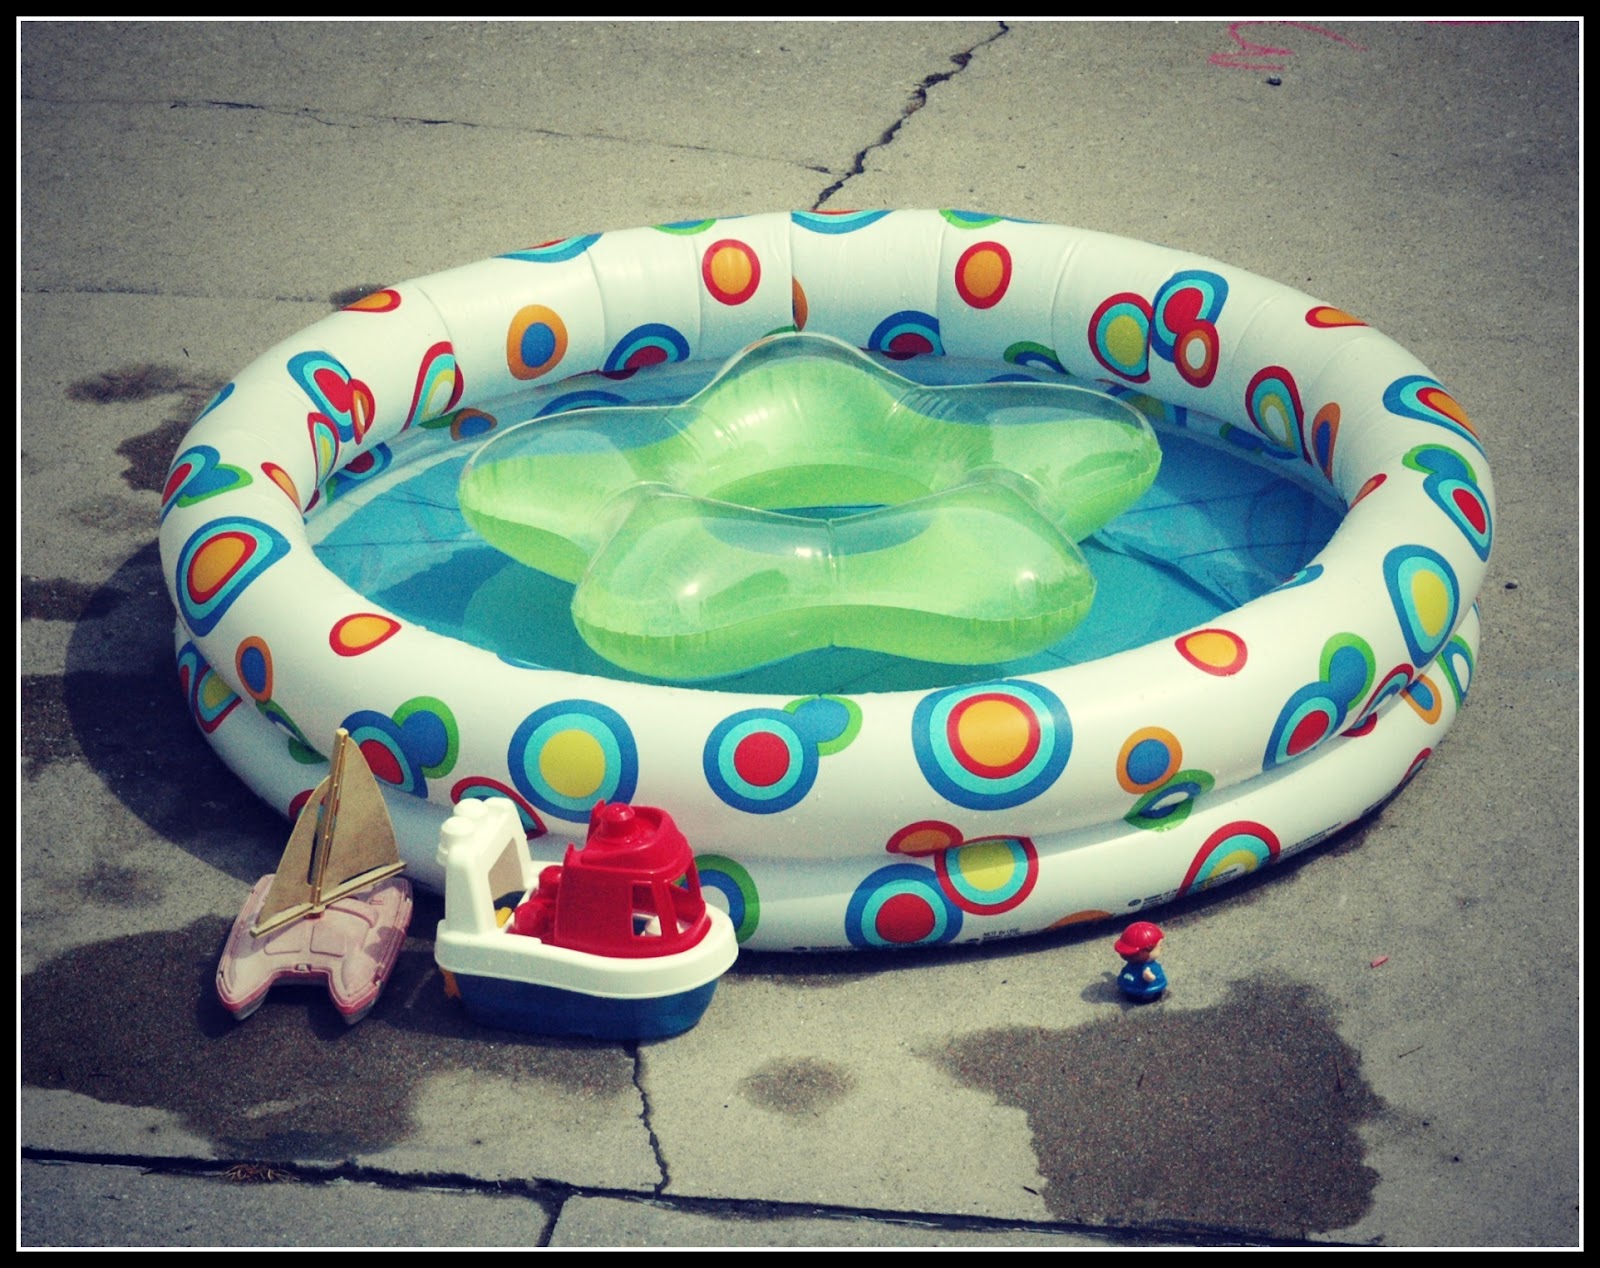
My boys have been on a ball kick lately and it is something that they enjoy playing together--even with their four year age gap, so that's nice.  Since we have an endless supply of bouncing balls around the house, I let them bring a few outside and bounce them around. Eventually the bouncing balls found their way into the baby pool--large target. Then we started hunting for smaller and smaller targets: buckets, totes, cans.  I finally remembered my awesome stash of yogurt containers that I had in the pantry.  I have been saving them because they are just too great to throw away (*cough hoarder *cough) and yesterday we finally put them to use.
Once we set the yogurt containers around the baby pool, we circled them with chalk and put various numbers to represent points at each spot, depending on how difficult we thought each shot would be.  Next, we drew a line for him to stand behind while throwing the bouncy balls and he drew a scoreboard for each player.  
Once the game was all set up (which was really the fun part anyway) it was time to play.  Griffin had fun bouncing the ball and attempting to steer the bounciness into the small yogurt containers.  It was a challenging game and he was very excited even if the ball simply touched the container.  Of course he also had to keep moving farther back.

Games are everywhere.  If you encourage your kids to run with their own creativity, you'll be surprised how far they go with it.  The yogurt/pool/bouncy game might not make it onto the shelves of Toys-R-Us anytime soon, but I had a great time creating something from nothing with my boys.  What is a fun game that your family created or modified lately?

Wednesday, March 21, 2012

Creativity Corner: Art in the Sky.

I have always been mesmerized by clouds.  
Before I became aware that lying on my back in prickly grass would result in dirty clothes or bugs-in-hair, I would gaze for hours up at the sky.  The cloud-object game has been around forever, but to my 5-year-old, it was a completely new phenomenon.
Our recent cloud-gazing adventure was a wonderful activity and I really enjoyed sharing it with her!
Springtime is one of the best times to hunt for clouds.  I took Maddy on the front porch so we would be slightly shielded from the sun, but we also had a great view of the open sky.  This activity would also make a great field trip--literally, to a field! Or a park. At any rate, we headed to the front steps armed with several sheets of blue construction paper, a few white crayons and white pencils, and our best seeing eyes.
At first we simply sat on the porch and talked about what we saw.  The sky was so blue and the clouds were perfectly white and fluffy... it was easy to get started.  In the beginning, Maddy described the clouds without much creativity:  A bush.  A ball.  A splotch.  I tried to offer suggestions to help her use her imagination to SEE things differently and she quickly got the hang of it.  Once she figured out how to play, she couldn't get her pencil to paper quickly enough, and she was loving it! 
This activity was so interactive.  We talked about how the clouds change so quickly and why.  We also talked about our amazing Creator who makes each cloud unique and beautiful.  Why aren't all clouds the same size and shape? Why do we have clouds at all?  It was fun to see her really thinking and trying to take it all in.
**Artist Bonus**
If your child is older and interested in art, another idea would be to let them do a Contour Drawing of the clouds.  This is basically an outline of the cloud itself without filling the inside.  Another great exercise for any budding artist is Blind Contour Drawing which is a contour drawing that is done by only looking at the cloud and not looking down at the paper.  This will really work your child's fine motor skills and enhance their ability to process what is going on in their eyes and brain and eventually transferred onto the paper. Blind contour drawing is always a great way to practice drawing no matter what the object! 

Have fun with this--I enjoyed listening to all 3 kids pointing out cloud shapes all the way home from school today.  Look up at the sky, you won't be disappointed!

God writes the Gospel not in the Bible alone, but also on trees, and in the flowers and clouds and stars.
~Martin Luther 

Monday, February 27, 2012

Making Muddy Moments: Best. Day. Ever.

What are little boys made of?
Slugs and snails
And puppy-dogs' tails,
That's what little boys are made of.

I was reminded again of the truths in this old nursery rhyme yesterday as my boys played in the dirt with their daddy for almost 5 hours yesterday afternoon.  They worked in the garden with shovels, rakes, and wheel-barrows.  They demanded drink breaks amidst their labors and complained of back aches and sore arms.  When I looked out the window I saw them trailing behind their daddy in a line of male adventure that finally culminated in a crackling bon fire as the sun went down.


While I scrubbed--yes scrubbed, the dirt from the boys hands and nails before supper last night, Griffin looked up and said, "Mommy, this was probably my best day ever."

There is something so rewarding and necessary about my boys spending a day in the shadow of their daddy, walking to and fro across the yard and getting really, really dirty in the process.  I love the fact that they could barely keep their eyes open because they were so exhausted from working all day.  I love spending time with my boys, but yesterday was a great reminder that sometimes it's important to let them bond with Daddy, which often involves lots of muddy, dirty work.  I love my guys and am thankful for them!


Monday, July 11, 2011

Coffee Can Stilts. Or Tuna for Beginners.


This scene totally speaks childhood memories to me. My dad made us kids tin can stilts and wooden stilts, and we had a pogo stick...all of which made for hours of fun on warm summer evenings.


These stilts were super quick to make. I actually found a couple of old coffee cans in our basement...not quite the same size, but close enough. A good coat of spray paint quickly covered the dingy, slightly rusty cans. For my preschoolers, tuna cans seemed like a more manageable size.


Any wider can will work...try pineapple juice or large tomato sauce cans that can be emptied without cutting the bottom off. Just punch a hole in each side near one end with a metal pointy can opener or a drill. Then empty the juice, rinse out the cans really well, and paint them if desired. Rope handles should loop through the holes and knot inside the can, and should be cut long enough so your child is holding them about waist level.


The only thing I bought was the poly cord from Lowe's--it's smooth and a good thickness for little hands to hold onto. It was $3.


We had fun trying the different size stilts and seeing how fast we could walk. My kids want to make another tuna can set so they can race.


Ahhh...walking tall on tin cans...it was stilt fun after all these years!


Wednesday, June 1, 2011

Leave a Trail.


A favorite summer game at my house as a kid was following a Trail of clues that my Mom had set up in our farmyard. It always led to a reward of some kind at the end...a little treat hidden up in a tree or a snack all ready in the house for hungry trail-hunters.

I set up a trail for my kids to follow, and they loved the challenge of finding the camouflaged clues...they had to look carefully to notice the rocks, sticks, and other signs that marked their Trail. I placed small stones in the shape of an arrow, then hid a paper clue under one stone with the words “10 steps” under it. Following the direction of the arrow 10 steps brought them near a tree where there was another paper clue hidden under a rock. It said “Look Up.” Tucked up in a notch of the tree was another clue with a picture of our Mailbox...and so on.

Because my kids are young and my oldest is just starting to read, I used easy directions on my clues... some simply had a picture of a landmark in our yard. For older children, you could write riddles or nursery rhymes that they must decipher: Mary, Mary, quite contrary, how does your GARDEN grow? and Humpty Dumpty sat on a WALL.


Or choose a favorite book and make up clues to go along: Alice in Wonderland could prompt a trail to A Looking Glass (a car side mirror), a Cheshire Cat (pet cat with clue on collar), Croquet (ball or wicket in yard), Mad Hatter (hang a hat in branch of a tree), etc.


Some ways to hide clues:


~pierce a paper clue on the end of a stick that's pushed into the ground
~hide clue under a pile of pinecones or leaves
~bury a clue under the dirt a little (protected in a plastic bag) and mark the spot with a rock or brick
~arrange pinecones or rocks in shape of a number, letter, or object
~make a series of shapes out of various objects (leaves, dandelions, sticks) that can each be seen from the previous clue.
Never mind the muggy day...my kids were enthralled and raced around the yard in pursuit of the next clue.


The treasure at the end was fun, but I think they liked the thrill of the hunt even more than the prize!


Tuesday, May 10, 2011

Cardboard Cornhole

I am a big fan of cardboard boxes.
I keep a little stash in the basement. I have my favorite haunts for finding them. Ever hap to drive behind a pet supply store or bookstore or outdoor furniture showroom? They usually have a huge dumpster labeled Cardboard Only. Score! Yes, I actually have scavenged by hanging over the side with my feet kicking up behind me. I consider it Active Recycling...it's my way of Living Green. And, as any seasoned parent knows, boxes are an endless source of entertainment for children!To give our little familia a good excuse to stay out and enjoy these spring evenings, and because I had some boxes looking for a new life, I decided to make a little cornhole-esque game. We do not own a fancy cornhole set made of wood and bright cornbags. So whipping up a little homemade version great for inside or outside play sounded like a happy project for me and my crew.

Materials needed:

  • 2 cardboard boxes similar in size...ours were approx. 14 in. wide x 20 in. long x 14 in. tall
  • boxcutters or a pair of scissors to cut cardboard
  • packaging tape and pen
  • paper plate or small dinner plate (for a template)
  • 8 pairs of socks (beanbags are ideal if you have them...socks are a fine substitute) Fold each pair up into a ball. They do not have to match—THIS is the day for which you've been holding onto all those mate-less socks!
  • acrylic craft paints, spray paint, or markers if you want to get all fancy


Assemble your boxes and tape down all the flaps. It is absolutely not necessary to paint the boxes, but if you do you will feel very crafty and the game will look even more “official.” Spray paint is fast and easy. Set up a spray booth outside (technical name for throwing down some newspapers or larger piece of cardboard, set your boxes on top and spray them.) They'll dry pretty quickly.


Now turn each box on its side and trace around the plate close to one end (the side will work better than trying to cut through flaps and paint over tape). This is a bigger circle than regulation cornhole, to accommodate our preschool players. Cut out the circles with the boxcutters or scissors. Whew. Dangerous work over.


To add an artsy outlet for the kids, I had them each decorate a box. Using craft paint I had on hand, I squeezed several colors onto a paper plate, gave out brushes, and let them go crazy.

One box had a lot of markings, so I had spray painted it white. But my daughter completely covered it with her painting, making my pains unnecessary. I underestimated how much fun they would have on this step—they spent close to 90 happily-occupied minutes unleashing creative energy!


Let paint dry. Rinse off kids. Ready for the second wave of fun! Set the boxes about 6-15 feet apart, depending on children's age and ability. Divide into 2 teams. Teammates should stand at opposite boxes. Give the one or two players on one side 4 pairs of socks each, and have them take turns tossing to get the socks in the hole of the opposite box.


Keep track of points with official Cornhole rules
here or just give a point for any socks that land in the hole. Then their teammates on the other end will take their turn tossing socks back.

Oh, the hours of fun about to ensue! Well, maybe we'll play later...

Right now I need to run out and replenish my box supply.


Linking to these great sites: