


Note: If you aren't into sewing, there is good news! TheMudPieMakers has opened an Etsy shop...we have custom teepees available for order! See side bar for a link.
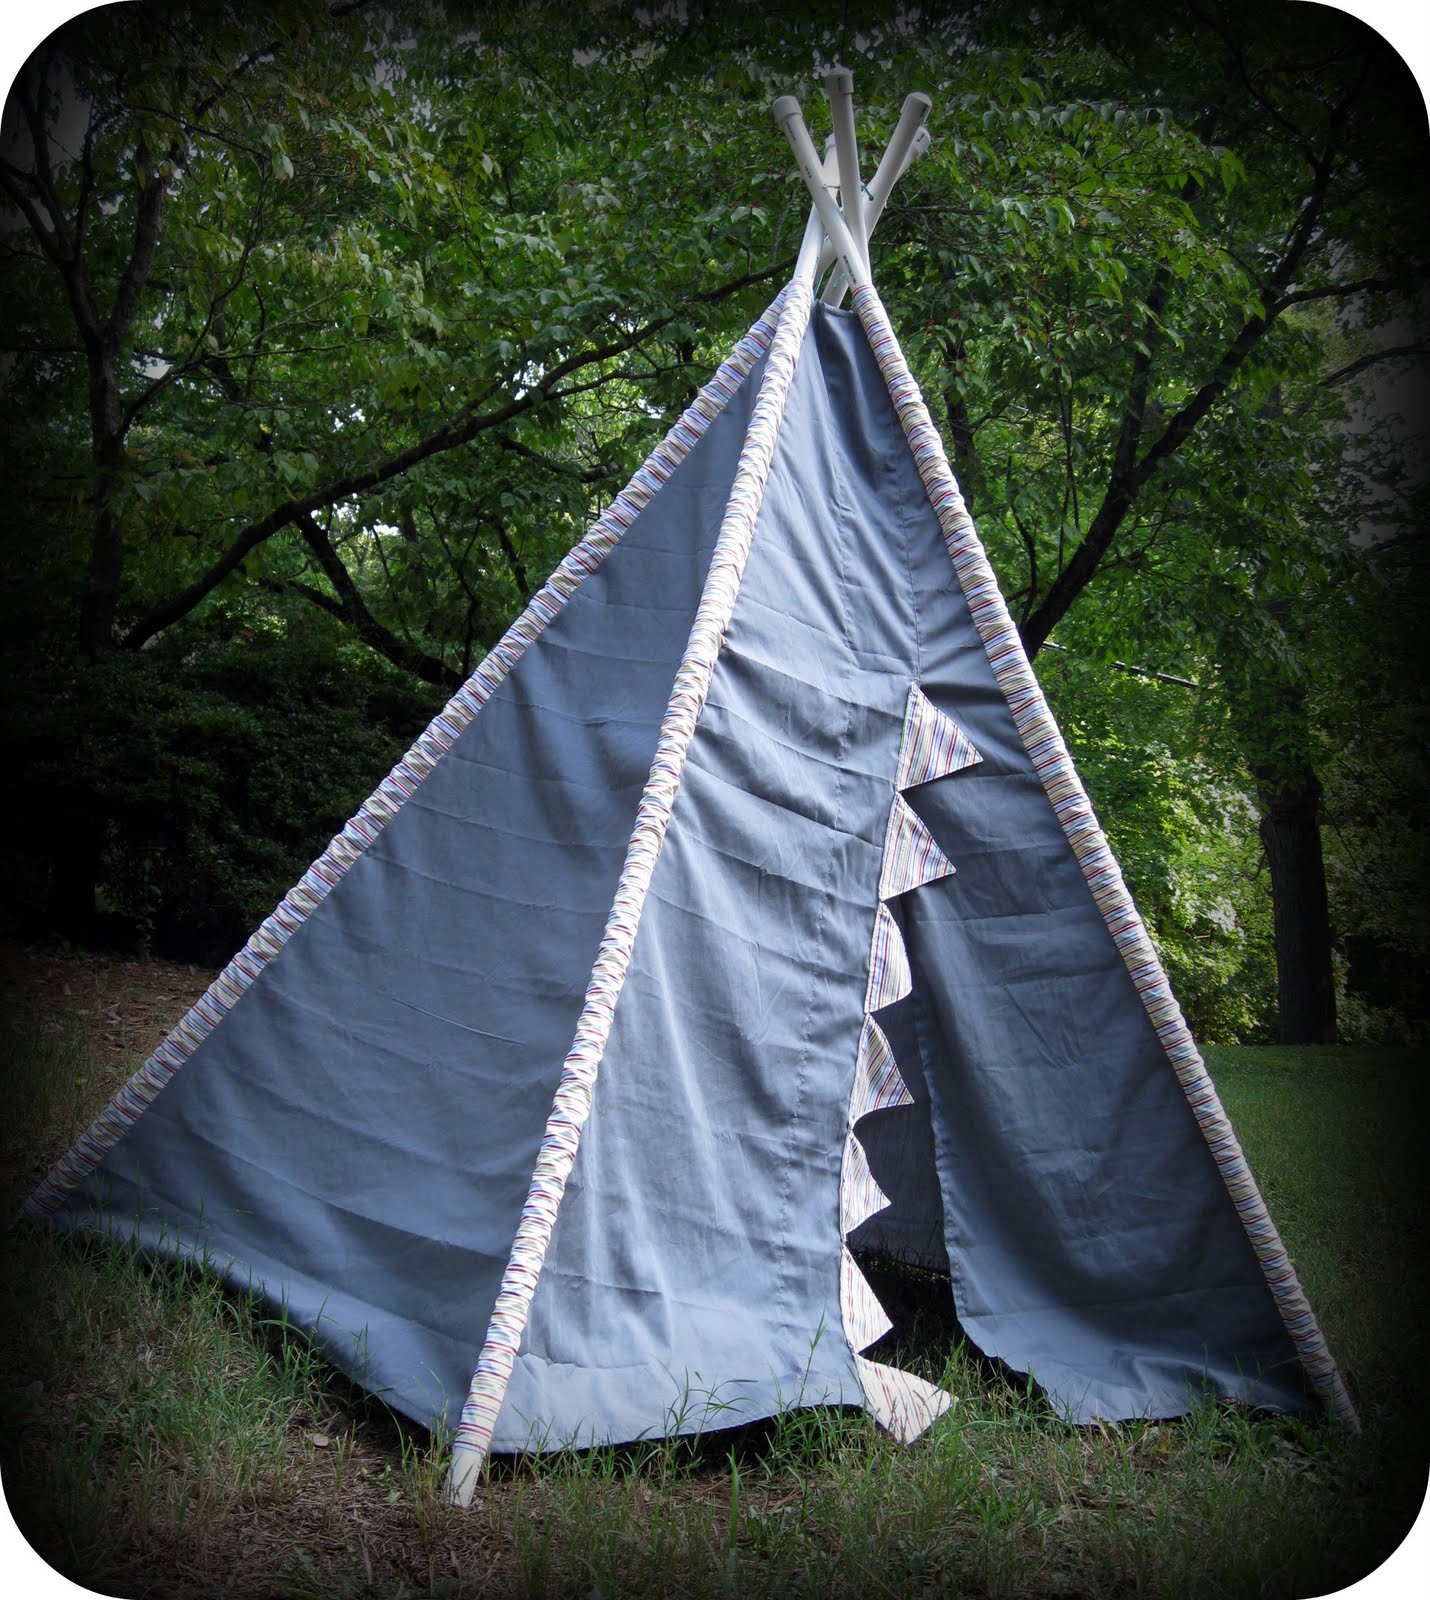
A play teepee is a super-fun hideout, reading corner, or ready-made fort for pretend play! And I promise it's not hard to make. If you have a sewing machine and can sew a basic straight line...and you can find a free afternoon...you can make this! It will take 3-4 hours. It is fairly inexpensive as well...actually, it could be pretty much free if you repurpose a used twin sheet and are lucky enough to have bamboo growing in your yard.
I had neither of those, so my cost was $20, which included 2 sheets from Walmart ($5 each) and PVC pipes from Home Depot ($10).
Gather Materials:
- 1 flat solid color twin sheet
- 1 patterned twin sheet or 2 yards of any 45”w cotton fabric for contrast banner and pole pockets
- matching thread
- 37” length of single fold bias tape
- 5 PVC or bamboo poles, each ¾” thick and 74 inches long
- 10 caps for the PVC pipes
- 1 shoelace or 24” length of cord or twine to tie the poles together
- a drill with a 1/4” bit
Lay the solid-color sheet on the floor and use a measuring tape and pen to mark the triangles that will be the 5 sides of the teepee.
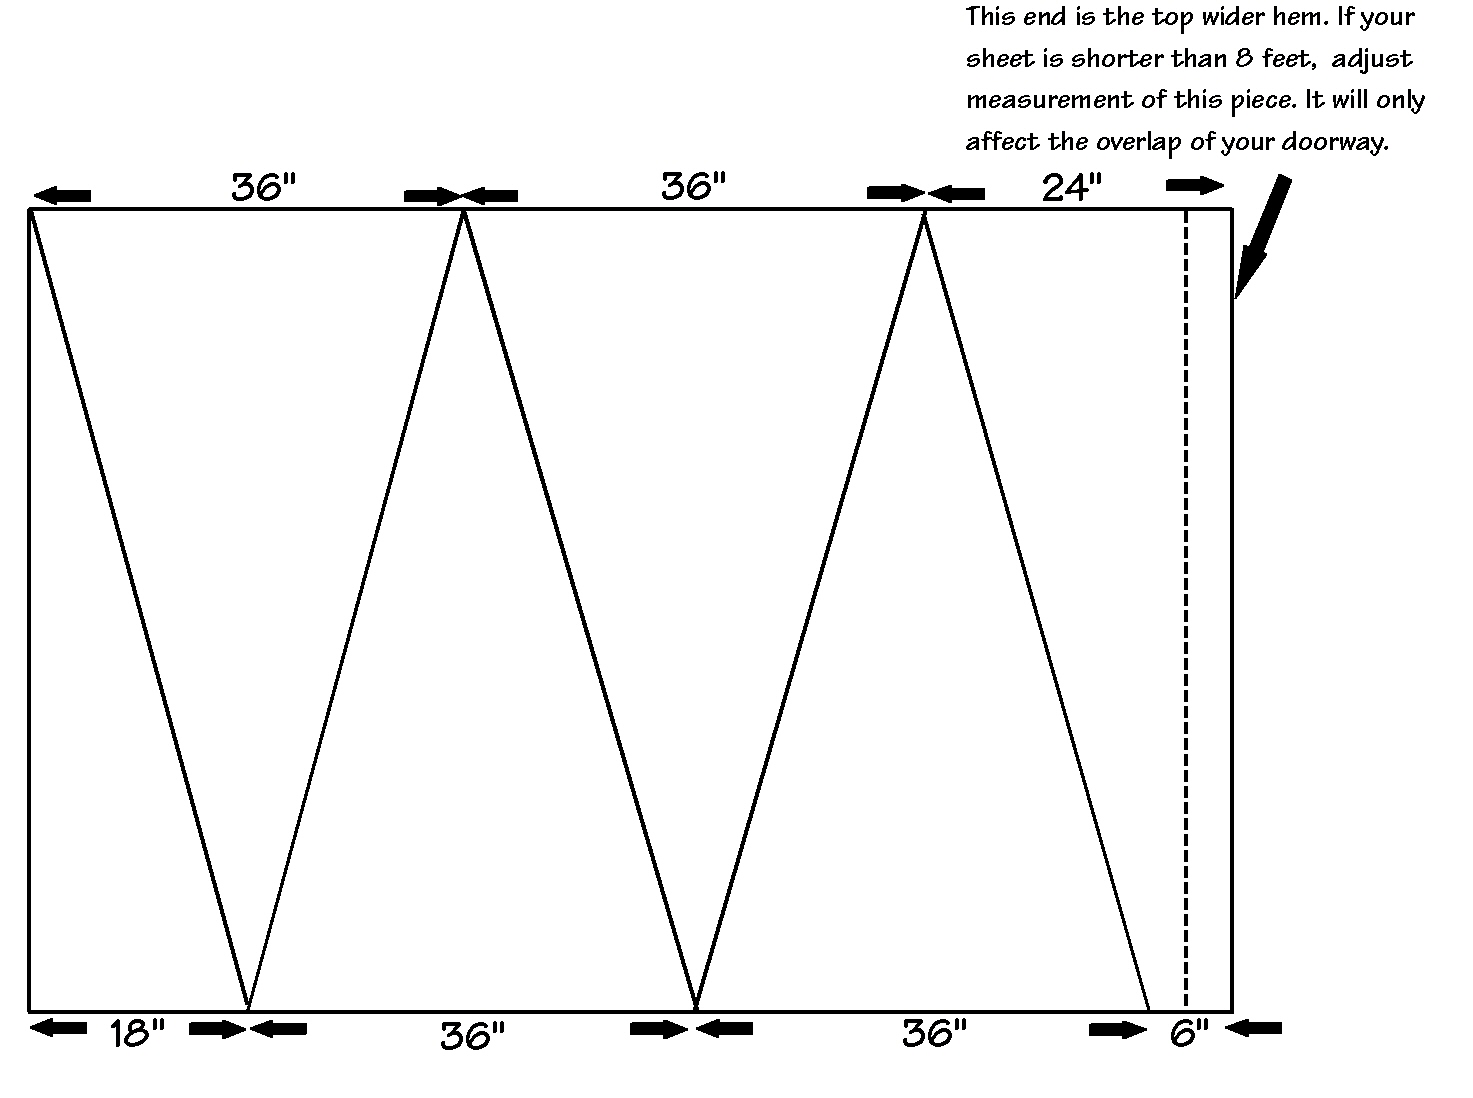
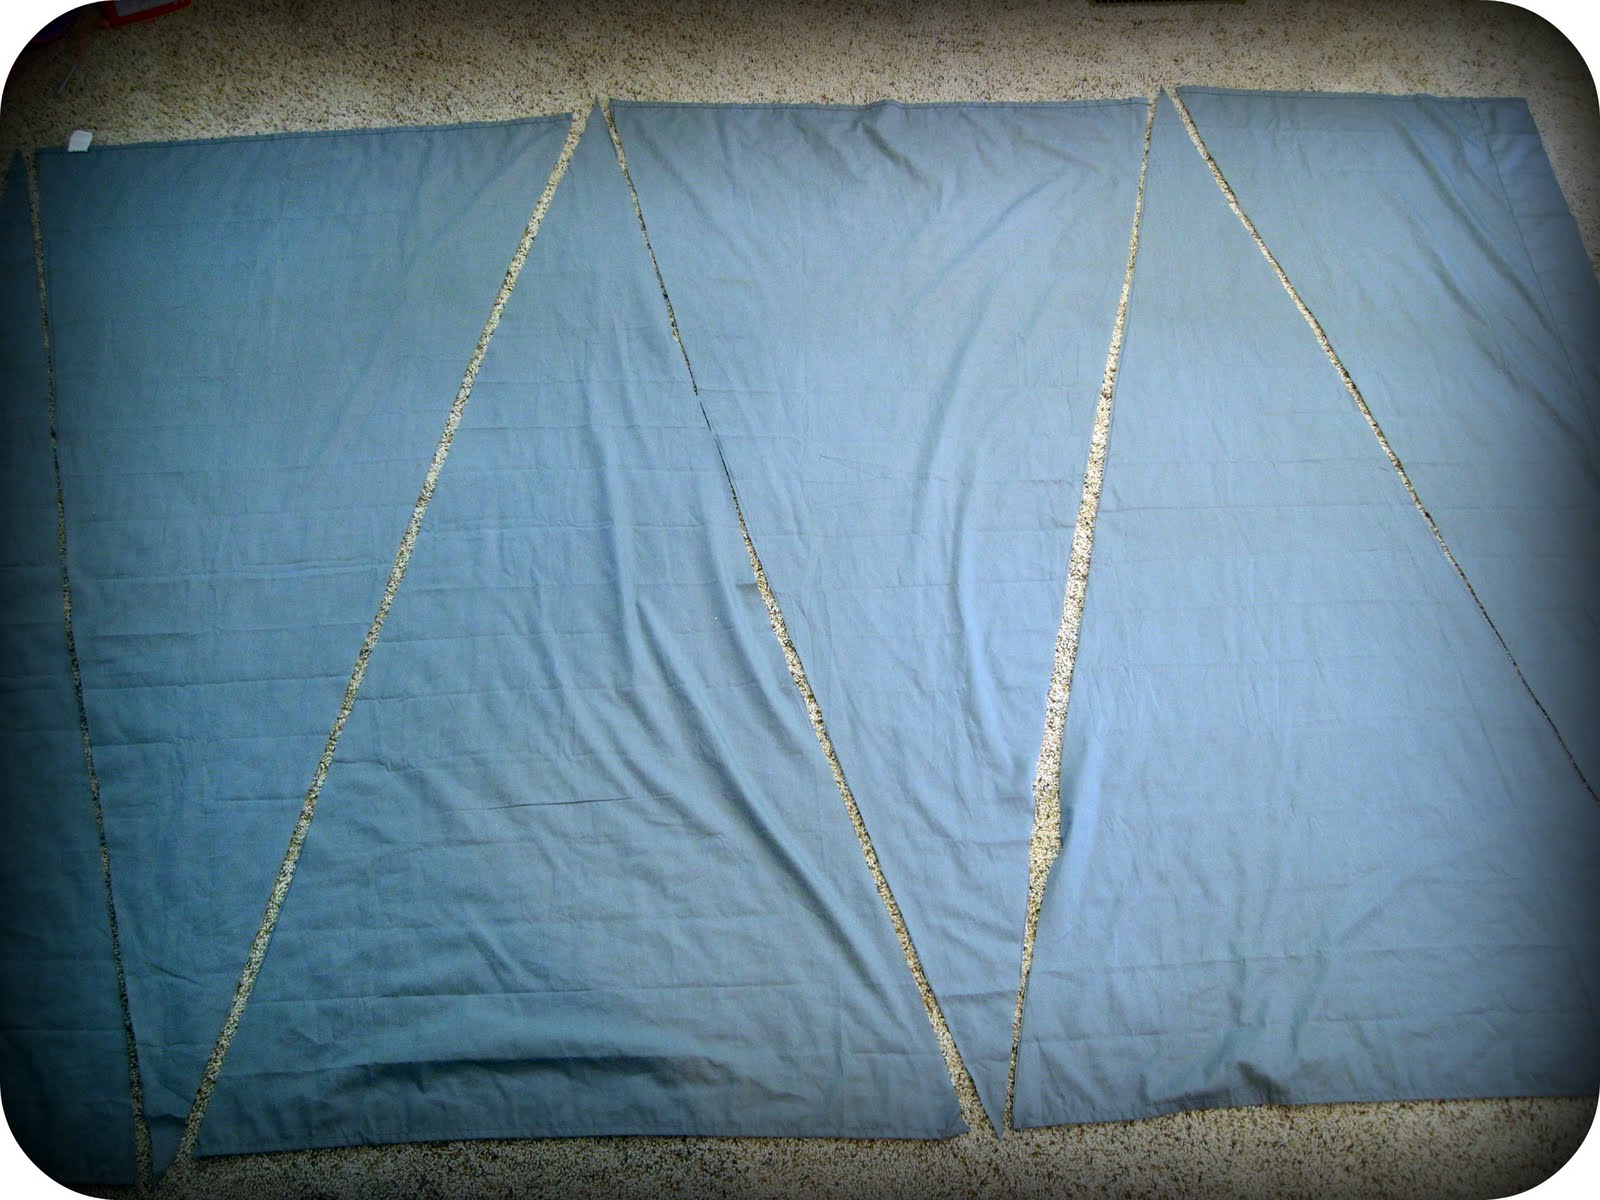
The far right triangle on the diagram, which is at the top of the sheet (where the big hem is) may vary a little in size...that's ok. It will form the door flap. Use a straight edge to draw lines between the marks. Now cut the triangles.
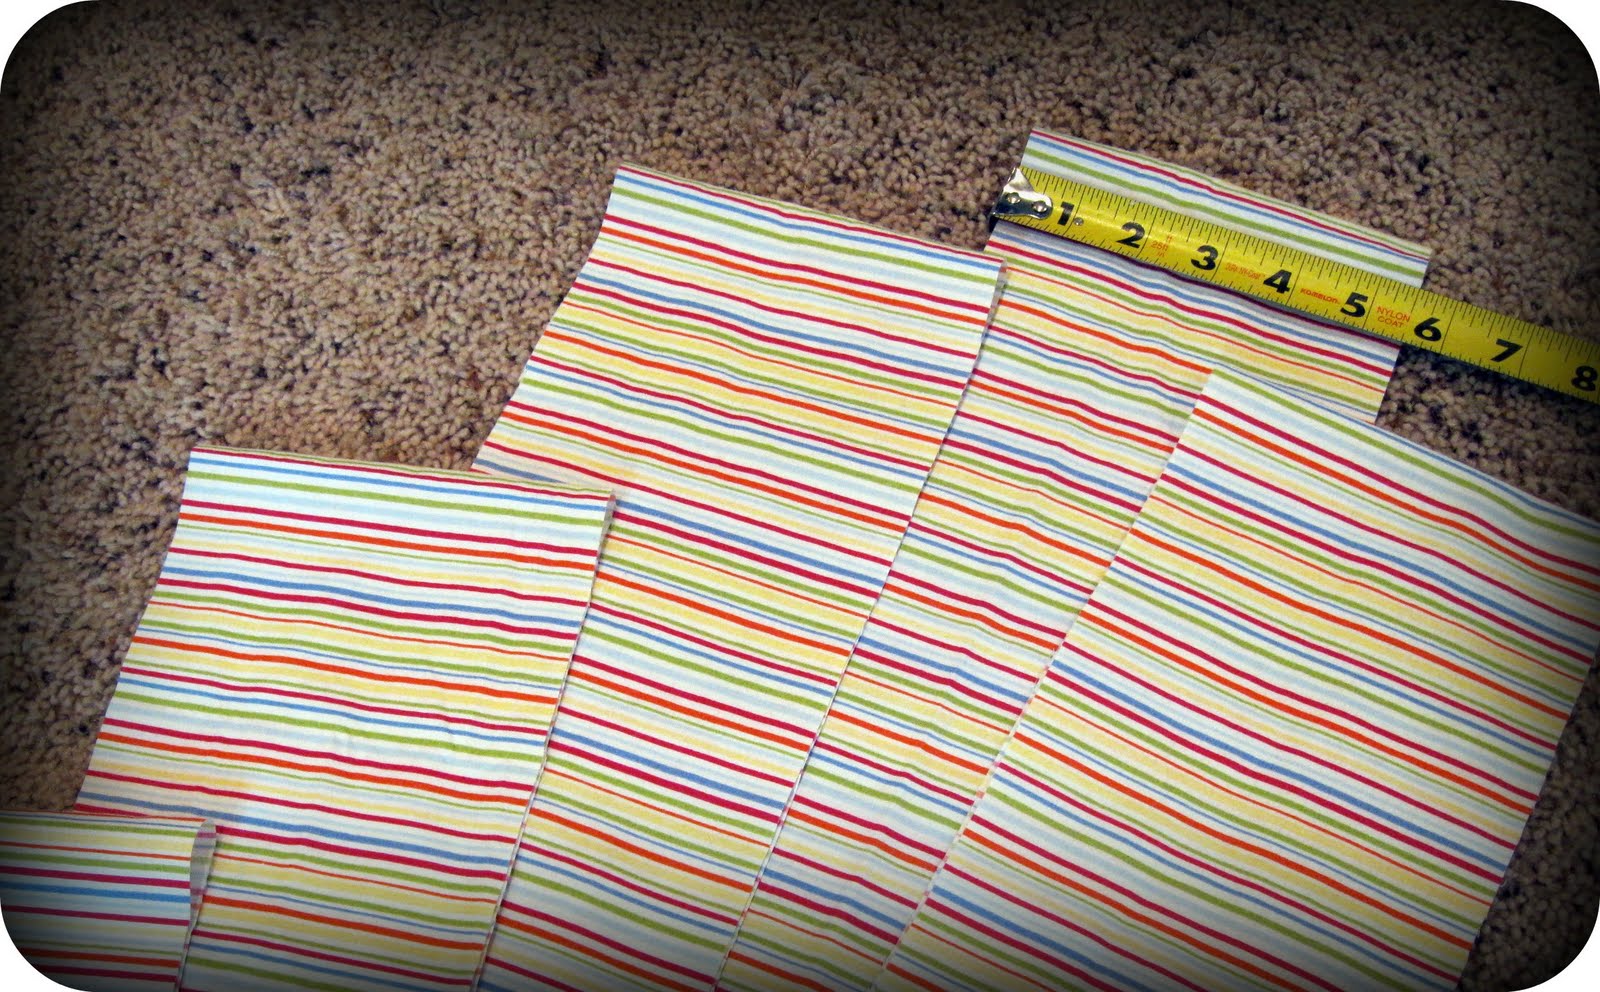
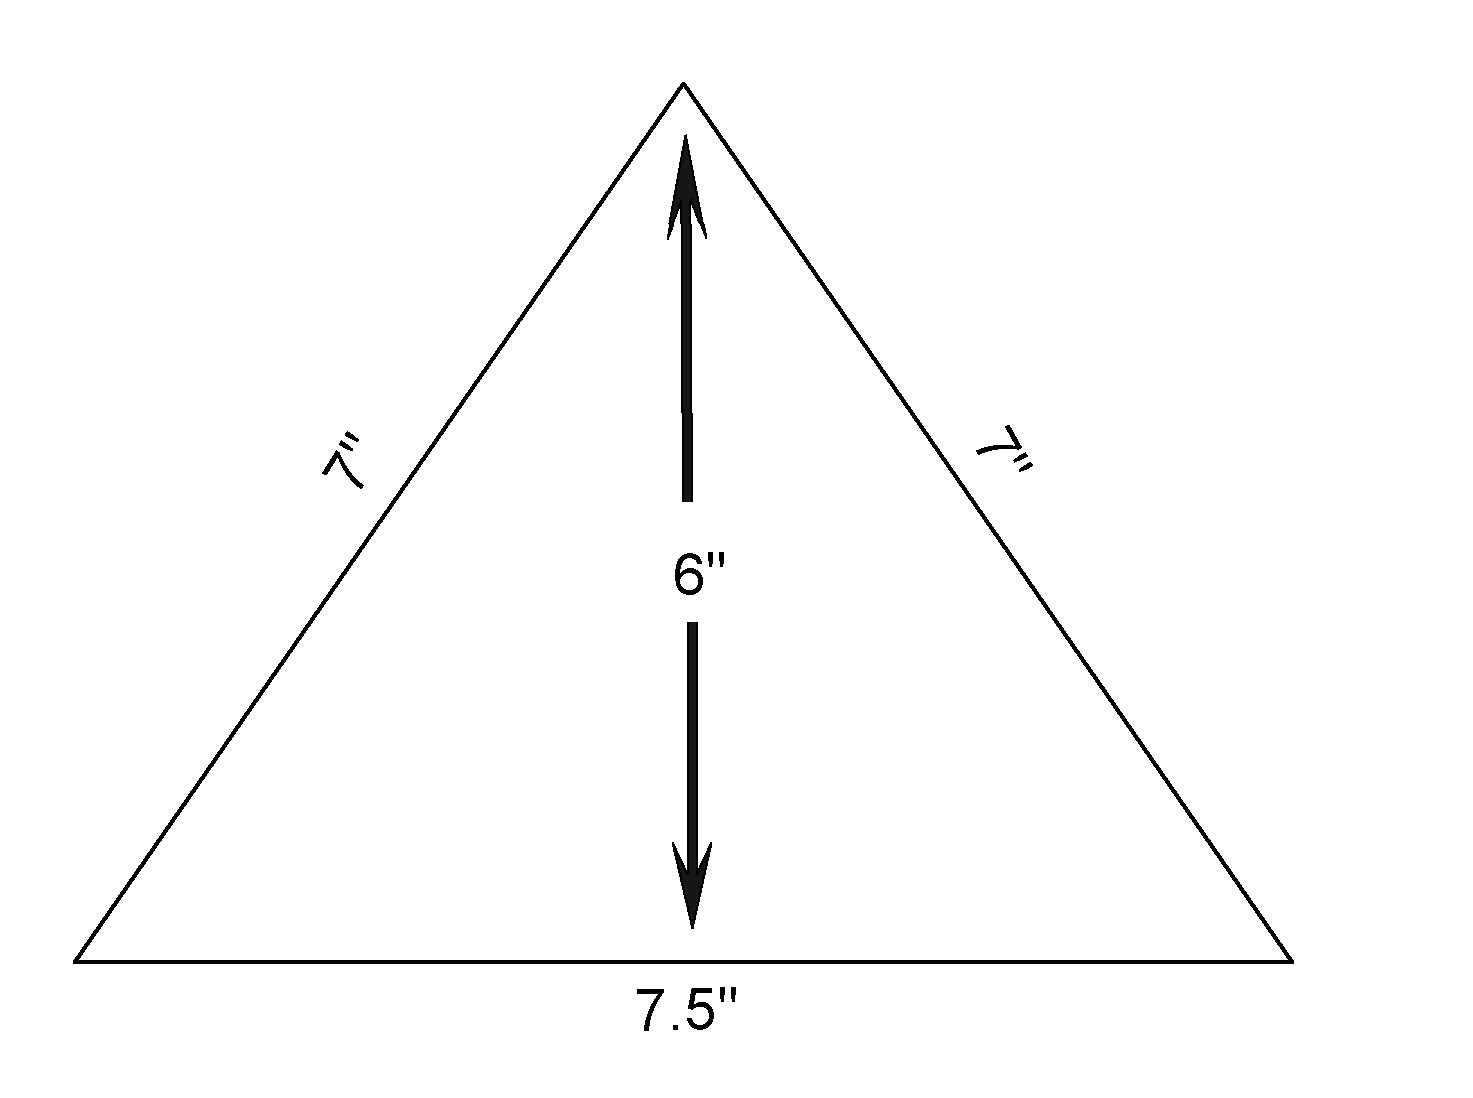
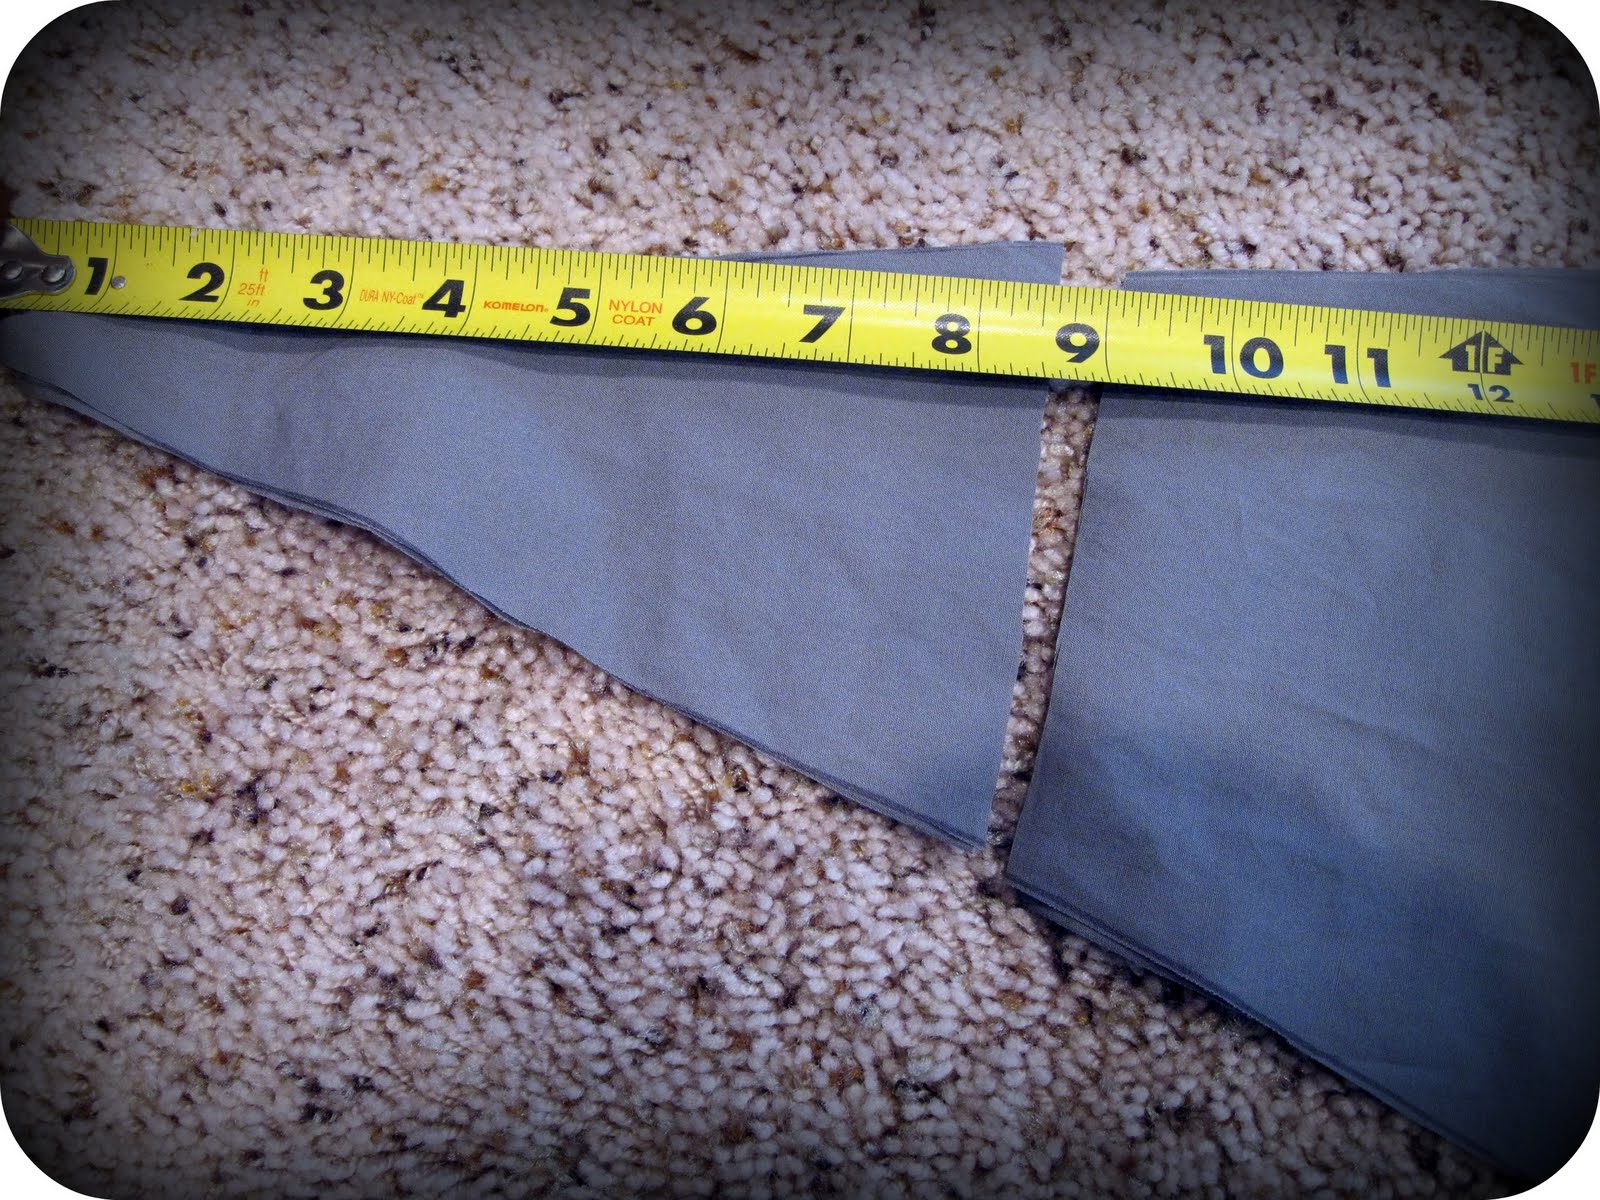
Cut a small triangle pattern piece for the banner that is 7x7x7.5" and 6" tall.

Start sewing. *All seam allowances are 5/8” unless noted.
To make the front door section, overlap the 2 smaller triangle pieces. They should overlap 3" to 6", depending on length of your sheet. You will have to turn over the piece on the right so that the wrong side is up. The back of the hem will show in front, but it's not noticeable.
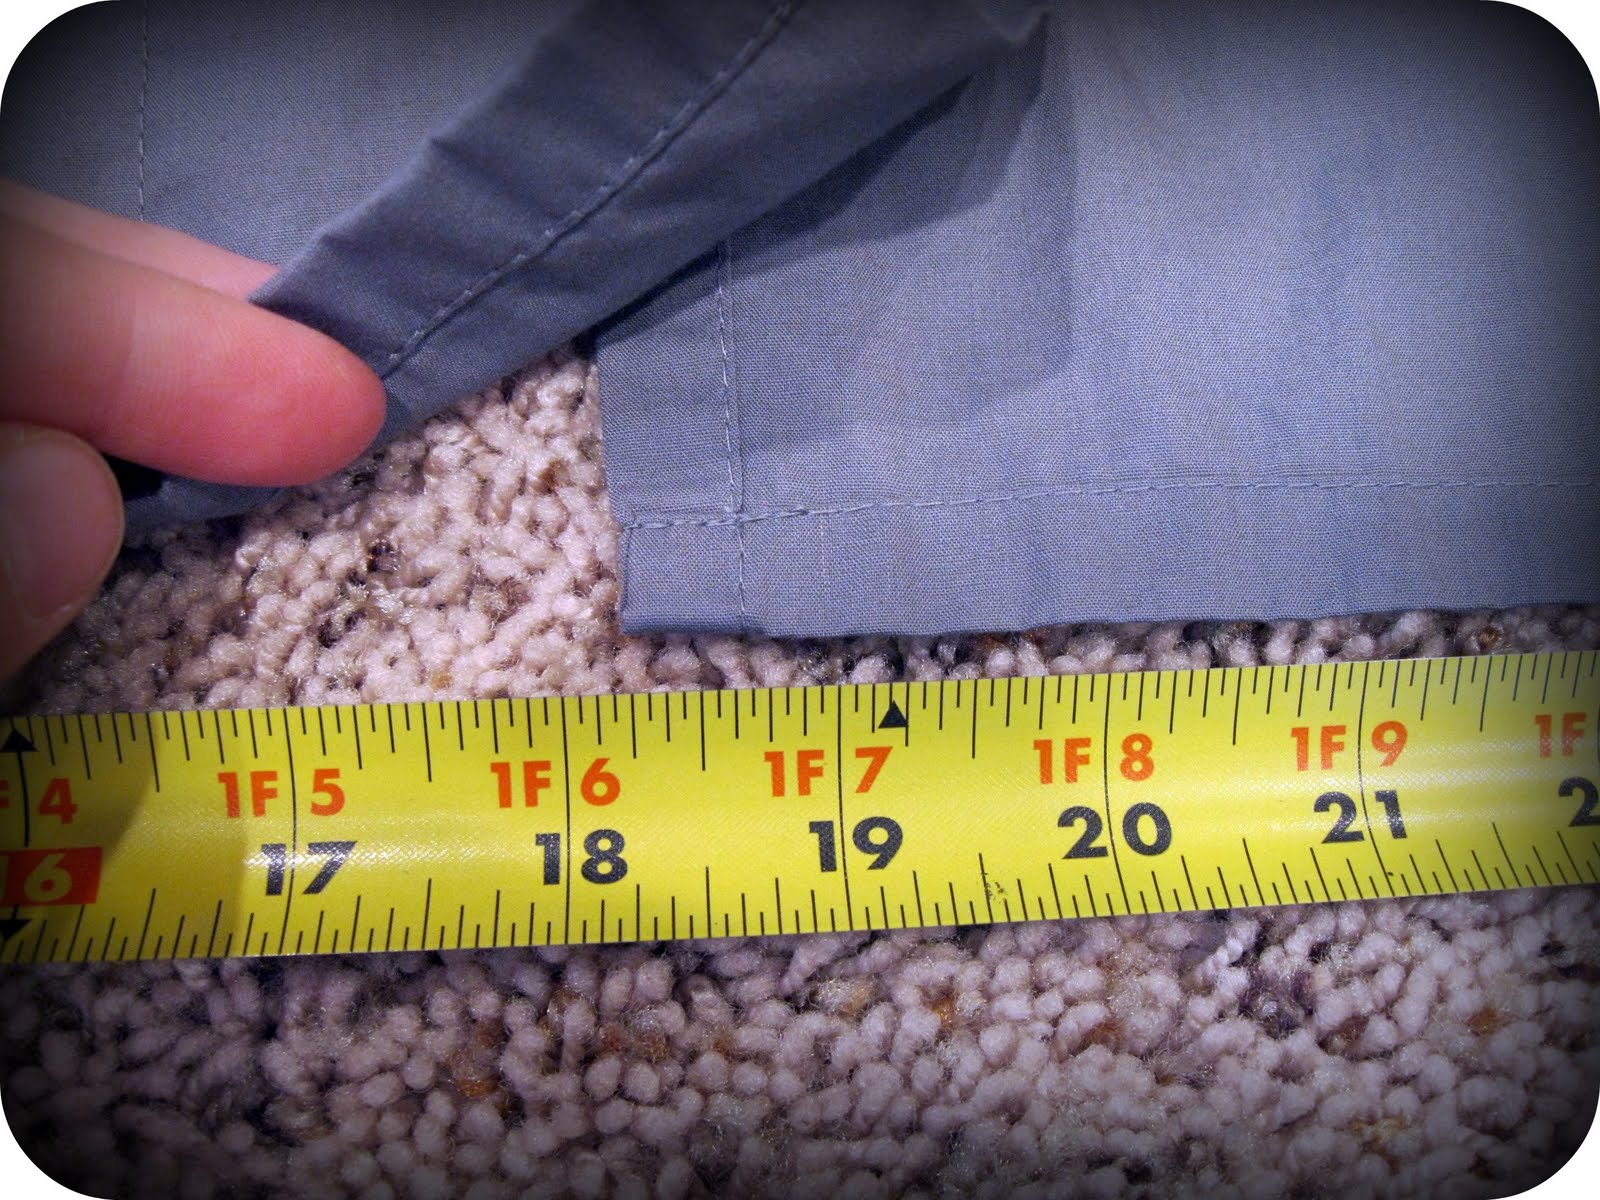
Overlap the two pieces (left wider hem piece over right piece) just enough so that together the bottom edge measures 36”. Make sure the overlap is same at top and bottom.
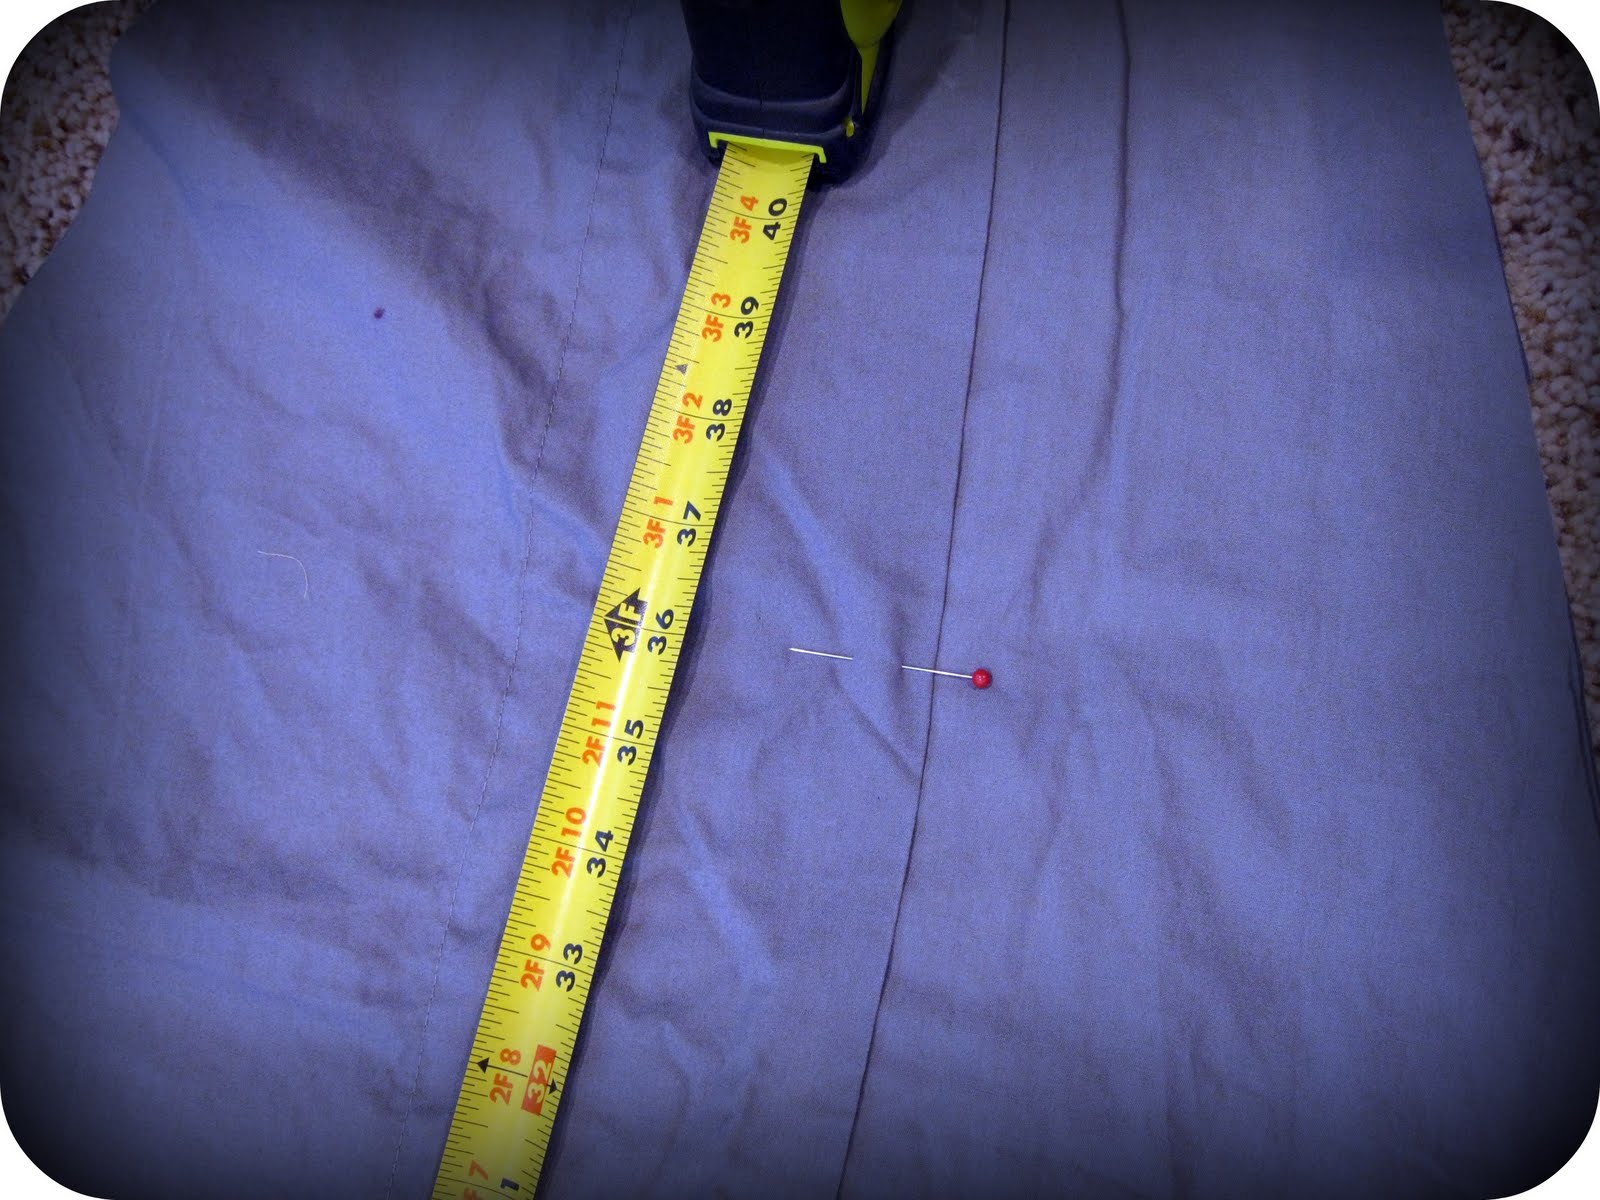
Pin together and mark a line 3 feet up from the bottom. This will be the top of the door.
The overlapped top piece can be cut to a point to match the bottom layer--up near the point. Now stitch along the upper edge and then along the overlap until the 3-ft mark.
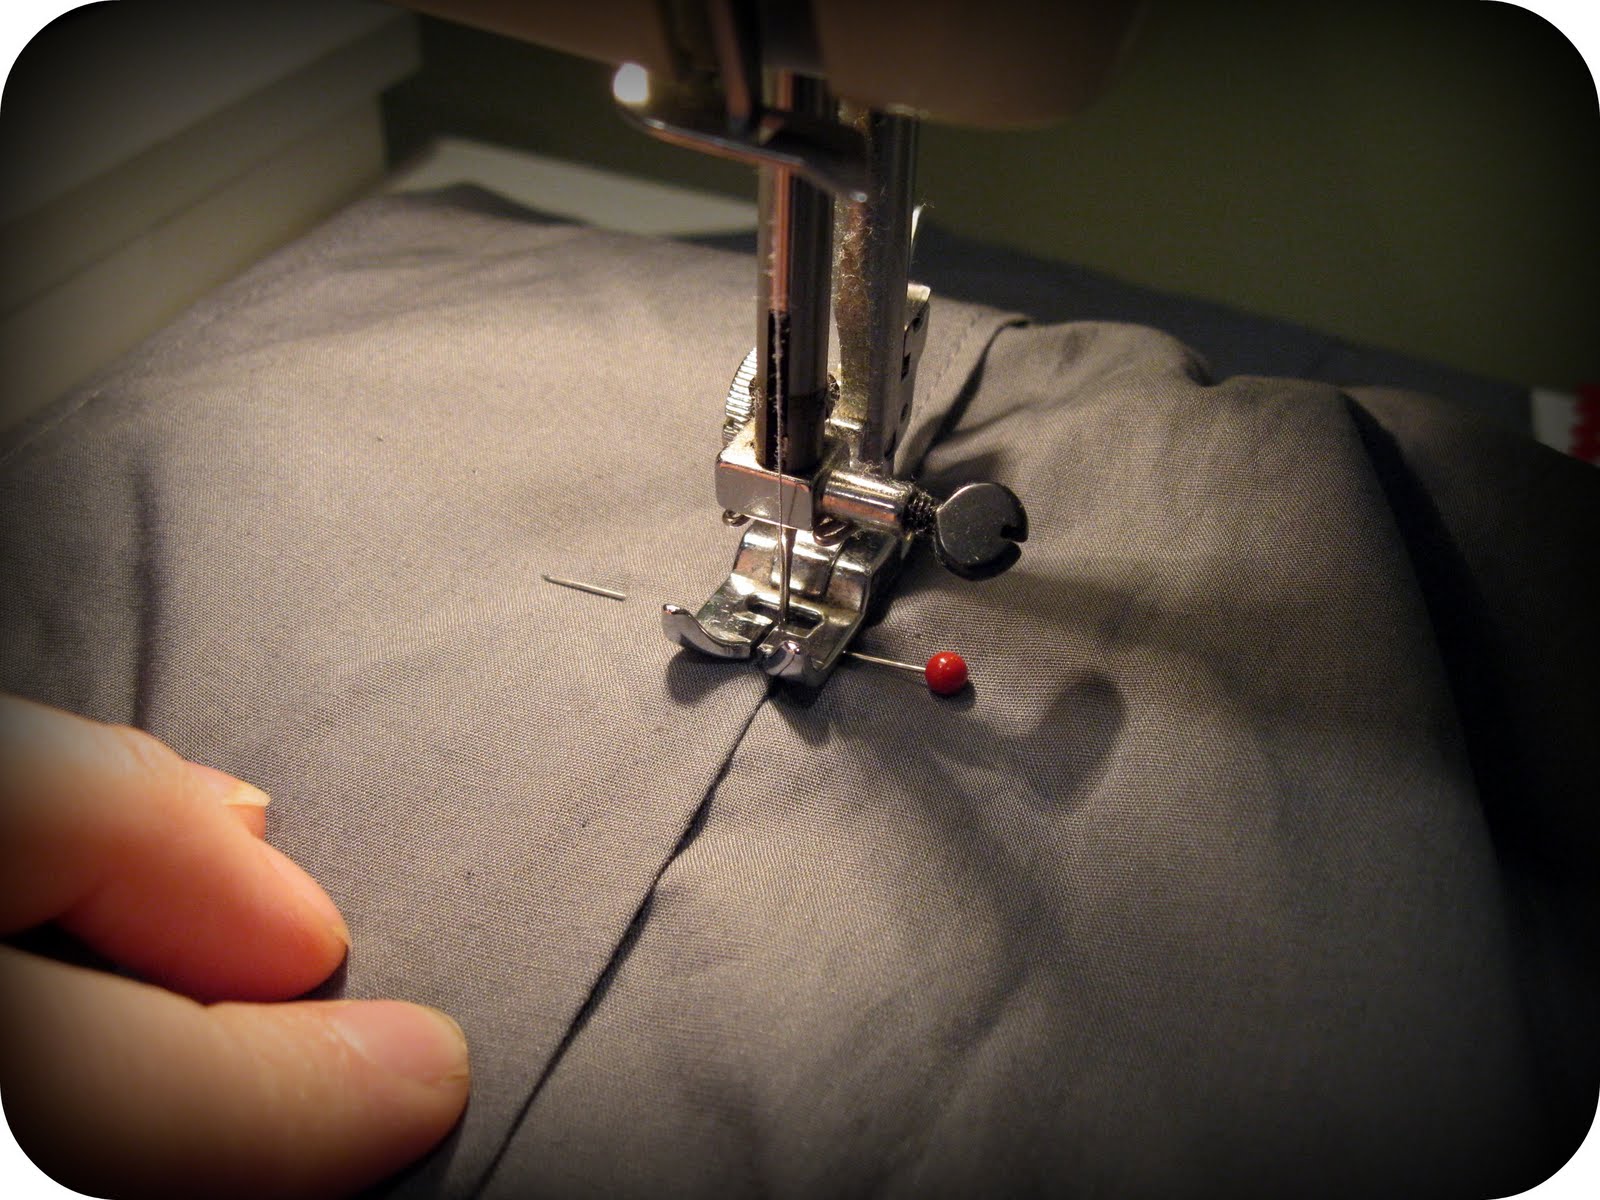
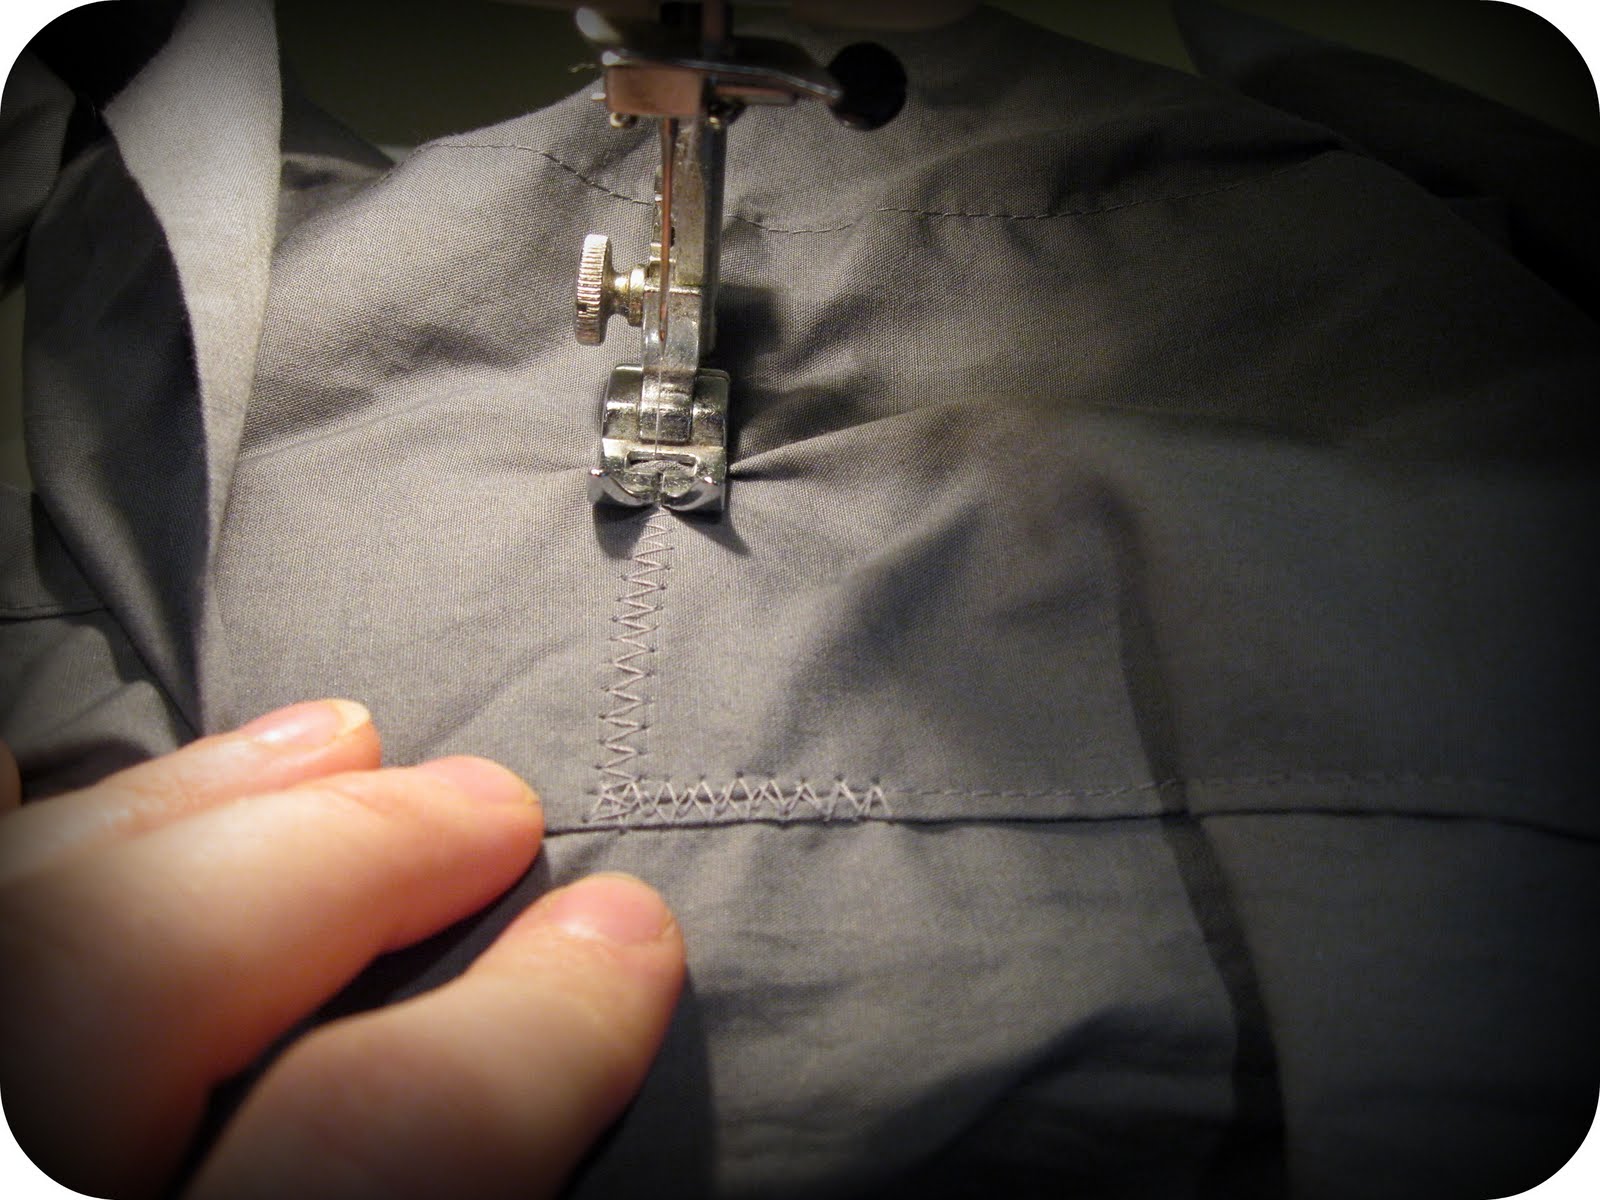
Stitch across that line to attach the two layers and make the top of the door flap. It's a good idea to zigzag stitch this seam to reinforce it...it will get pulled on when doorflaps are opened.
Hem the top edge by folding it down 1/4” then 1/4” again and stitching. The bottom edge is already hemmed for you.
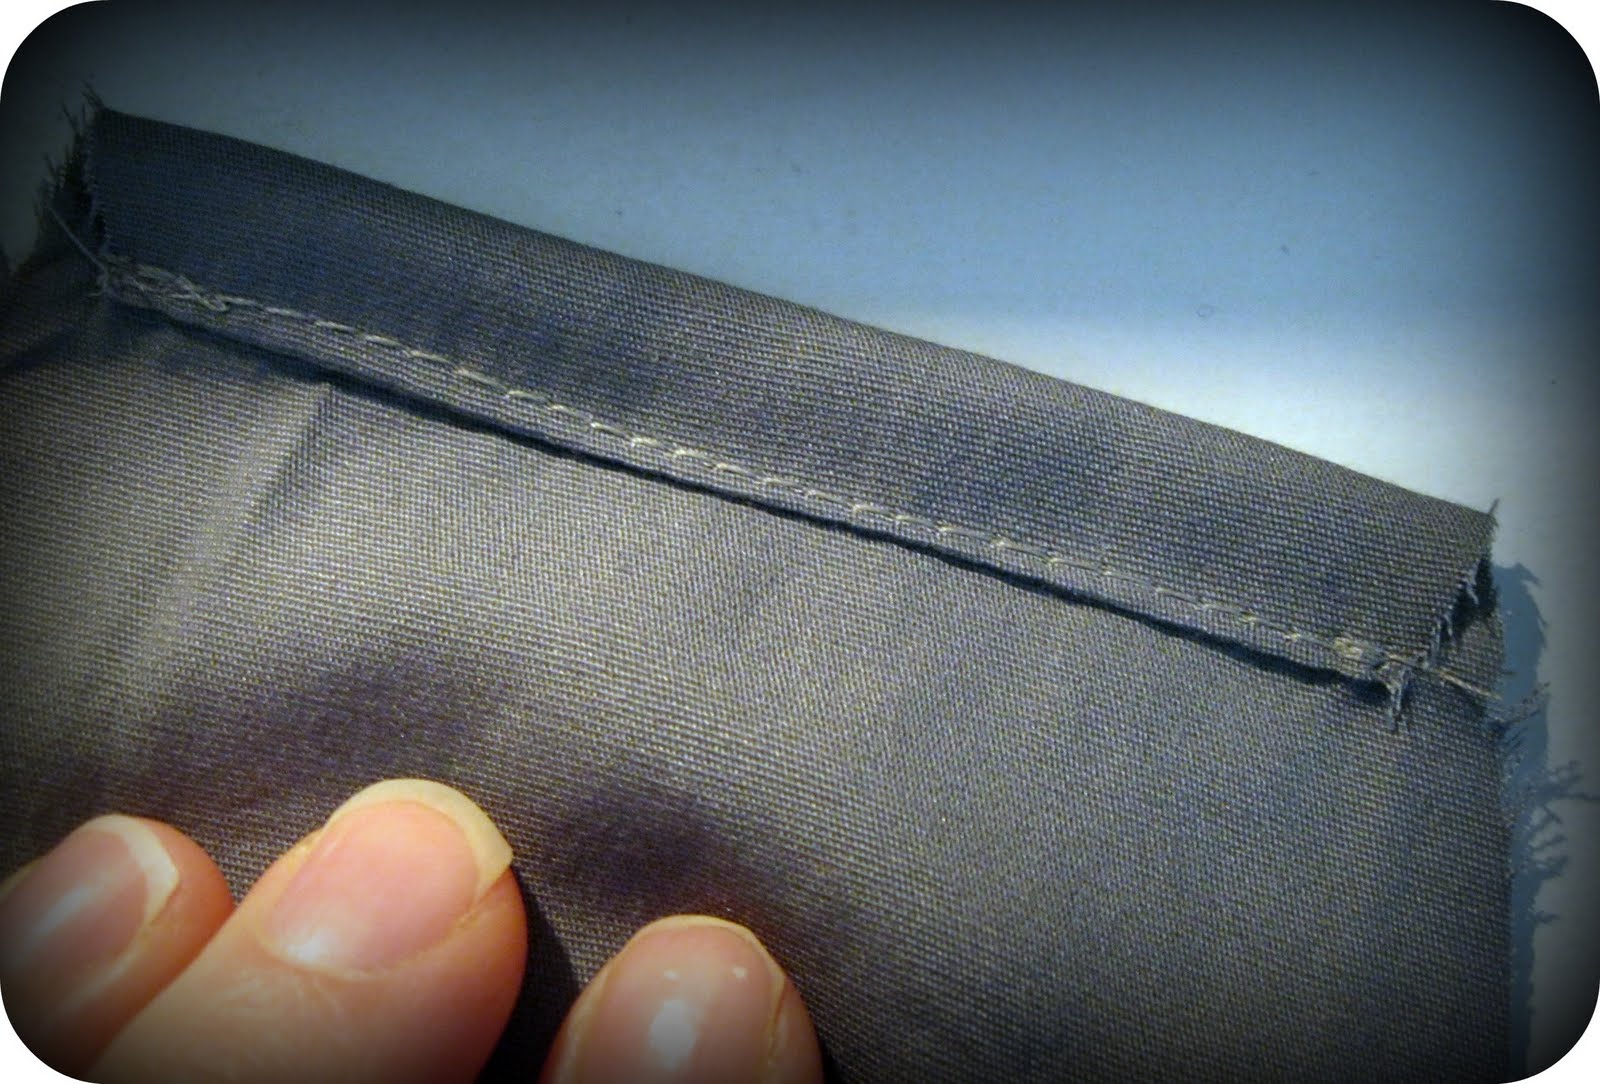
To sew the pole pockets, first hem the short ends of each, turning the end under 1/4” and then 1/4” and stitching. Do this to both ends of each strip.
Next, you will fold the pockets in half lengthwise with the WRONG sides together. Put this long strip between 2 of the teepee sides so that the RIGHT sides of the teepee pieces are on the inside, against the pole pockets. All the raw edges should be even.
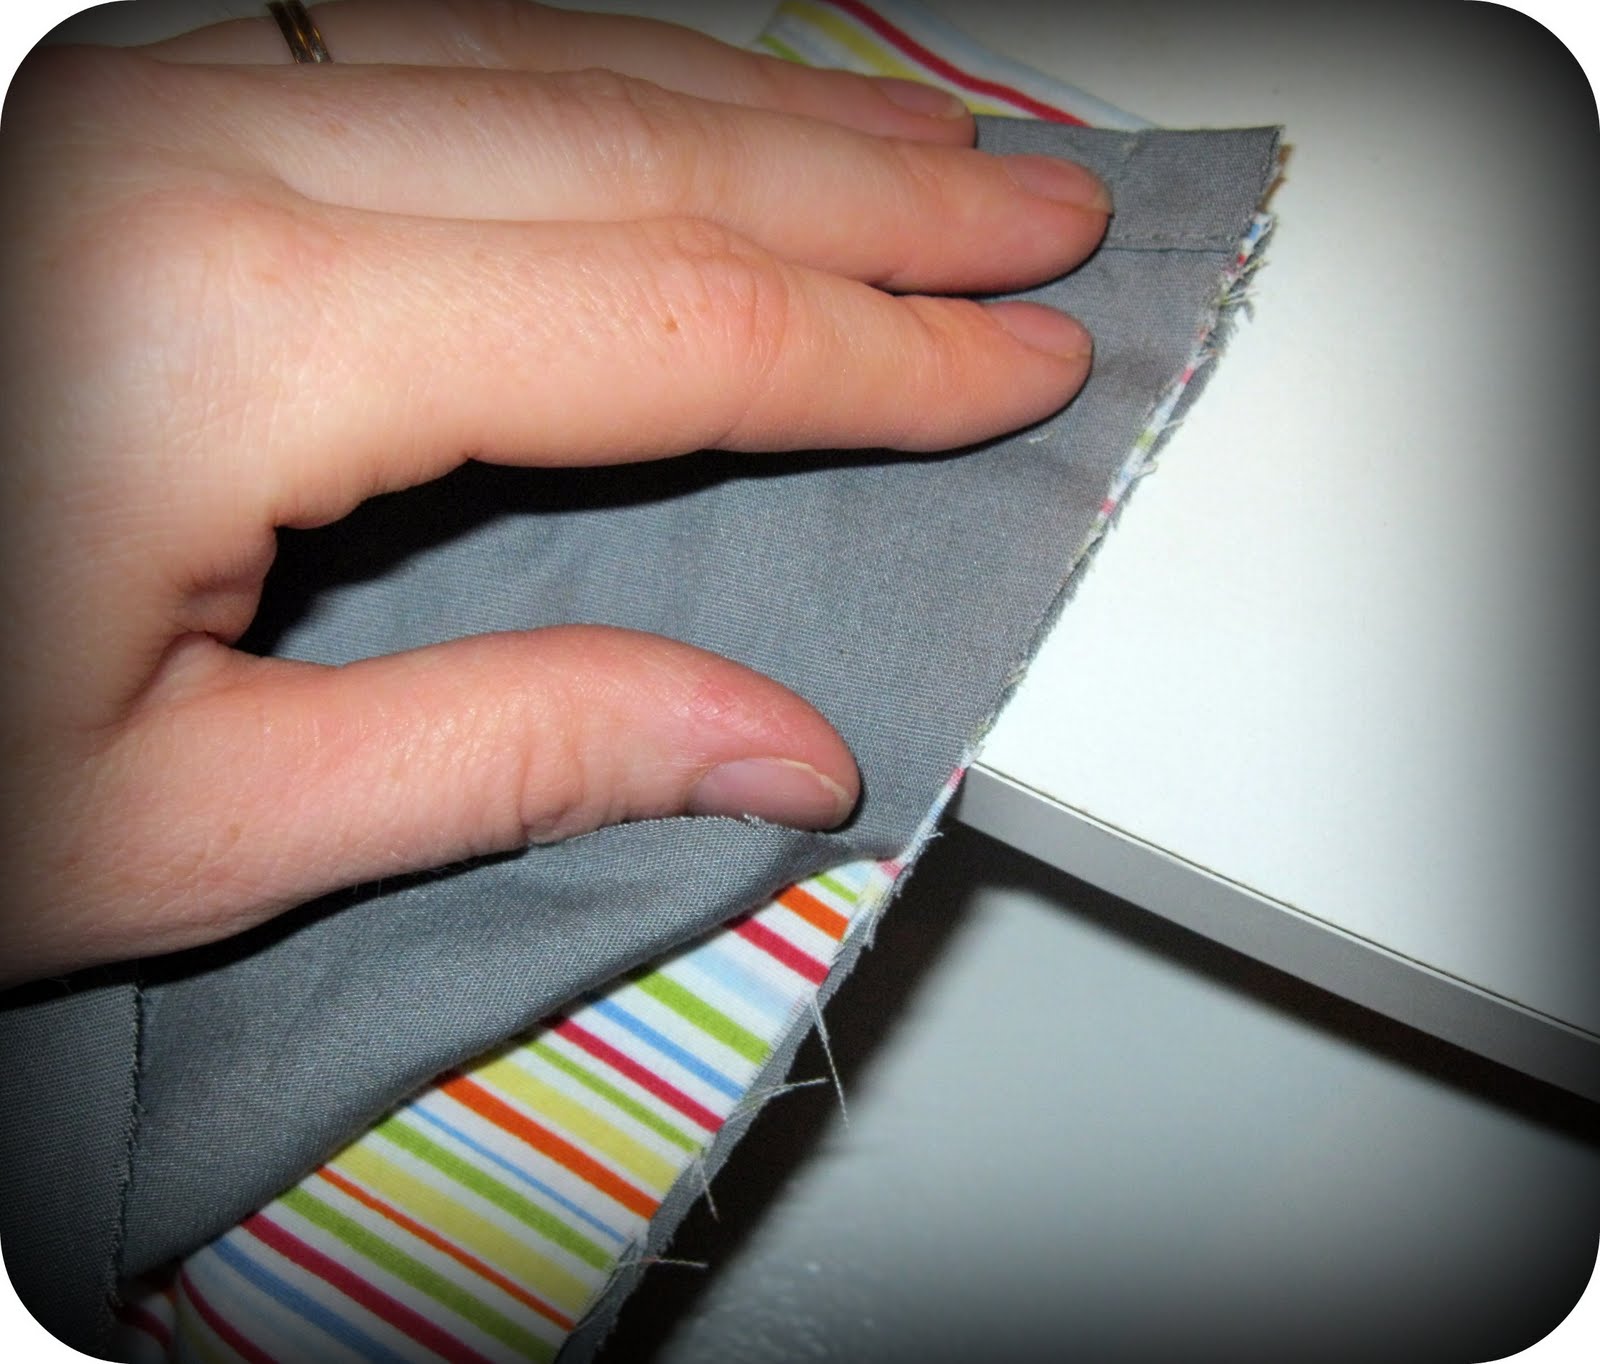
The pocket piece should be just a 1/2” to an inch shorter than the teepee pieces on each end. Pin and then stitch all the way down. As you sew, you may need to gently stretch the bottom piece to make sure your top and bottom edges end up even. Be sure to reinforce the edges a good bit where you start and stop your seam-—I stitched back and forth about 6 times over a couple of inches at both ends to make sure it wouldn't easily pull apart with use.
Repeat this step 5 times, so that you end up with the pockets showing on the outside of the teepee.
If you like, go ahead and zigzag stitch or serge the edges of those long seams to neaten them up inside.
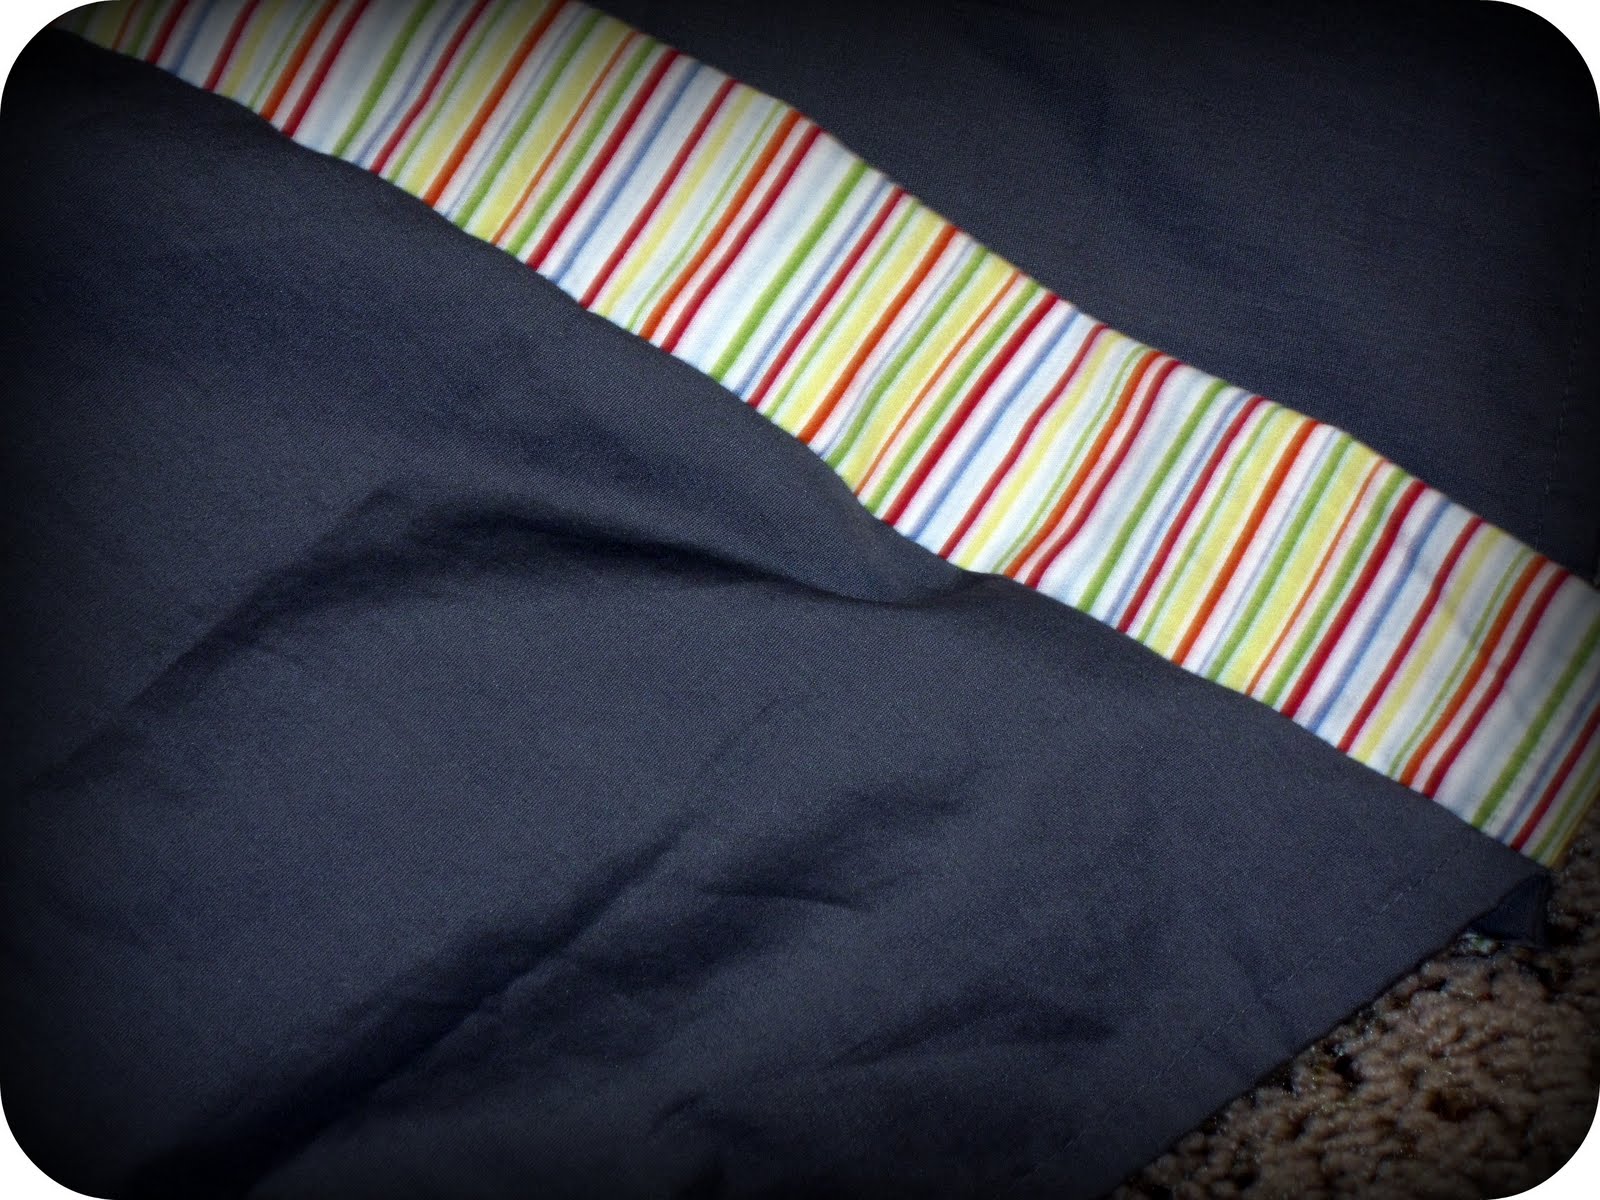
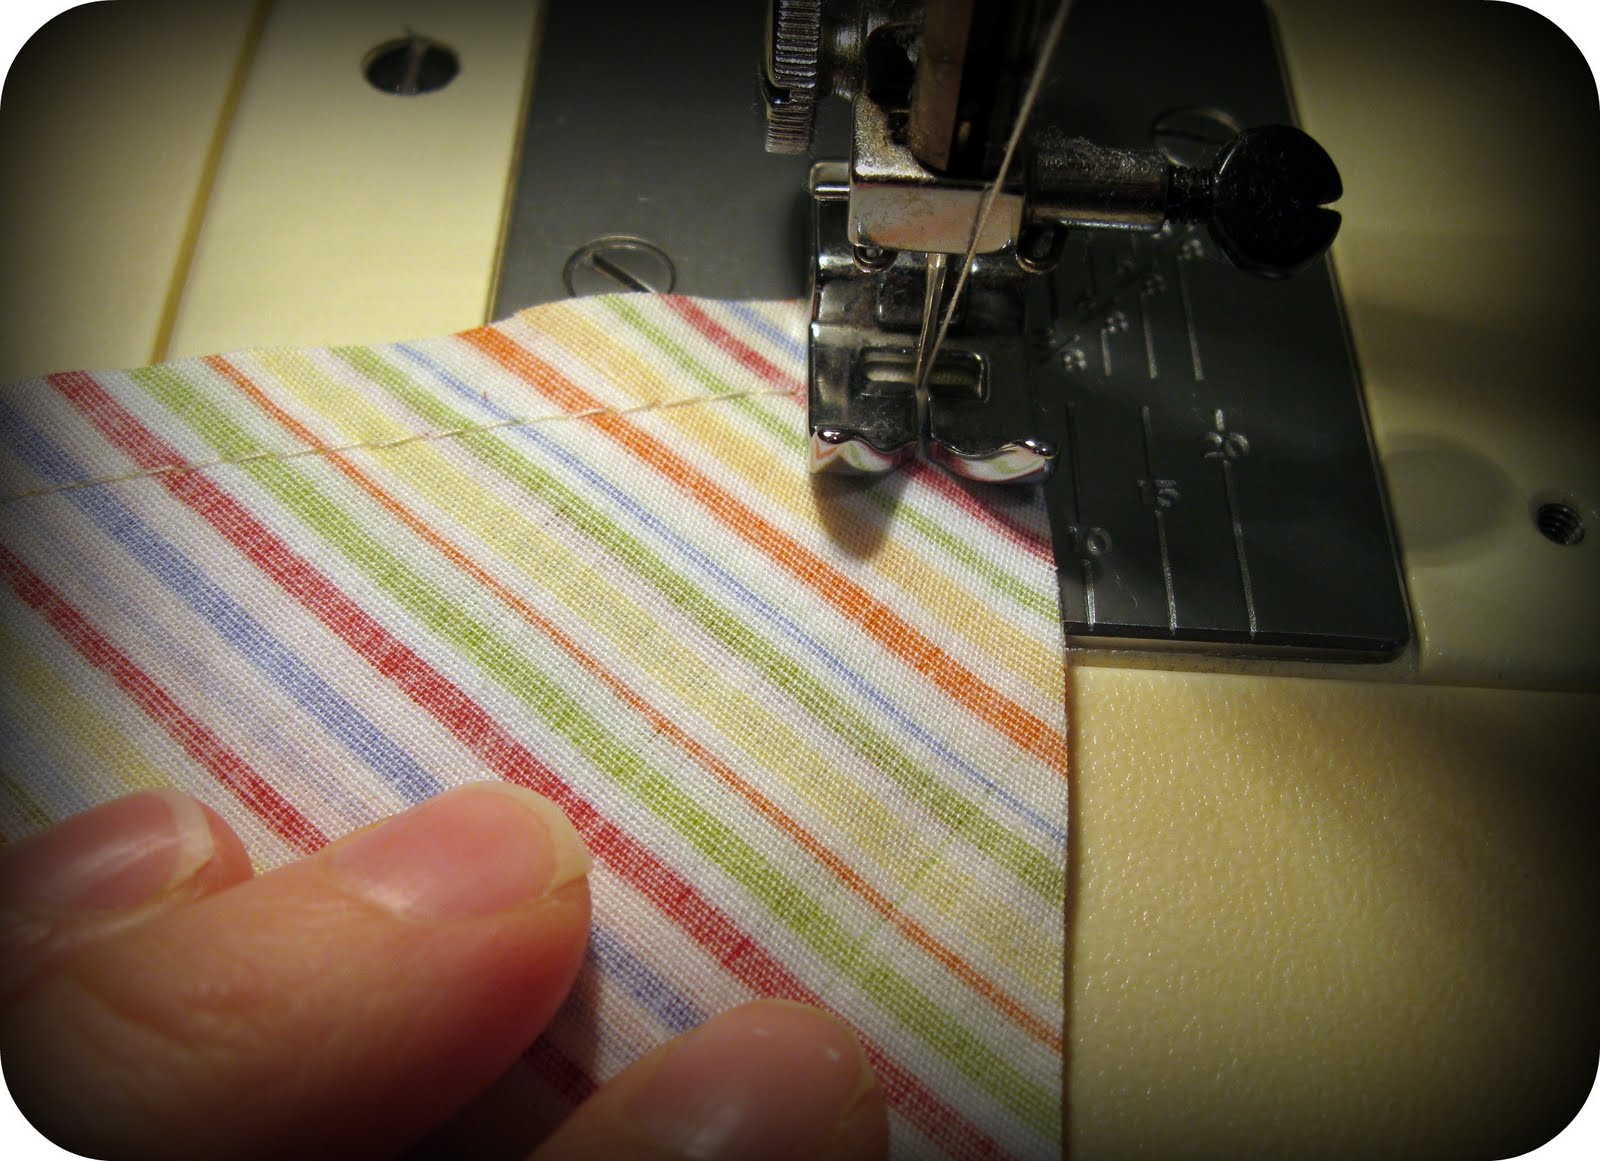
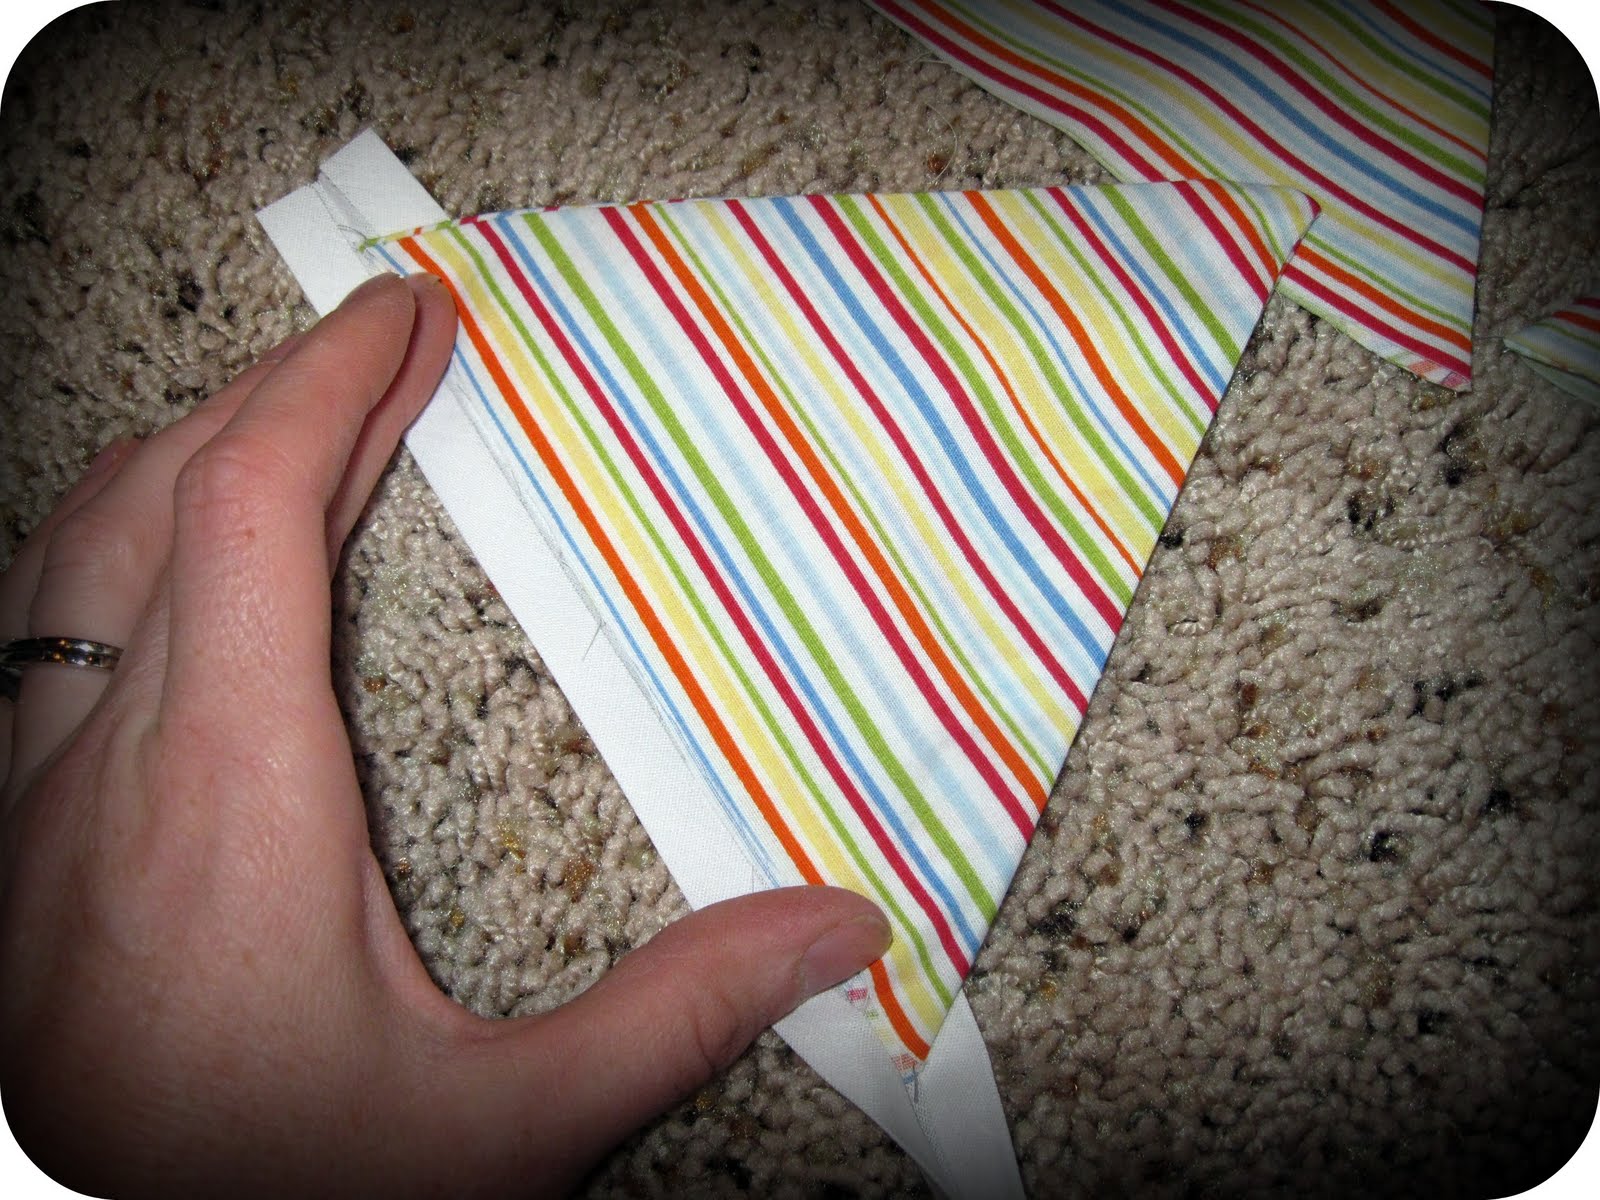
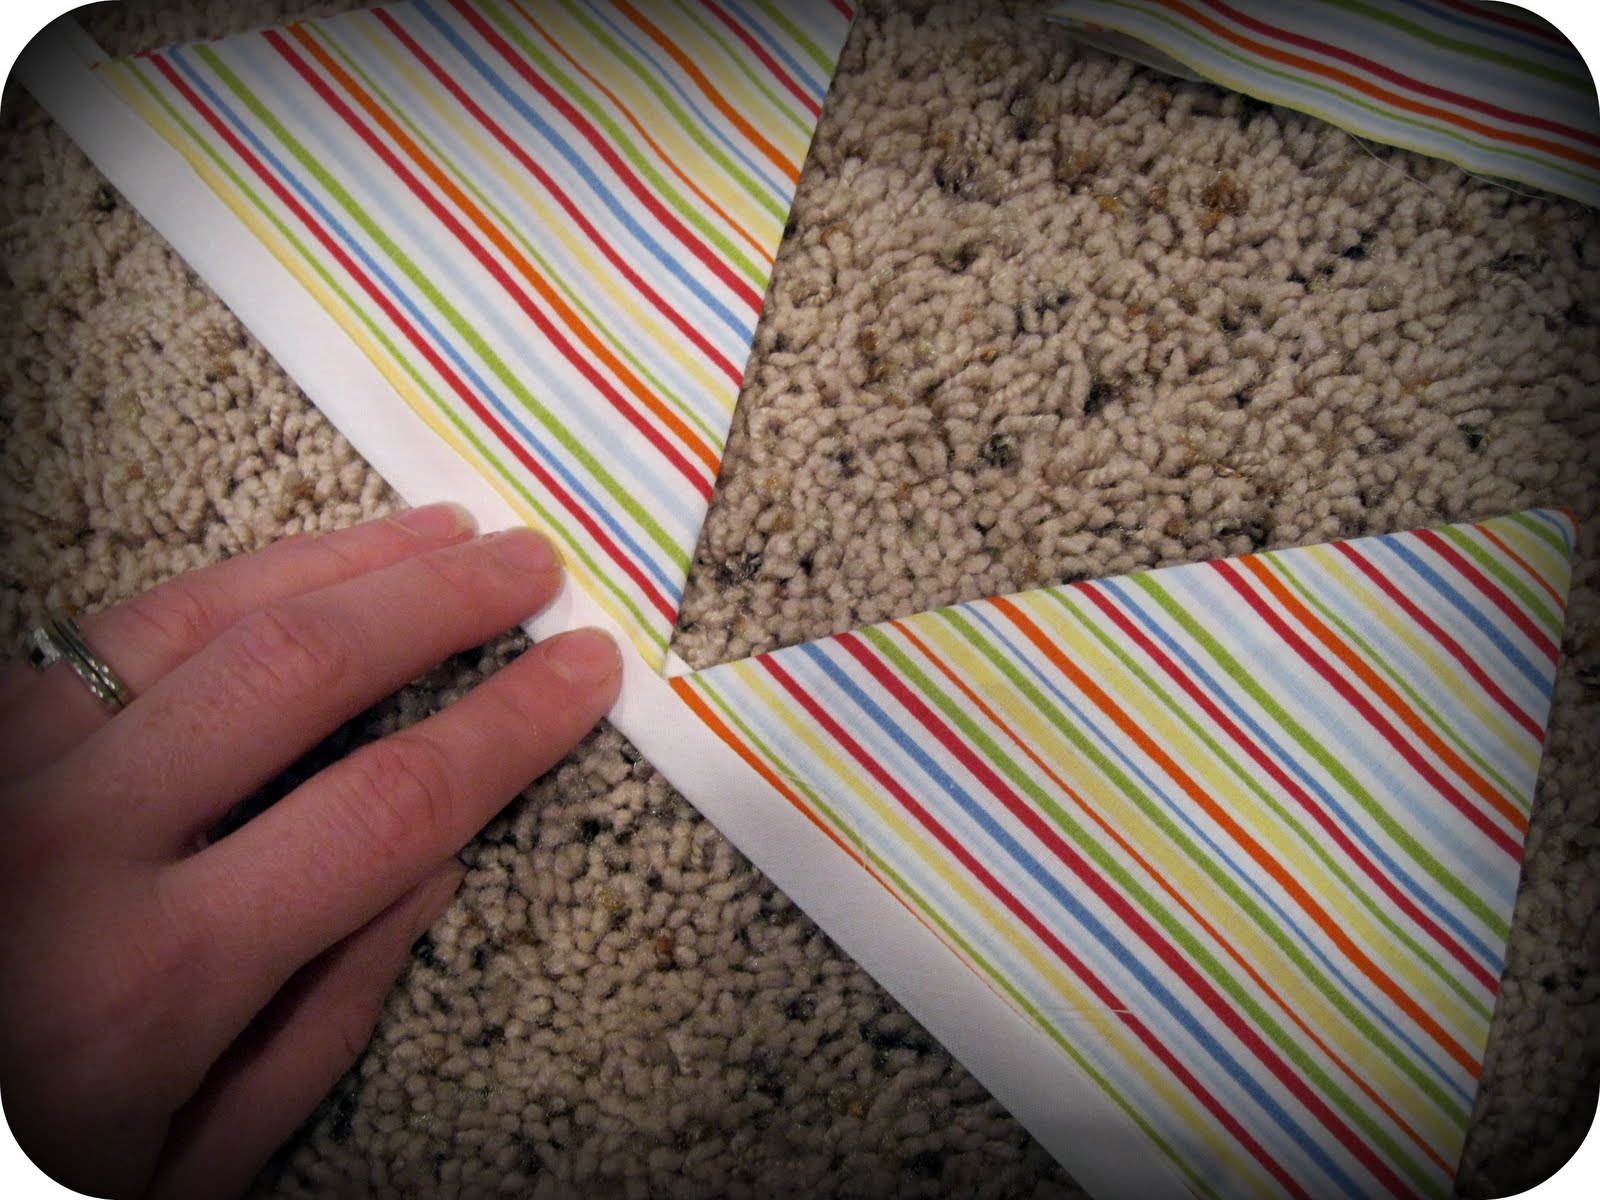
Now for the banner. Put 2 small triangle sections right side together. WIth a 1/2" seam allowance, sew along the edge of the 2 slightly shorter sides, pivoting at the corner.
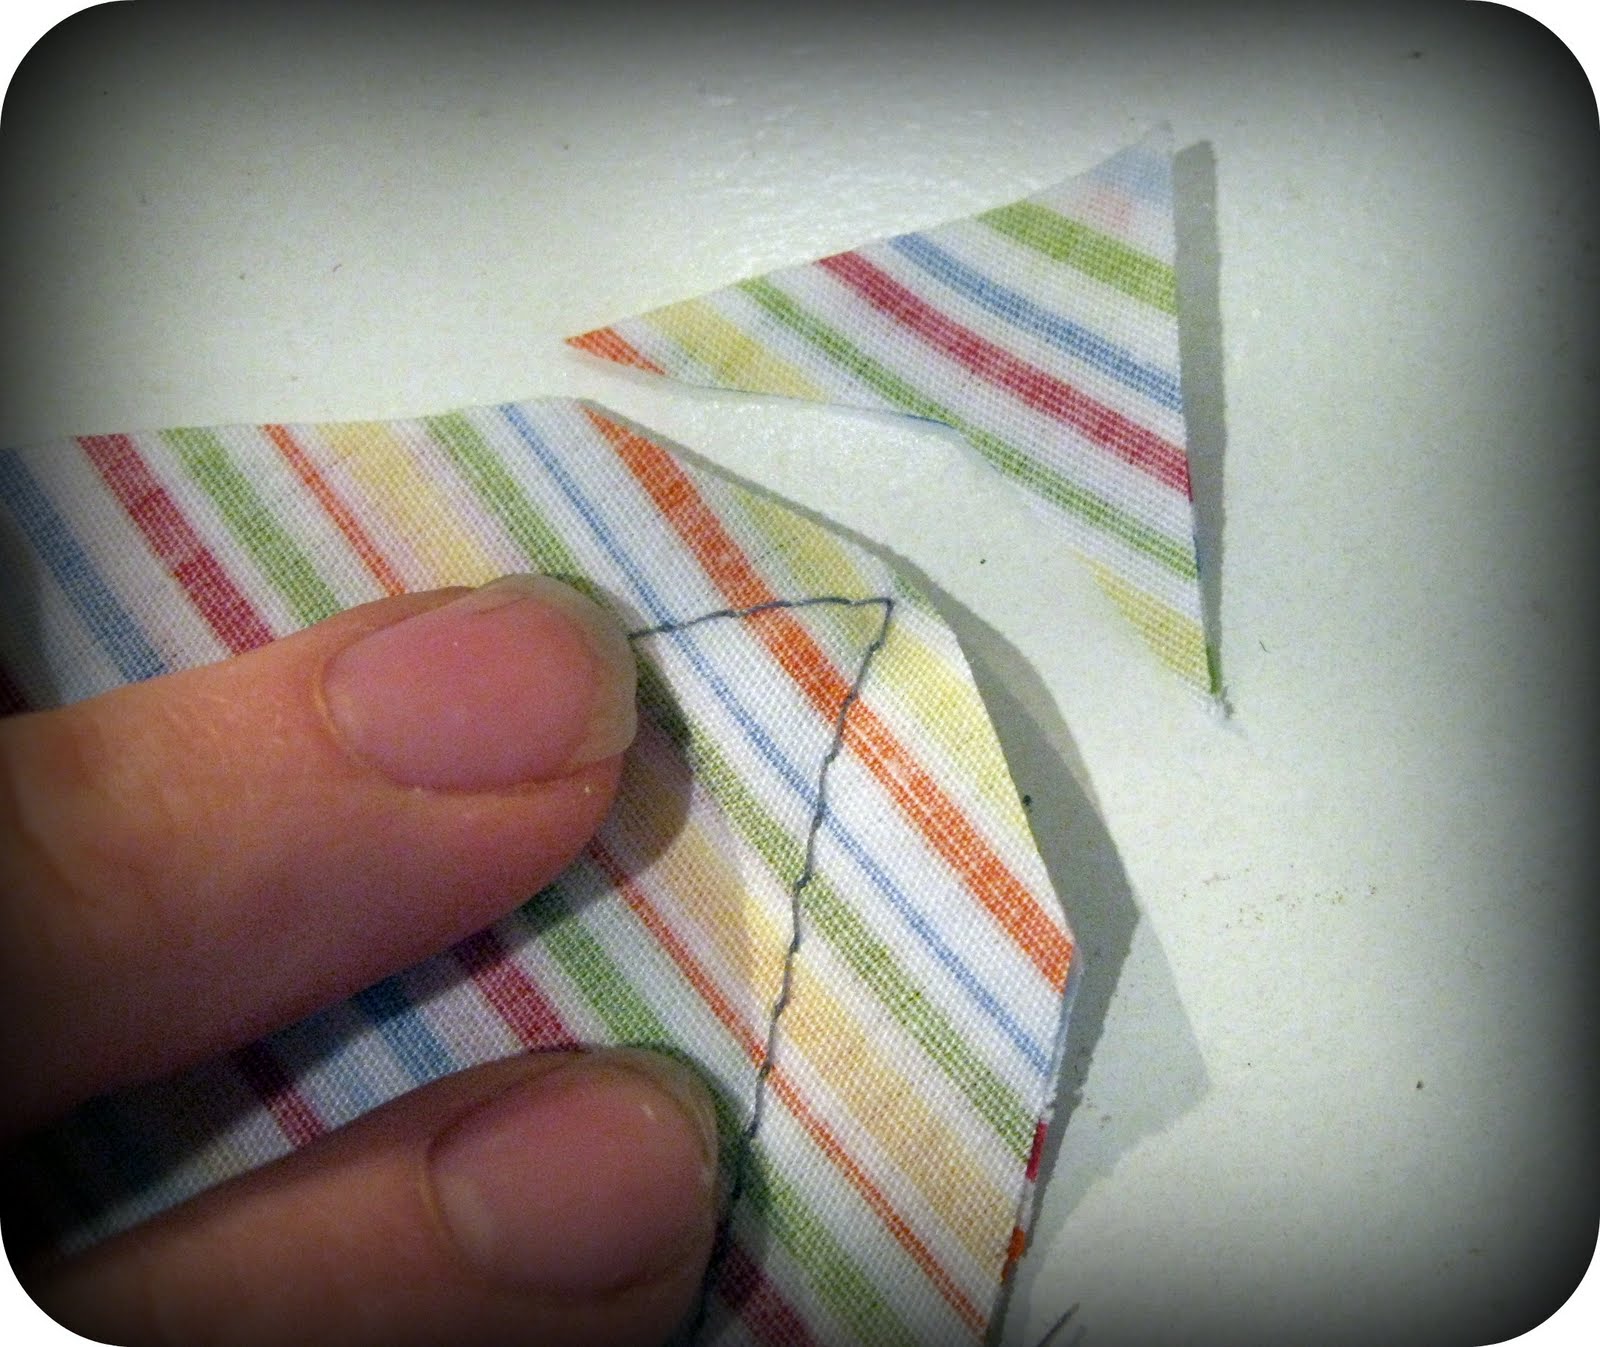
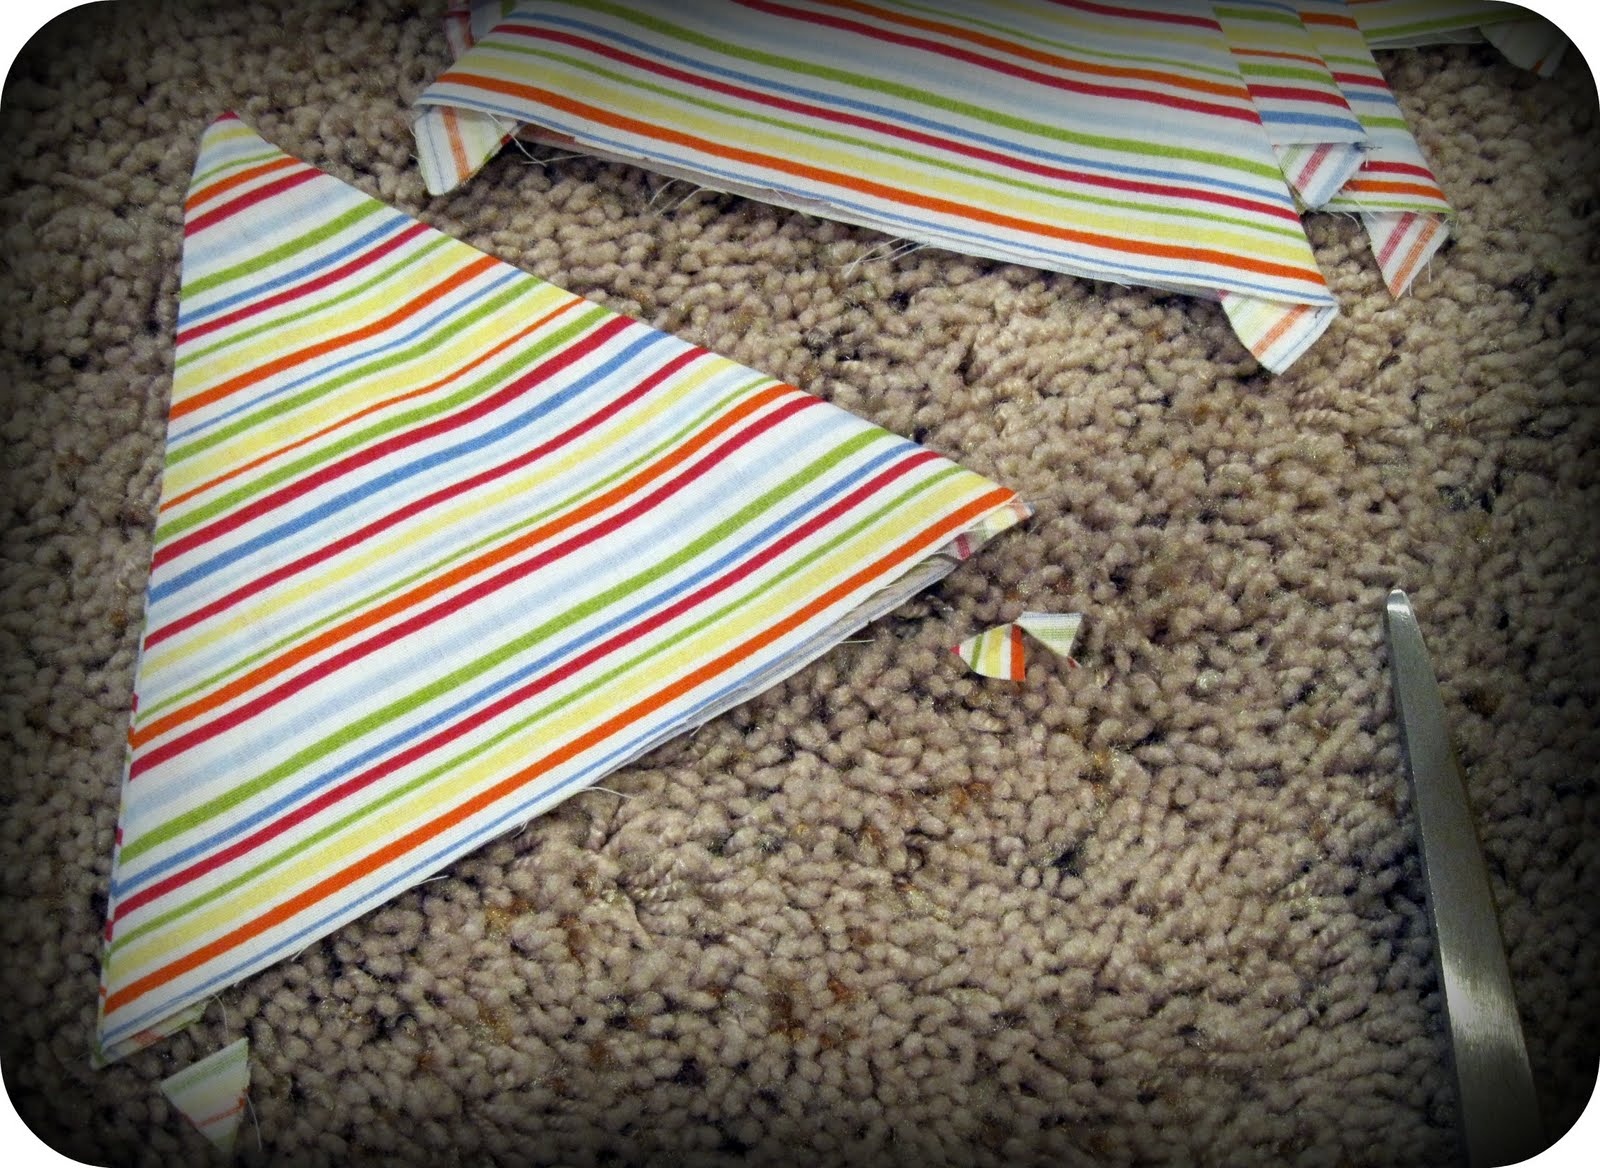
Turn inside, using a pencil or scissors to gently poke it out to a point. Press. Cut off the little points at the bottom edge. Top stitch each triangle on the two sewn edges.
Open up the piece of bias tape and fold one end down a half inch. Lay a triangle piece under this end so the raw, unsewn edge is in the fold of the bias tape. Pin.
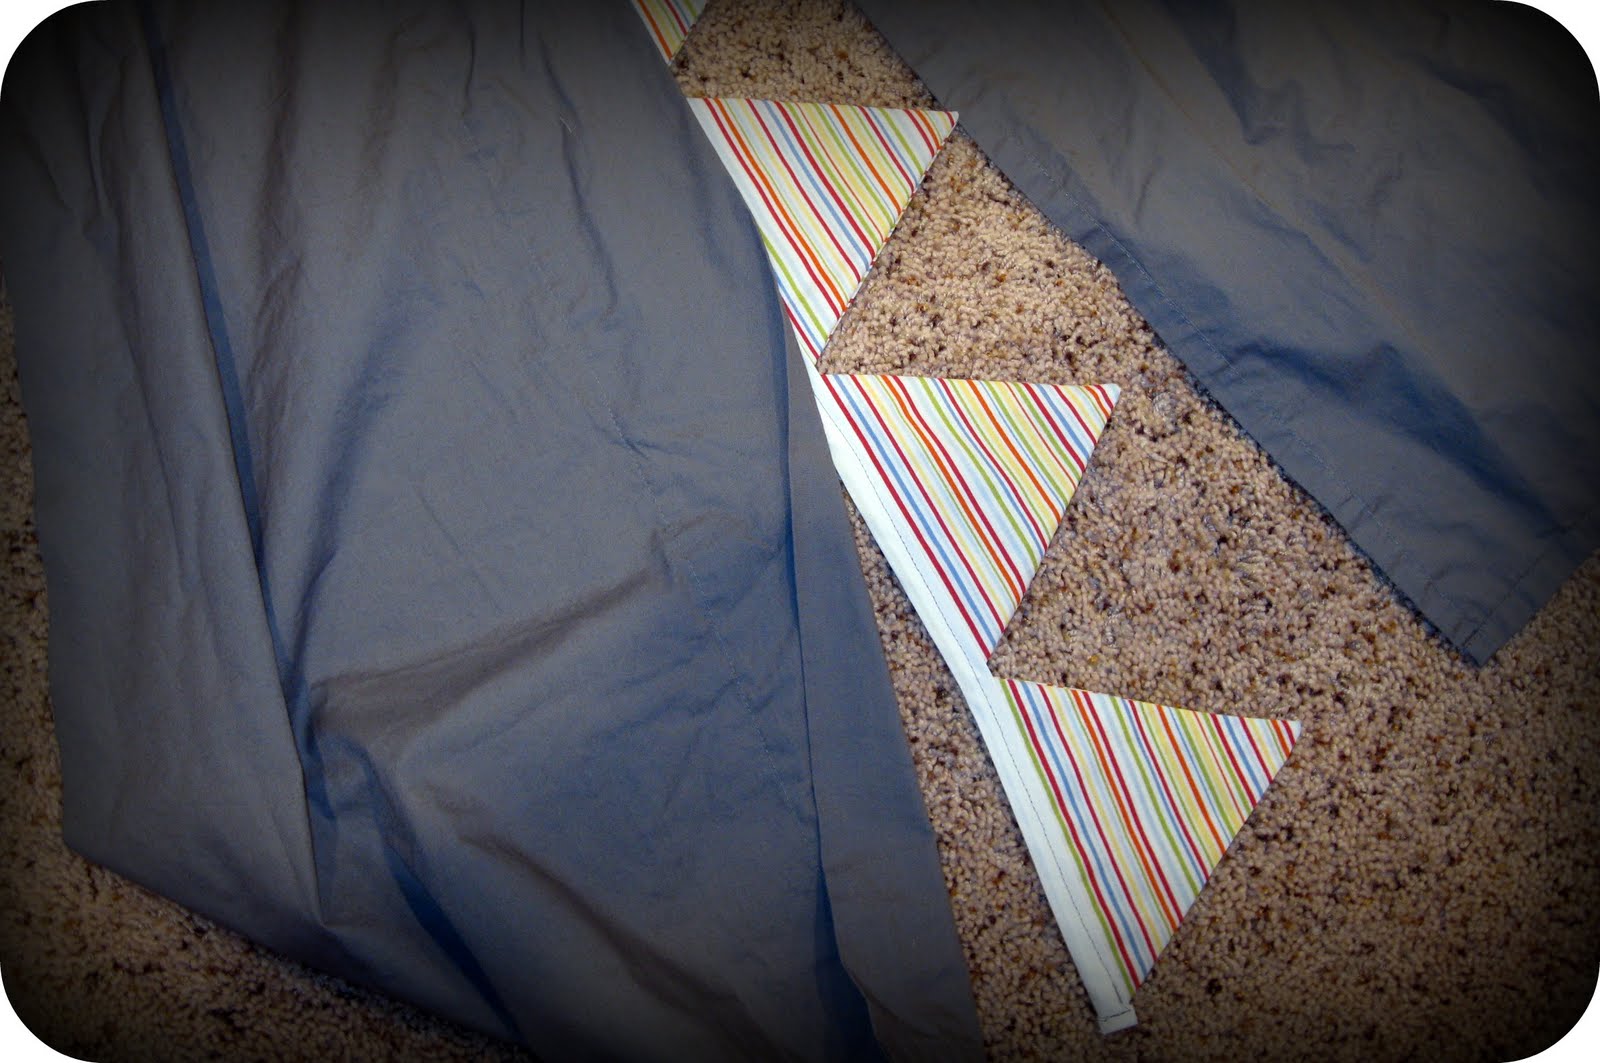
Lay the other six triangles inside, slightly overlapping the corners. Adjust so they fit just inside the 2 ends and there is an inch of bias tape left at the end that you can fold up a half-inch to hide the raw edge. Now, fold the tape over, and start stitching through all layers from one end to the other.
Pin this banner on the inside of the wider hem flap. Sew from bottom to top about 5/8” from the edge, making sure you don't catch the other door flap in your stitching. Now topstitch again next to the edge.
To prepare your poles: each should be 74-inches long. They will have markings on them from the store, so you may want to spray paint them or wind colored tape around them to make them prettier.
Measure down 8” from one end of each pole and mark. Drill through both sides of the pipe at these marks. Insert the poles through the pockets of the teepee and put a cap on each end of the pole.

With the teepee and poles all bundled together, thread your cord through the drilled holes and tie it so it has just a little bit of slack. Stand your teepee up, spread the poles and adjust the tie as needed.

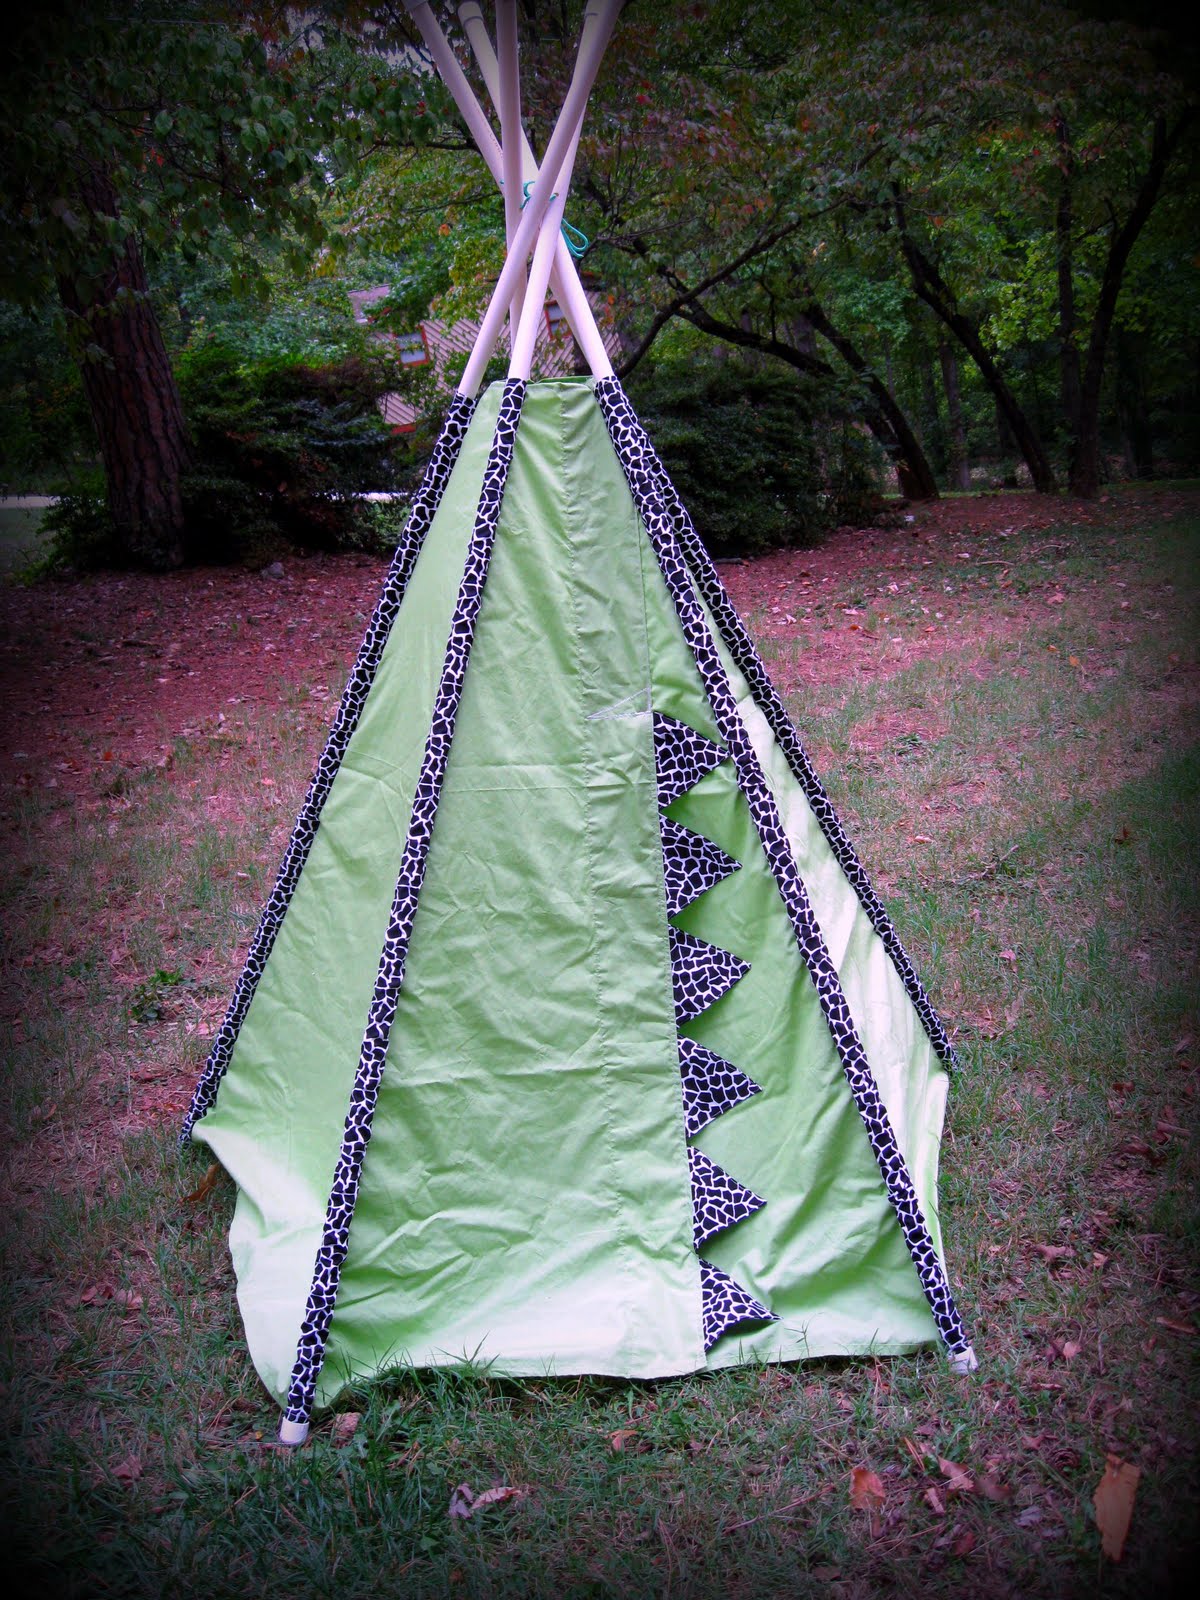
Furnish with a couple of good books, a little snack, and your children will have hours of fun in their new make-believe world!


