Showing posts with label games. Show all posts

Monday, May 7, 2012

Kid Creativity: Bounce Back Game Time.

Sometimes a new game will spring up when we least expect it. I love it when my kids come up with something entirely on their own; I'm always happy to help point them down the pioneering path.


Since it was blazing hot by 9 a.m. on Saturday, our only outdoor option was to pull out the tiny inflatable baby pool and splash around.  After a while my 6-year-old got bored with the little pool and started looking for another outdoor option.  


We have two boys in our house, so we are constantly bouncing with bouncy balls. There are balls in every shape and size, from the least bouncy to the bounciest.  I don't mind a bouncy ball one bit.  I will take 10 totes full of bouncy balls over 1 harmonica or drum any day.


My boys have been on a ball kick lately and it is something that they enjoy playing together--even with their four year age gap, so that's nice.  Since we have an endless supply of bouncing balls around the house, I let them bring a few outside and bounce them around. Eventually the bouncing balls found their way into the baby pool--large target. Then we started hunting for smaller and smaller targets: buckets, totes, cans.  I finally remembered my awesome stash of yogurt containers that I had in the pantry.  I have been saving them because they are just too great to throw away (*cough hoarder *cough) and yesterday we finally put them to use.
Once we set the yogurt containers around the baby pool, we circled them with chalk and put various numbers to represent points at each spot, depending on how difficult we thought each shot would be.  Next, we drew a line for him to stand behind while throwing the bouncy balls and he drew a scoreboard for each player.  
Once the game was all set up (which was really the fun part anyway) it was time to play.  Griffin had fun bouncing the ball and attempting to steer the bounciness into the small yogurt containers.  It was a challenging game and he was very excited even if the ball simply touched the container.  Of course he also had to keep moving farther back.

Games are everywhere.  If you encourage your kids to run with their own creativity, you'll be surprised how far they go with it.  The yogurt/pool/bouncy game might not make it onto the shelves of Toys-R-Us anytime soon, but I had a great time creating something from nothing with my boys.  What is a fun game that your family created or modified lately?

Monday, January 16, 2012

Beanbags, Games, and January Blahs.

I believe the mid-January funk has hit our house. New toys are not-so-new anymore, bad weather is keeping the kids cooped up, and Mommy just can't handle one more round of Candyland...!

So the other night after dinner dishes were done and while the kids changed into pj's, I invented a little beanbag toss game for an hour of family fun before bed. It was super easy and not all that creative, but it was NEW and my kids loved it!

I took 4 metal cake pans, the 4 mini-beanbags from our Hopscotch game, and had my son make 4 papers with point values of 10, 25, 50, and 100. We arranged the pans on the floor with the different point papers inside, and then set a couple of lines to stand and throw the beanbags. (Try rolled up socks if you don't have beanbags).


Our new art easel made a perfect scoreboard--and my 4-year-old loved the number printing practice. It was great that our 2-year-old could play too (he chose to stand directly beside the cake pans and drop the beanbags in), and the game was excellent practice for him in taking turns.


After a couple of rounds, the kids changed up the cake pan arrangement.


And the next day they came up with the twist of Mystery points by placing the papers UNDER the pans, only to be revealed after the 4 beanbags were thrown. You can imagine this new level of excitement!


They kept changing things up and played repeatedly for 3 days. It's always amazing how old things can become new again--we would love to hear what little game or competition you come up with using what you already have around!


Monday, January 9, 2012

Painted Hopscotch Mat

We originally had the opportunity to guest-post this project at Living Life Intentionally last month. Posting it here in case you missed it!


Are cold, rainy, or snowy days keeping your children from running off pent-up energy outside?? Bring an outdoors game inside with a Hopscotch Mat!  I taught my kids to play hopscotch in our driveway this summer. They loved it...and of couse, I was then cajoled into hopping through many a game with them. An indoor version takes a little time to prepare initially, but then it can be rolled out in a couple of seconds for instant fun. 


Supplies needed:
  • 2 1/2 yds canvas
  • acrylic craft paints in several colors
  • stiff 1/2" paintbrush
  • a large bowl or pan--square, rectangle or circle
  • pencil
  • measuring tape
  • puffy paint (opt)
  • sewing machine OR hot glue gun
  • 4 fabric scraps and dried beans (for Beanbags) OR 4 Rocks


The canvas I bought at Walmart was 60" wide, so I bought 2 1/2 yards and cut it lengthwise to make 2 mats--one for my daughter and one for a gift.


To finish the raw edges, fold them under 1/4", then fold under again and stitch all around. If you don't sew, you could hot glue them under.


For the hopscotch squares, I decided it would take forever to tape them off in order to paint straight lines. Instead, I had this rounded-square bowl in my cupboard that would work perfectly. You could use a square pyrex dish, a rectangle dish, or a large round mixing bowl. Even a combination of shapes would make a fun design! You probably want your bowl to be approx. 10-12 inches diameter.


Measure your bowl and then determine the center of your canvas width. Make some pencil dots to mark the center and give yourself some guides for the squares. At first, I tried painting the rim of the bowl and stamping it on the canvas...but it was too thin a line and hard to hold the slippery bowl.


So then I just traced it with a pencil and painted over the pencil lines with a fat paintbrush. Much easier!


I painted the lines (with a stiff brush) as evenly as I could, knowing they would not be perfect without tape guides. Afterwards, I went back over the lines with my brush fairly dry and feathered out the edges to look like chalk dust.


Now, for the numbers. You could print out your own fun numeral font at home on cardstock to make stencils, but I opted to save time and buy a $4 set of stencils at Walmart. I love these 4" whimsical numerals.


Measure the placement if you want to be precise--I'm more of an "eyeball-it" kind of girl. Holding the stencil with one hand, I dabbed the paint inside (not too thick!) and carefully peeled the cardboard away.


Then I touched up any rough spots and filled in the gaps.


Only one thing more needed for the game: Beanbags...or rocks.


If you don't sew, just find 4 clean rocks and paint them different colors. For mine, I used 4 fun fabric scraps to make little beanbags. I cut 2 squares of each color to measure approx. 3 1/2" x 3 1/2". With a 1/2" seam allowance, they turned out to be 2 1/2" square. Stitch around 3 sides and the very edge and corners of the fourth side, leaving 2 inches open. Clip all the corners, then turn right side out and poke out corners.


Spoon in dried beans or rice so it is fairly full but not stuffed.


Now fold in the raw edges on the open side and stitch closed. One final thing you may want to do is add a few squiggles of Puffy Paint on the underside of the mat to keep it from slipping on a wood or tile floor.


If you're a little rusty on hopscotch rules, refresh your memory here or here.  And now your Hopscotch game is all ready for some energy-burning, indoor fun!

Monday, December 12, 2011

Free Printables: Pen & Paper Games!

So many exciting events, programs, and parties during the Christmas season. Not to mention shopping and appointments and road trips to visit family. Some of these can get a little long or tedious for children to sit through. Once the candy cane is crunched away, the doodling page is full, and the Christmas lights have lost their dazzle, these pen & paper games may help ward off the wiggles for a little longer!


The first game is a Scattergories type word game...scan the room for objects that begin with each of the letters, MERRY CHRISTMAS. Can be a competition with points scored for the number of letters in each word, and extra points for double words! Print it here.


Gingerbread Squares is a game you may remember from childhood. Requires 2 or 3 players, and they take turns drawing lines to connect the gingerbread men. Whoever forms a box with their line gets to put their initial inside. This is a great game to teach strategy to preschoolers--my 4-year-old loves it. It can be printed here.


Print a couple off and stash them in your car for some quick entertainment when an event or appointment drags out longer than expected!

Wednesday, November 23, 2011

Make a Family Memory Match Game

A unique and meaningful gift for your young child or a niece/nephew is a Family Memory Match Game using pictures of relatives. This is especially great for kids who don't get to see extended family all the time. It's easy, but will take a couple of hours to put together.


If you are with family this Thanksgiving weekend, try to get some good individual or couple shots of each relative. This will save much time in sorting through old family-gathering pictures to find usable head-shots of grandparents, cousins, and uncles/aunts (uh yes, I do speak from experience!)

I made an easy little drawstring fabric bag to hold the game, but you could pick up a paper mache box at Hobby Lobby to paint if you don't sew. This is for a set of 24, but just add more cards if you have a larger family.

For a game with 24 cards, you need:
12 photos, 2 copies of each
2-3 sheets of scrapbook paper
photo adhesive
paper cutter (or very large circle/square punch)
laminator (or run them to an office supply store to be laminated)
fabric (14" x 11")
30" cord or ribbon
Note: If you are fortunate enough to have a 2.5" or 3" large circle or square punch, this project will go much faster! I cut mine with a paper cutter--this was the most time-consuming part of project.

Cut your photos into 2.5 x 2.5" squares
Now, cut your paper into 3x3" squares--same number as your photos.
Use the adhesive to attach the photos to the white side of the paper.
Laminate the squares and cut around each. I snipped the corners so they were not eye-hazards.


For the bag, fold the fabric and cut so the long side is 11" and the short folded side is 6.5". Snip a little of the corner off of each top outside edge--this will allow the drawstring to work. To finish the cut edges, fold and fold under again. Stitch down each angle.


Open the fabric and fold the top under, then fold under again 3/4-inch. Press. Sew. This will be the casing for the drawstring.
Fold the bag with right sides together and stitch the side seam and bottom. Clip the bottom corner. Turn right side out.


Use a safety pin to guide the cord through the casing. Once it's in there evenly, stitch across the center of it a couple of times to keep it from coming out.


You could have fun posing some creative personality shots!  This will be a thoughtful and well-used child's gift.  


Friday, September 2, 2011

MORE Printable Shopping Games!

My kids really loved the shopping games we tried last week, so I put together a couple more that had to do with rhyming.


The child must identify the picture and then watch for something at the store that rhymes with that object. For instance, SHIP would rhyme with DIP or CHIP. For HEAD, they may find BREAD in the bakery. I have two versions of this printable that can be cut apart into two games each. One is geared for a Grocery store and one is for shopping at a department store or mall. It has items like FIRE (tire) and NURSE (purse).


Hopefully these will keep the children happy while Mom shops some great Labor Day sales!

Thursday, August 25, 2011

Make Shopping Fun for Kids...Printable Games!

Oh, nothing brings on fatigue and despair in my children like the announcement, “Time to run some errands!” The skipping feet immediately begin to drag and the little shoulders slump out the door. I believe horrid and boring are the descriptive adjectives for shopping that I've heard mumbled from the backseat.

I really think they would gladly bathe twice every day and color with broken crayon stubs the rest of their childhood in exchange for never going shopping again.


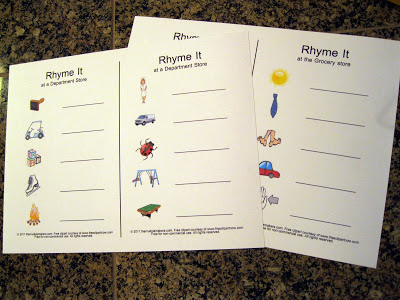
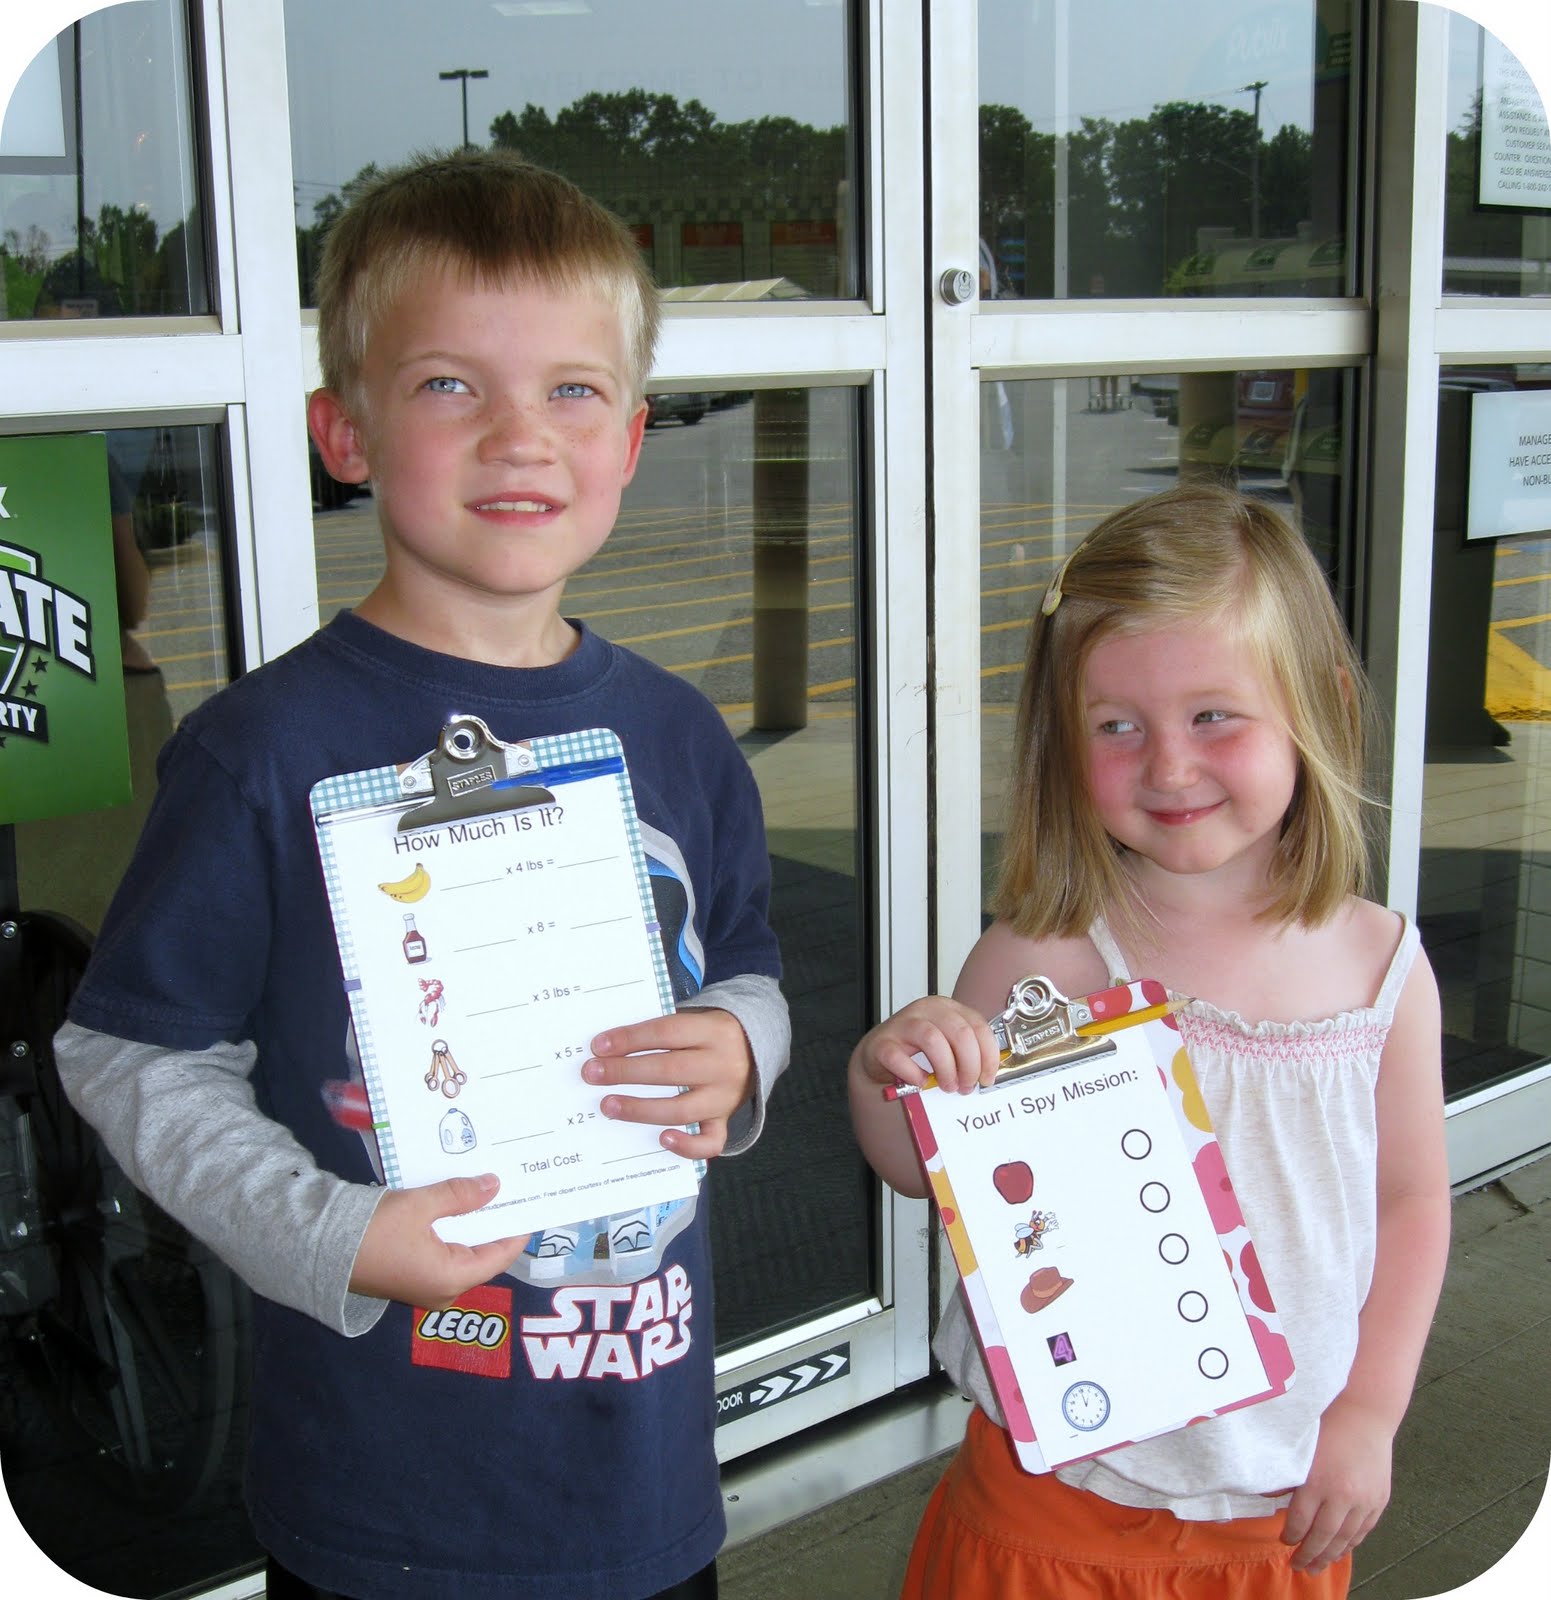
In an attempt to make errands less of a drudgery for them, I made up a couple of little printable games that could be carried along to the stores. We tested it out this morning and I believe my little focus group enjoyed themselves--there was not one whine the whole trip! 


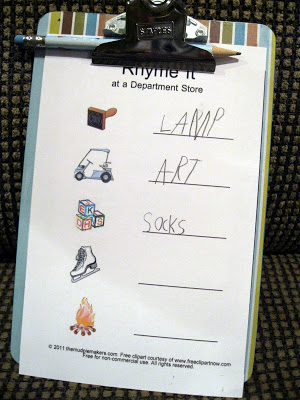
We used the colorful clipboards made here earlier this week (sidenote: after three days, they are still excited to check off their chores each morning! Musta got my list lovin' genes!)


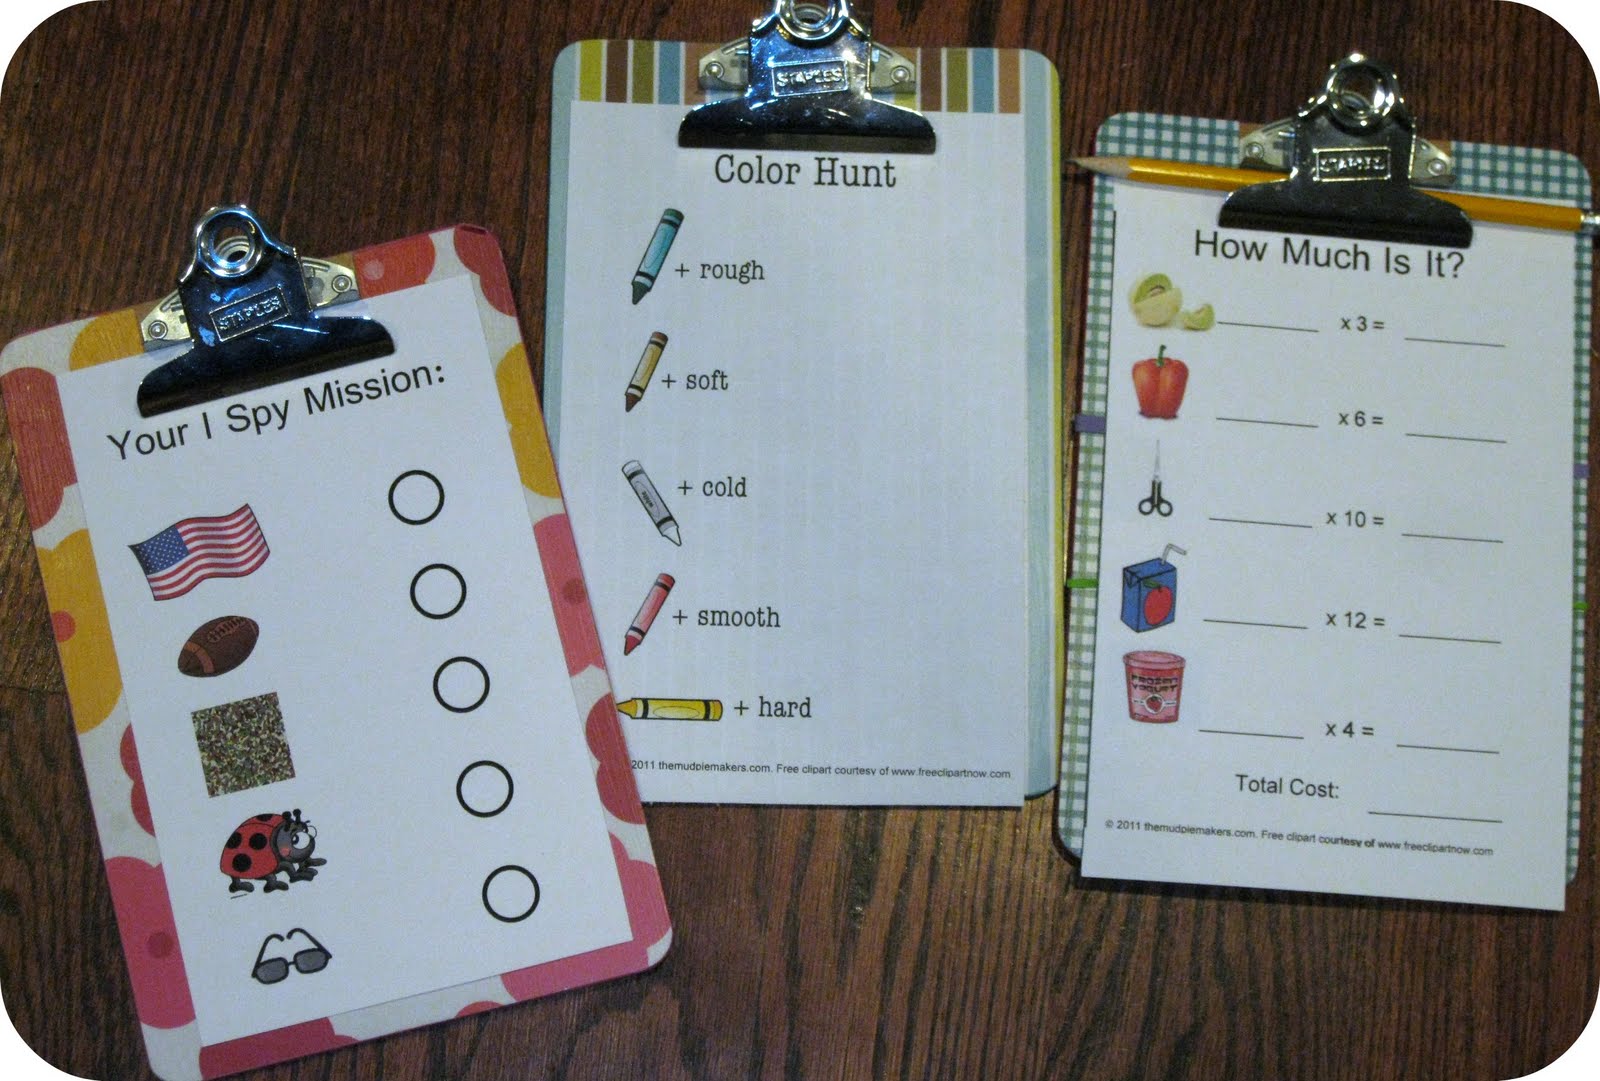
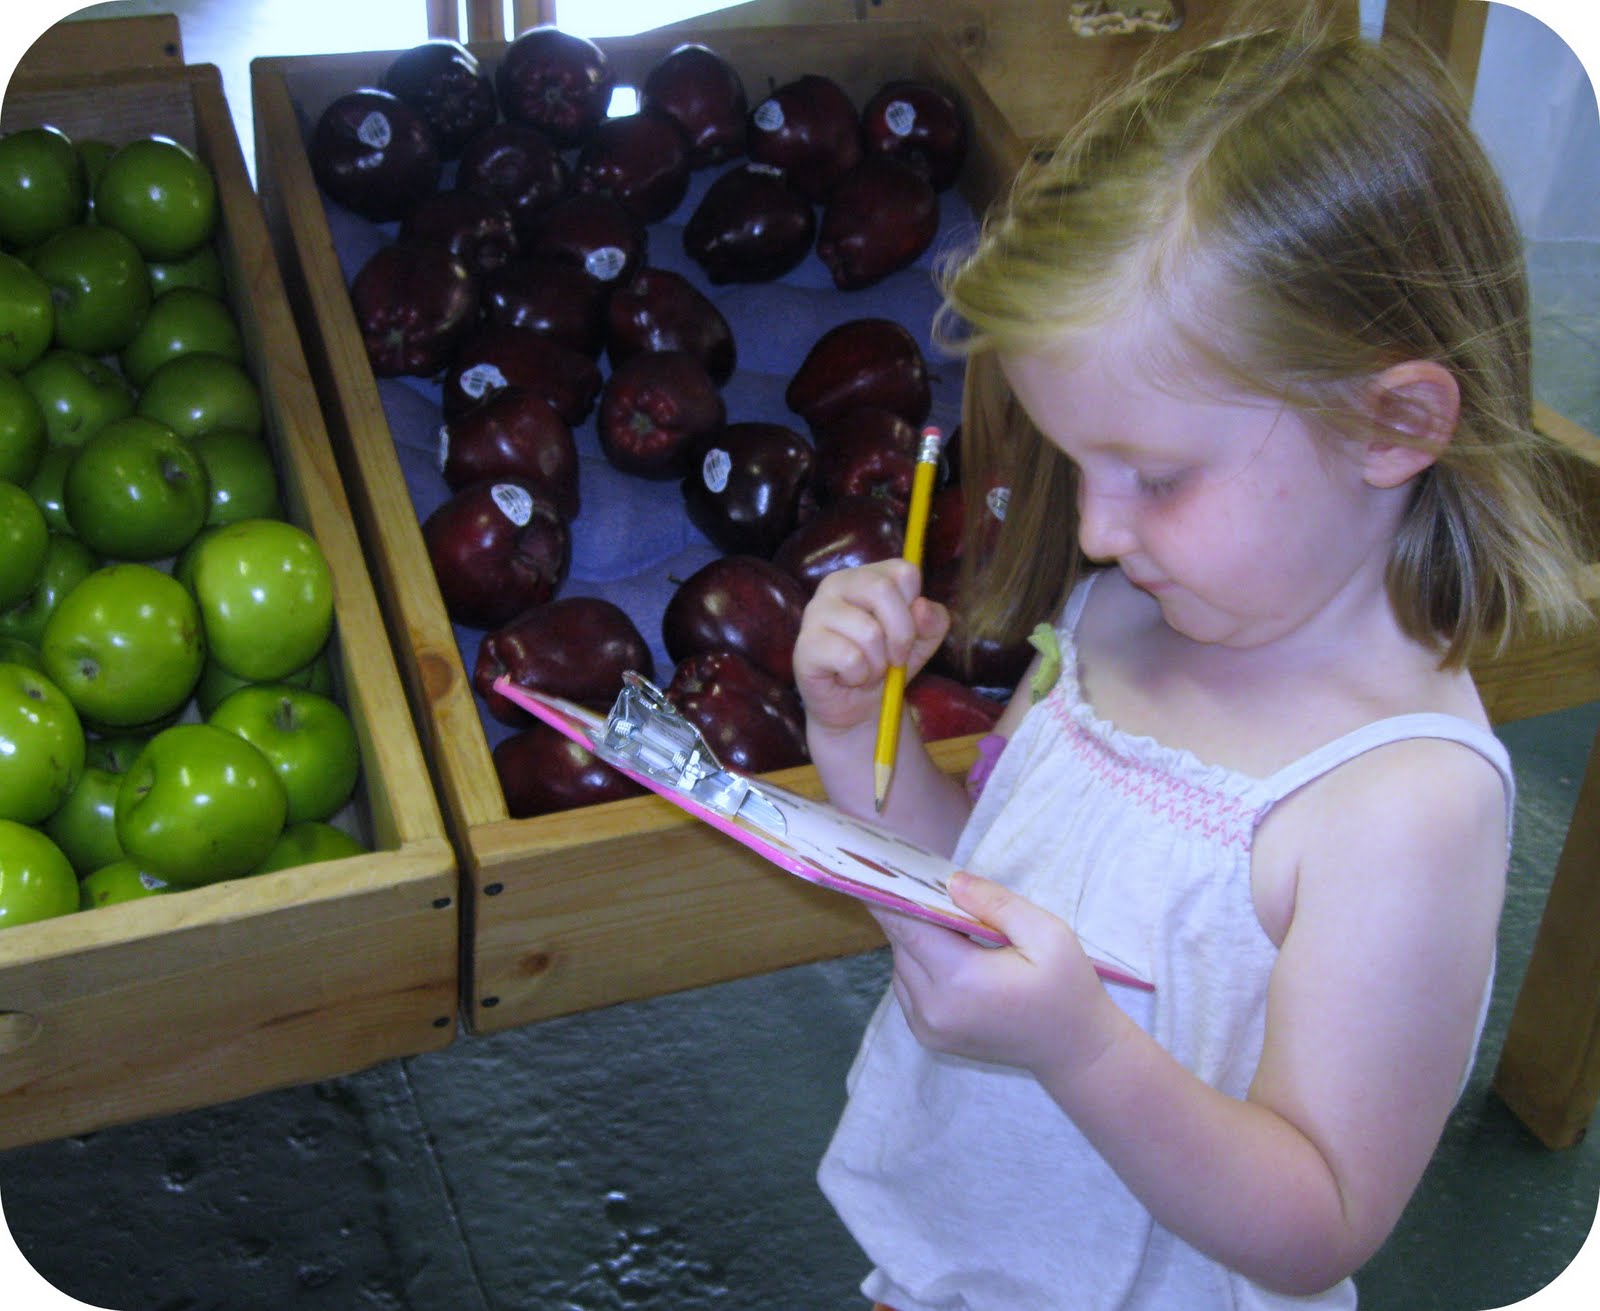
Since my 4-year-old really loves I Spy, I made a little pictorial version for her to find several objects at a store—tried to think of things that were not too obvious--a hat on someone's head, a bee (honey label), etc. 


It's available if you'd like to print it here...you just need to set up a free Scribd.com account. (This is the only way I know how to make a printable available—I wish I knew how print it from our site). If you're artistic, you could easily draw your own objects, or cut pictures out.


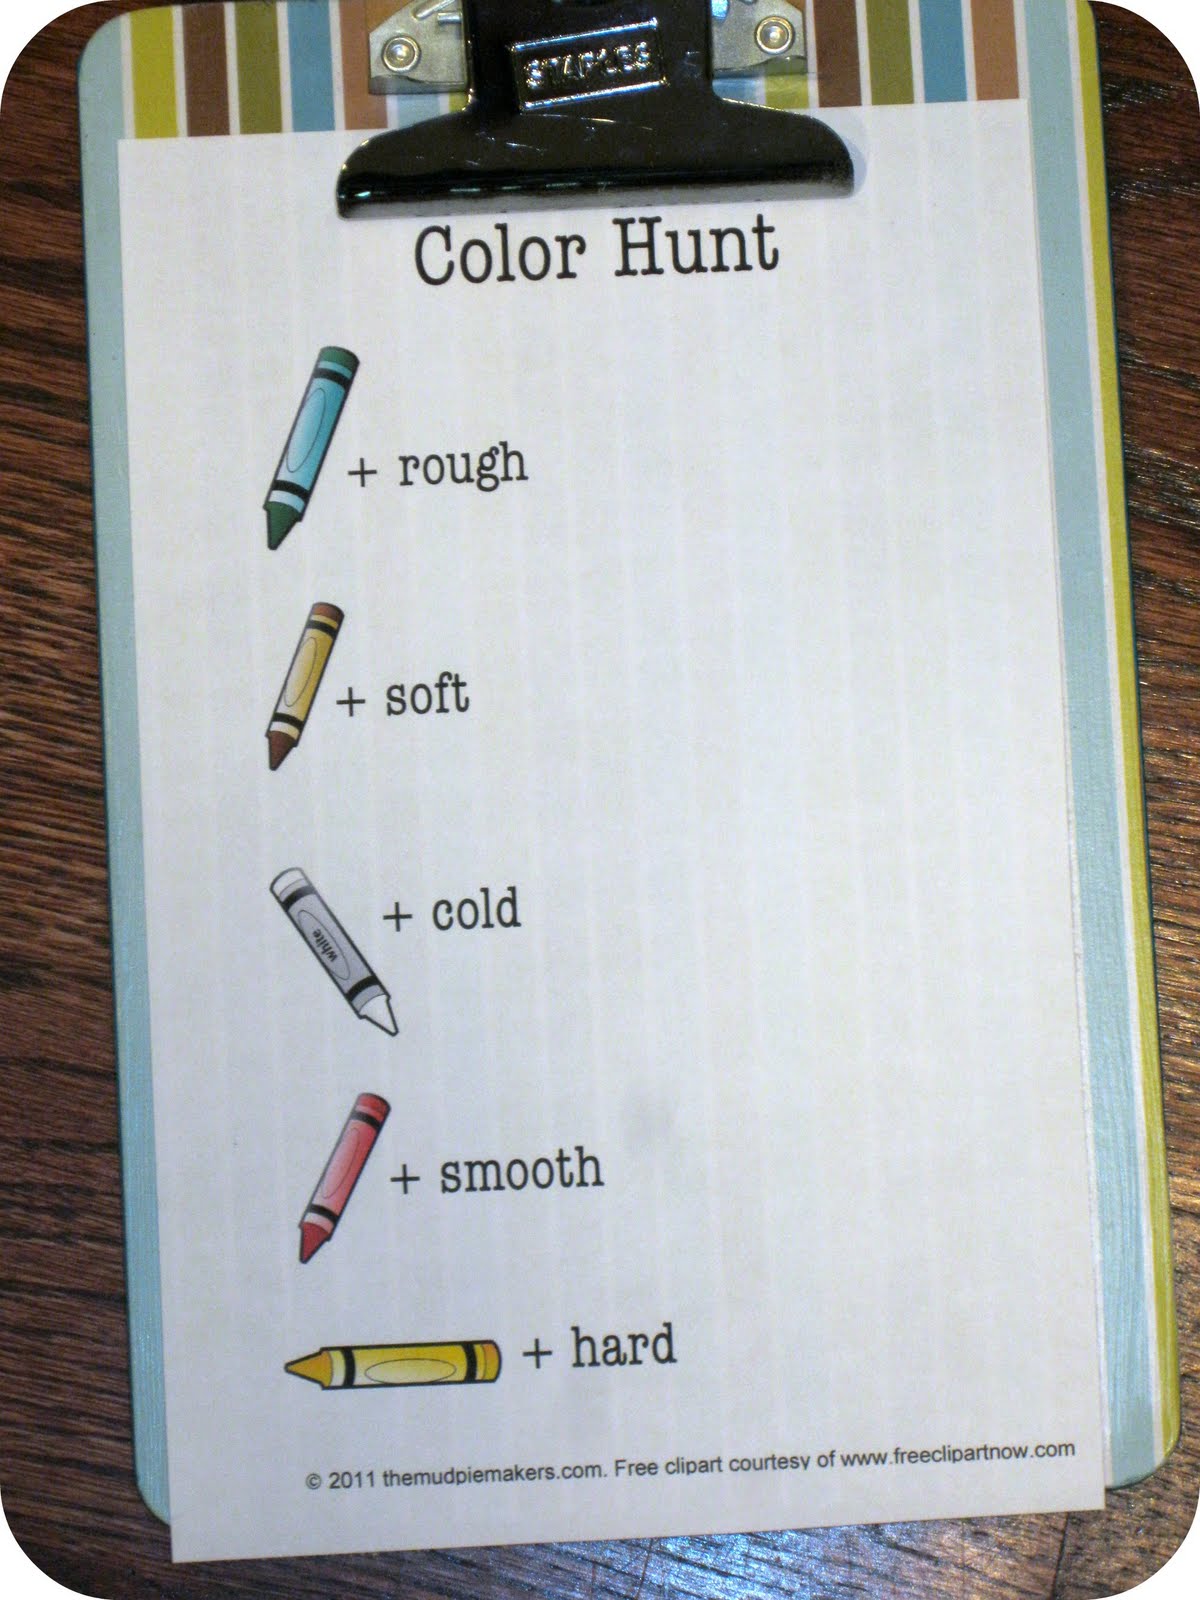
Color Hunt would also be great for a preschooler. Use a crayon or colored circle stickers to mark 5-6 colors on a paper. Then give your child the clipboard and a pencil at the store so they can draw or write in an object they see beside each color. Yellow - draw a banana, red - can of tomato soup. The printable for this one has a more challenging version too, incorporating a sensory descriptive word: White + cold, Red + smooth.


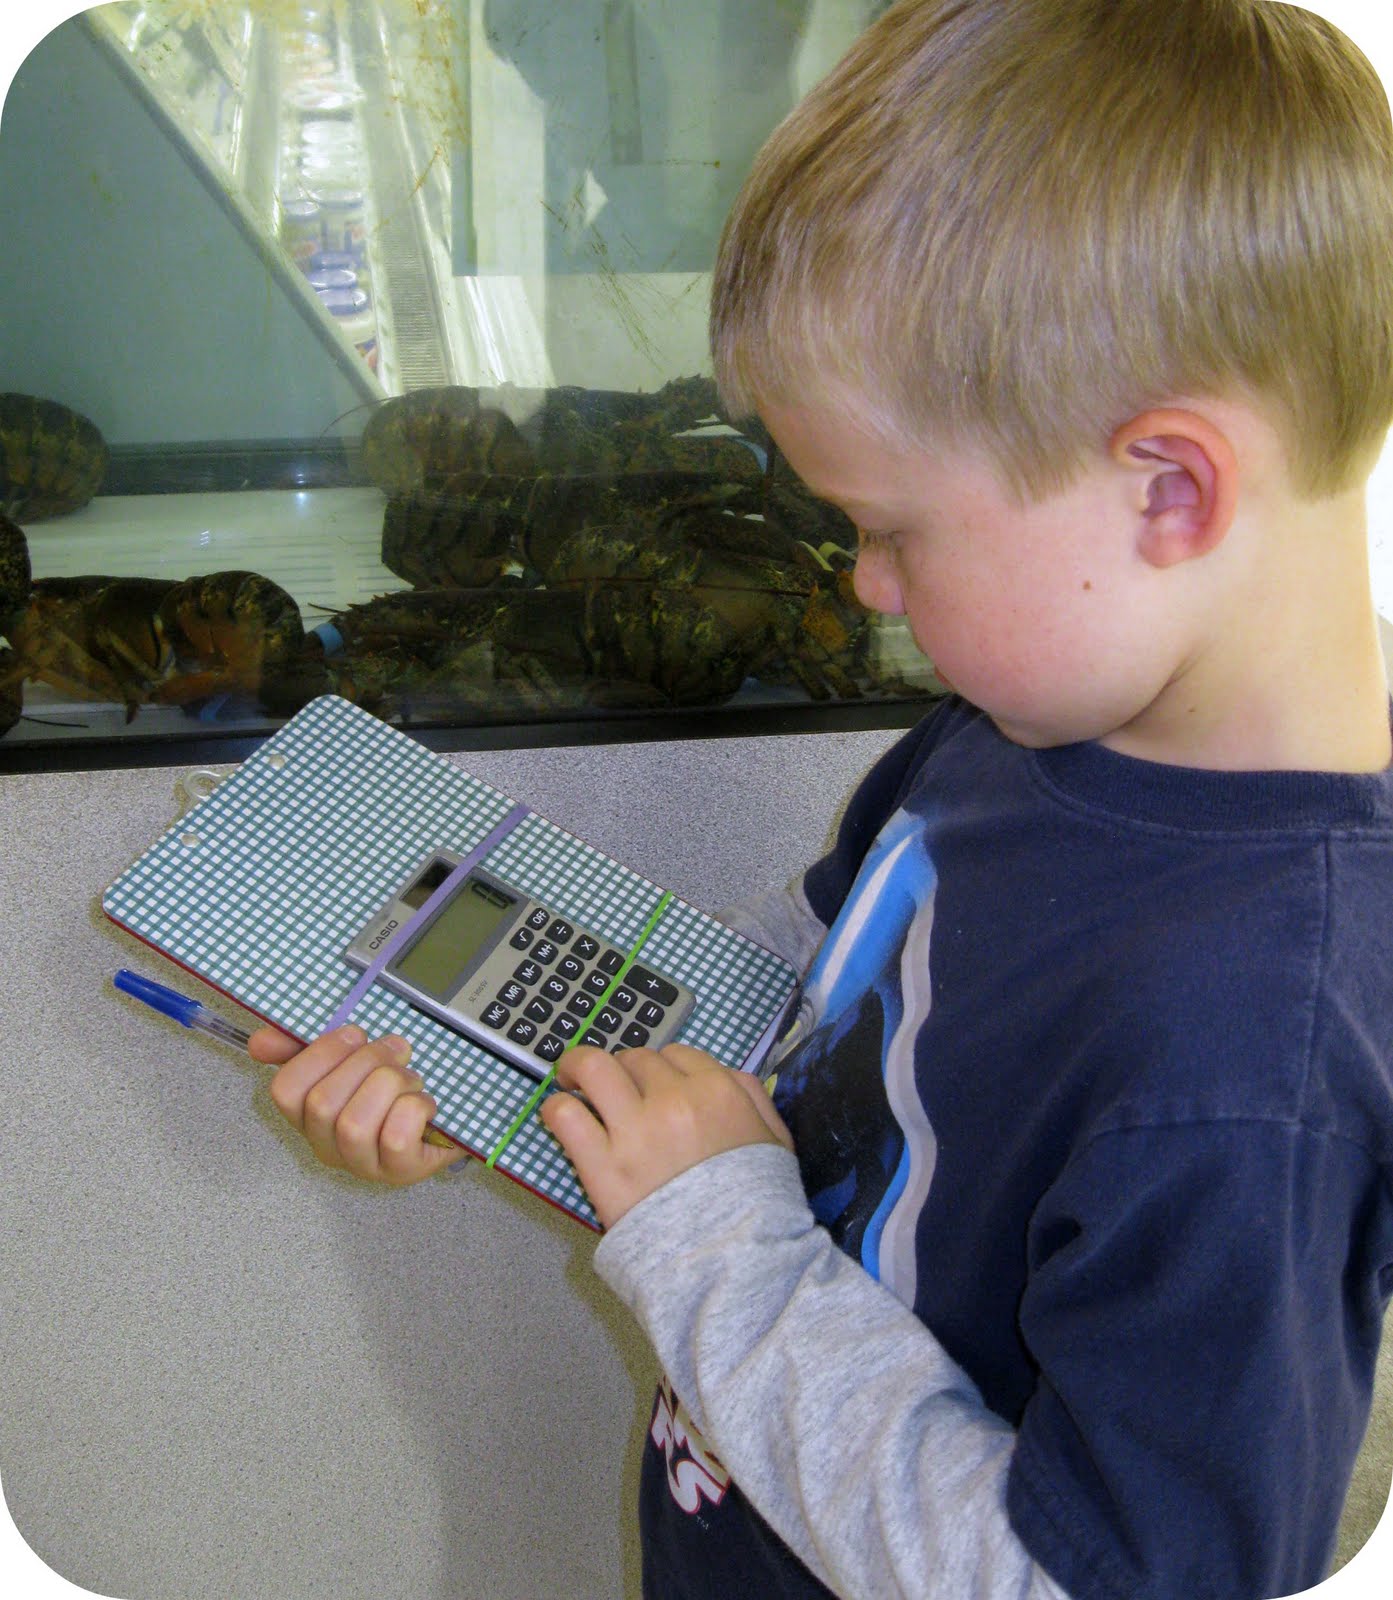
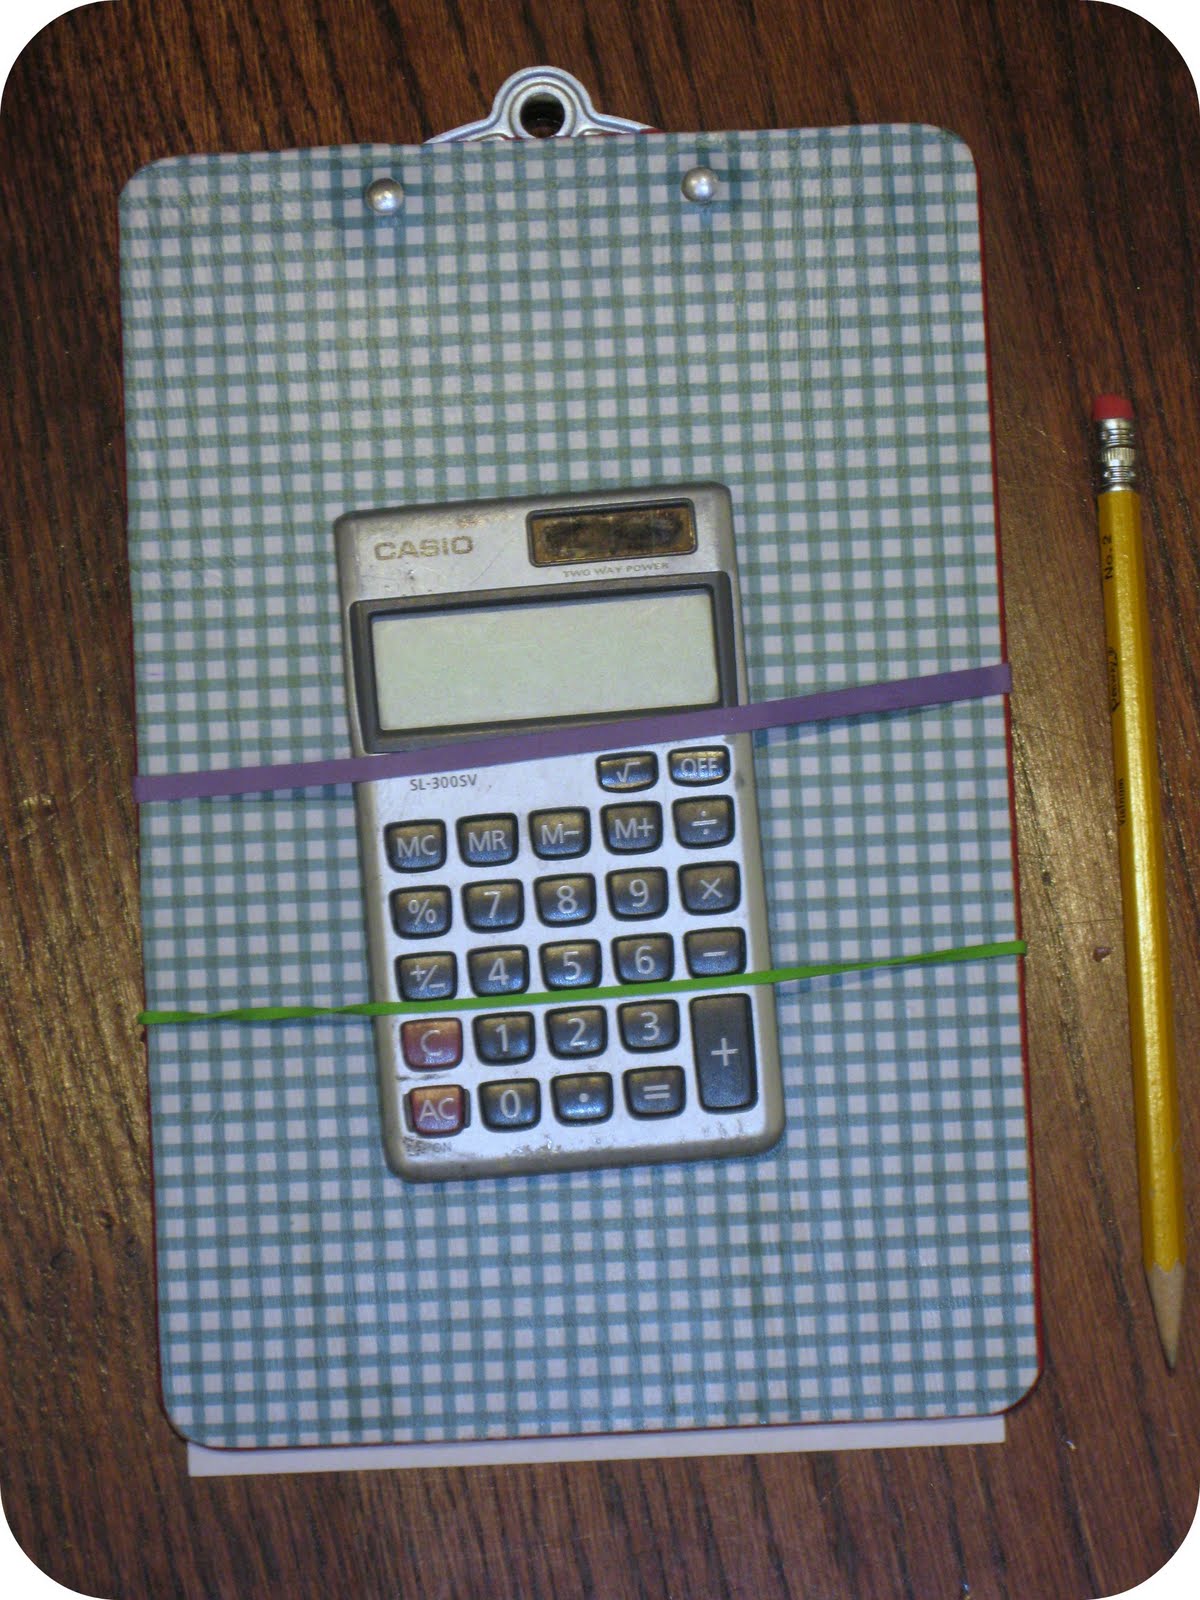
My first grader is loving math these days. A Price Hunt math game with a calculator kept him very happily occupied. He had to find the grocery items on his list, note the price, and then calculate the cost for the 2 of them, or 3, or whatever # was indicated.


 I made a printable version of this...but for variation, cut pictures out of a grocery flier and glue them on a paper. The best part, of course, is using a calculator! I used rubber bands to hold it to the back of the clipboard. A dollar store calculator could be superglued to the back of the clipboard, or attached with velcro so it's removable.


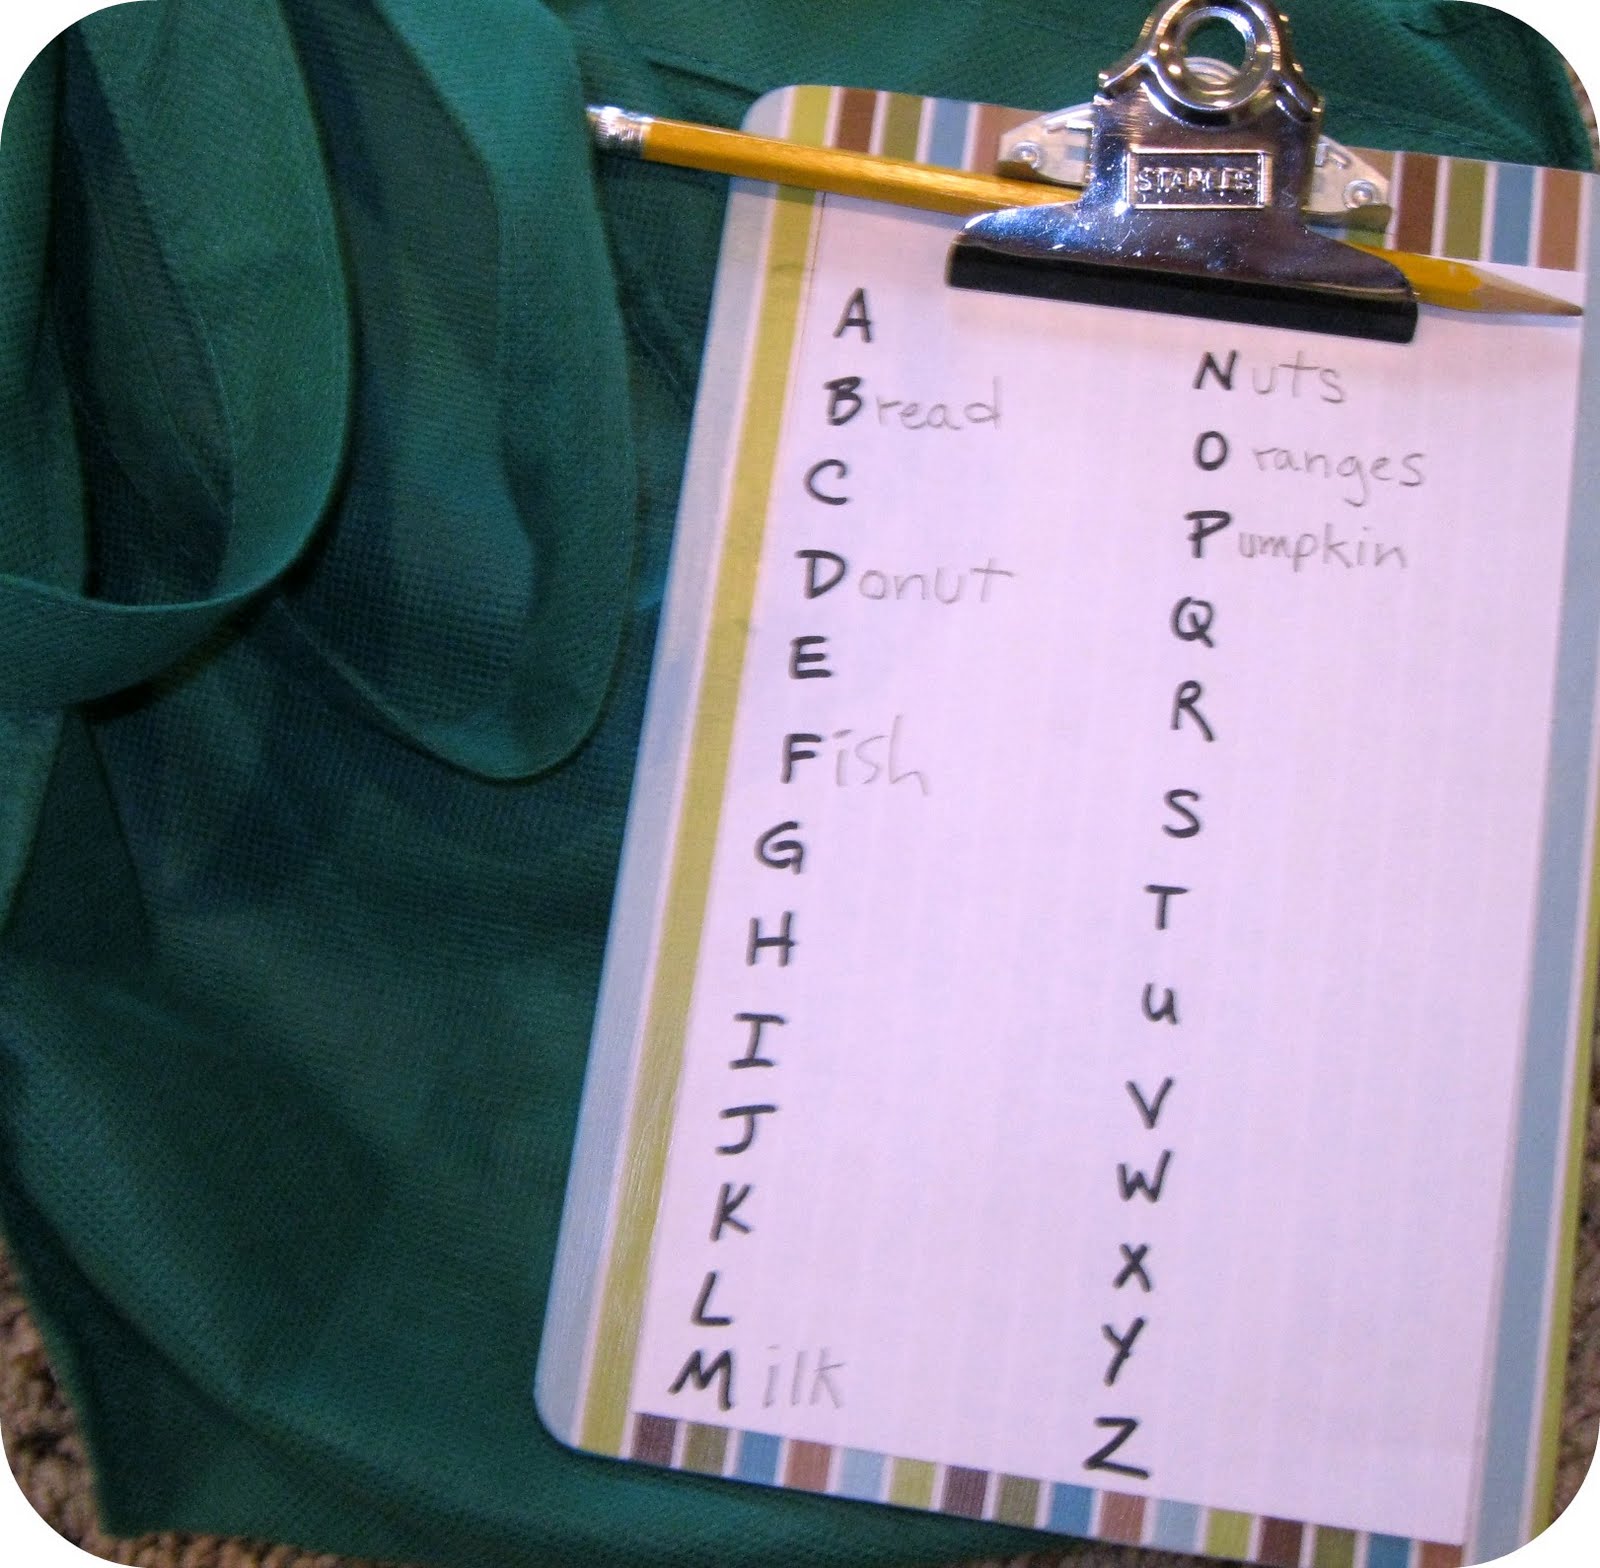
For kids who can spell, try an Alphabet Hunt. Write the alphabet out in a couple of columns with a space beside each letter. Your child must find something at the store that starts with each letter. Stick to alphabetical order for more of a challenge if you have several shopping stops!

If you have no time to make a game, one quick thing I've done before when we've had to hit several stores is to give each child a few coupons and tell them their Mission is to be the first to find the product pictured. 

Grocery shopping accomplished and a good time had by all.


Shared with these great blogs:
I Can Teach My Child


Monday, August 1, 2011

The Blow-by-Blow Game Night

We decided to beat the heat with an Indoor family night this weekend. Just for fun, we came up with games that all had something to do with Huffing & Puffing. Easy, lung-building games with minimal supplies needed: two ping pong balls, drinking straws, and balloons. We built up anticipation all afternoon with hints...the kids could hardly wait until supper was over.

 Balloon Pop was our first game. I cut some slips of paper and wrote a command on each, such as: Do 10 Jumping Jacks, Sing “Happy Birthday” to Raggedy Ann, Hop on one foot and count to 12, and Walk like a crab across the room (ours were obviously tailored to a six-and-under crowd). Then we put a rolled-up paper into each balloon and blew them up.


We divided into two teams and formed a relay so one person from each team ran to the balloon pile, chose one, sat on it to pop it, accomplished the action inside, and ran back to tag the next team member. Hilarious fun...especially the one-year-old off to the side trying to pop the same balloon for the entire game. We had prepared two balloons for each player....but when it was over, our kids begged for more.


For the next game, every family member got a straw, and each team got a ping pong ball.


We plotted a little game course through our kitchen, under the dining table, around the living room furniture, and back to the starting line. It was a team relay again, with two players racing against each other.


Each had to get down on hands & knees and blow through their straw to control the ping pong ball around the course and back to the finish line, and then pass the ball off to the next player. This one got competitive! I won't say who my defeated rival was, but I was able to make my break-away move on the first turn, when his 6-foot frame was forced to go scuttling after a wayward white ball.


Our final game was a big Hot Air challenge. Basically each person “defends” one side of the dining table using nothing but their sweet breath. Hands must stay under the table...only chins can touch it.


A ping pong ball is set in the middle of the table, and everyone huffs and puffs as hard as they can to keep the ball from rolling off their side. When the ball does drop off someone's side, that person gets a point against them. We played so that you took a letter in the word BLOW for each time the ball rolled off your side (in hindsight, PANT or GASP may also be appropriate) The last person to get all the letters in BLOW is declared the Most Windy in the family.  Warning: this game will produce lots of giggles.


Whew...did I mention I was a little perspiry by this point? So much for the “stay-cool-with-indoor-fun" idea. Fortunately, there was some ice cream in the house...we re-hashed our favorite game moments over heaping bowls of Moose Tracks. Love these sweet times of enjoying family moments together!