skip to main |
skip to sidebar
My children are growing fast...way too fast. And they do cute and funny little things every day, which I am already forgetting.
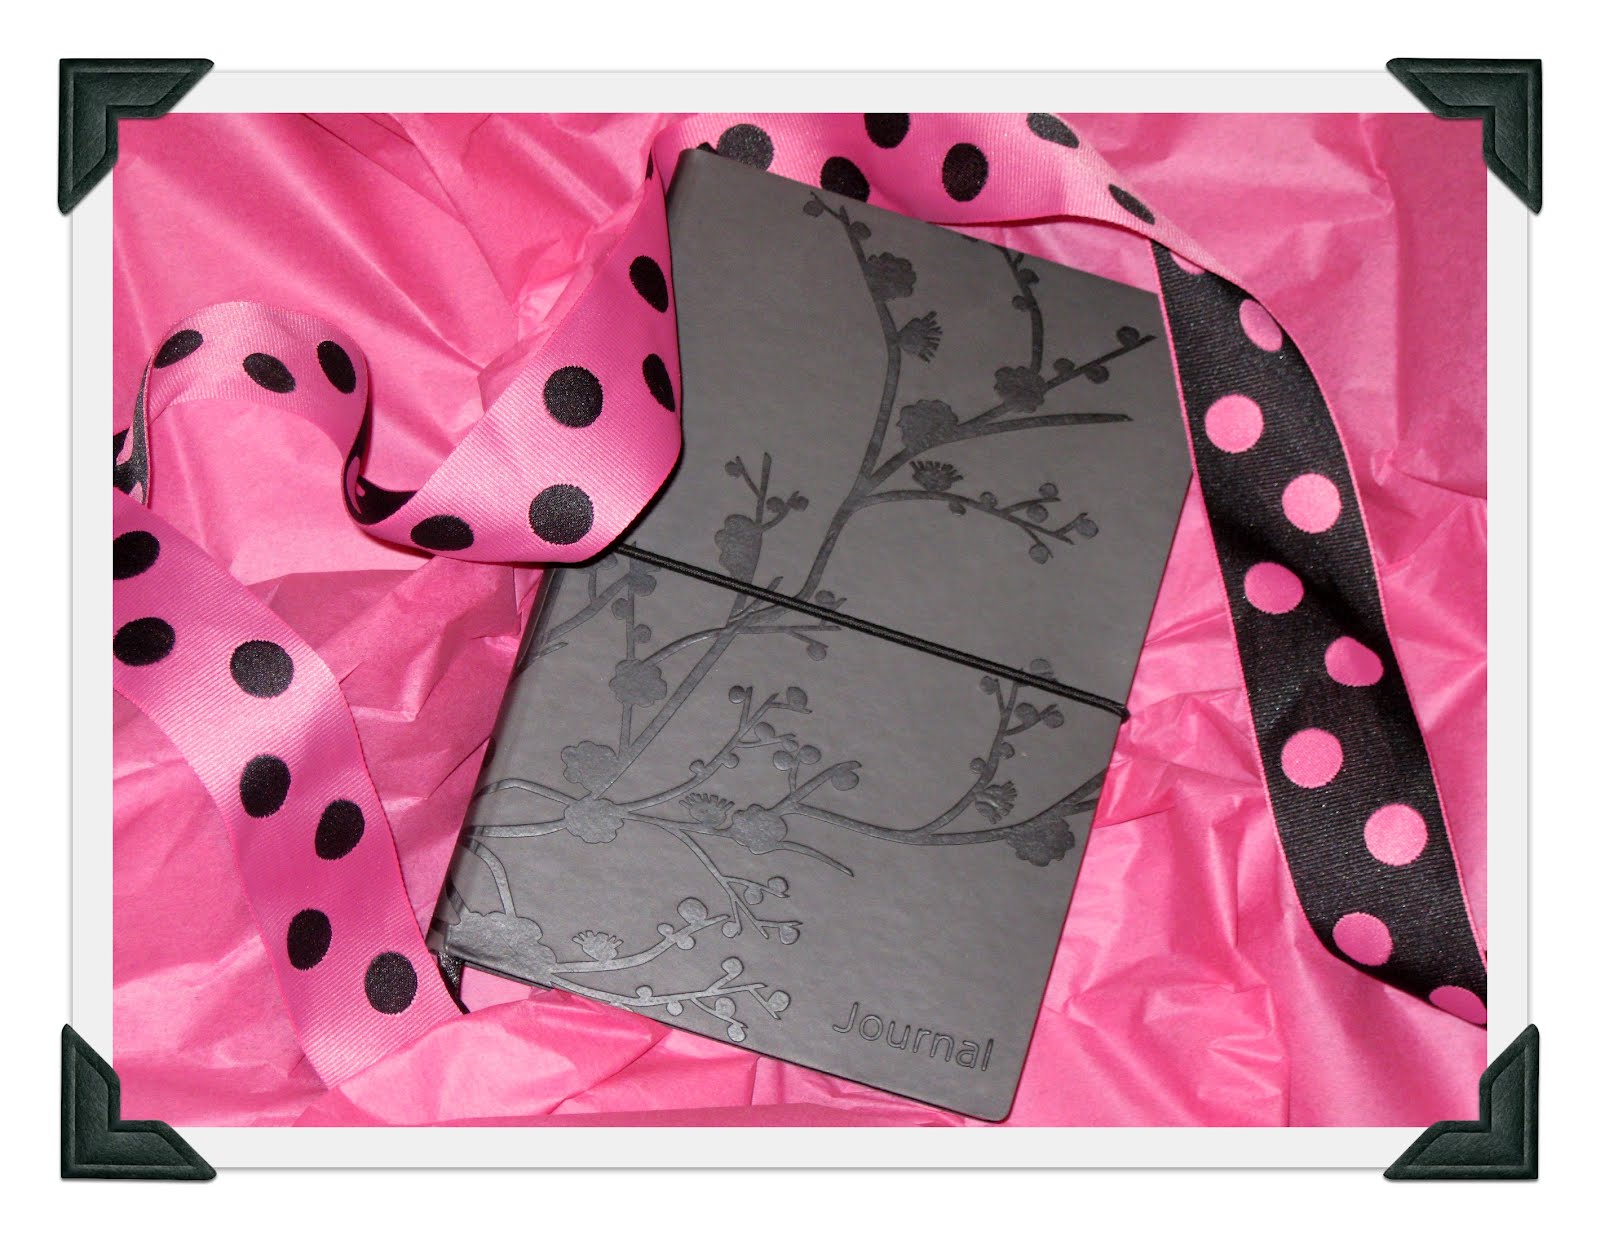
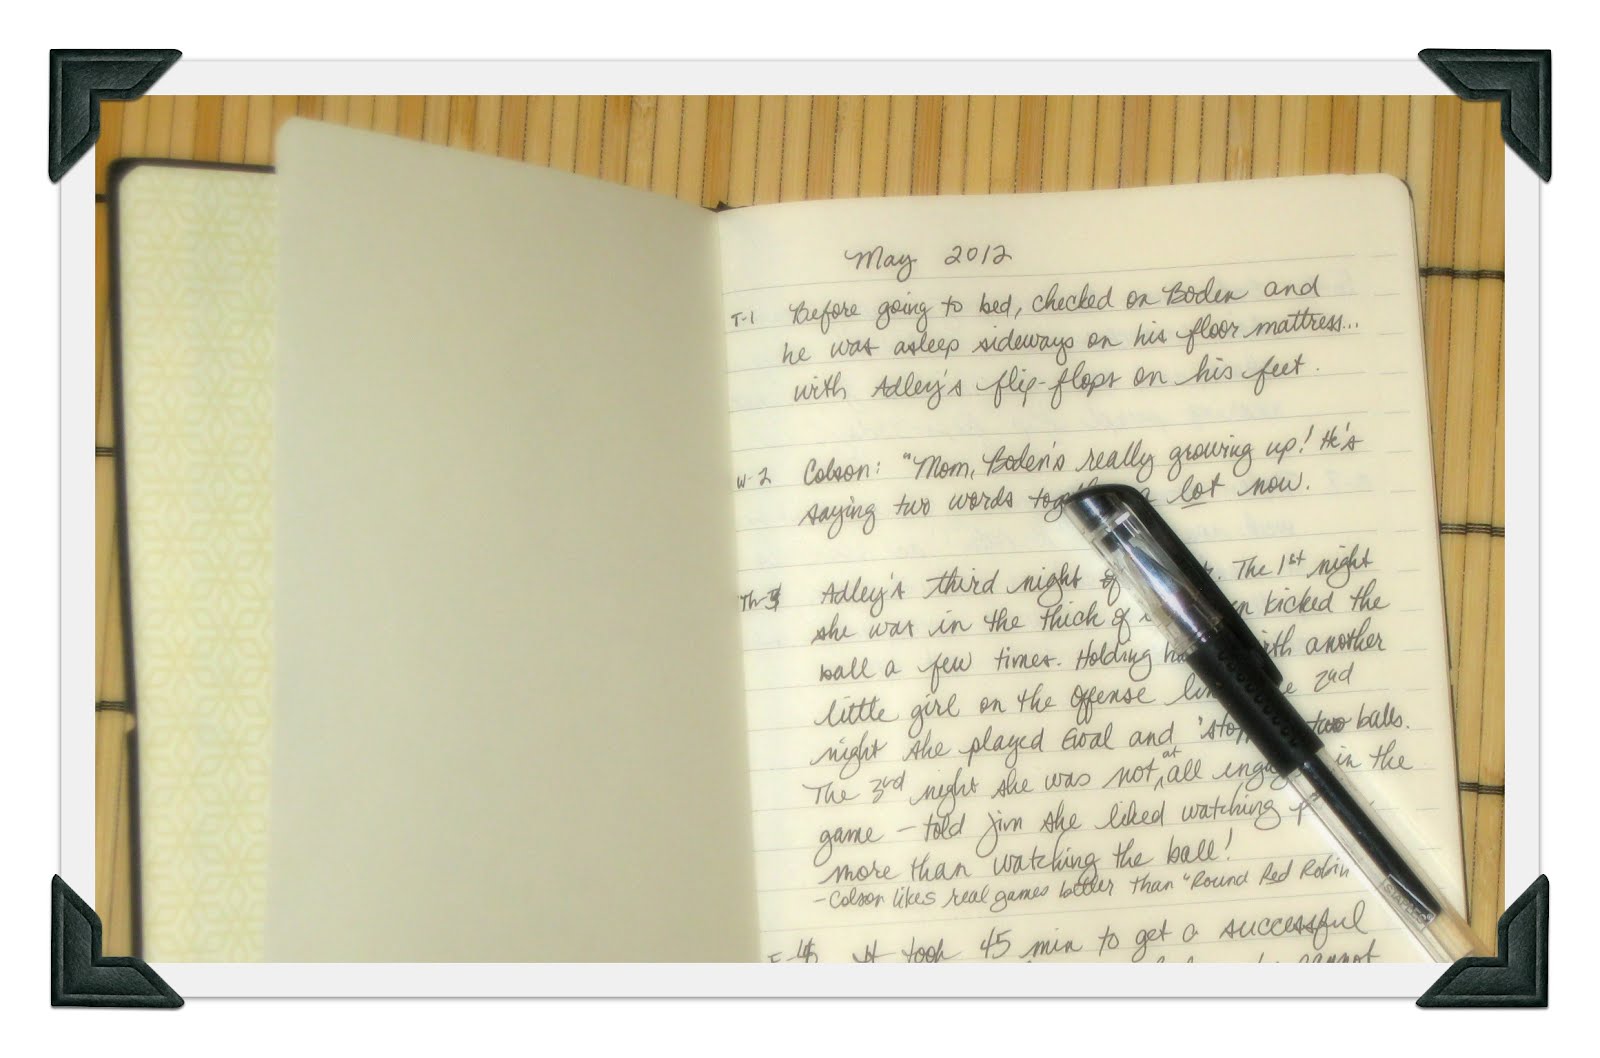
So I gave myself an early little Mother's Day gift this year: a One-Memory-a-Day Journal.
Confession: I am a wanna-be journaler. Truth be told, I am actually a wanna-be Memory-Keeper in several areas. Don't ask me how far my children's Baby books have progressed (one is unopened!) or how my scrapbooks are going (the photos are all there in Photoshop...not printed, not laid out digitally for a Photobook...just waiting...) And even my great intent to keep separate journals for the kids of all their funny antics is basically still a pile of notes on calendars that I need to get around to copying over to actual journals...
But this one is different. It's not intimidating at all. The goal is to write at least one sentence from the day. It keeps track of all the sweet little happenings that may not be Big Firsts or hilarious stories to share at future family get-togethers...just happy memories our family will cherish reading when the kids are grown.
I grabbed a little journal at Staples and started it May 1. So far, I'm still on track!
If you have young children or need a gift idea for a new or young Mom for Mother's Day, give her a cute journal with the instructions to jot One little Memory a day. She will love it forever!
We originally had the opportunity to guest-post this project at Living Life Intentionally last month. Posting it here in case you missed it!
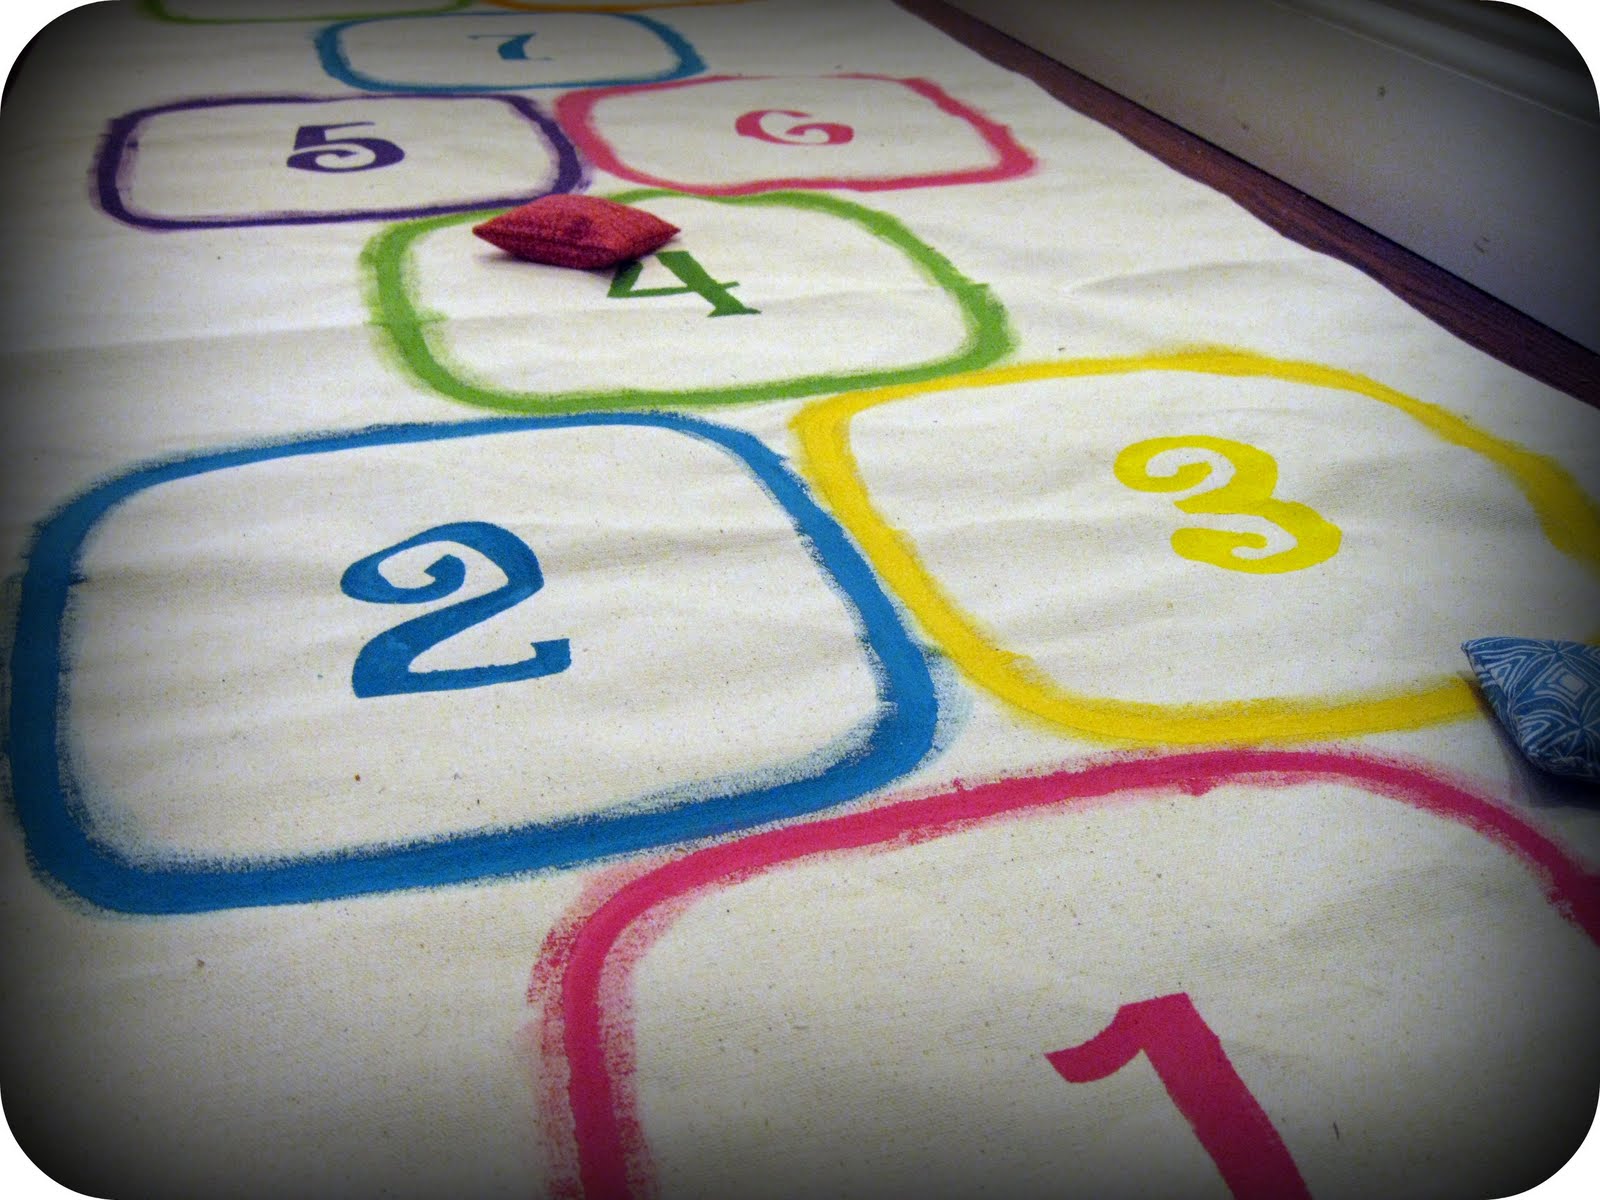
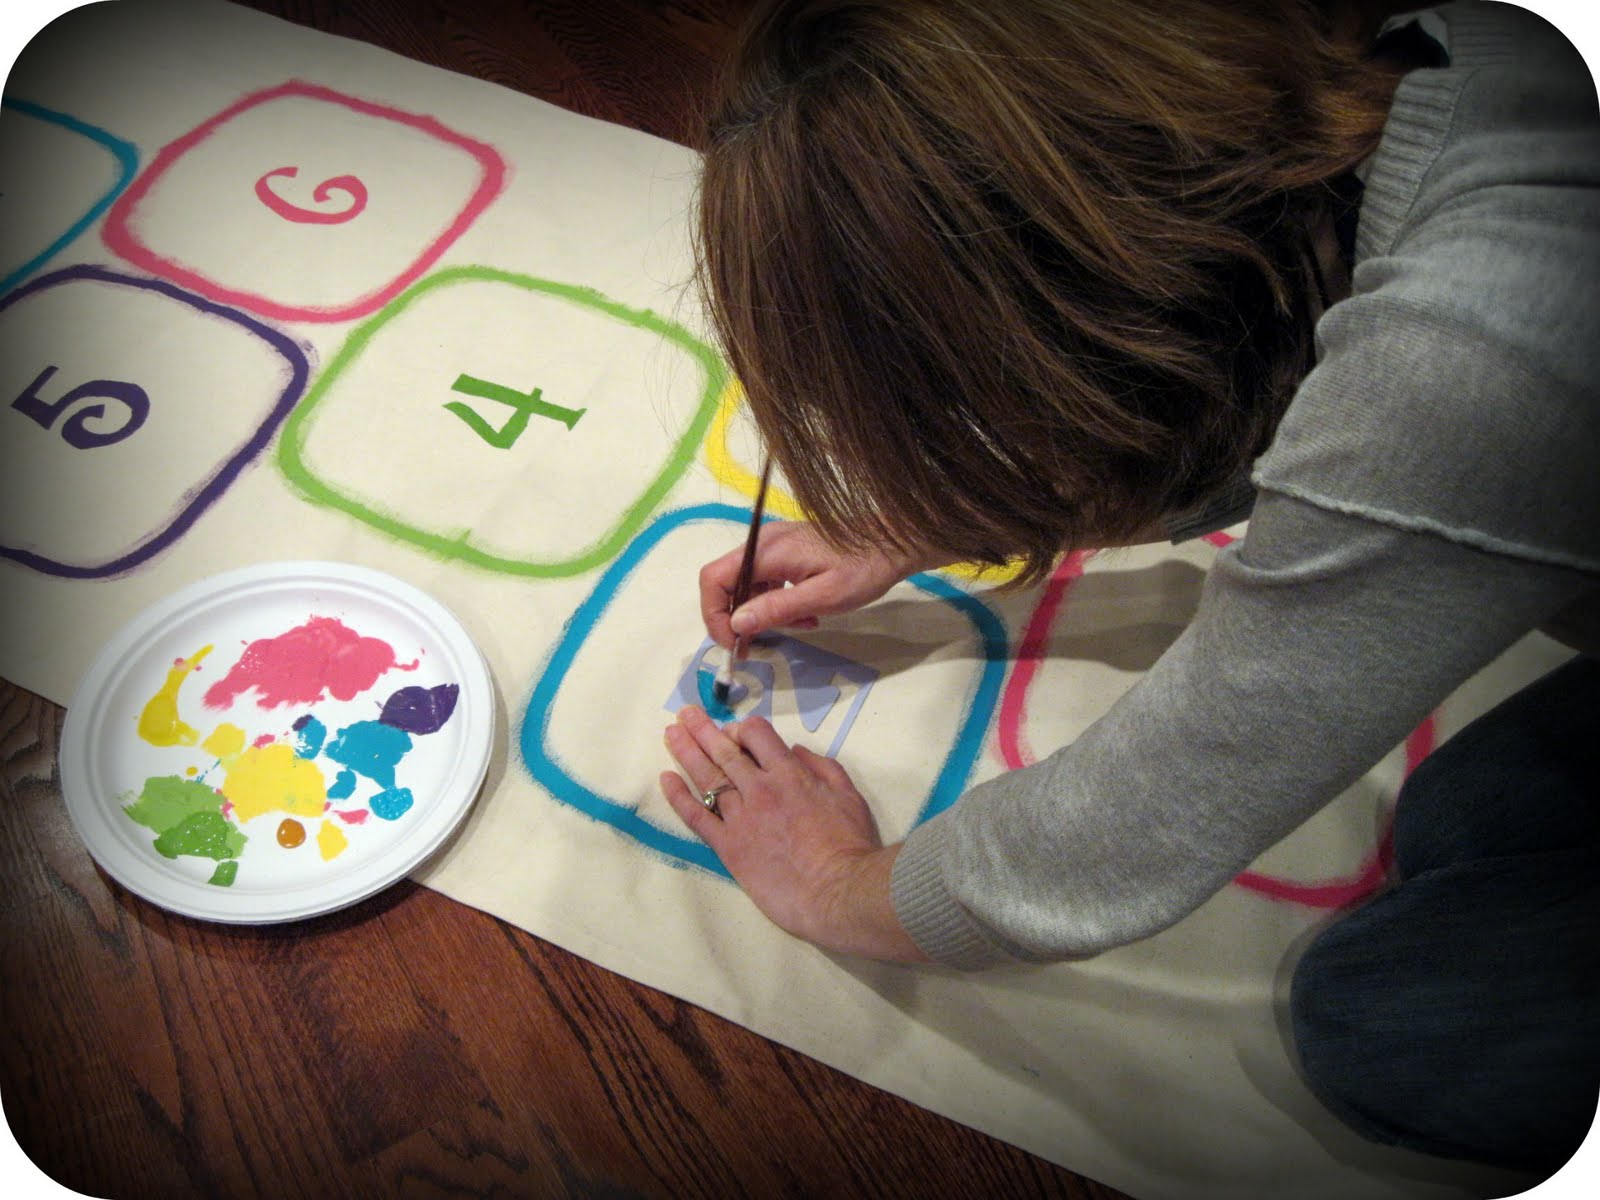
Are cold, rainy, or snowy days keeping your children from running off pent-up energy outside?? Bring an outdoors game inside with a Hopscotch Mat! I taught my kids to play hopscotch in our driveway this summer. They loved it...and of couse, I was then cajoled into hopping through many a game with them. An indoor version takes a little time to prepare initially, but then it can be rolled out in a couple of seconds for instant fun.
Supplies needed:
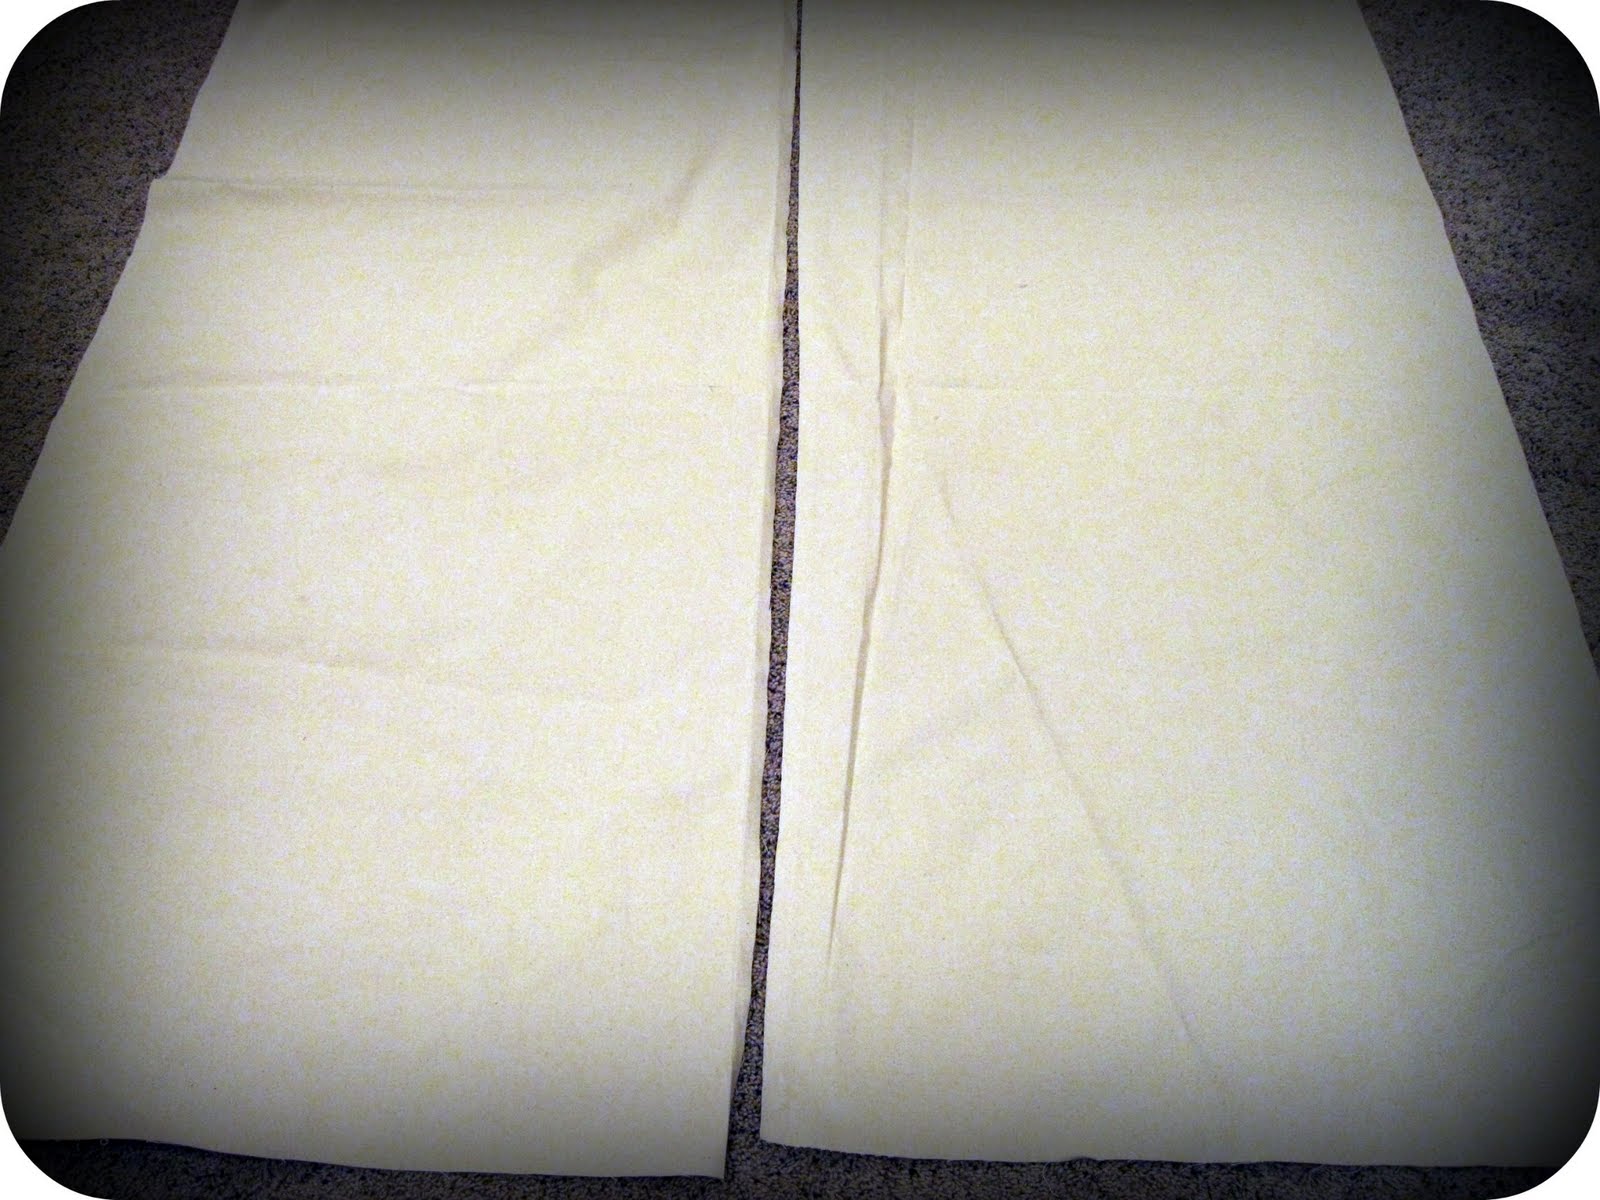
- 2 1/2 yds canvas
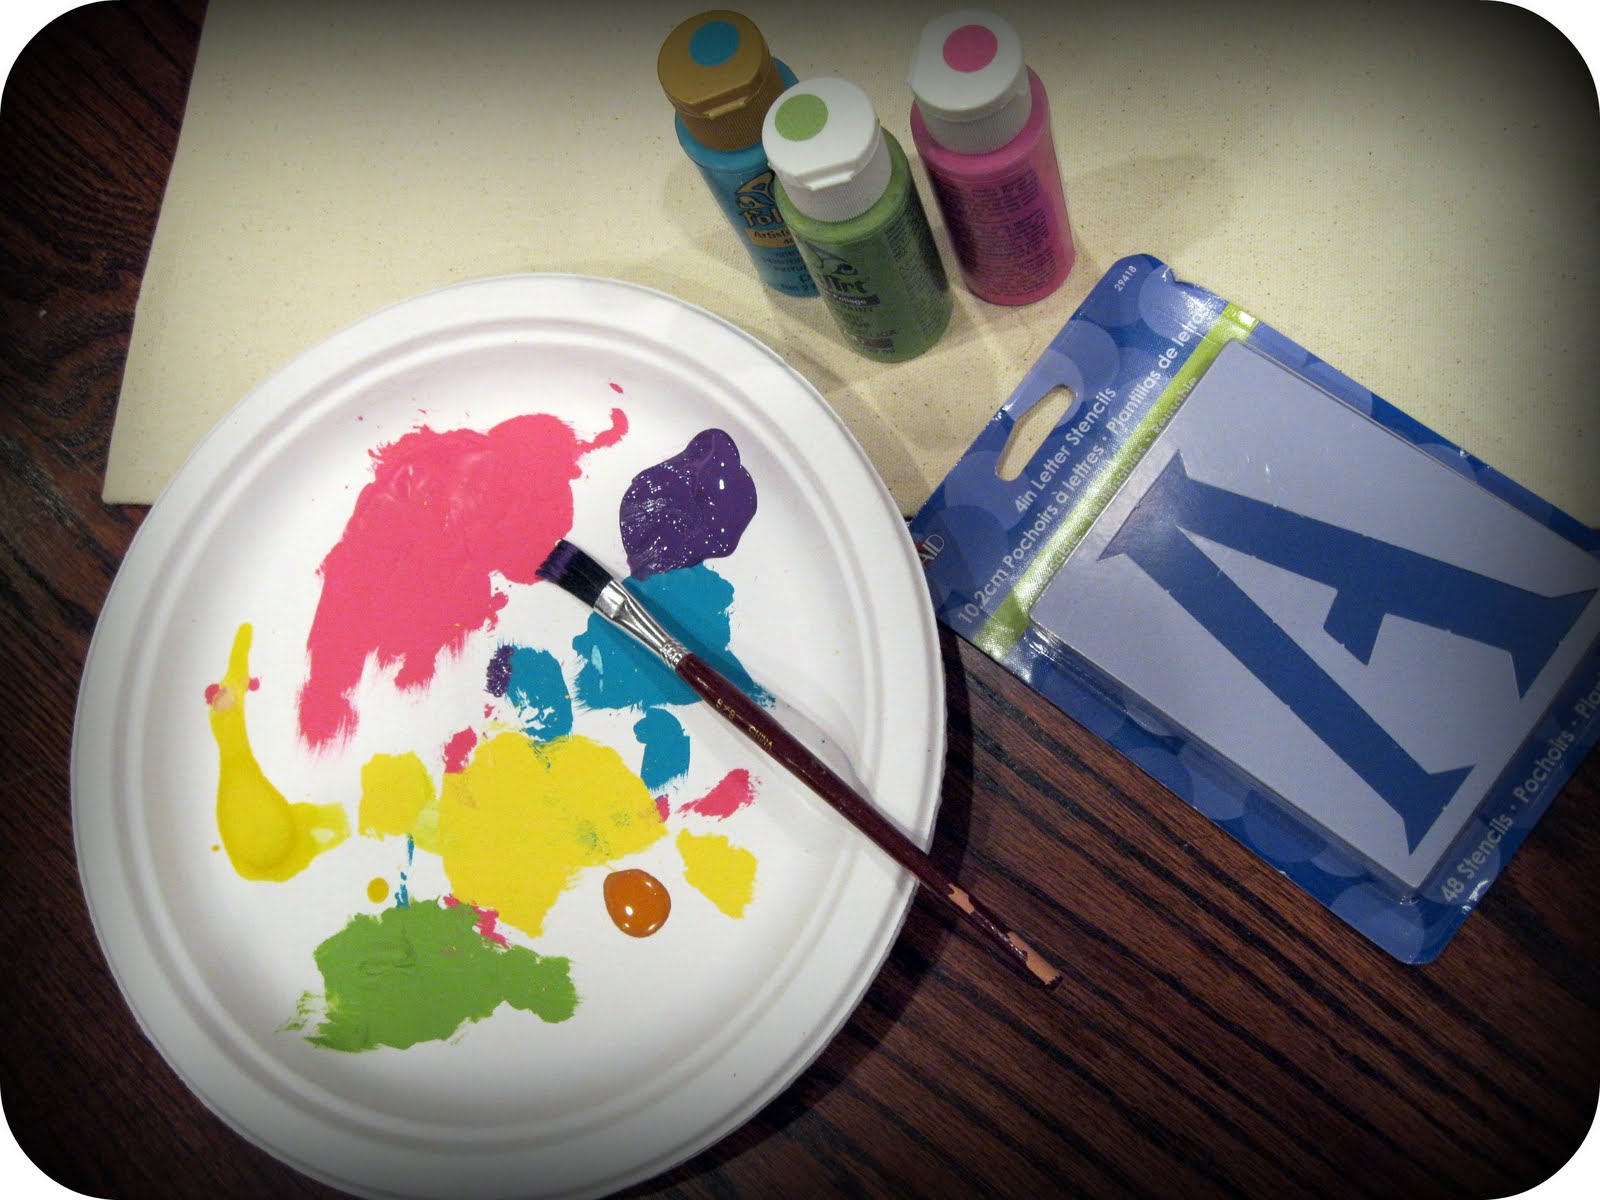
- acrylic craft paints in several colors
- stiff 1/2" paintbrush
- a large bowl or pan--square, rectangle or circle
- pencil
- measuring tape
- puffy paint (opt)
- sewing machine OR hot glue gun
- 4 fabric scraps and dried beans (for Beanbags) OR 4 Rocks
The canvas I bought at Walmart was 60" wide, so I bought 2 1/2 yards and cut it lengthwise to make 2 mats--one for my daughter and one for a gift.
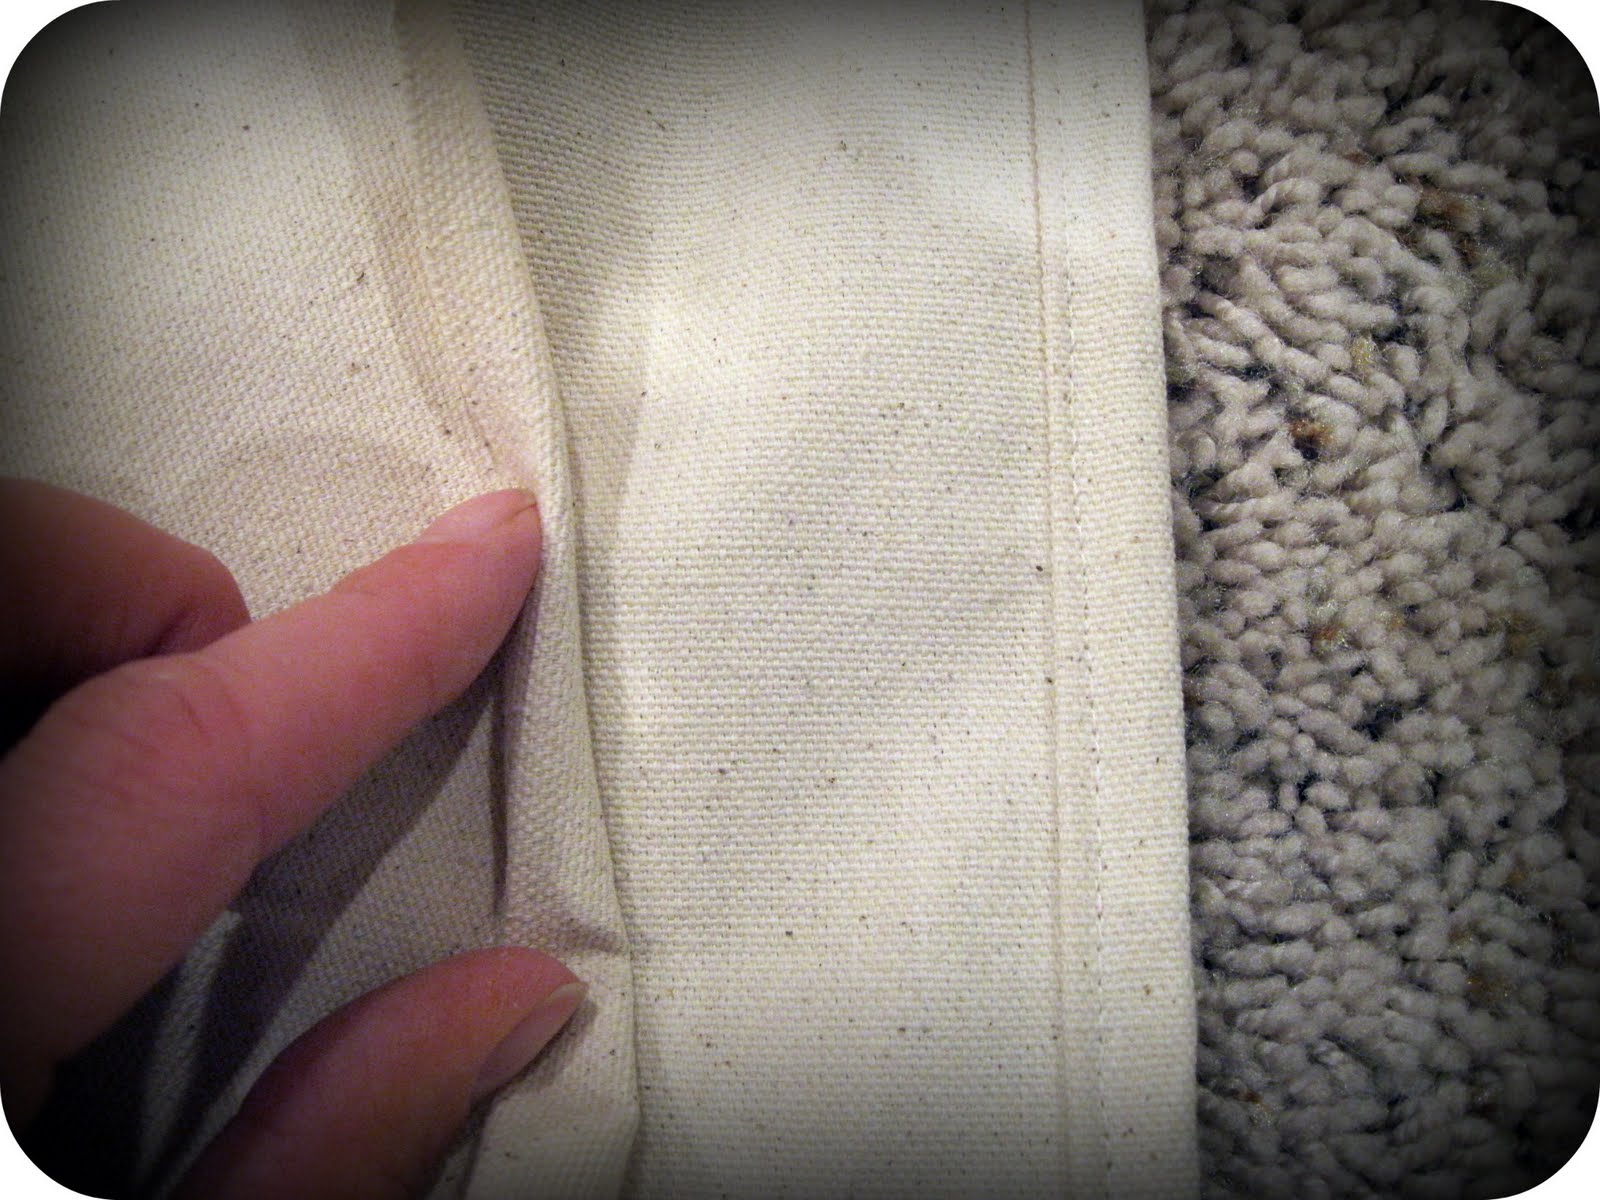
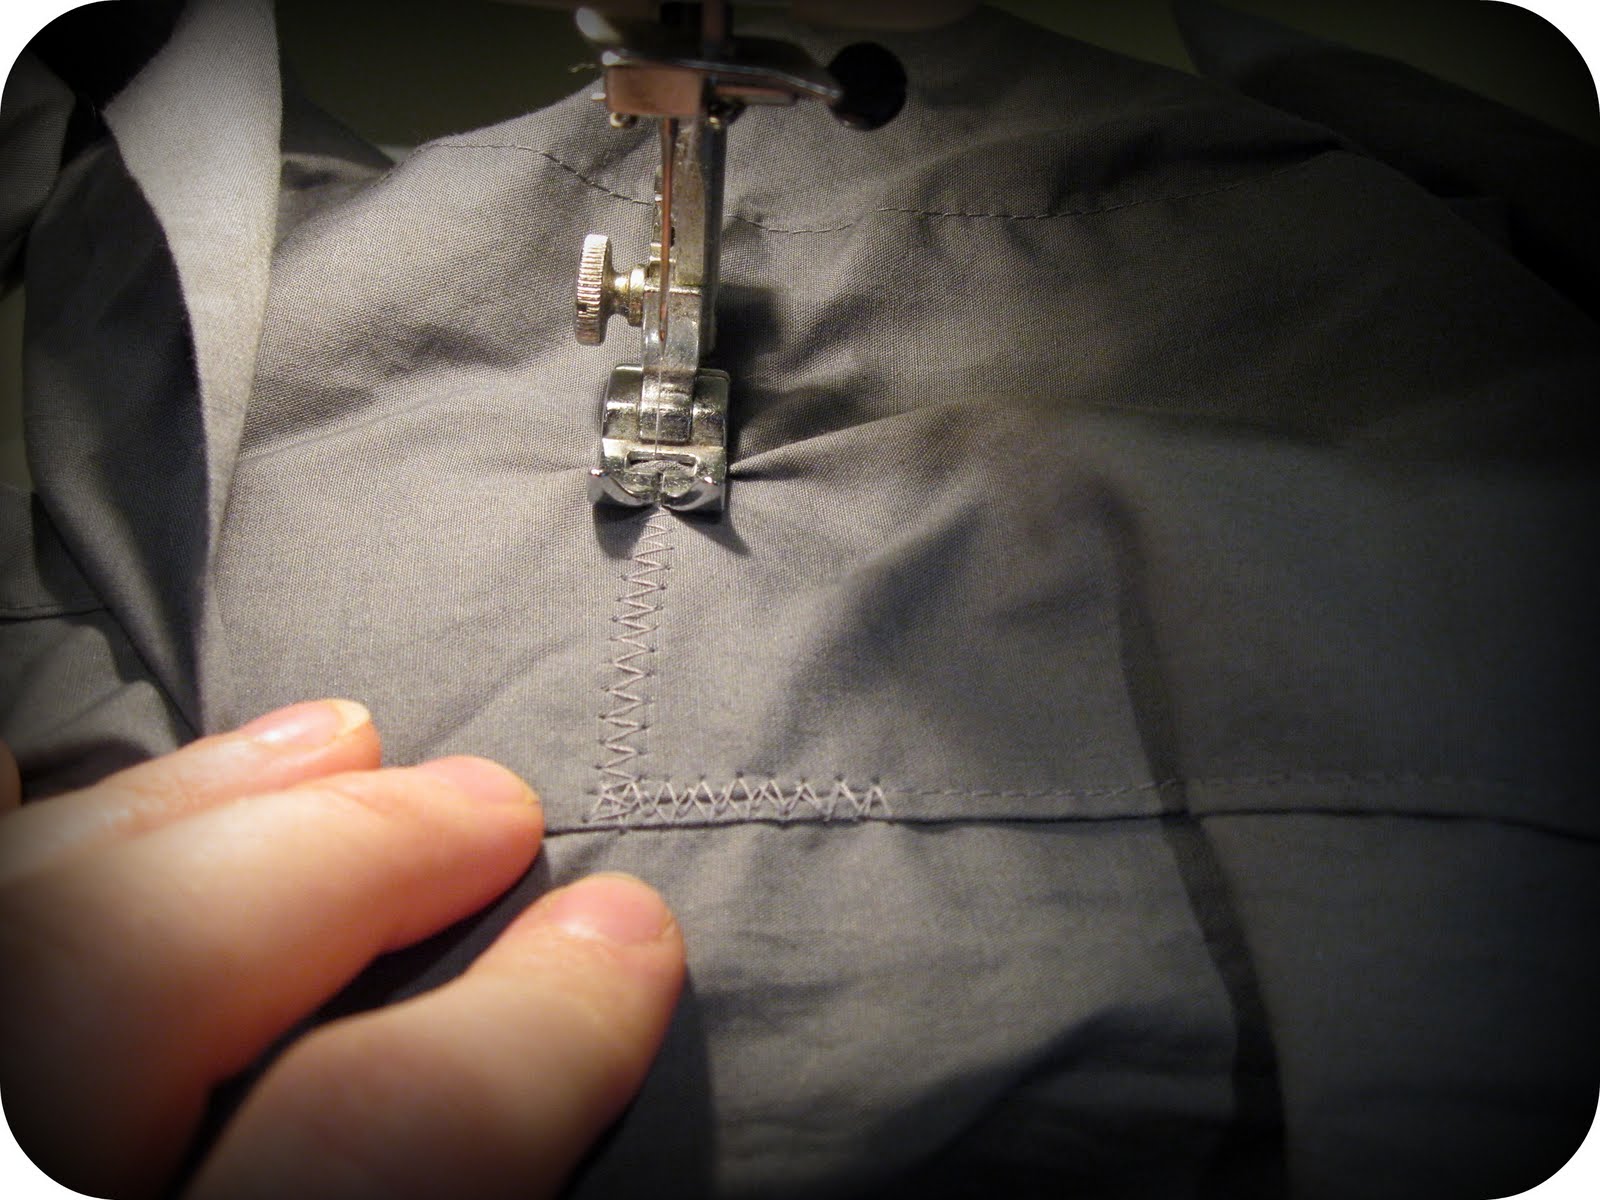
To finish the raw edges, fold them under 1/4", then fold under again and stitch all around. If you don't sew, you could hot glue them under.
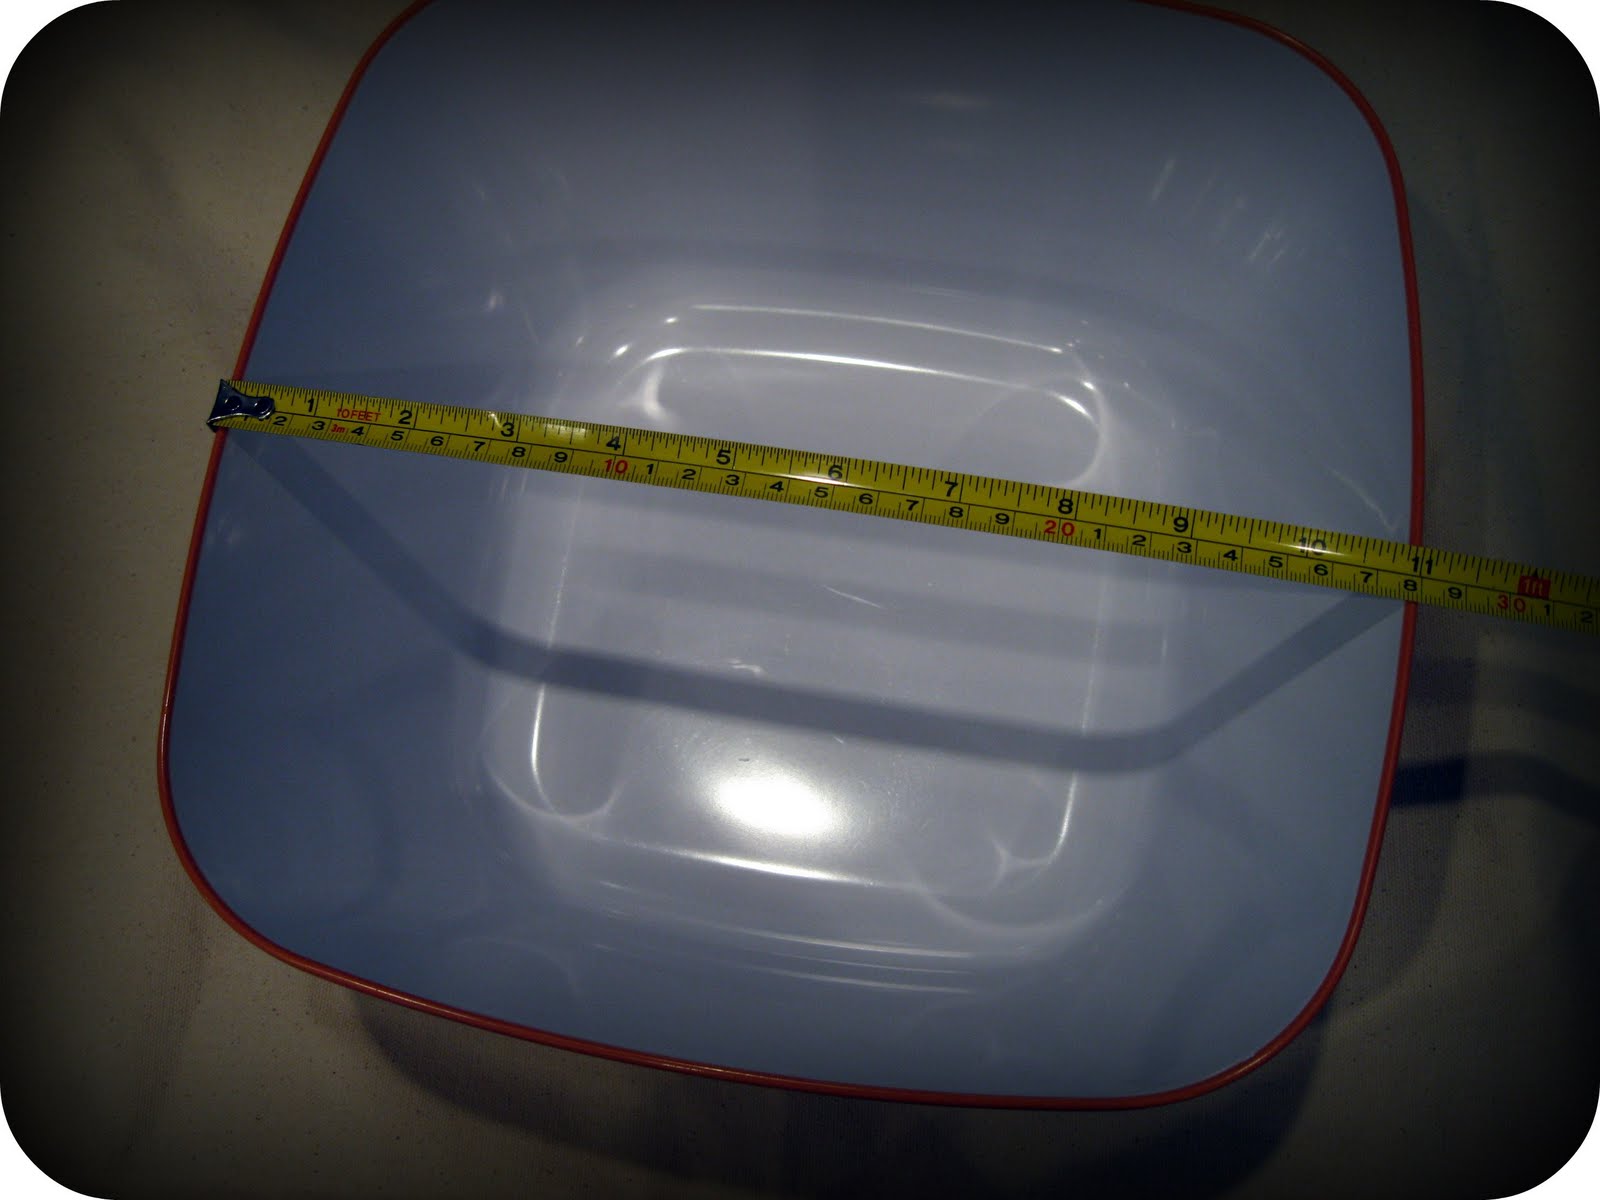
For the hopscotch squares, I decided it would take forever to tape them off in order to paint straight lines. Instead, I had this rounded-square bowl in my cupboard that would work perfectly. You could use a square pyrex dish, a rectangle dish, or a large round mixing bowl. Even a combination of shapes would make a fun design! You probably want your bowl to be approx. 10-12 inches diameter.
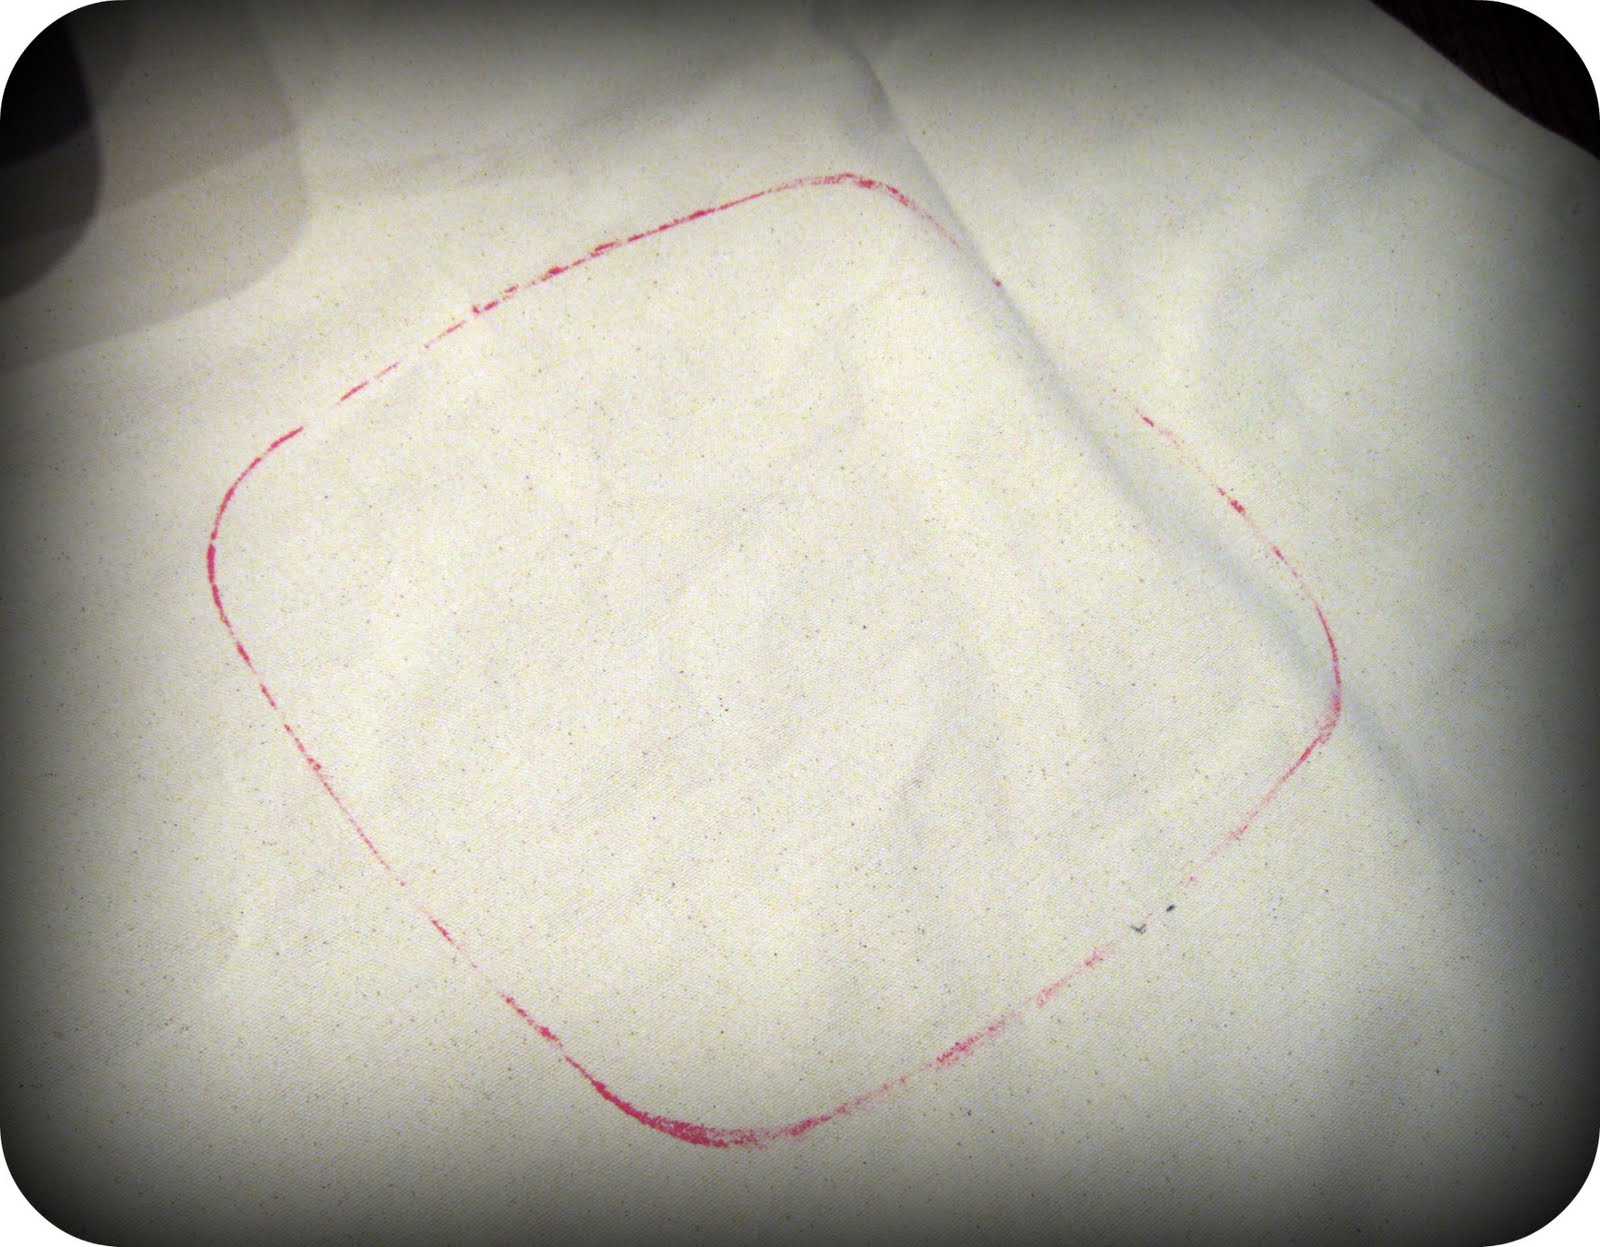
Measure your bowl and then determine the center of your canvas width. Make some pencil dots to mark the center and give yourself some guides for the squares. At first, I tried painting the rim of the bowl and stamping it on the canvas...but it was too thin a line and hard to hold the slippery bowl.
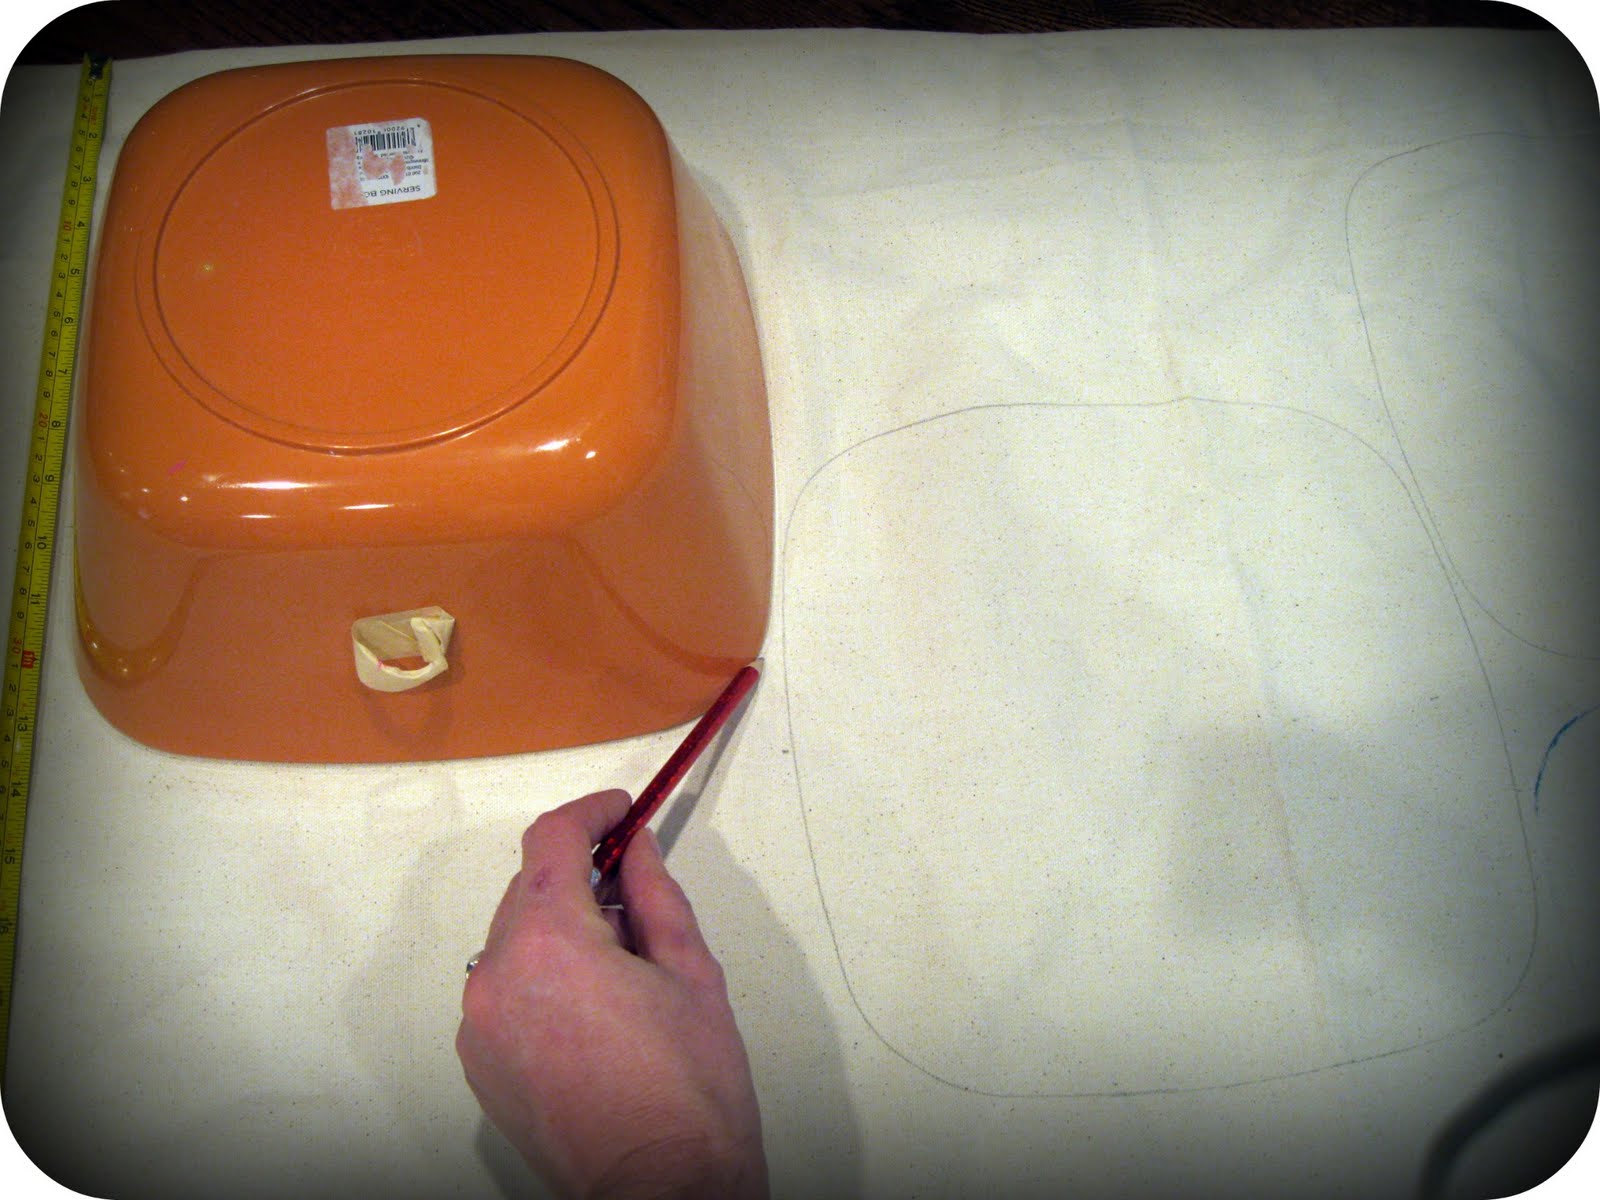
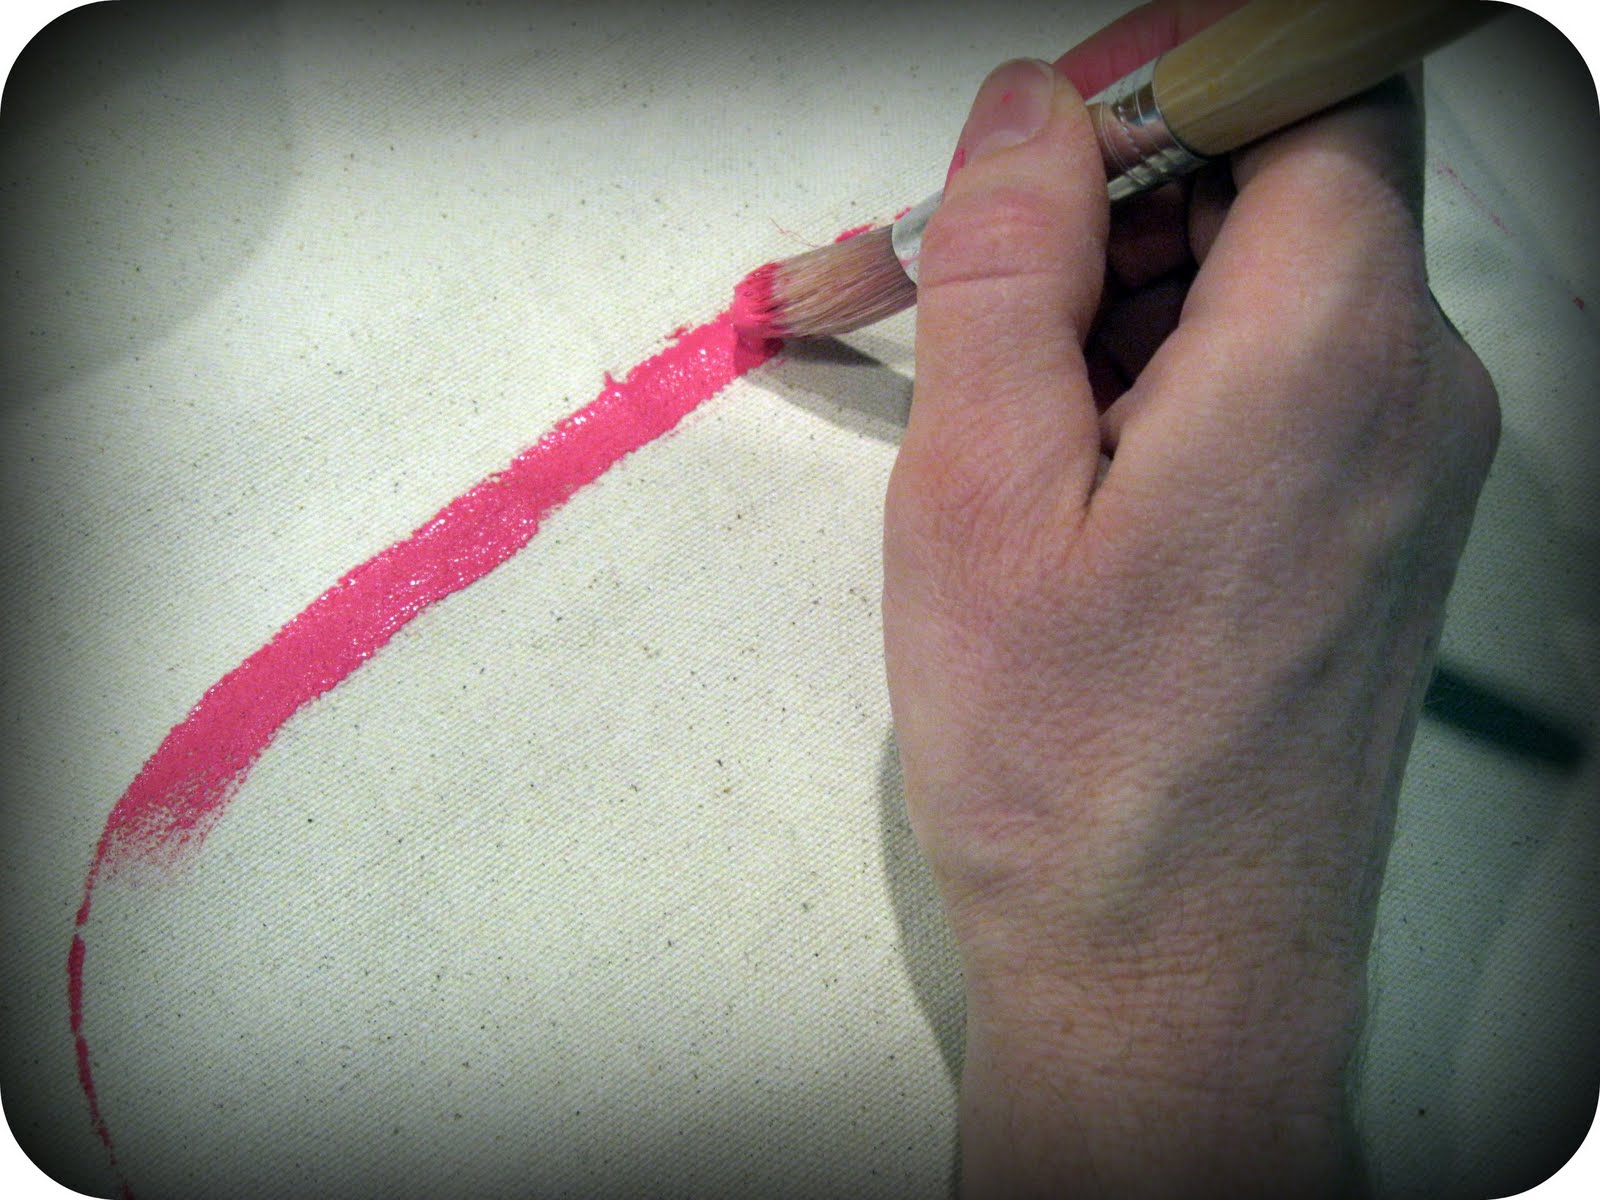
So then I just traced it with a pencil and painted over the pencil lines with a fat paintbrush. Much easier!
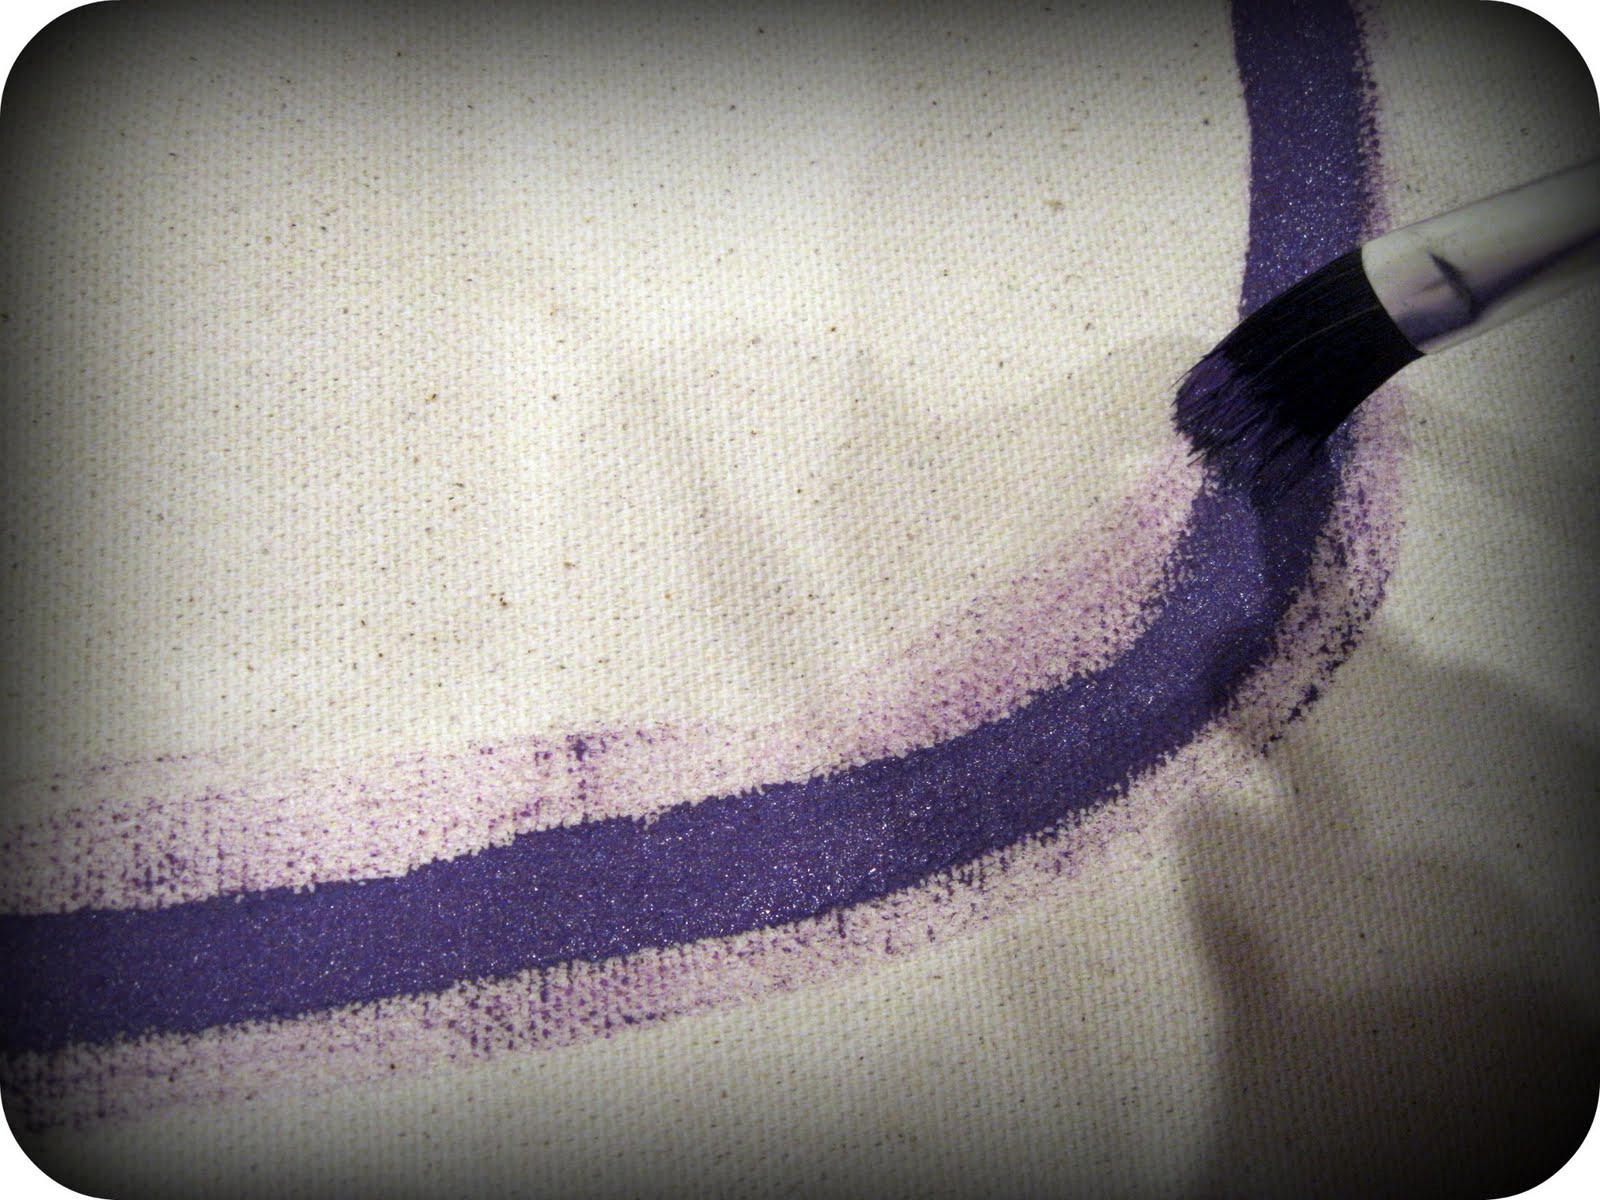
I painted the lines (with a stiff brush) as evenly as I could, knowing they would not be perfect without tape guides. Afterwards, I went back over the lines with my brush fairly dry and feathered out the edges to look like chalk dust.
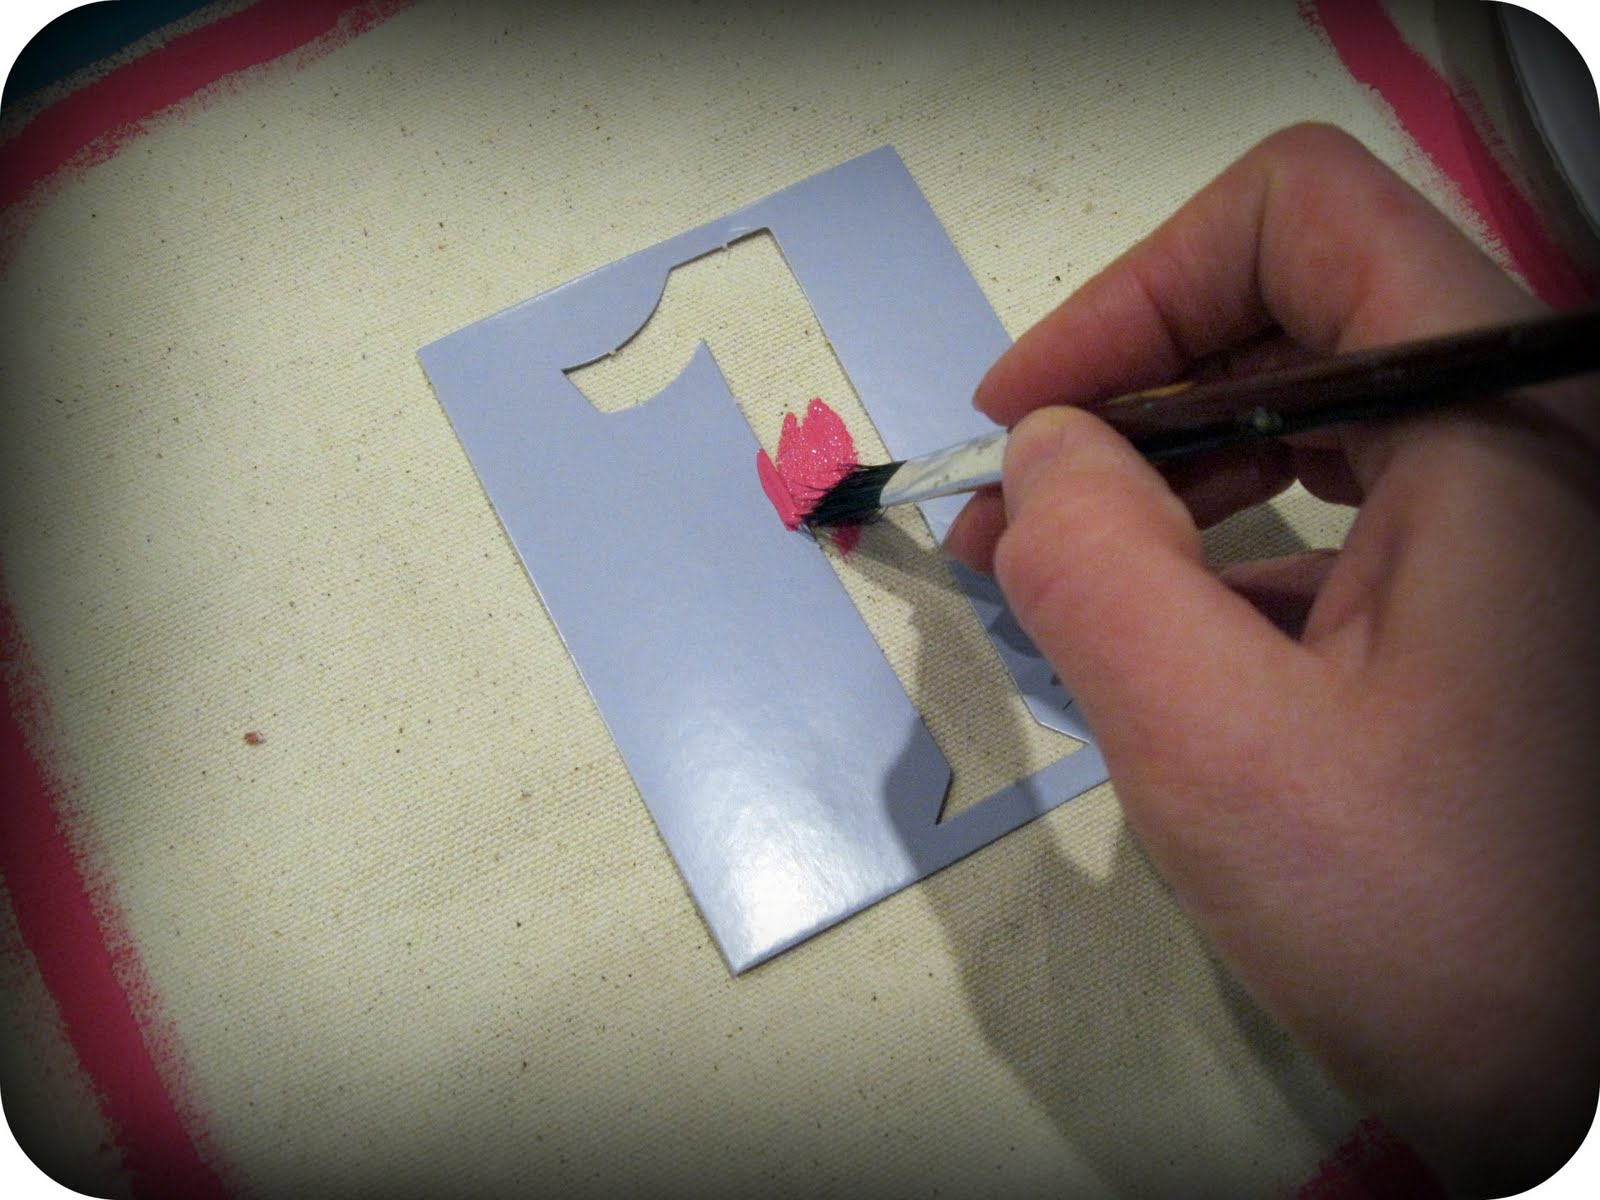
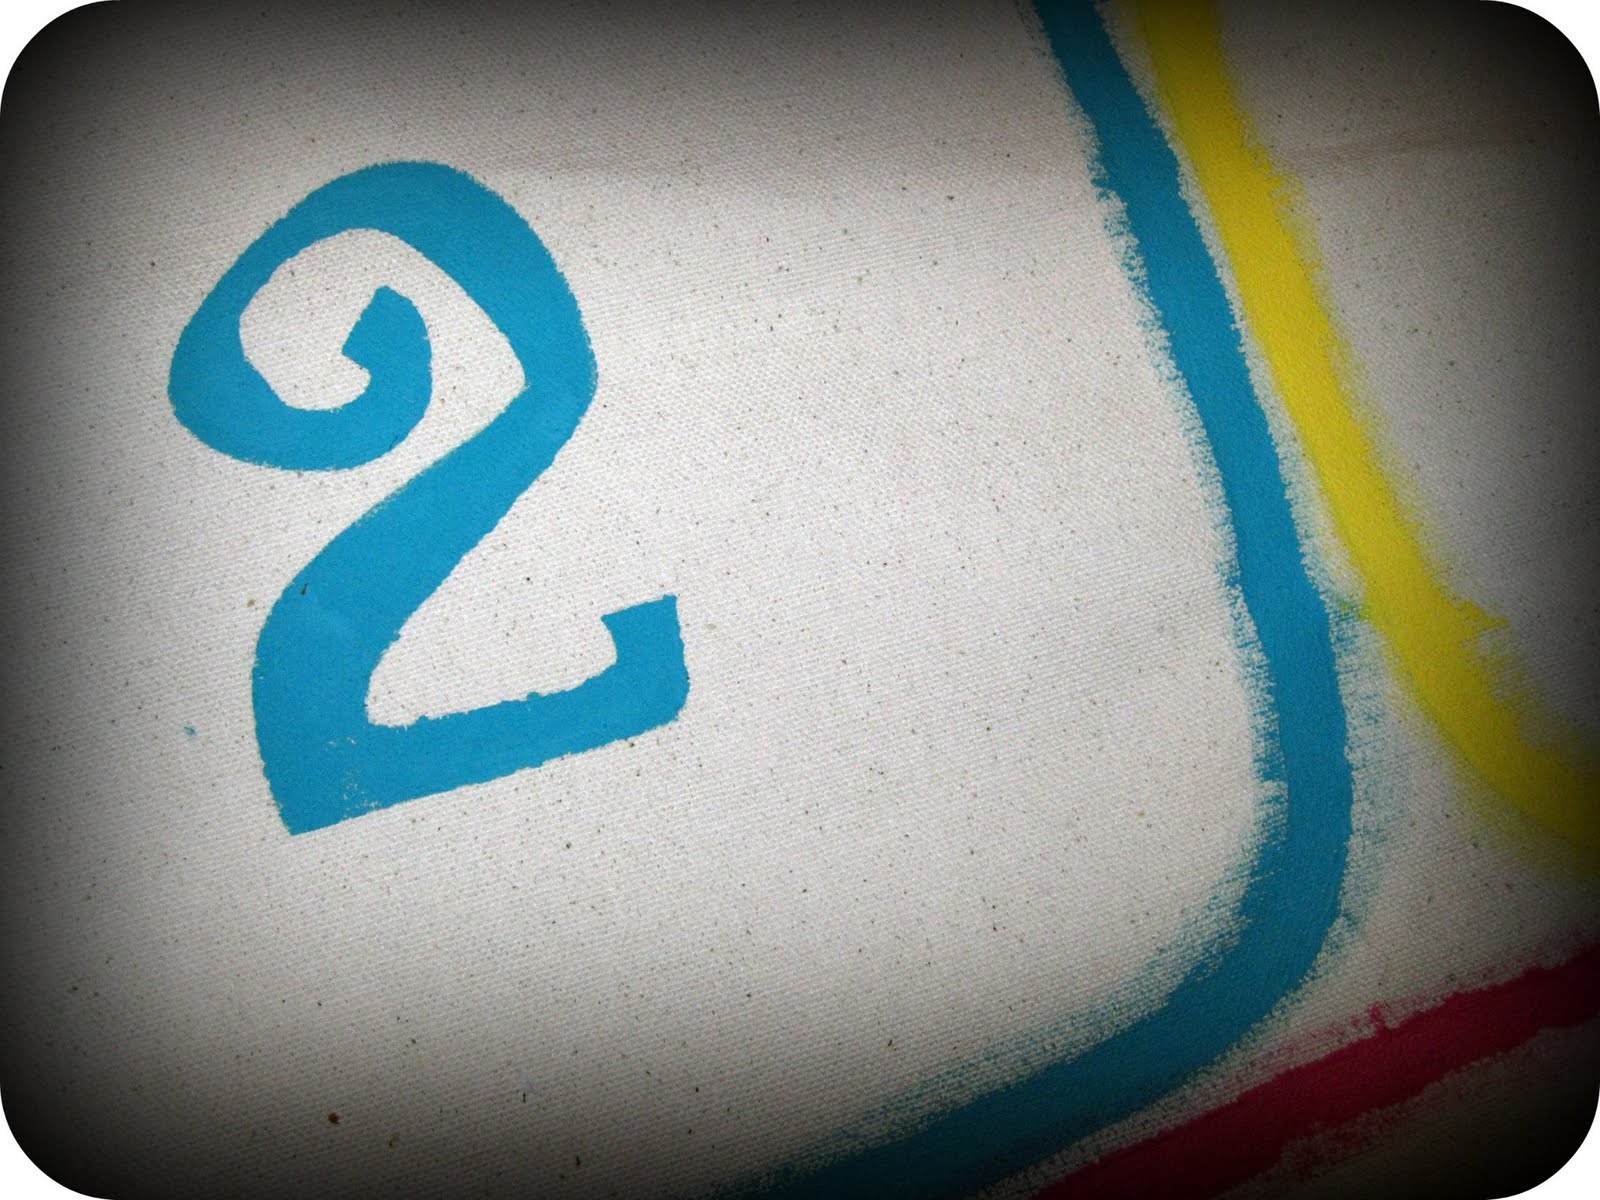
Now, for the numbers. You could print out your own fun numeral font at home on cardstock to make stencils, but I opted to save time and buy a $4 set of stencils at Walmart. I love these 4" whimsical numerals.
Measure the placement if you want to be precise--I'm more of an "eyeball-it" kind of girl. Holding the stencil with one hand, I dabbed the paint inside (not too thick!) and carefully peeled the cardboard away.
Then I touched up any rough spots and filled in the gaps.
Only one thing more needed for the game: Beanbags...or rocks.
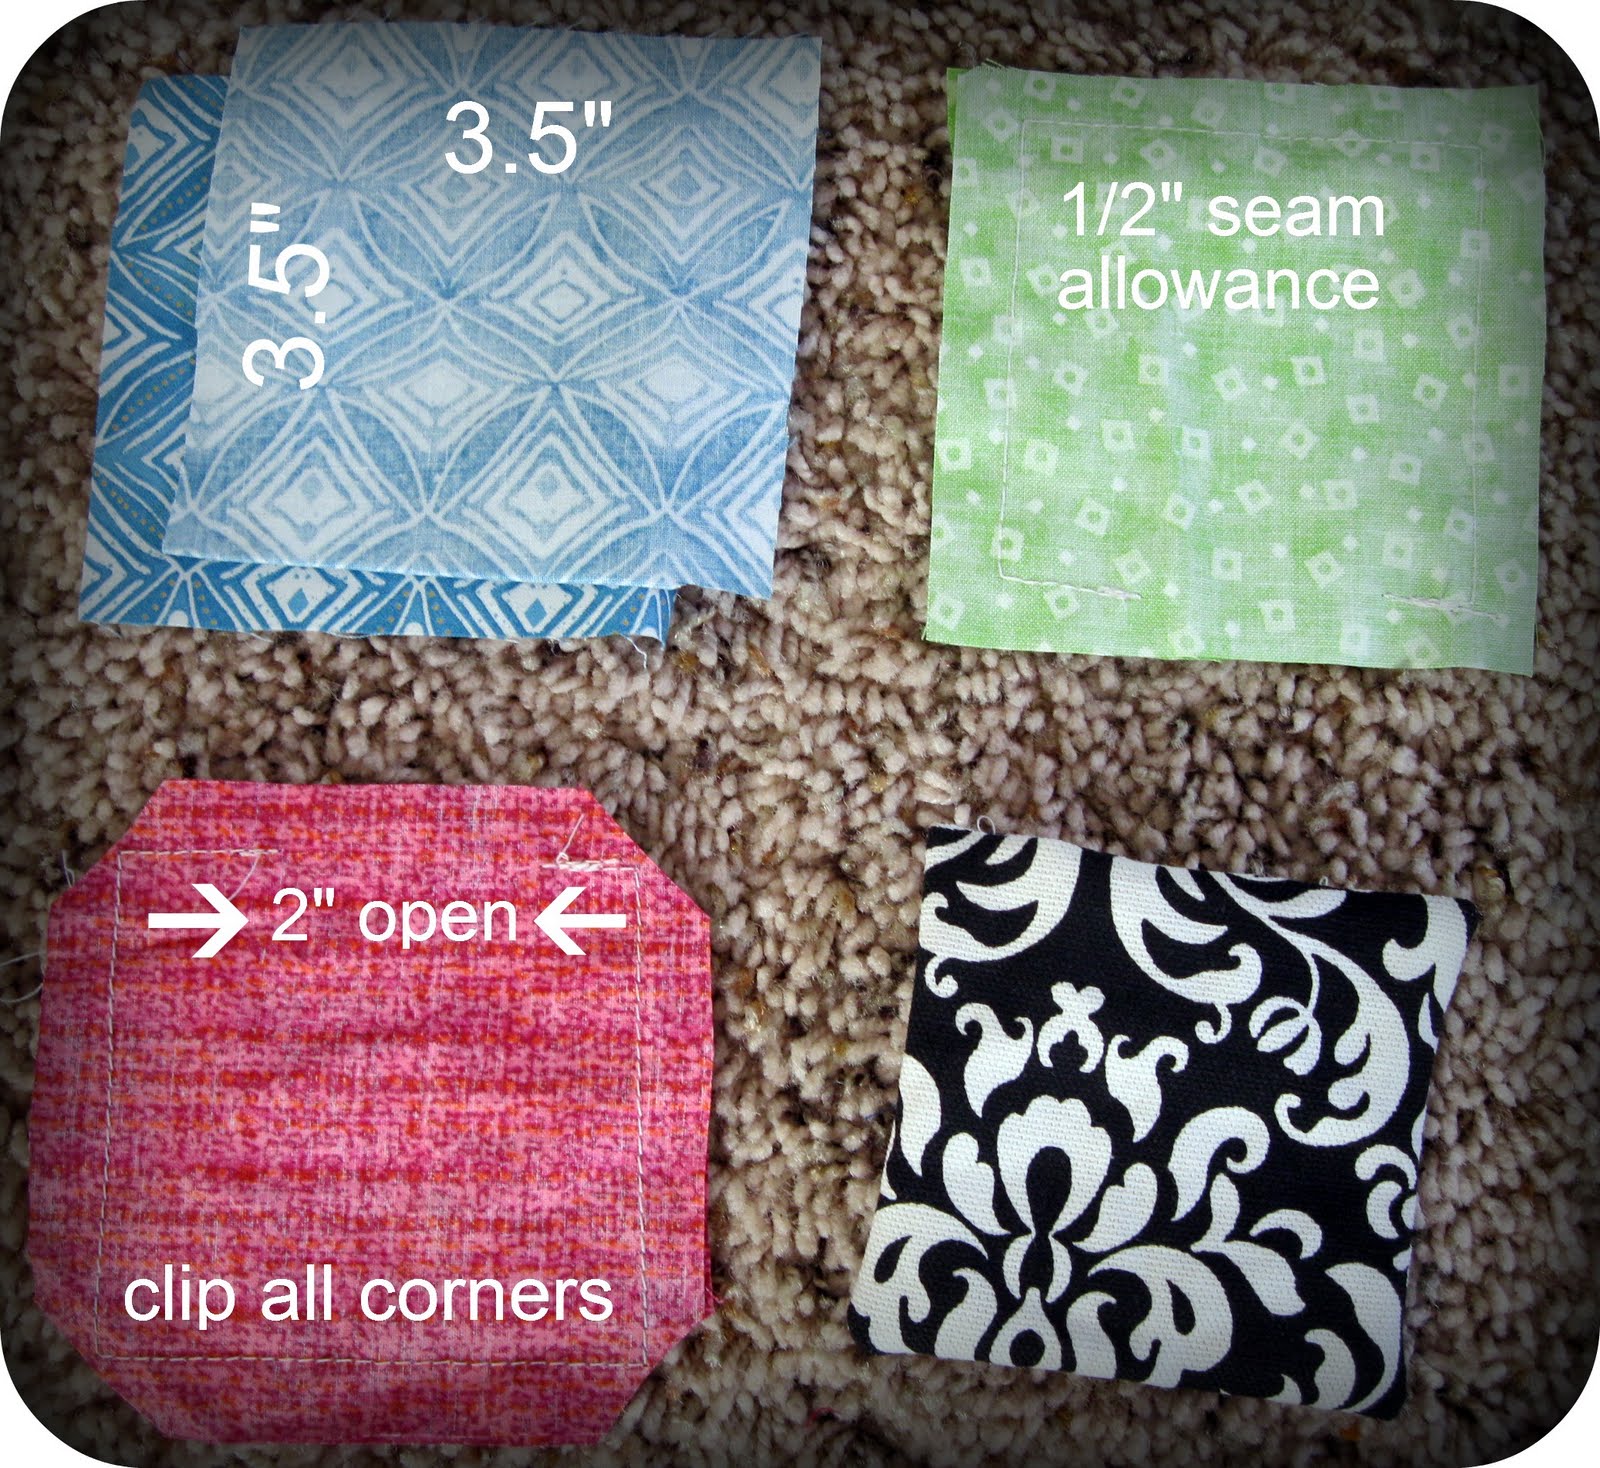
If you don't sew, just find 4 clean rocks and paint them different colors. For mine, I used 4 fun fabric scraps to make little beanbags. I cut 2 squares of each color to measure approx. 3 1/2" x 3 1/2". With a 1/2" seam allowance, they turned out to be 2 1/2" square. Stitch around 3 sides and the very edge and corners of the fourth side, leaving 2 inches open. Clip all the corners, then turn right side out and poke out corners.
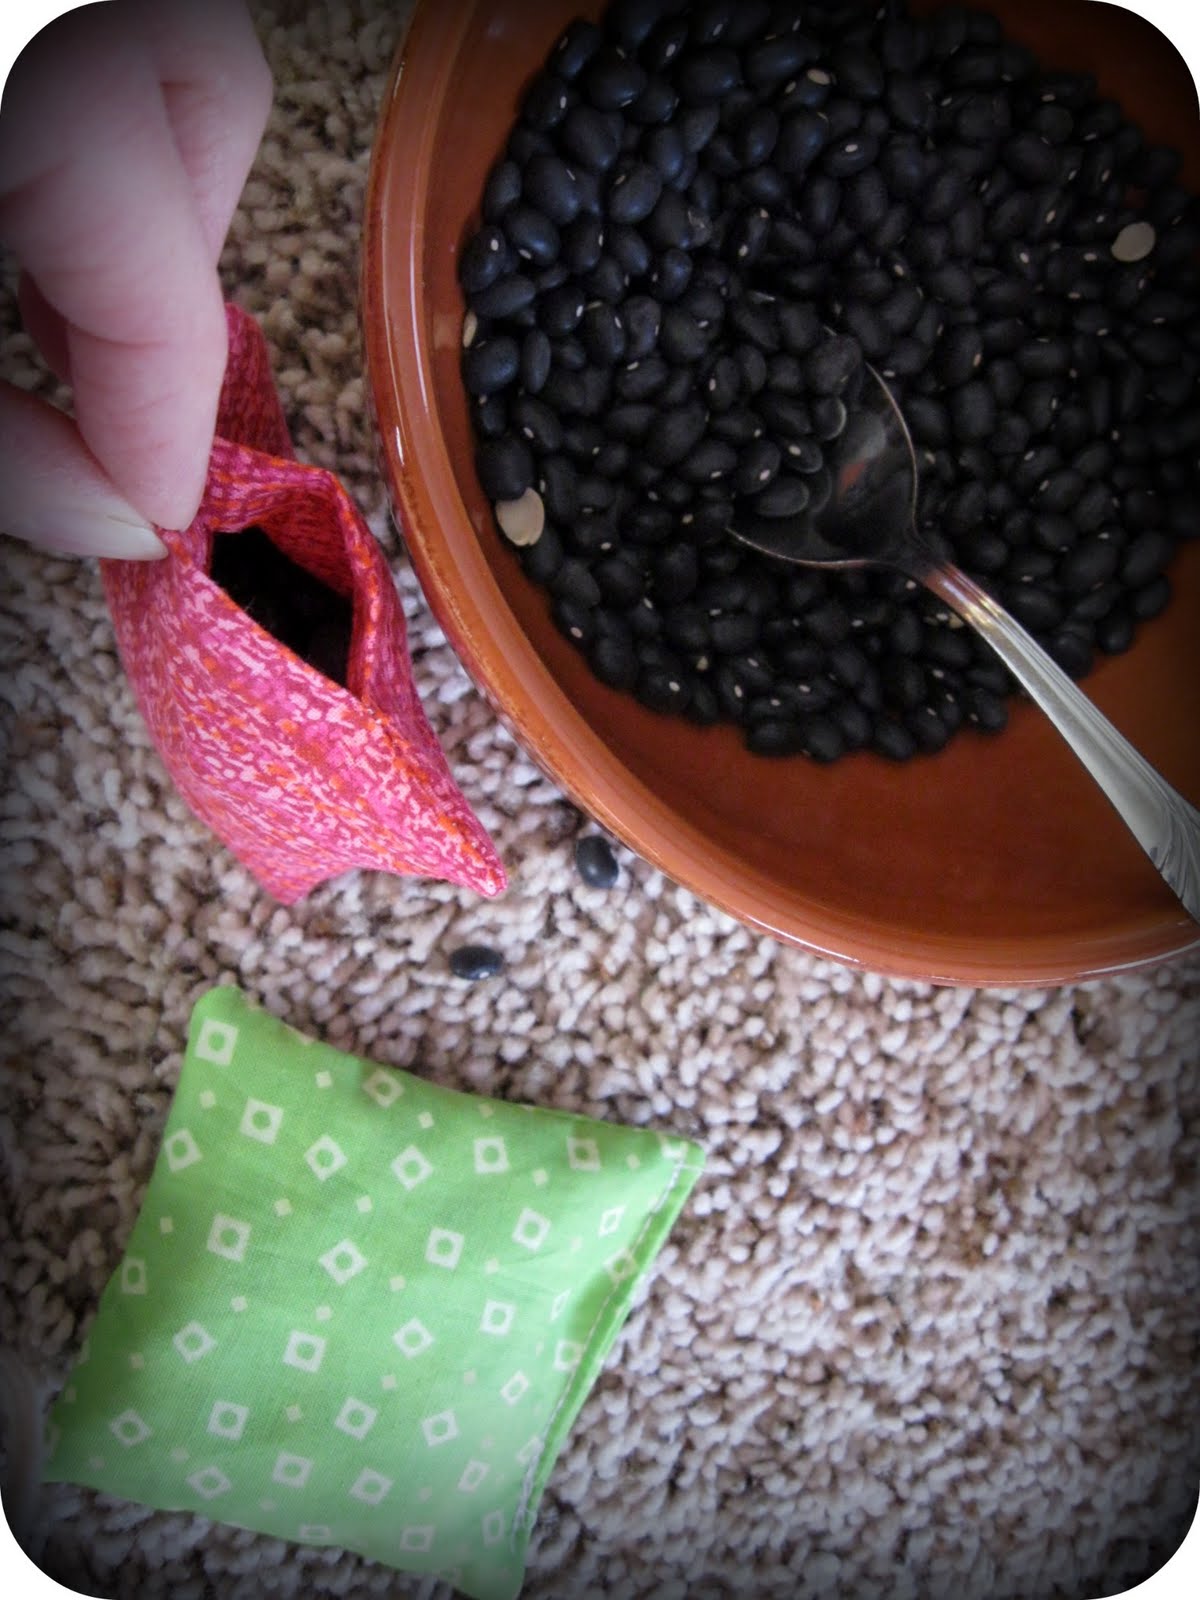
Spoon in dried beans or rice so it is fairly full but not stuffed.
Now fold in the raw edges on the open side and stitch closed. One final thing you may want to do is add a few squiggles of Puffy Paint on the underside of the mat to keep it from slipping on a wood or tile floor.
If you're a little rusty on hopscotch rules, refresh your memory here or here. And now your Hopscotch game is all ready for some energy-burning, indoor fun!
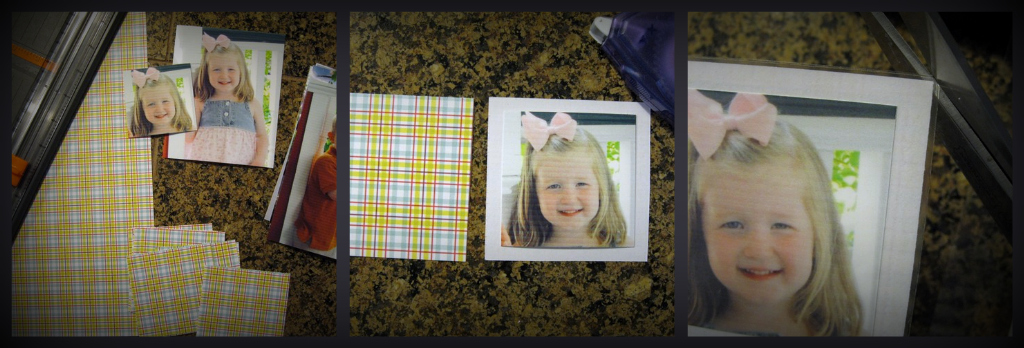
A unique and meaningful gift for your young child or a niece/nephew is a Family Memory Match Game using pictures of relatives. This is especially great for kids who don't get to see extended family all the time. It's easy, but will take a couple of hours to put together.
 If you are with family this Thanksgiving weekend, try to get some good individual or couple shots of each relative. This will save much time in sorting through old family-gathering pictures to find usable head-shots of grandparents, cousins, and uncles/aunts (uh yes, I do speak from experience!)
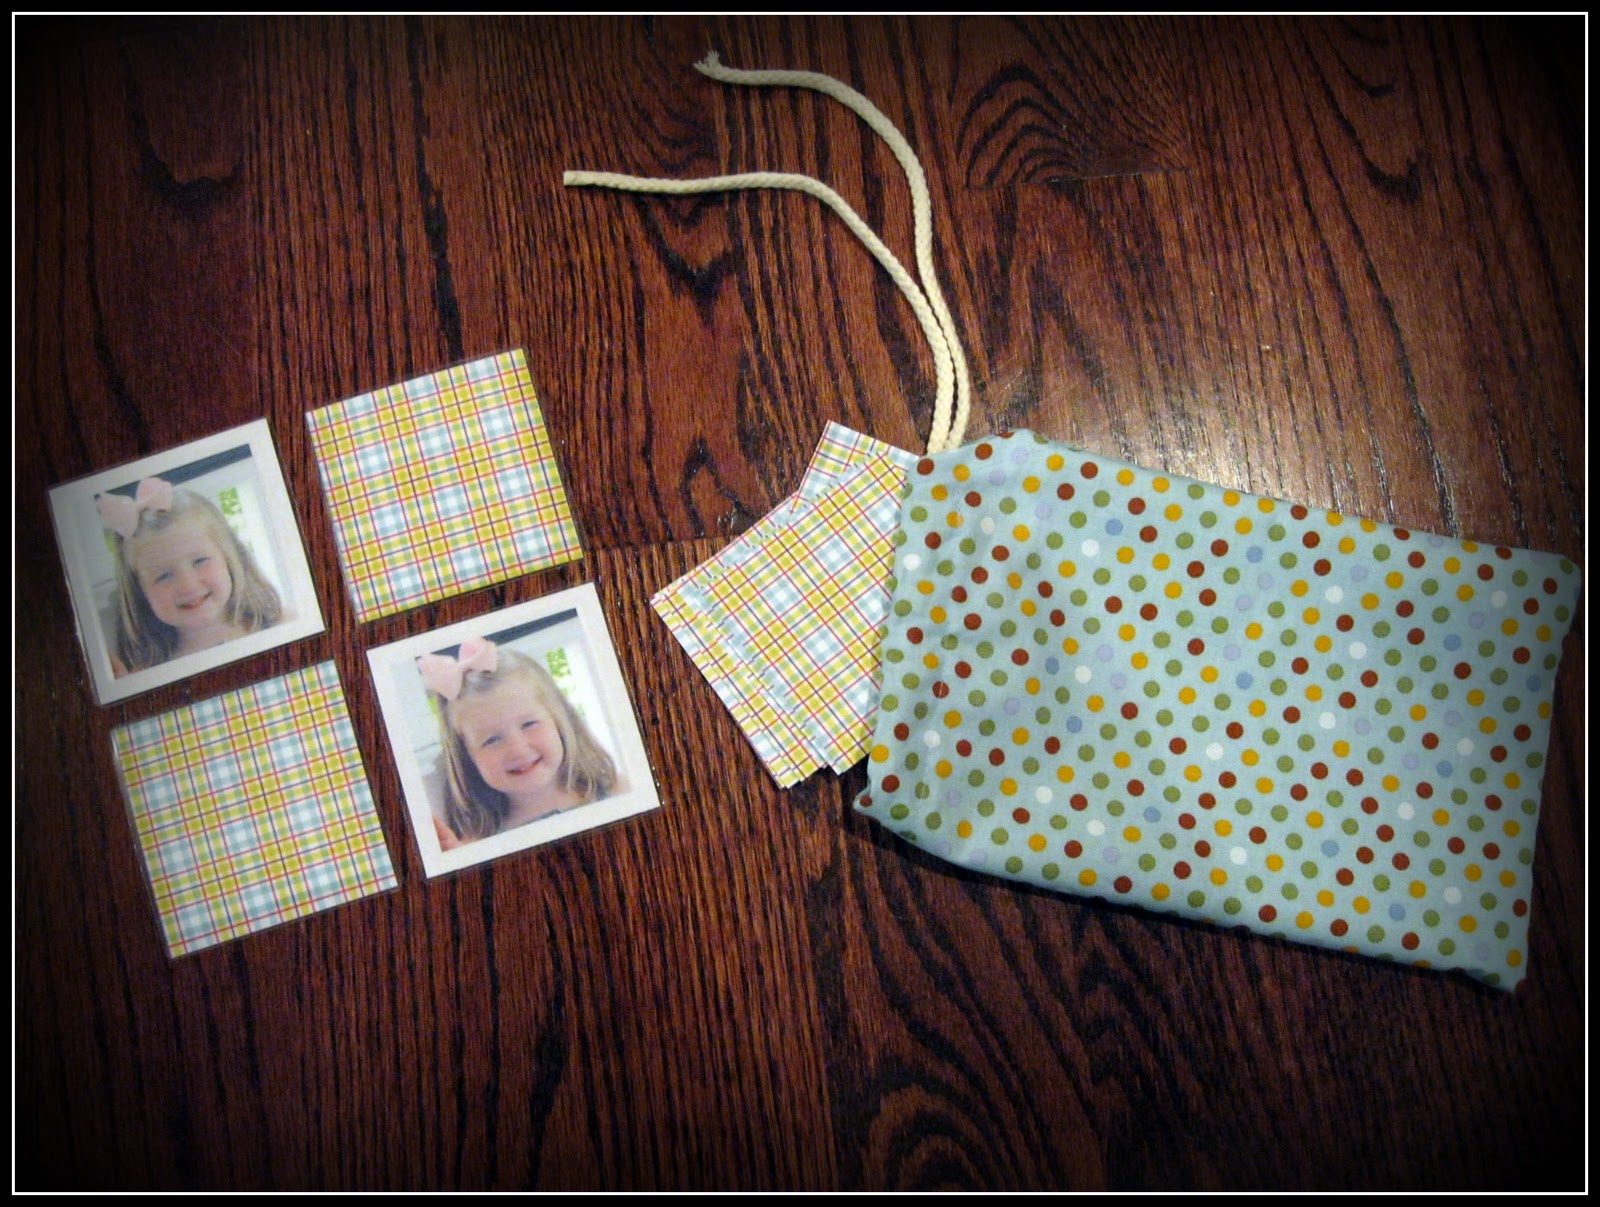
I made an easy little drawstring fabric bag to hold the game, but you could pick up a paper mache box at Hobby Lobby to paint if you don't sew. This is for a set of 24, but just add more cards if you have a larger family.
If you are with family this Thanksgiving weekend, try to get some good individual or couple shots of each relative. This will save much time in sorting through old family-gathering pictures to find usable head-shots of grandparents, cousins, and uncles/aunts (uh yes, I do speak from experience!)
I made an easy little drawstring fabric bag to hold the game, but you could pick up a paper mache box at Hobby Lobby to paint if you don't sew. This is for a set of 24, but just add more cards if you have a larger family.
For a game with 24 cards, you need:
12 photos, 2 copies of each
2-3 sheets of scrapbook paper
photo adhesive
paper cutter (or very large circle/square punch)
laminator (or run them to an office supply store to be laminated)
fabric (14" x 11")
30" cord or ribbon
Note: If you are fortunate enough to have a 2.5" or 3" large circle or square punch, this project will go much faster! I cut mine with a paper cutter--this was the most time-consuming part of project.
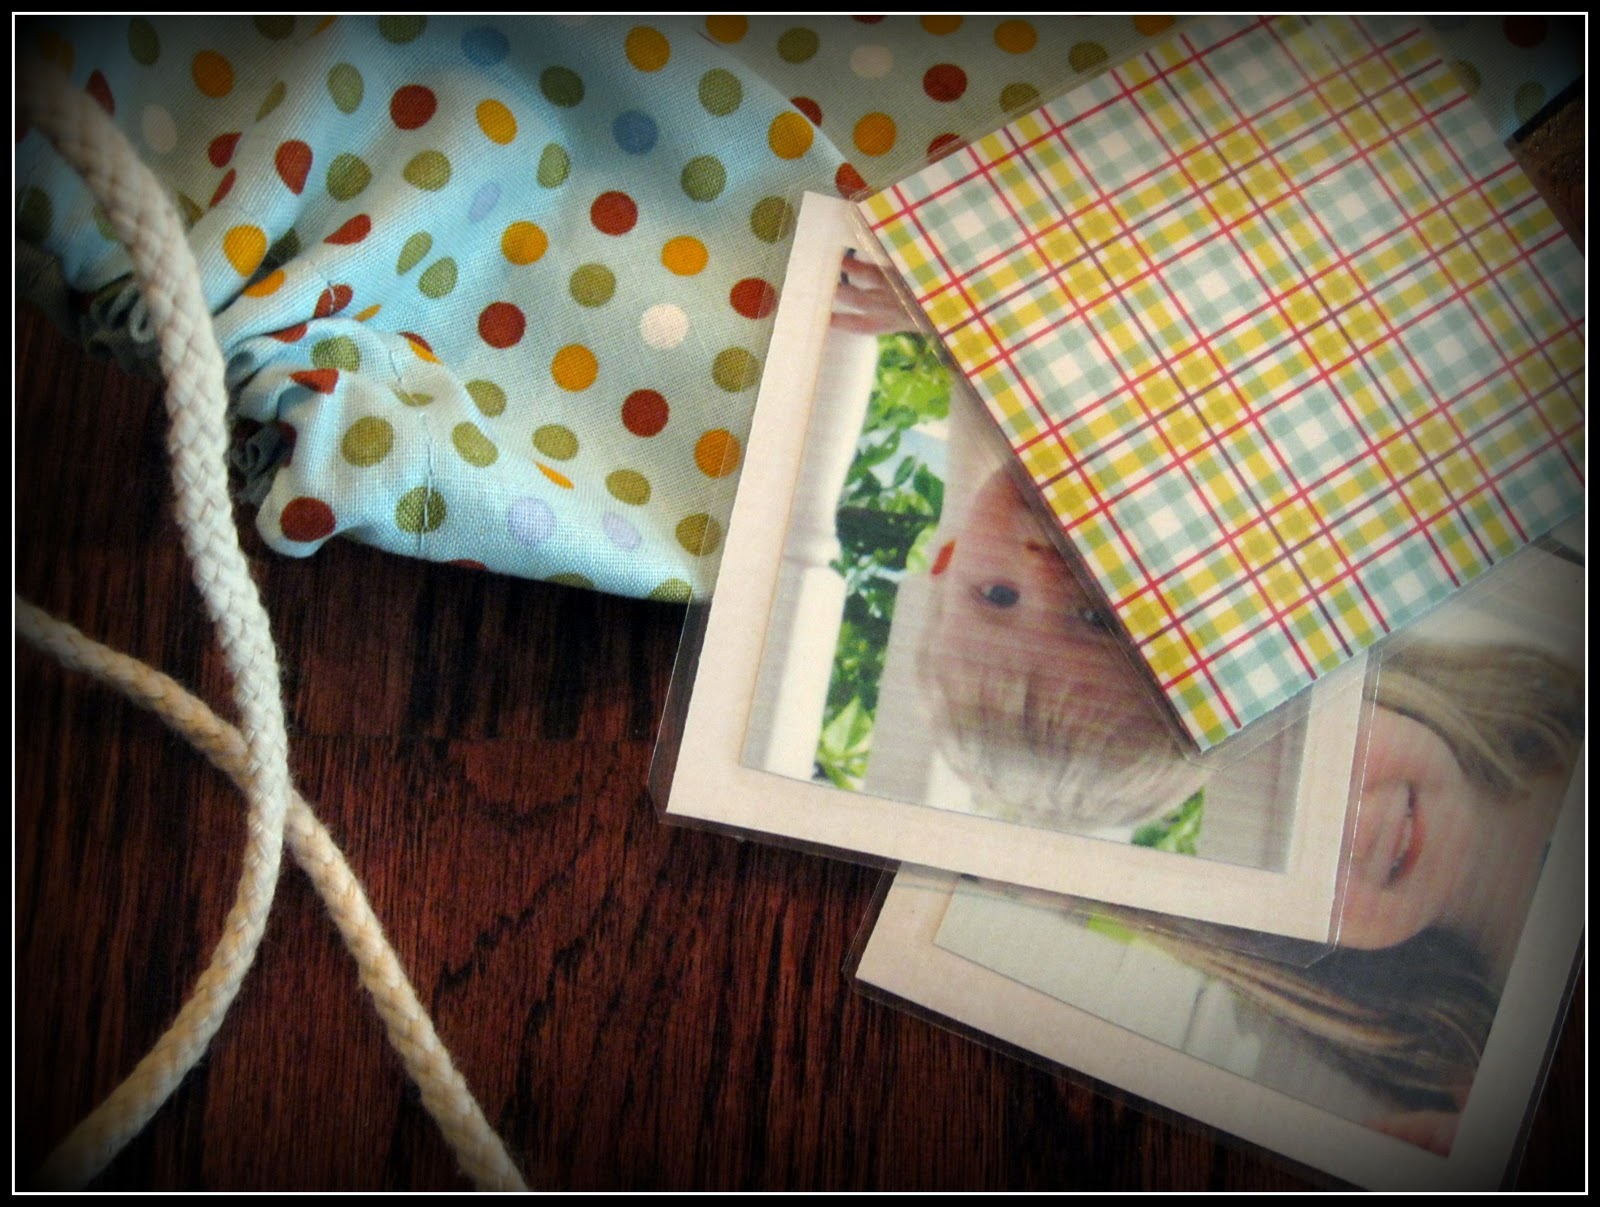
 Cut your photos into 2.5 x 2.5" squares
Now, cut your paper into 3x3" squares--same number as your photos.
Use the adhesive to attach the photos to the white side of the paper.
Laminate the squares and cut around each. I snipped the corners so they were not eye-hazards.
Cut your photos into 2.5 x 2.5" squares
Now, cut your paper into 3x3" squares--same number as your photos.
Use the adhesive to attach the photos to the white side of the paper.
Laminate the squares and cut around each. I snipped the corners so they were not eye-hazards.
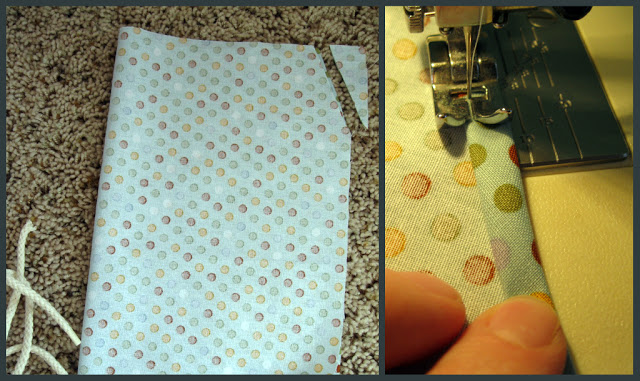
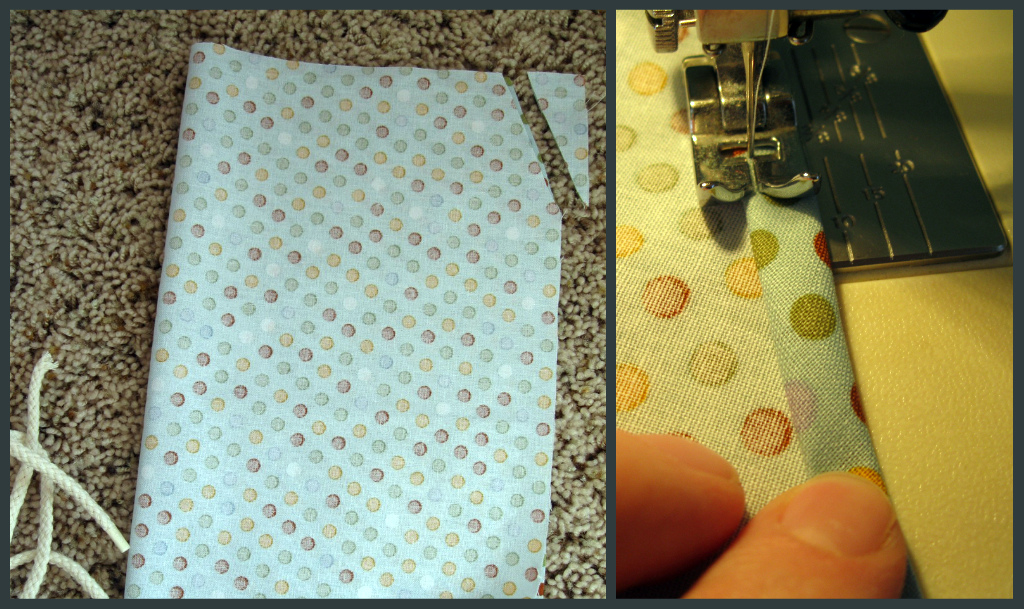
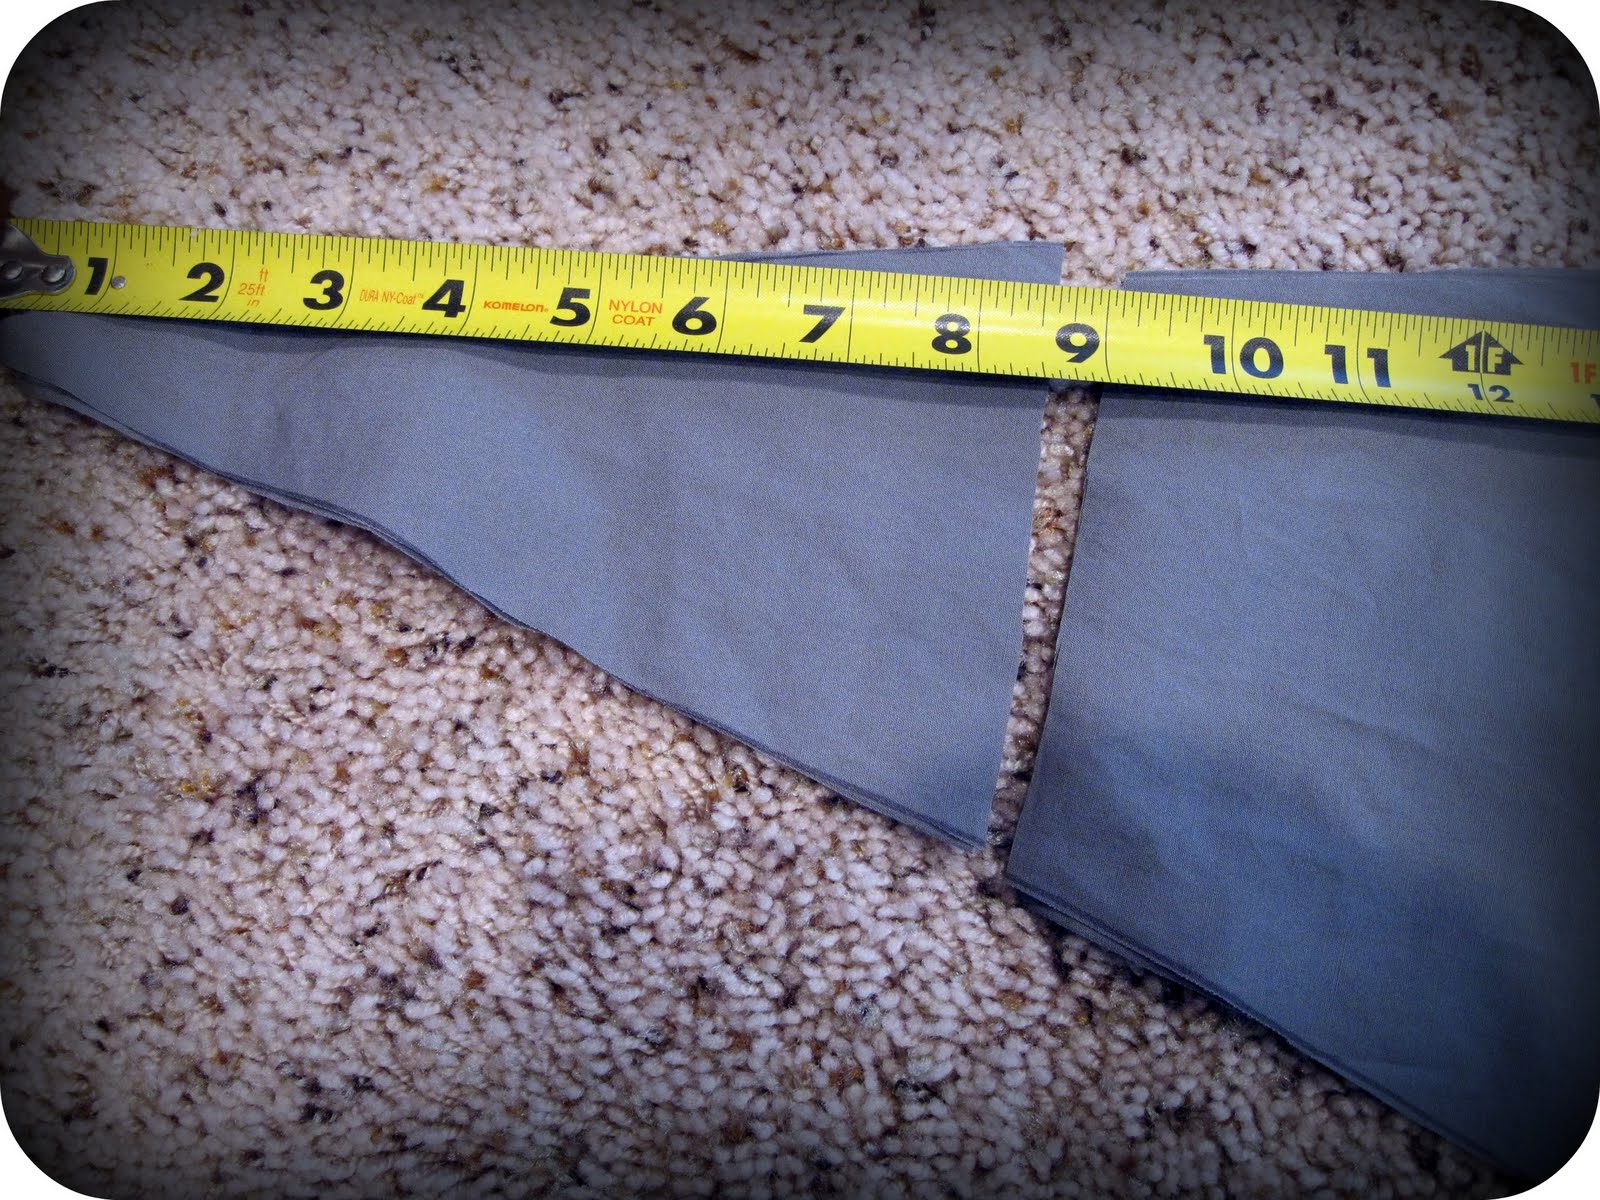
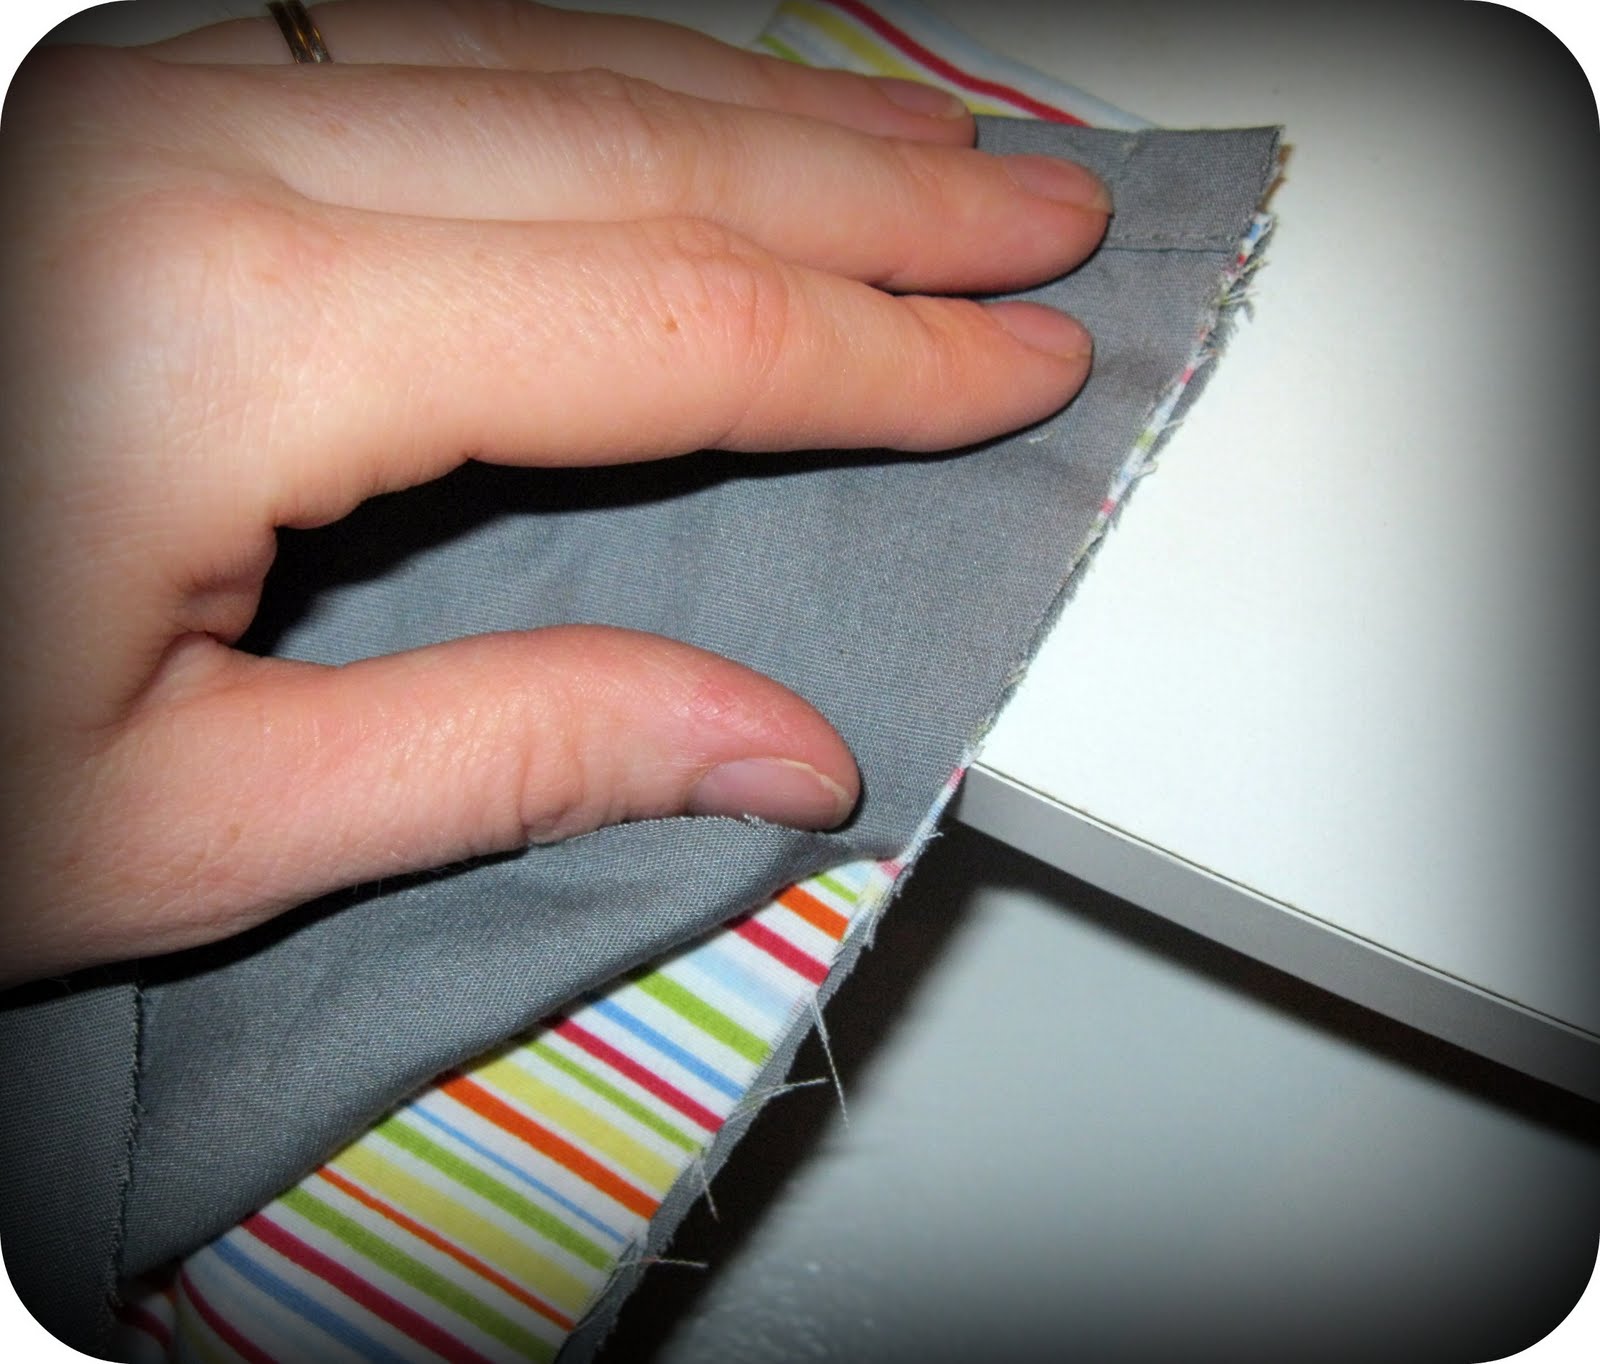
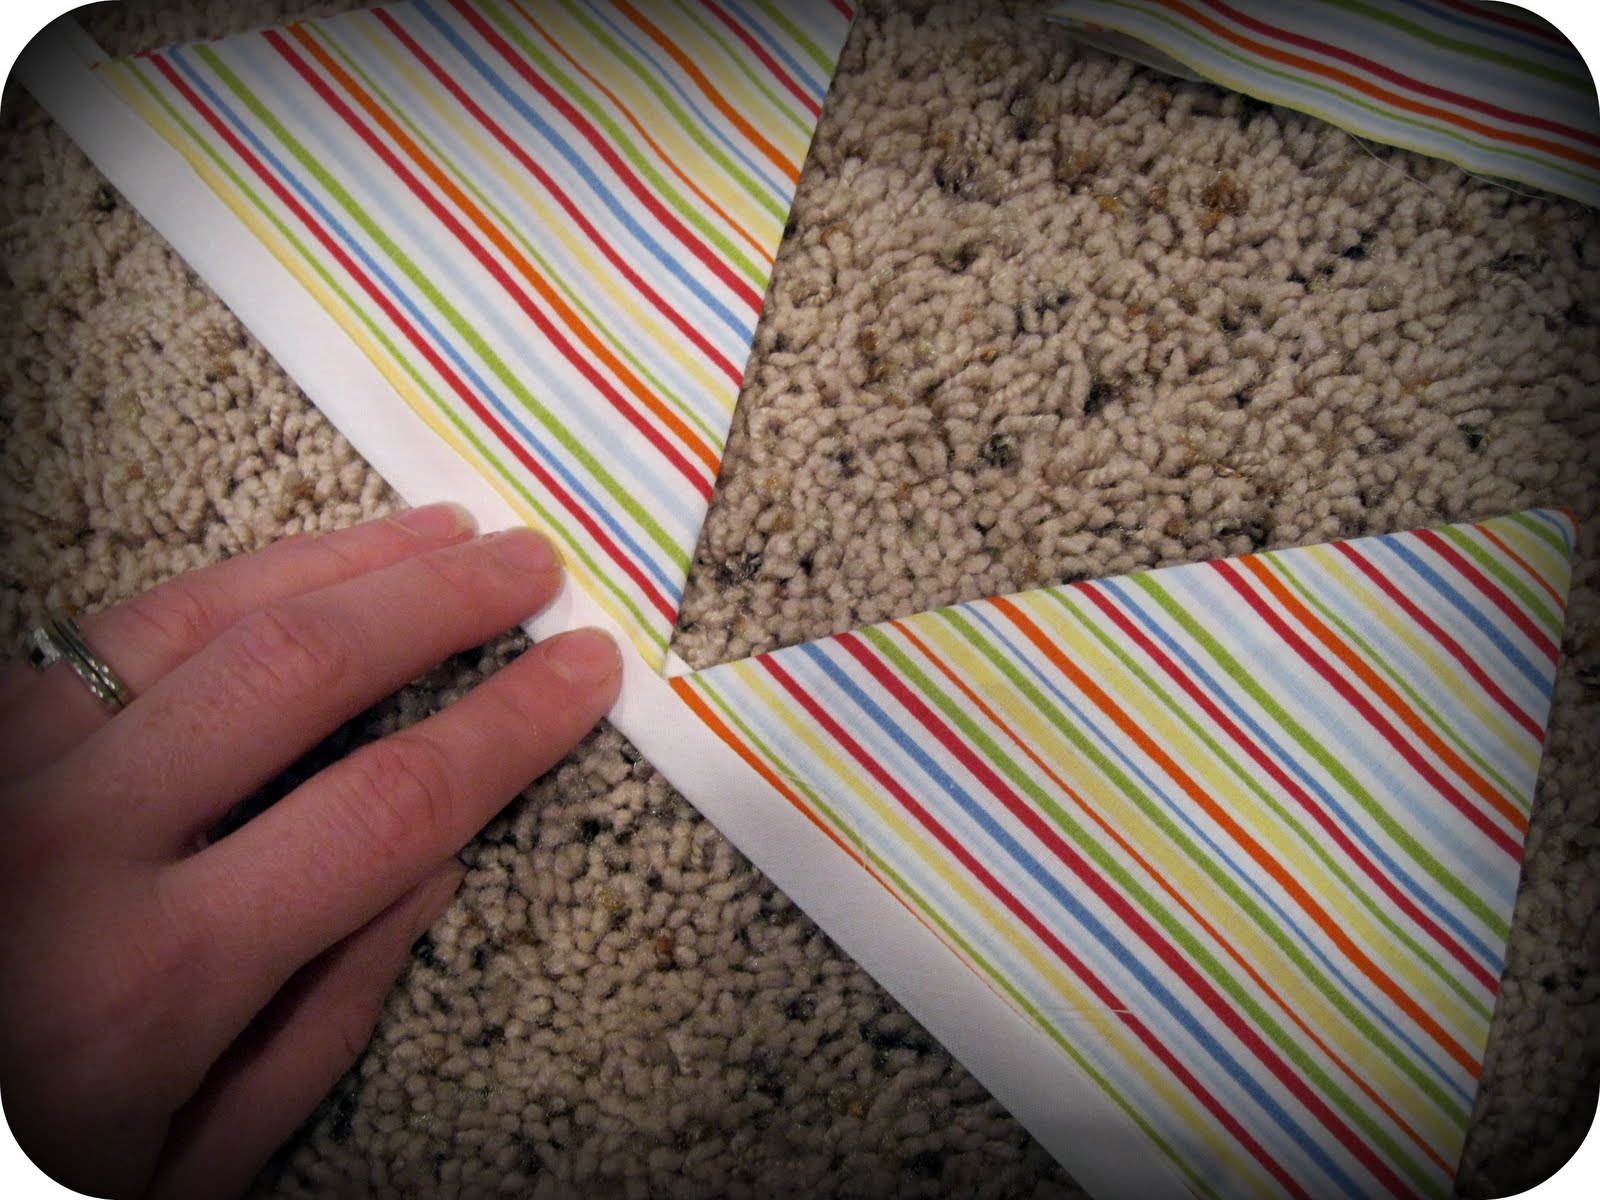
For the bag, fold the fabric and cut so the long side is 11" and the short folded side is 6.5". Snip a little of the corner off of each top outside edge--this will allow the drawstring to work. To finish the cut edges, fold and fold under again. Stitch down each angle.

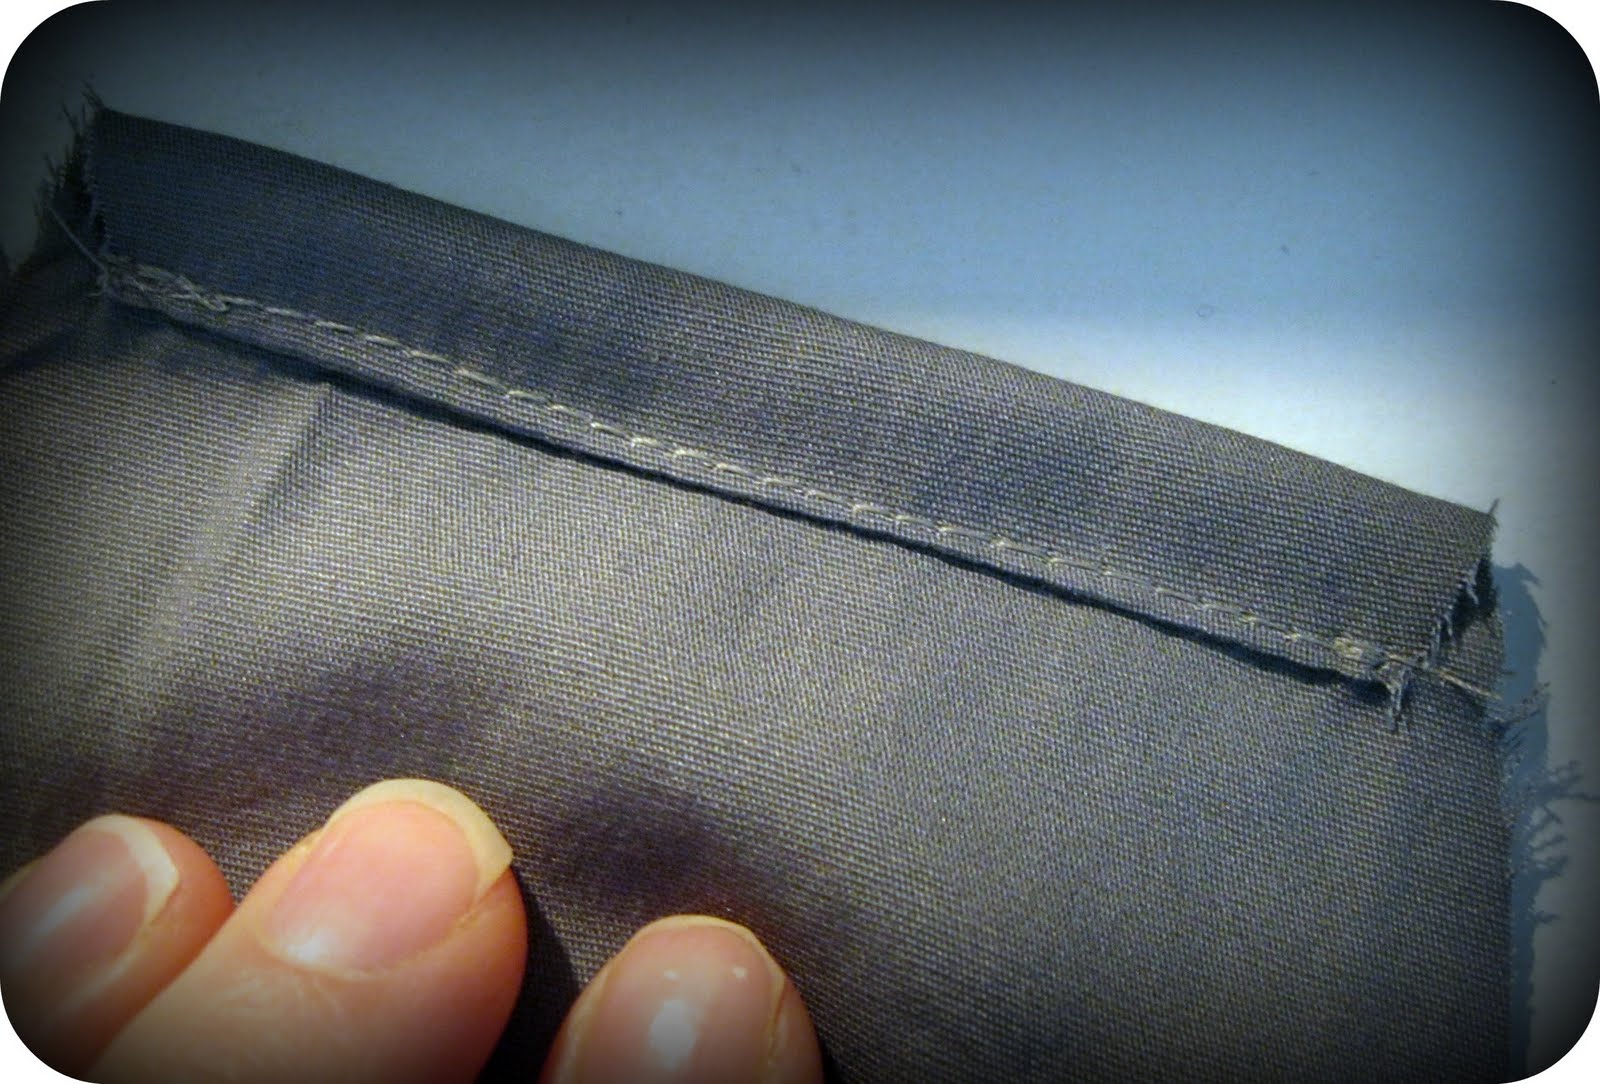
Open the fabric and fold the top under, then fold under again 3/4-inch. Press. Sew. This will be the casing for the drawstring.
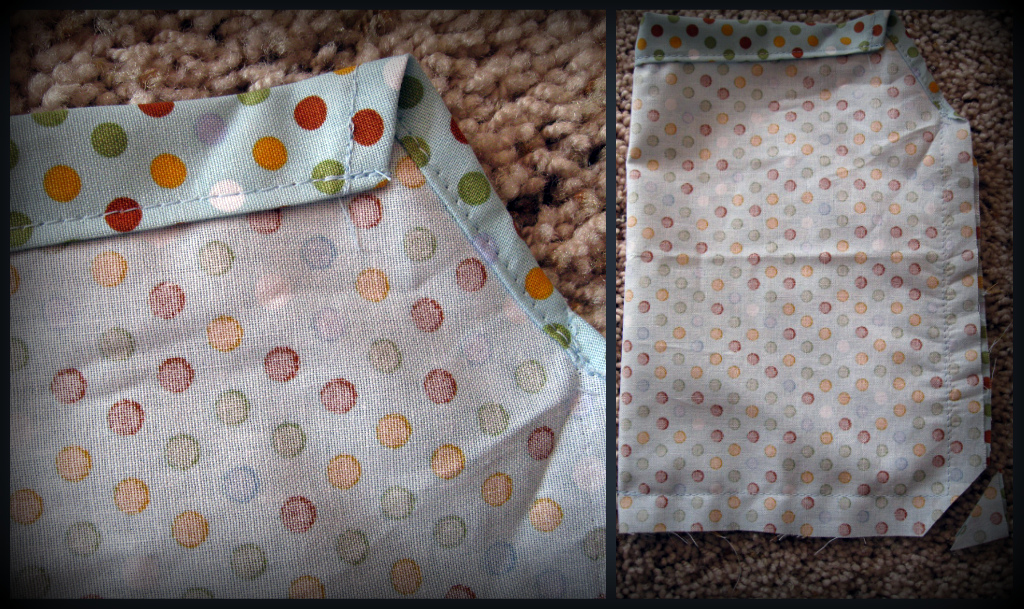
Fold the bag with right sides together and stitch the side seam and bottom. Clip the bottom corner. Turn right side out.
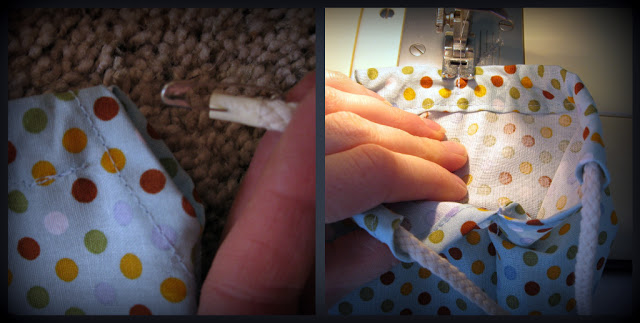 Use a safety pin to guide the cord through the casing. Once it's in there evenly, stitch across the center of it a couple of times to keep it from coming out.

You could have fun posing some creative personality shots! This will be a thoughtful and well-used child's gift.
Note: If you aren't into sewing, there is good news! TheMudPieMakers has opened an Etsy shop...we have custom teepees available for order! See side bar for a link.
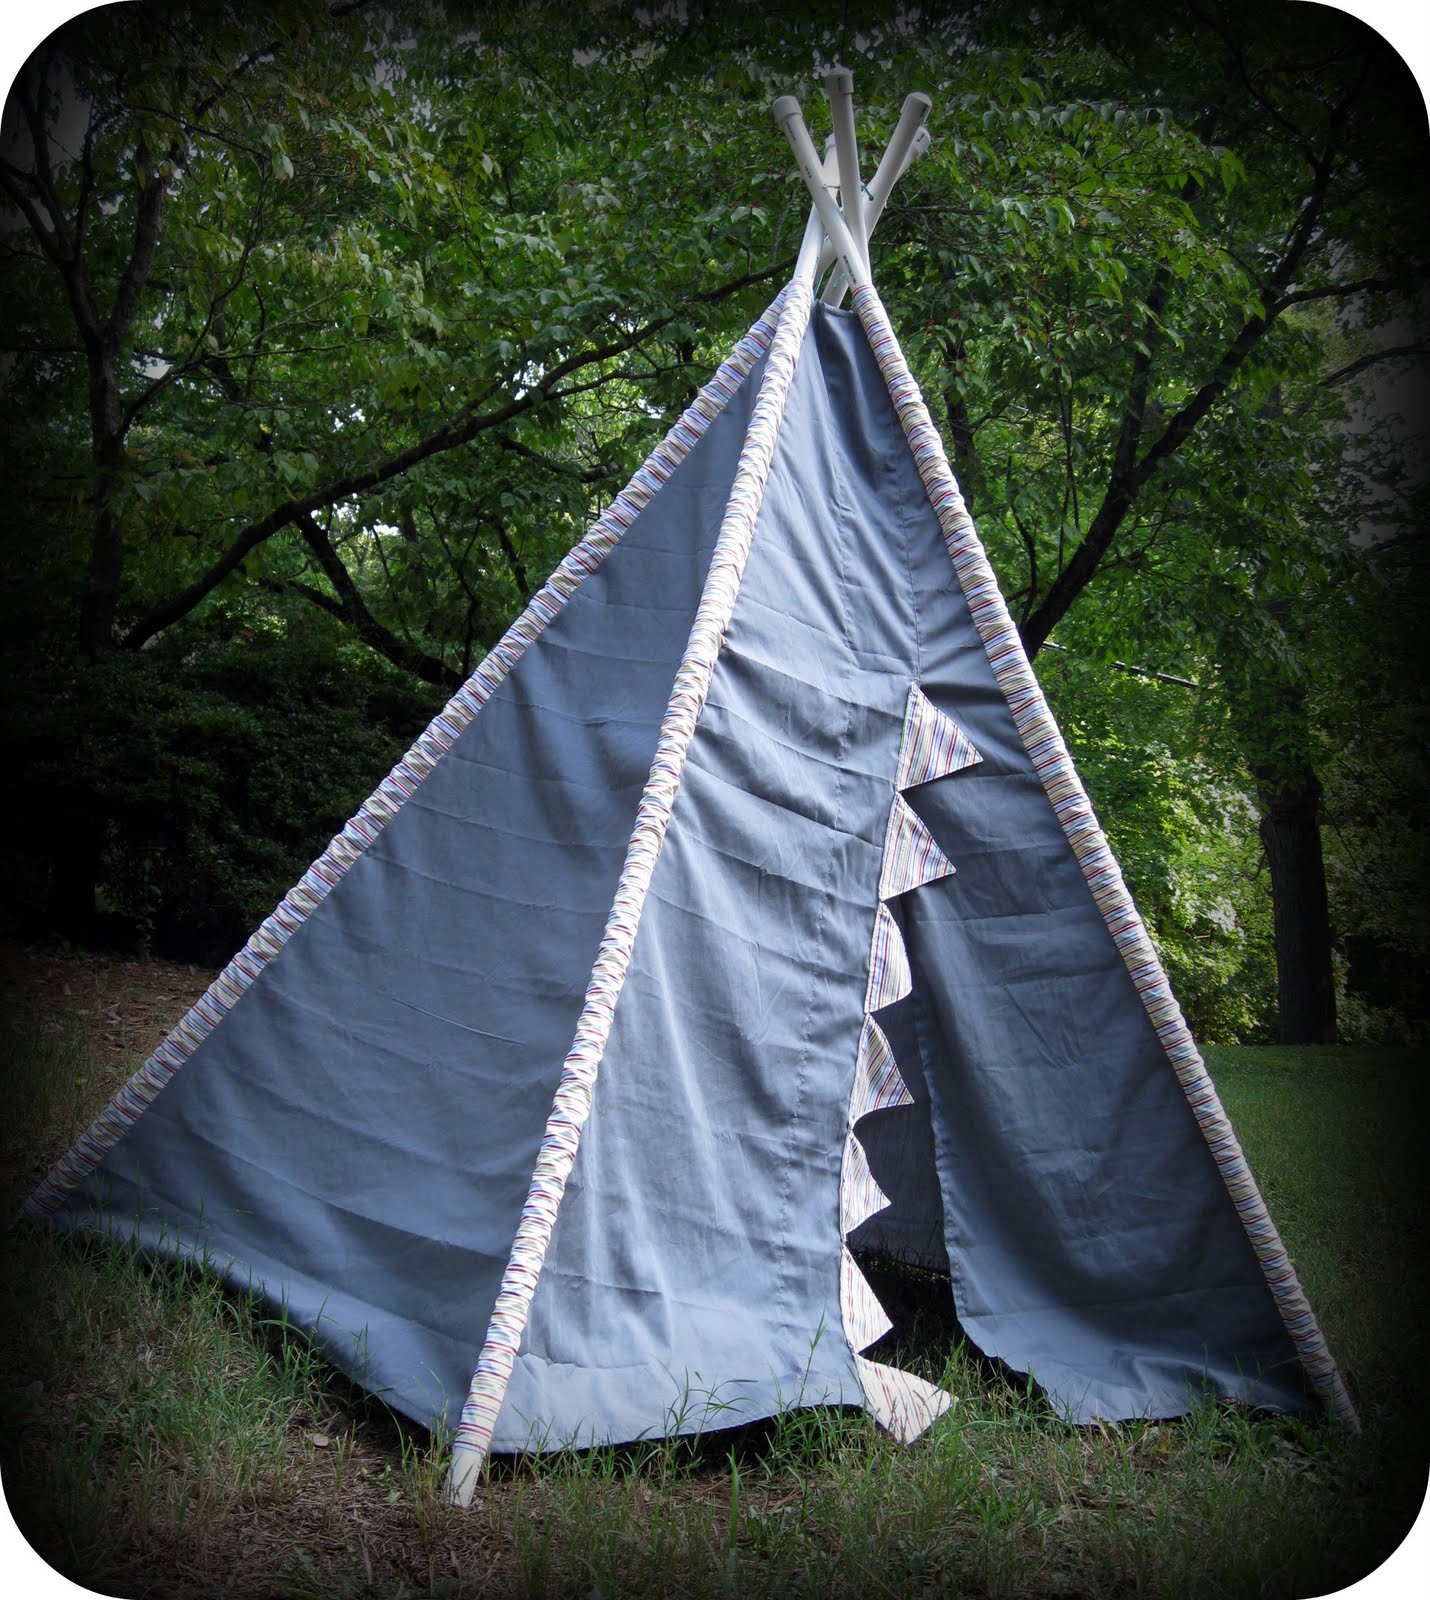
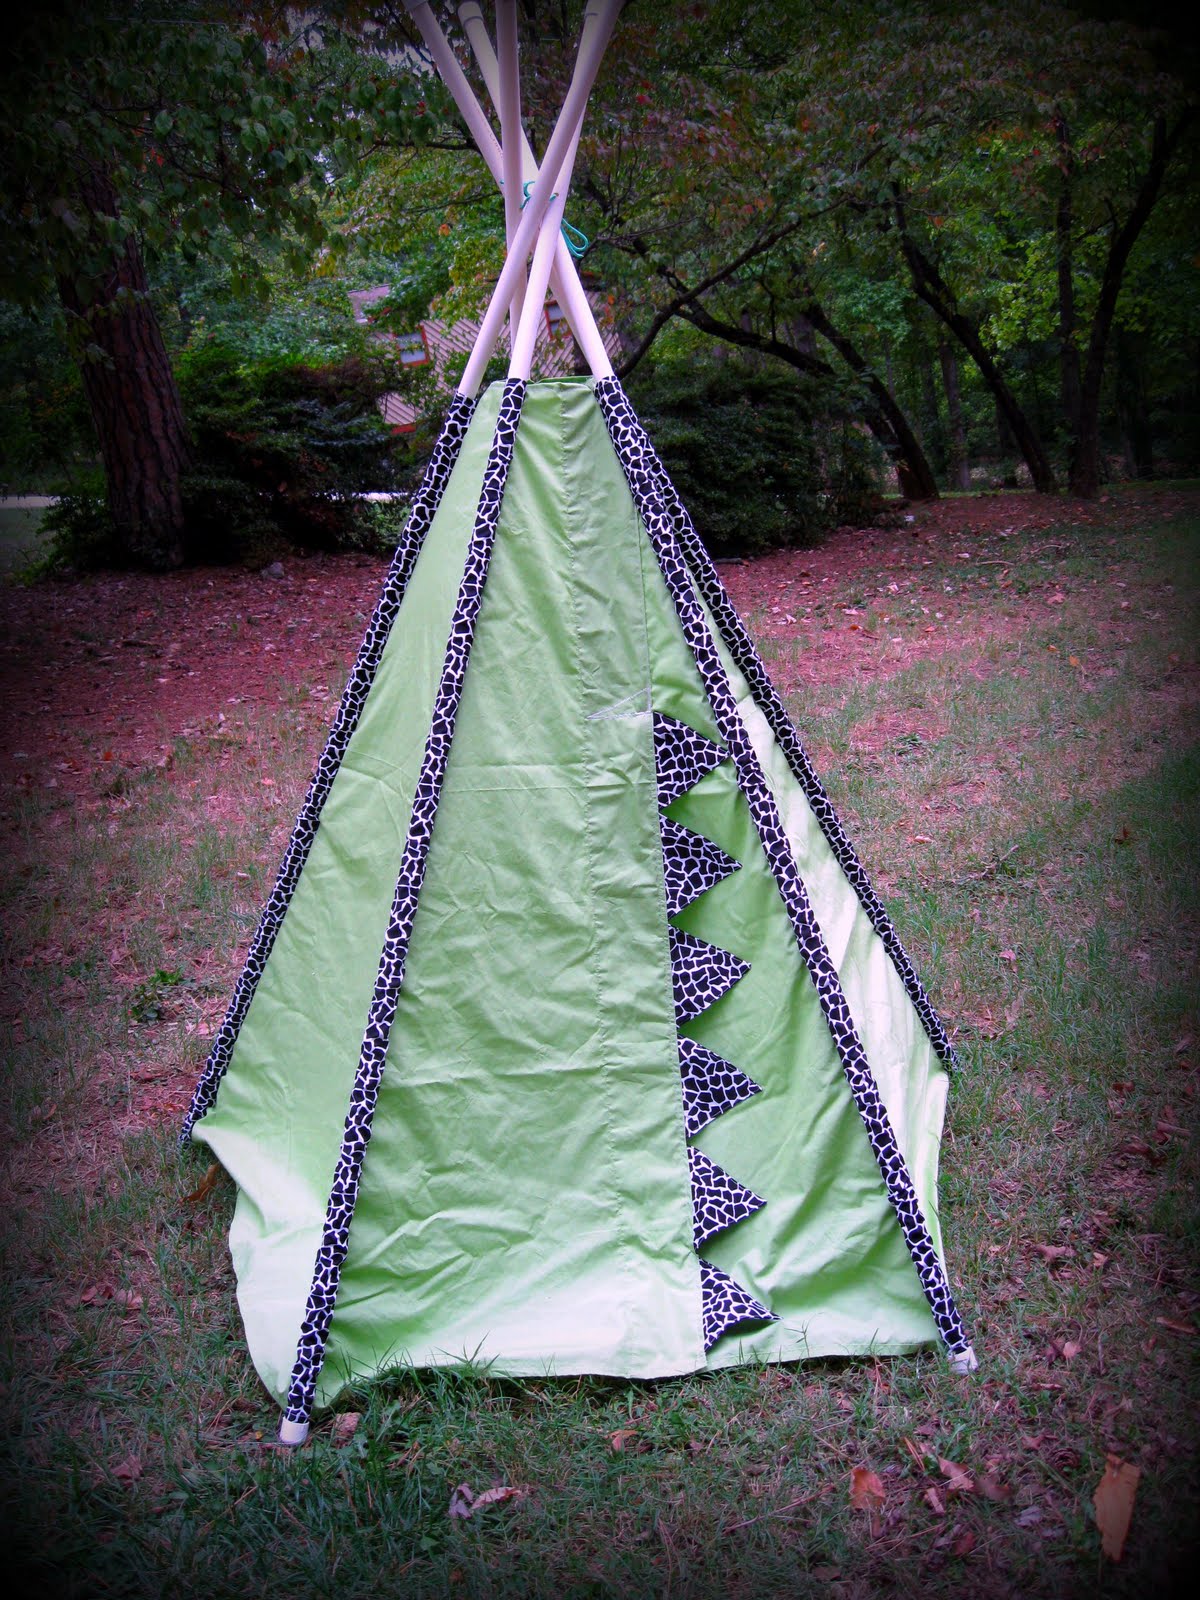
A play teepee is a super-fun hideout, reading corner, or ready-made fort for pretend play! And I promise it's not hard to make. If you have a sewing machine and can sew a basic straight line...and you can find a free afternoon...you can make this! It will take 3-4 hours. It is fairly inexpensive as well...actually, it could be pretty much free if you repurpose a used twin sheet and are lucky enough to have bamboo growing in your yard.I had neither of those, so my cost was $20, which included 2 sheets from Walmart ($5 each) and PVC pipes from Home Depot ($10). Gather Materials:
- 1 flat solid color twin sheet
- 1 patterned twin sheet or 2 yards of any 45”w cotton fabric for contrast banner and pole pockets
- matching thread
- 37” length of single fold bias tape
- 5 PVC or bamboo poles, each ¾” thick and 74 inches long
- 10 caps for the PVC pipes
- 1 shoelace or 24” length of cord or twine to tie the poles together
- a drill with a 1/4” bit
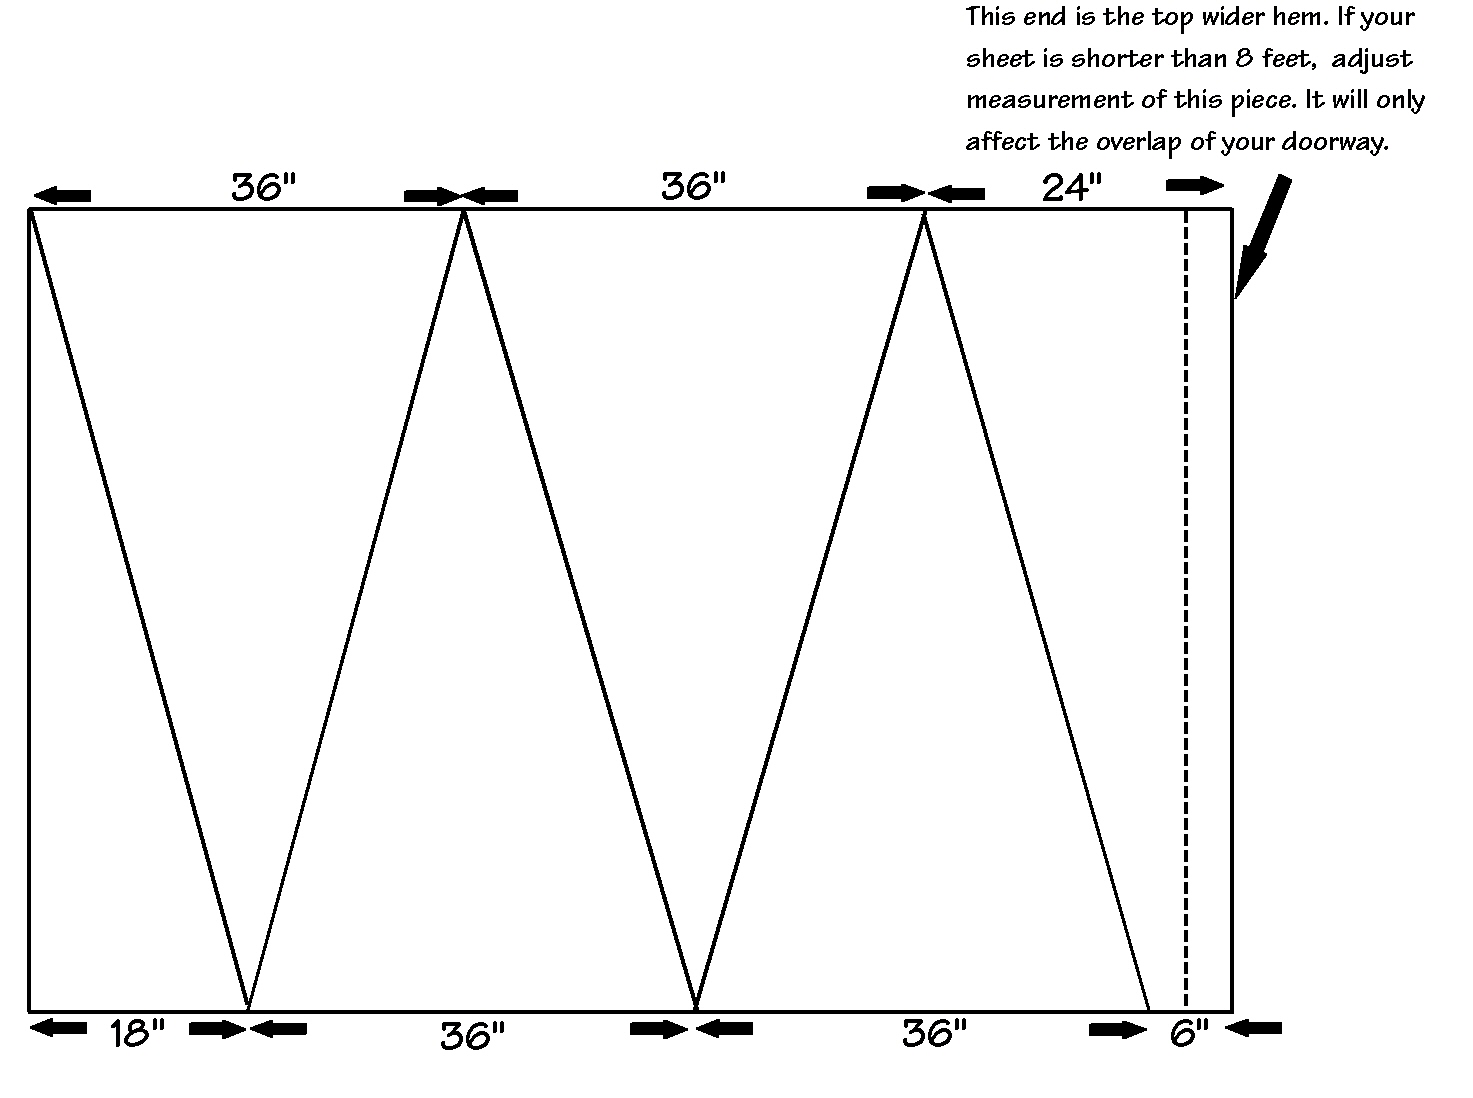
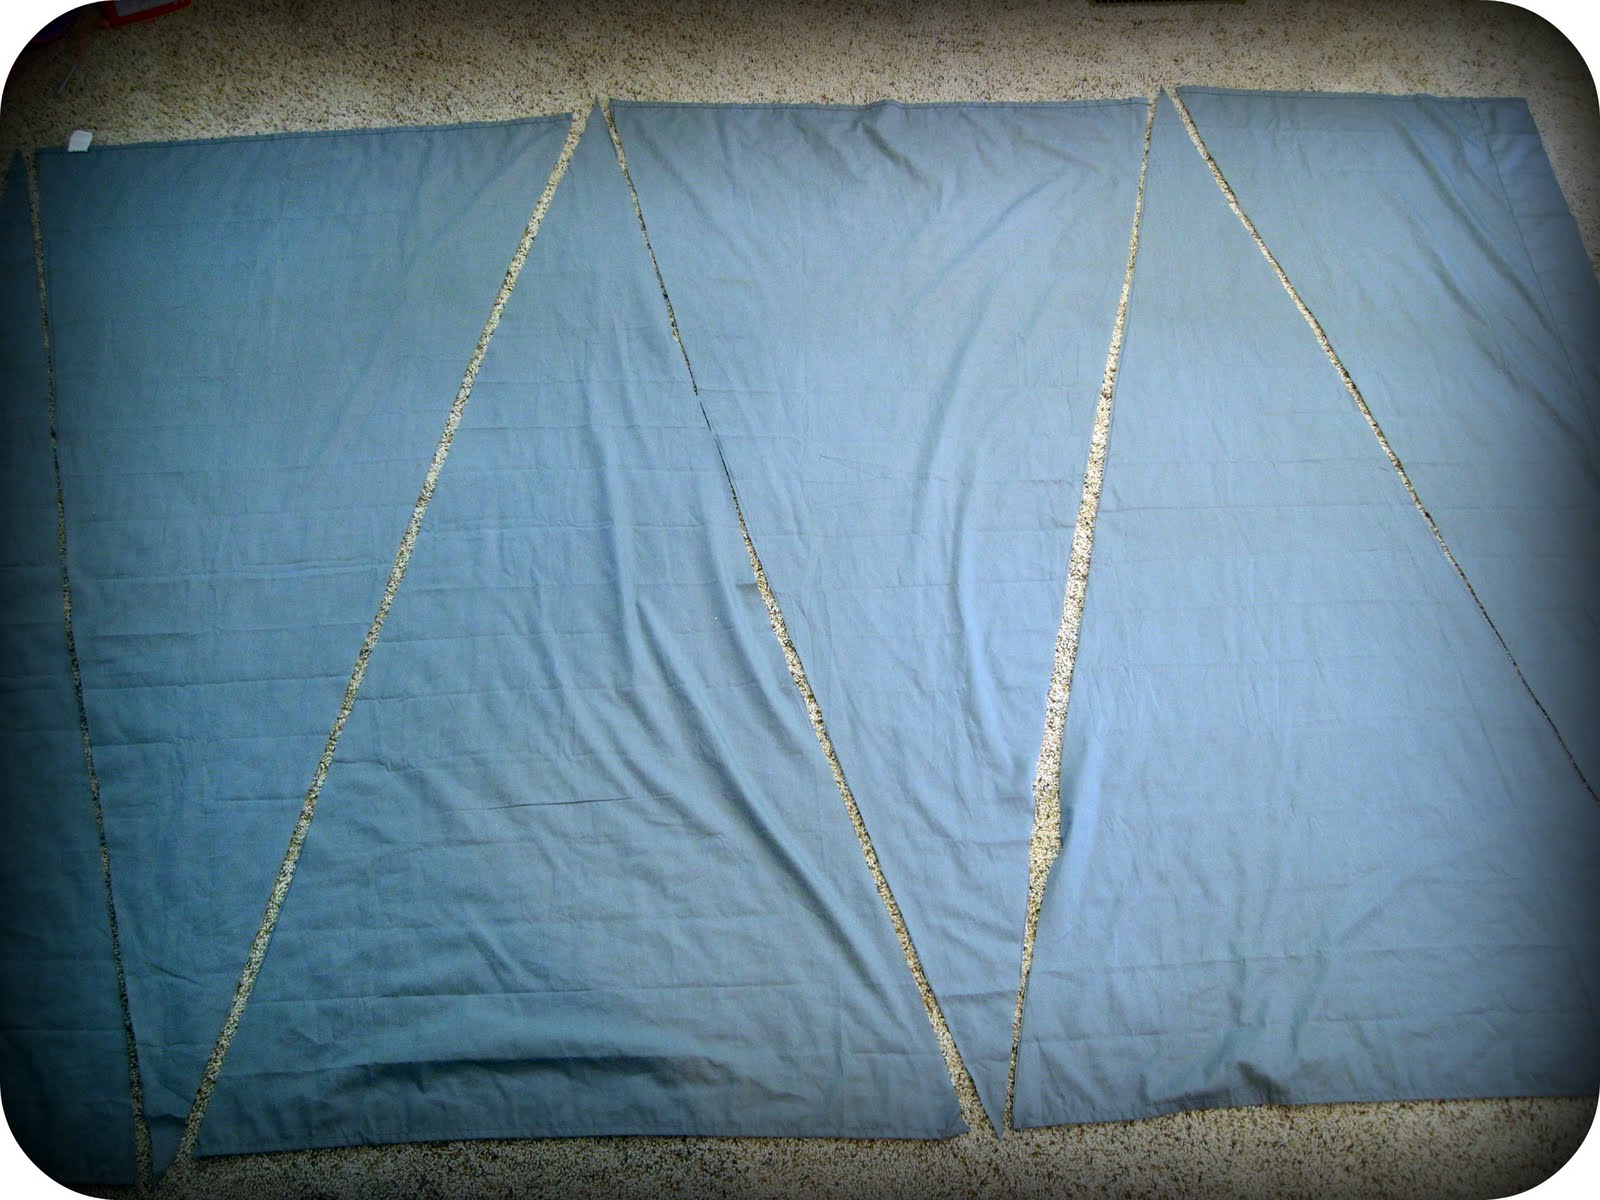
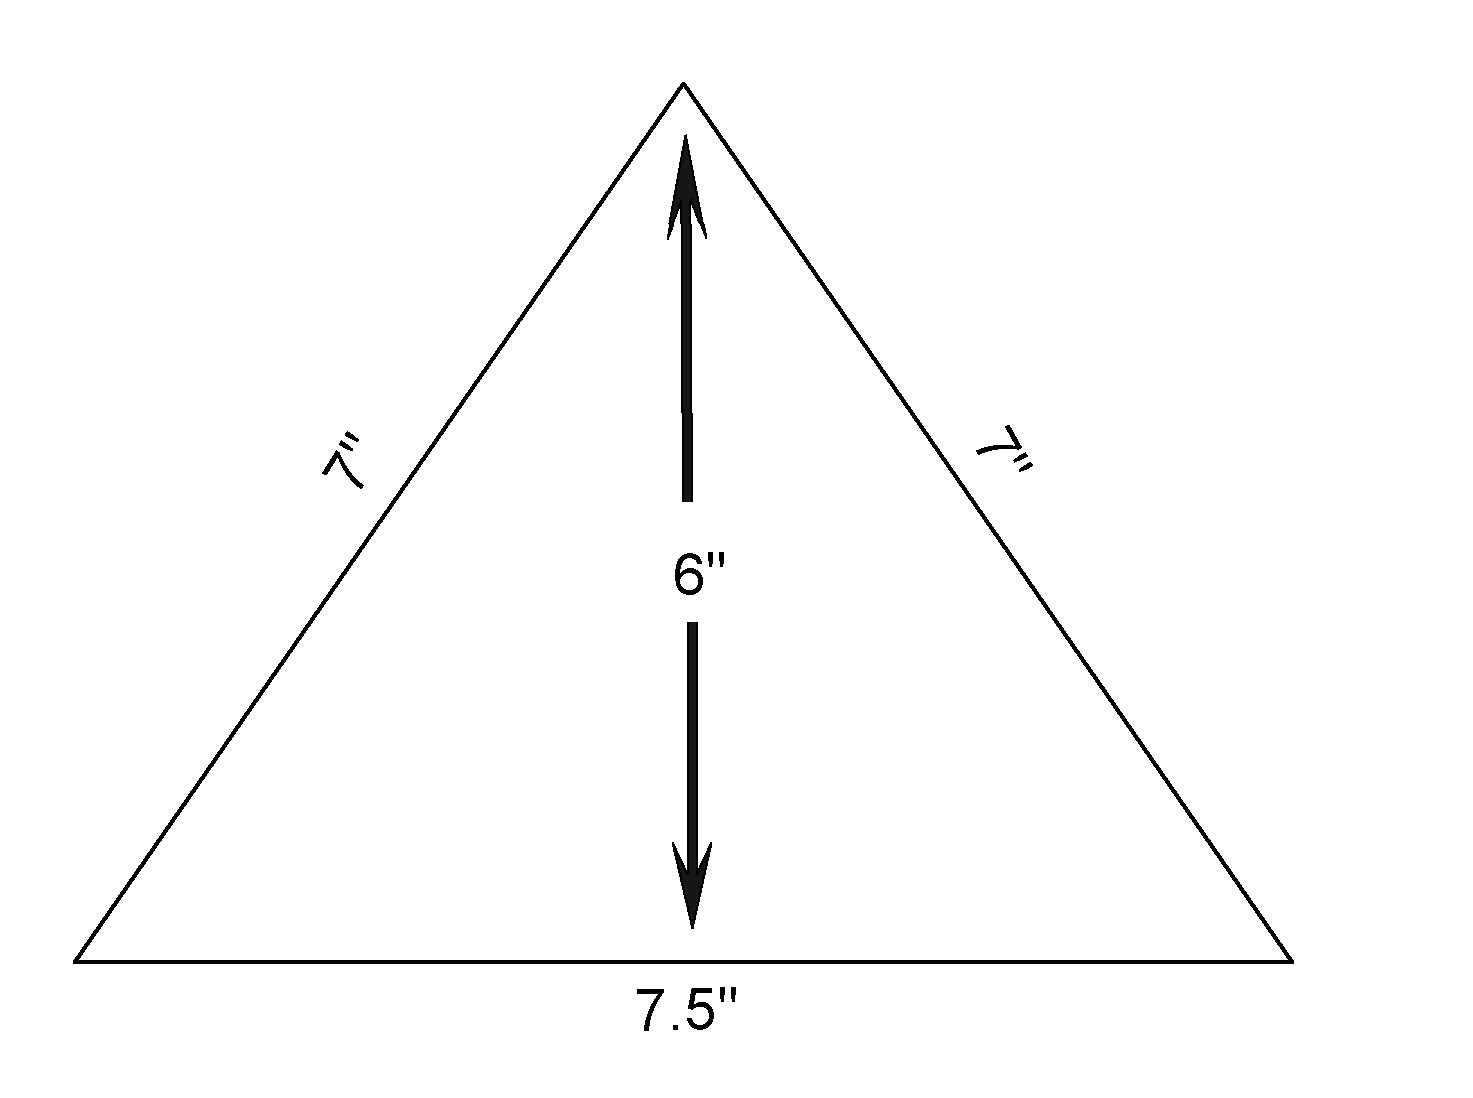
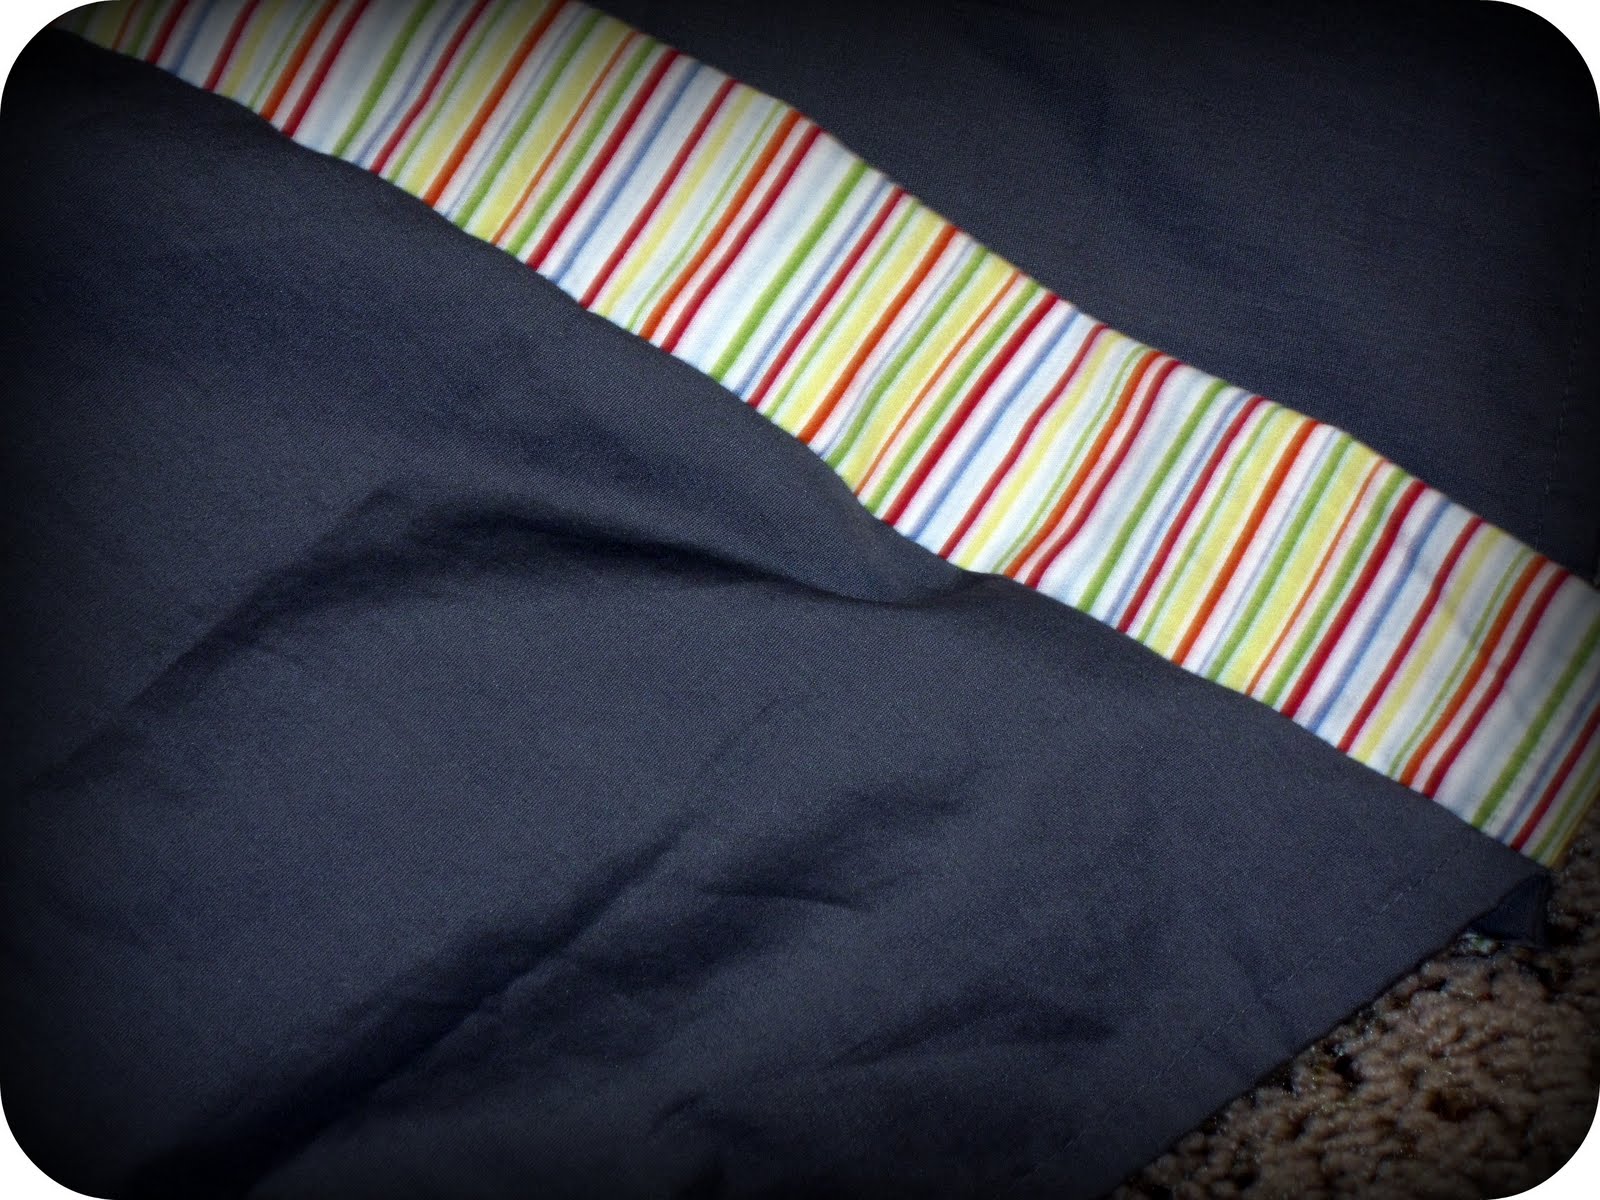
Prewash your sheets. Lay the solid-color sheet on the floor and use a measuring tape and pen to mark the triangles that will be the 5 sides of the teepee.
The far right triangle on the diagram, which is at the top of the sheet (where the big hem is) may vary a little in size...that's ok. It will form the door flap. Use a straight edge to draw lines between the marks. Now cut the triangles.
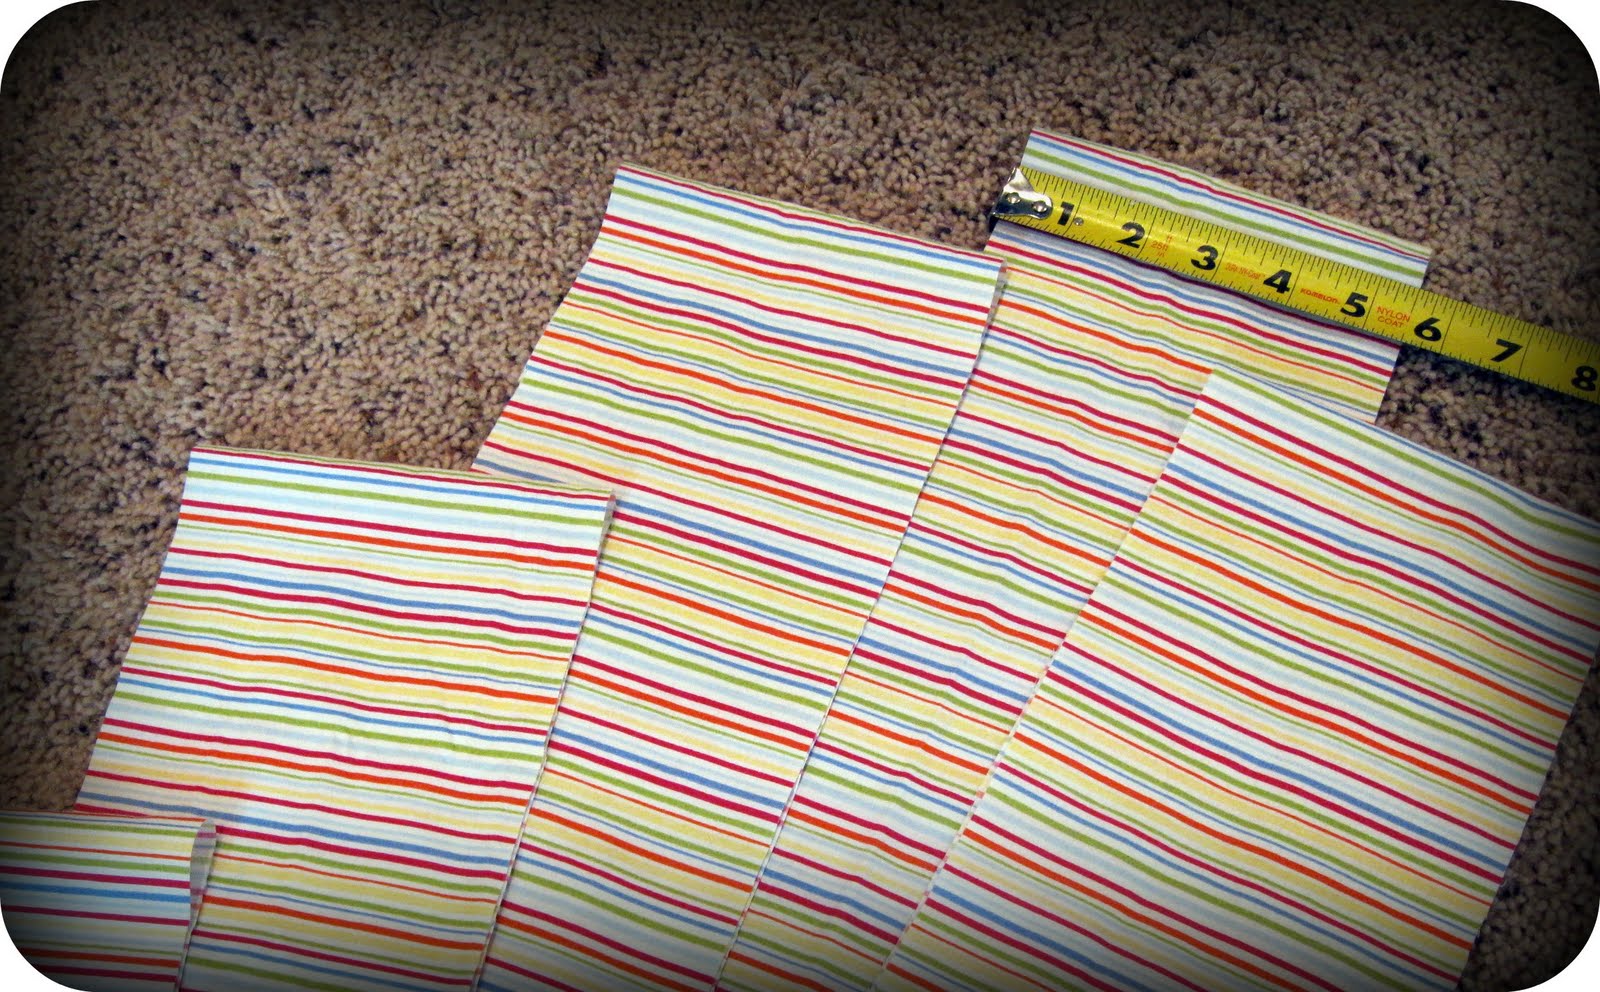
Lay out your contrast fabric. Cut 5 strips that are 60” long by 5.5” wide. These will form the pole pockets.
Cut a small triangle pattern piece for the banner that is 7x7x7.5" and 6" tall.
Cut 14 of them. These will form the pennant banner that is on the door flap.
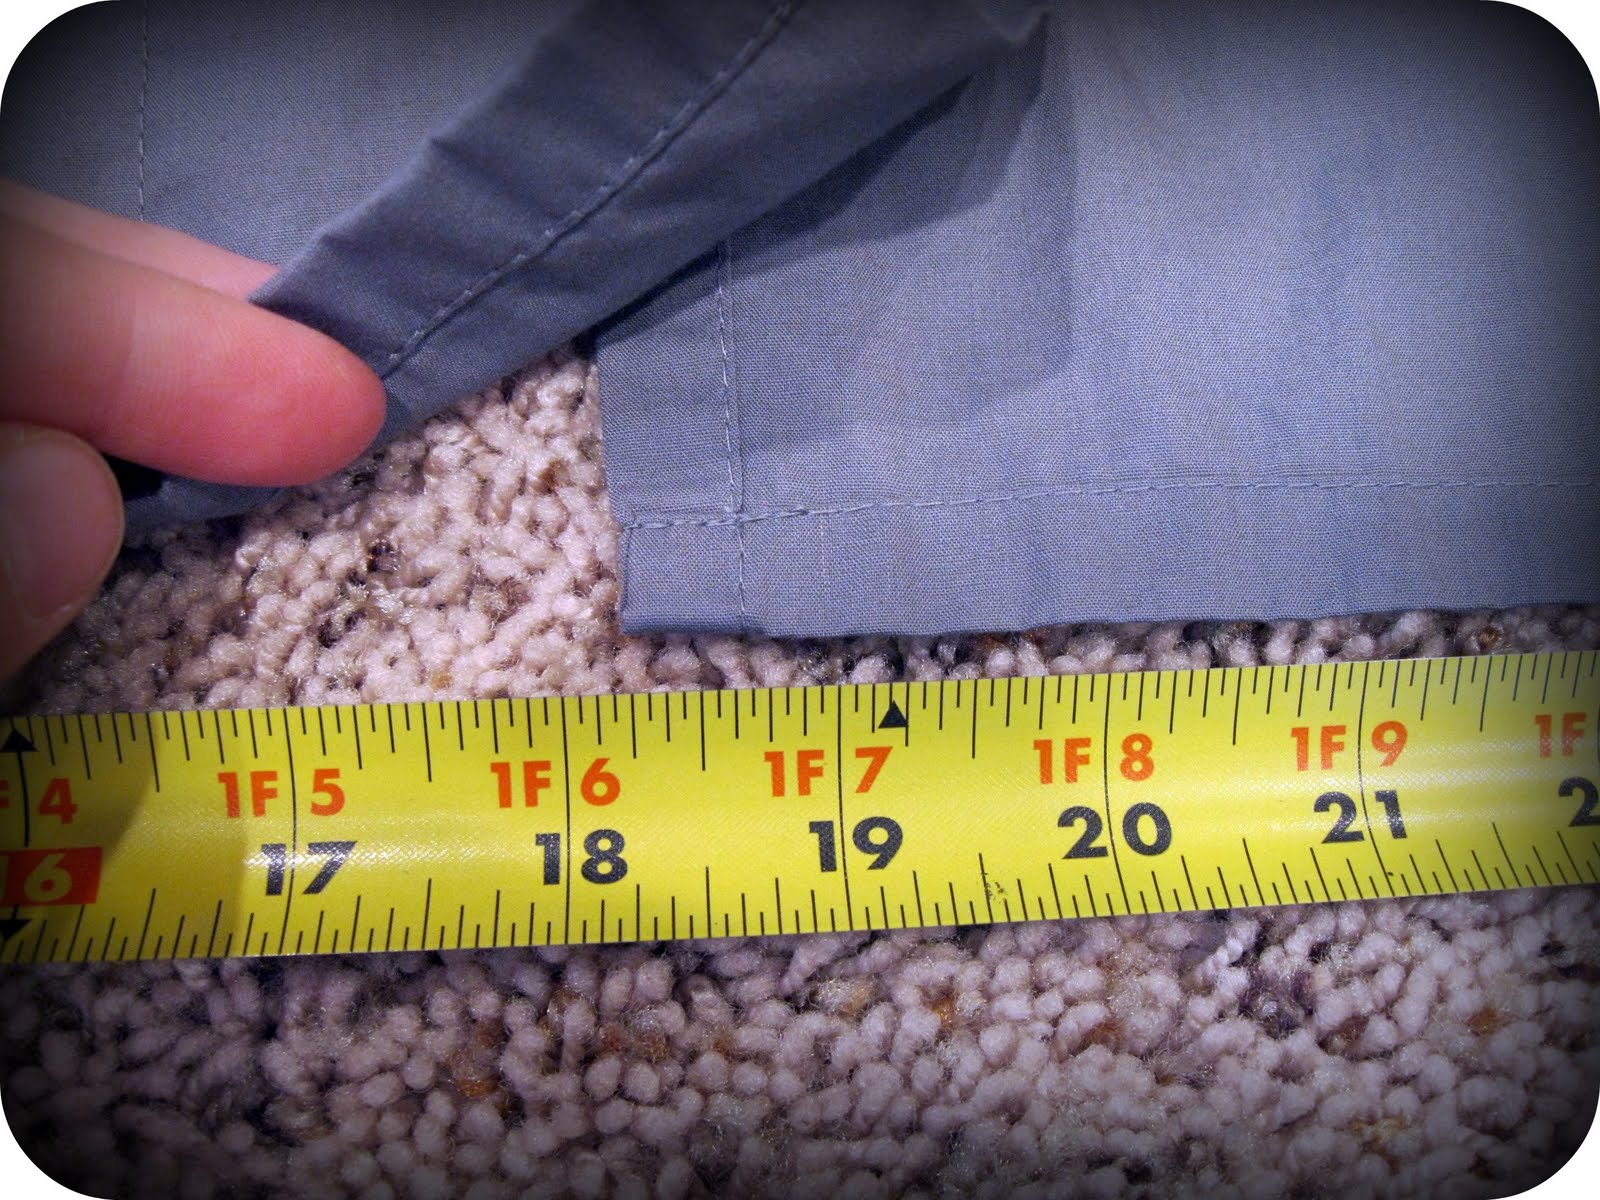
Start sewing. *All seam allowances are 5/8” unless noted. To make the front door section, overlap the 2 smaller triangle pieces. They should overlap 3" to 6", depending on length of your sheet. You will have to turn over the piece on the right so that the wrong side is up. The back of the hem will show in front, but it's not noticeable.
Overlap the two pieces (left wider hem piece over right piece) just enough so that together the bottom edge measures 36”. Make sure the overlap is same at top and bottom.
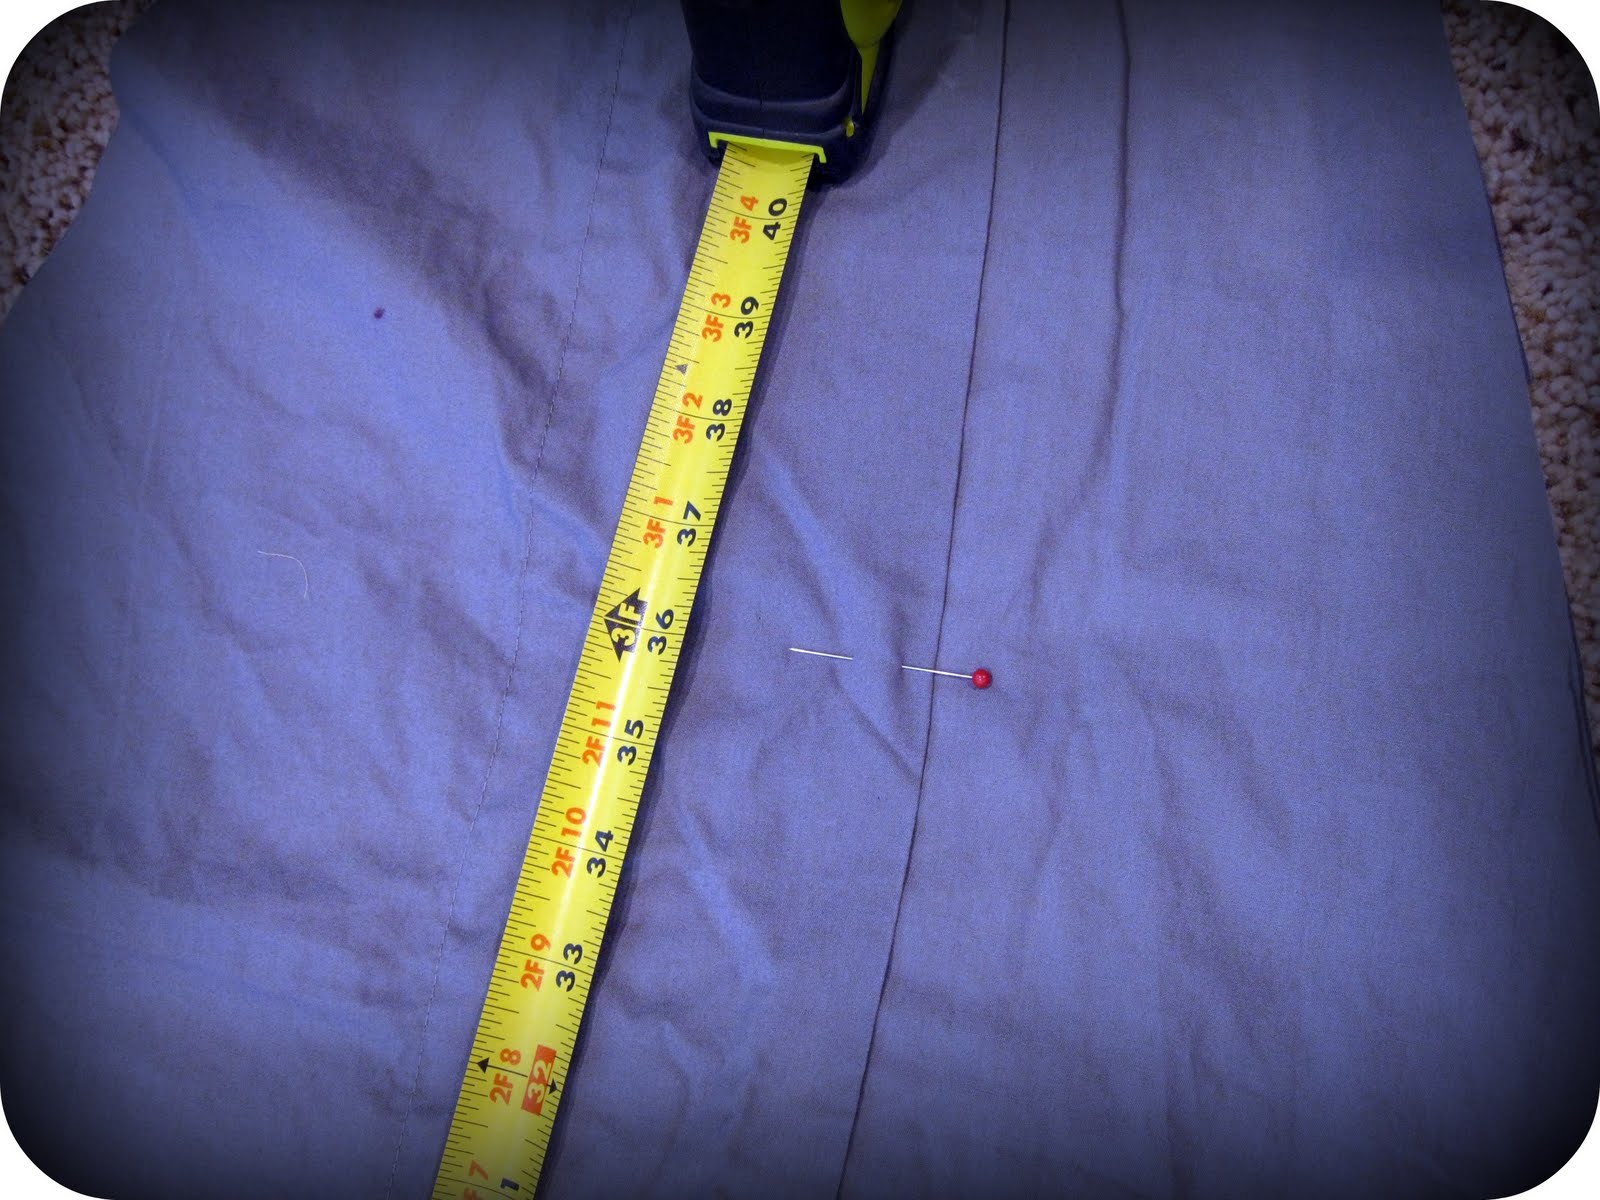
Pin together and mark a line 3 feet up from the bottom. This will be the top of the door.
The overlapped top piece can be cut to a point to match the bottom layer--up near the point. Now stitch along the upper edge and then along the overlap until the 3-ft mark.
Stitch across that line to attach the two layers and make the top of the door flap. It's a good idea to zigzag stitch this seam to reinforce it...it will get pulled on when doorflaps are opened.Now, on this and the other four triangles, measure 9" from the top point down each side, mark and then cut that piece off the top.Hem the top edge by folding it down 1/4” then 1/4” again and stitching. The bottom edge is already hemmed for you.
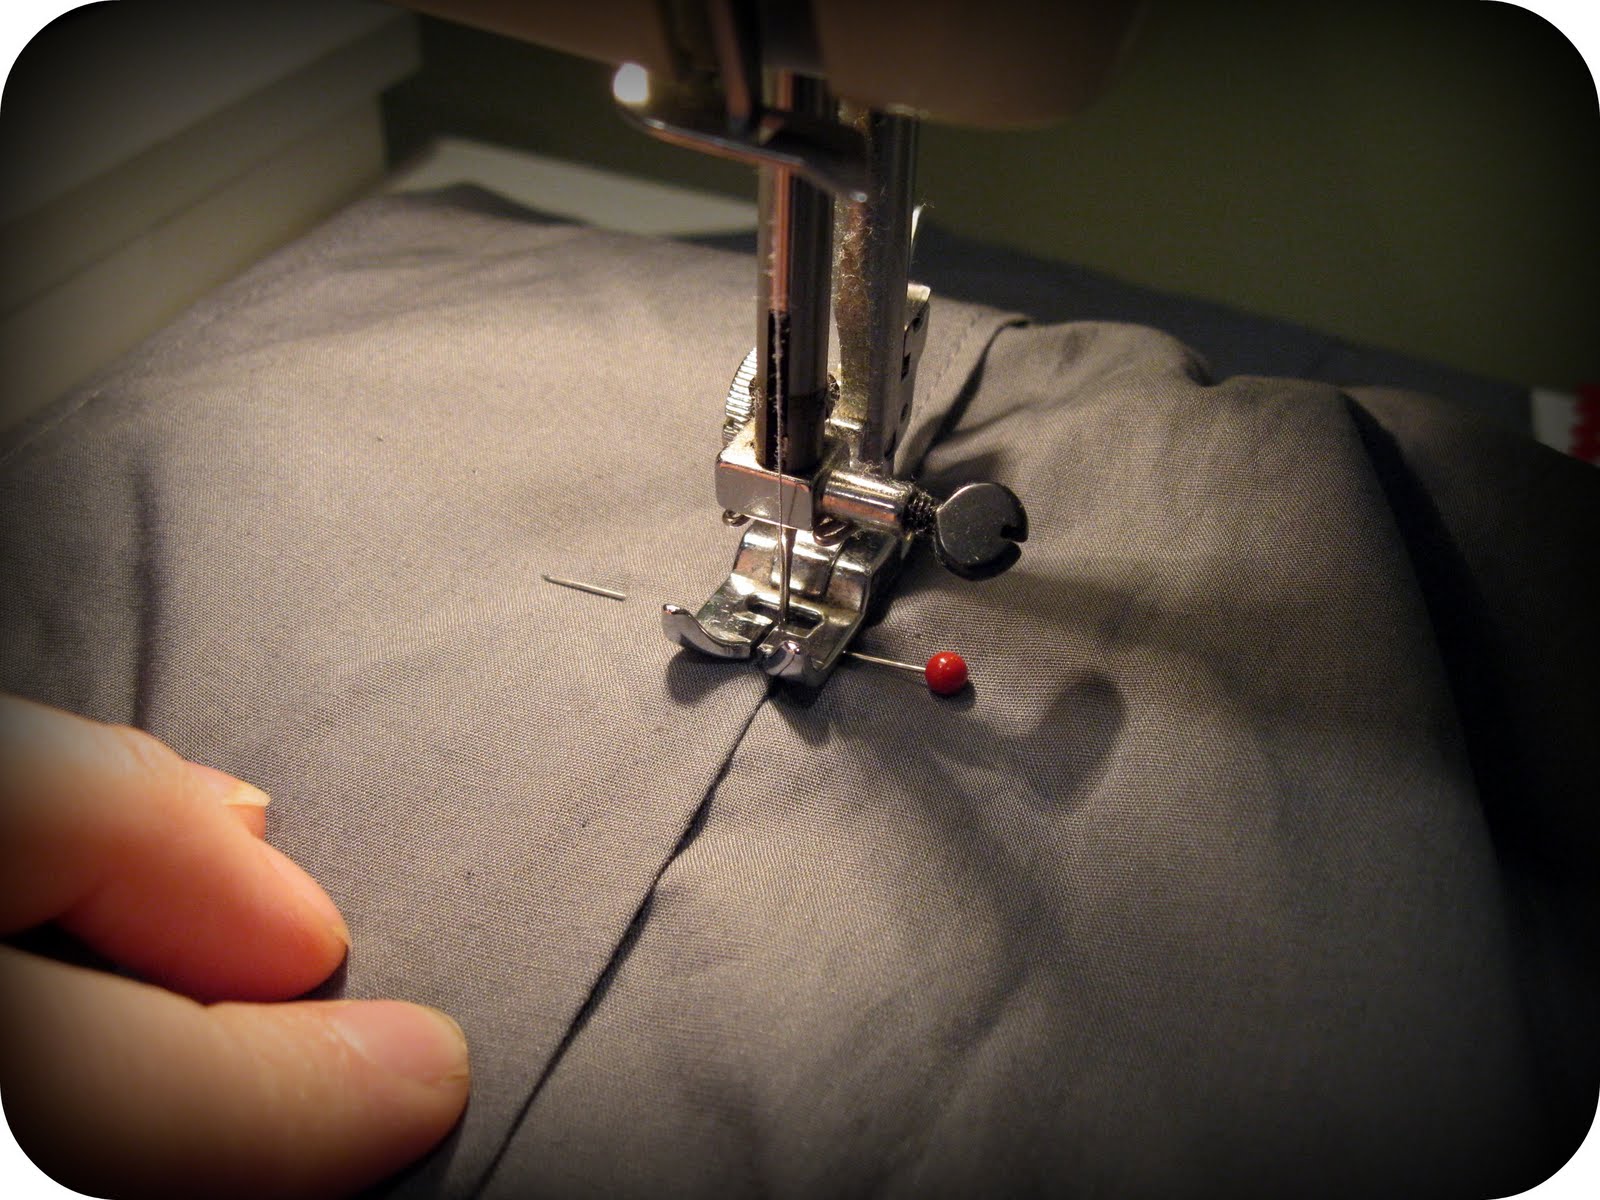
To sew the pole pockets, first hem the short ends of each, turning the end under 1/4” and then 1/4” and stitching. Do this to both ends of each strip. Next, you will fold the pockets in half lengthwise with the WRONG sides together. Put this long strip between 2 of the teepee sides so that the RIGHT sides of the teepee pieces are on the inside, against the pole pockets. All the raw edges should be even.
The pocket piece should be just a 1/2” to an inch shorter than the teepee pieces on each end. Pin and then stitch all the way down. As you sew, you may need to gently stretch the bottom piece to make sure your top and bottom edges end up even. Be sure to reinforce the edges a good bit where you start and stop your seam-—I stitched back and forth about 6 times over a couple of inches at both ends to make sure it wouldn't easily pull apart with use. Repeat this step 5 times, so that you end up with the pockets showing on the outside of the teepee. If you like, go ahead and zigzag stitch or serge the edges of those long seams to neaten them up inside.
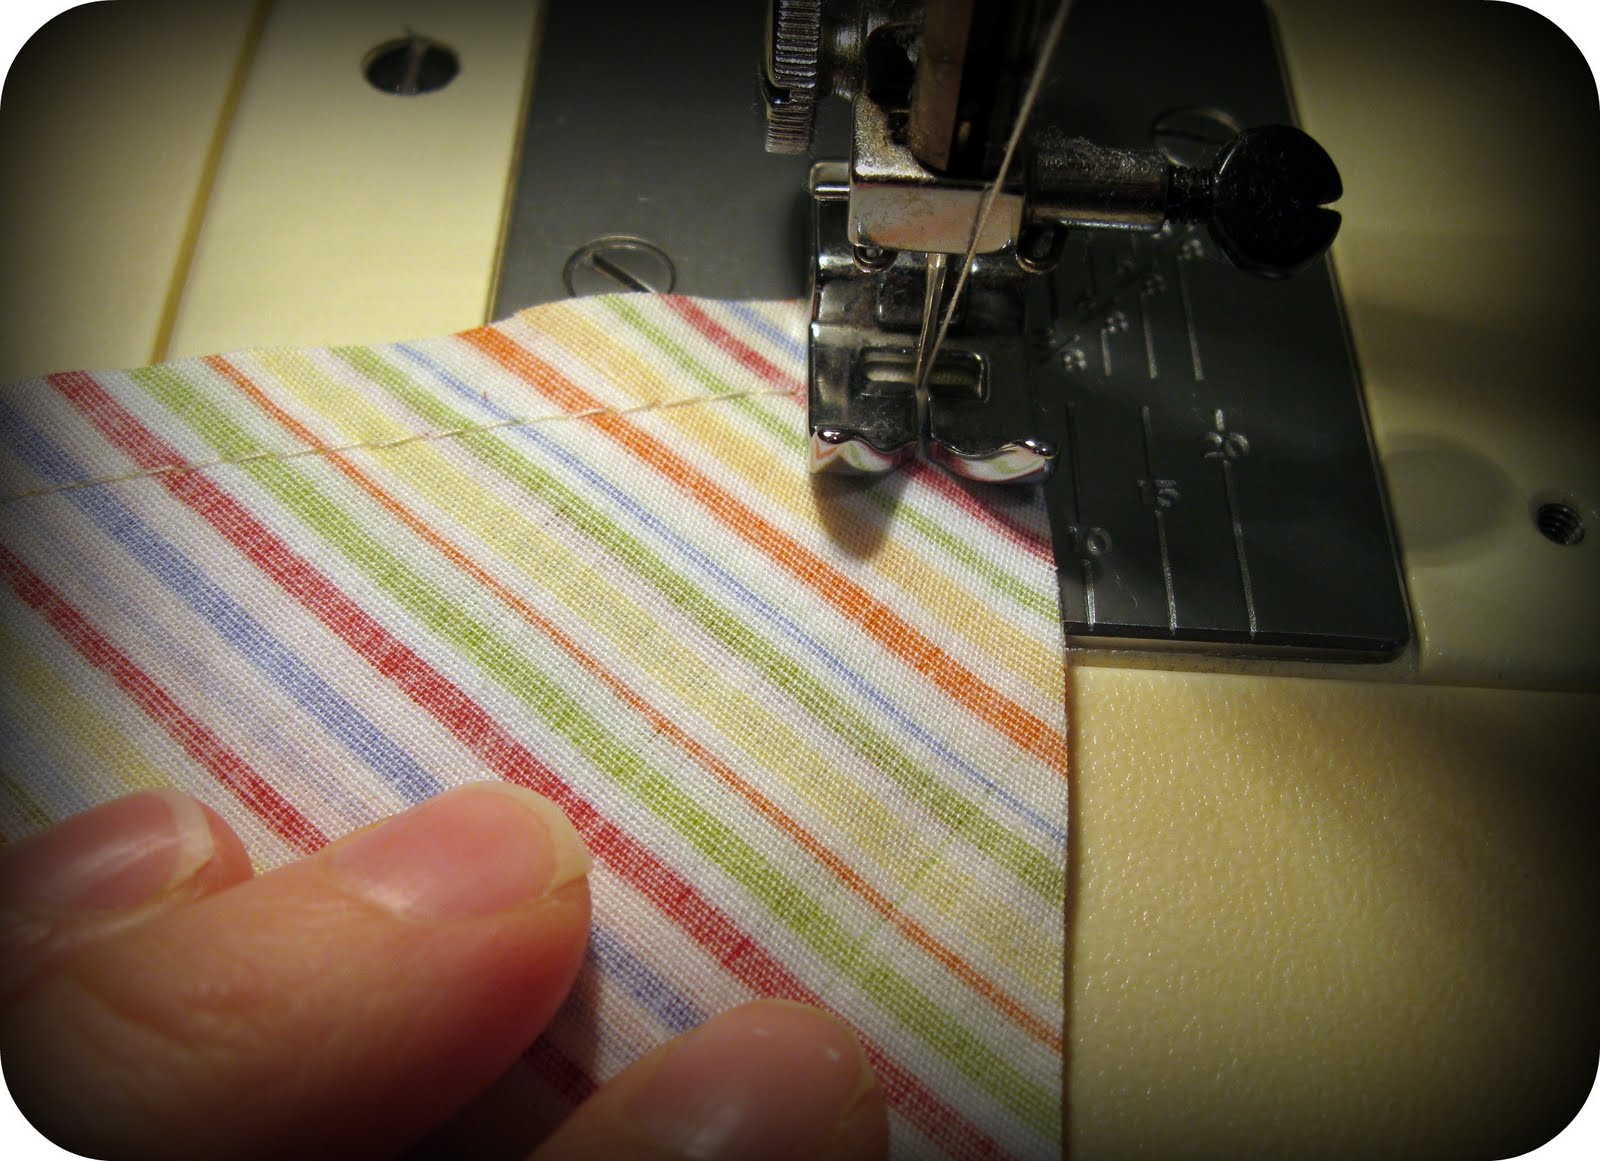
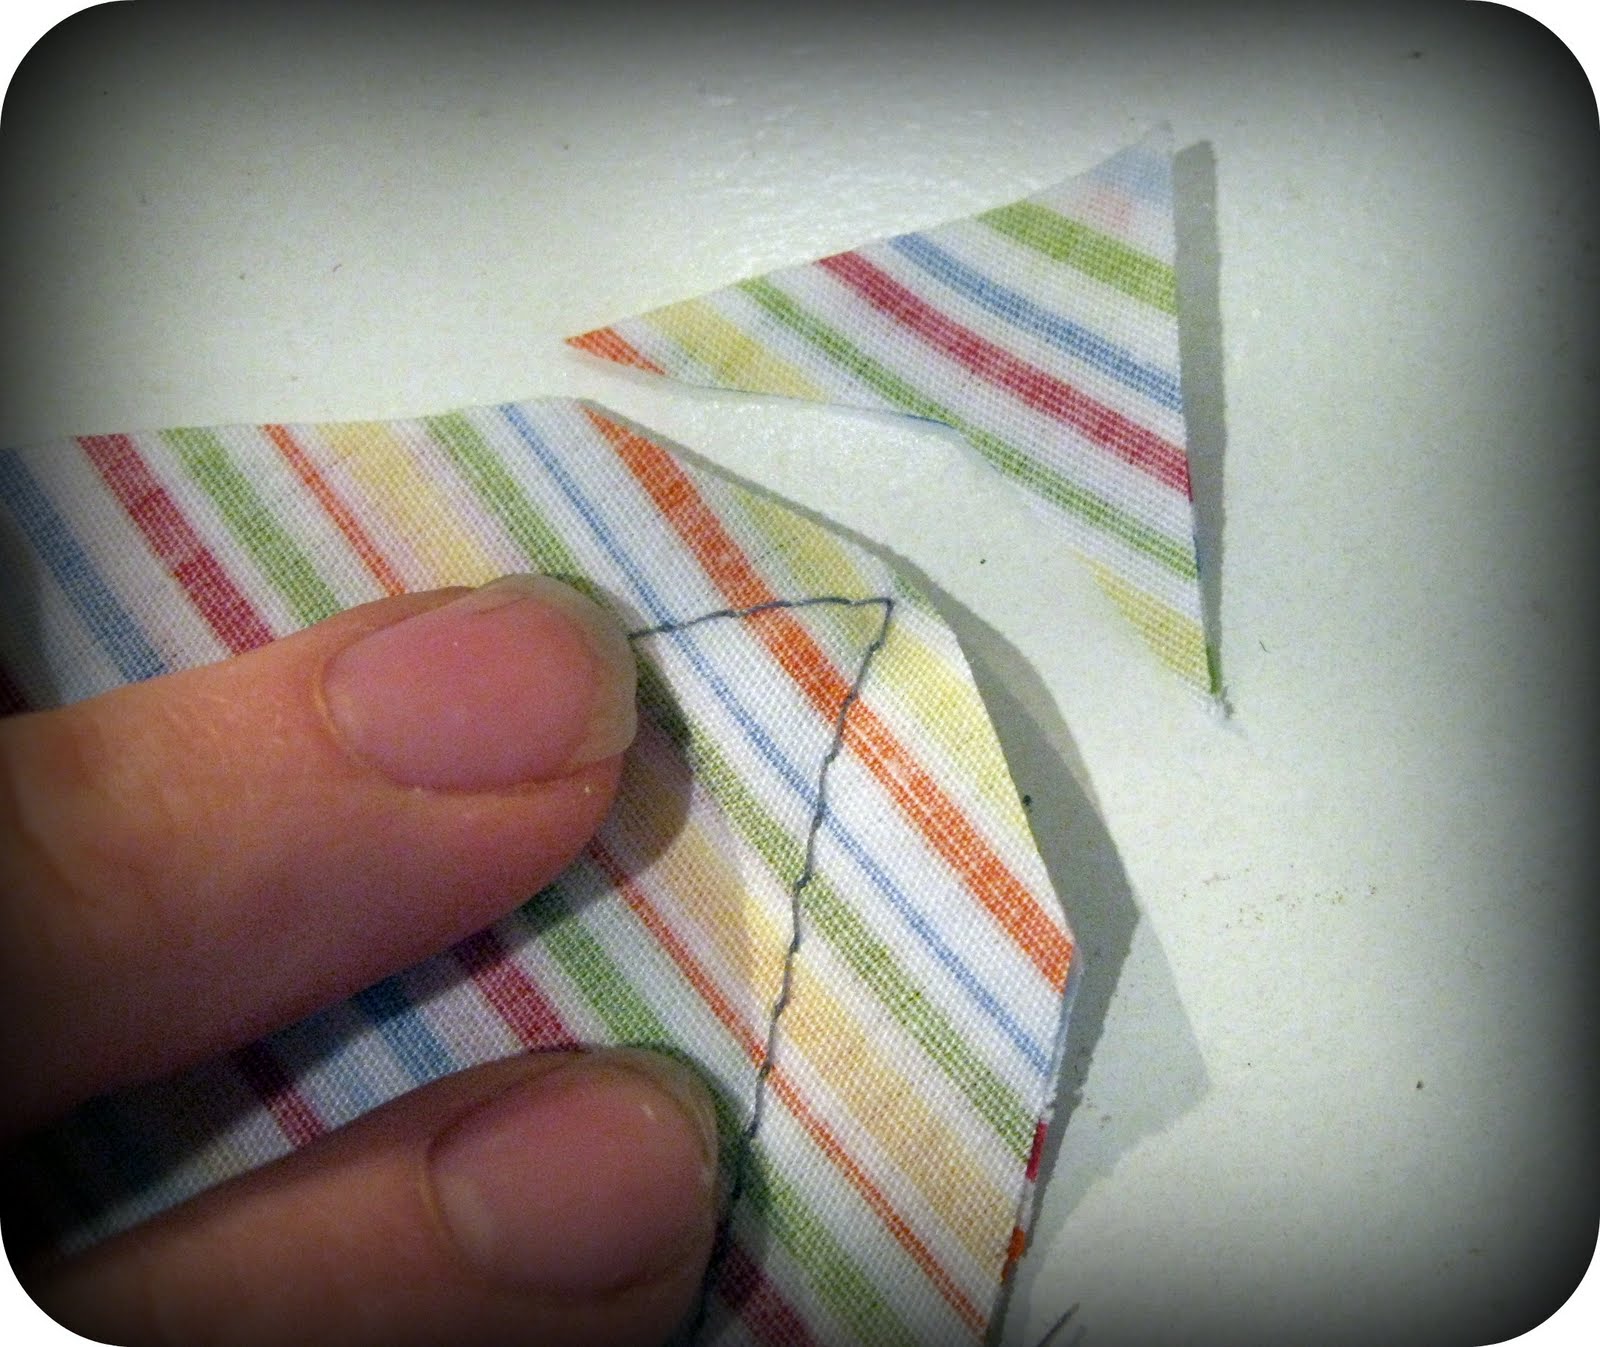
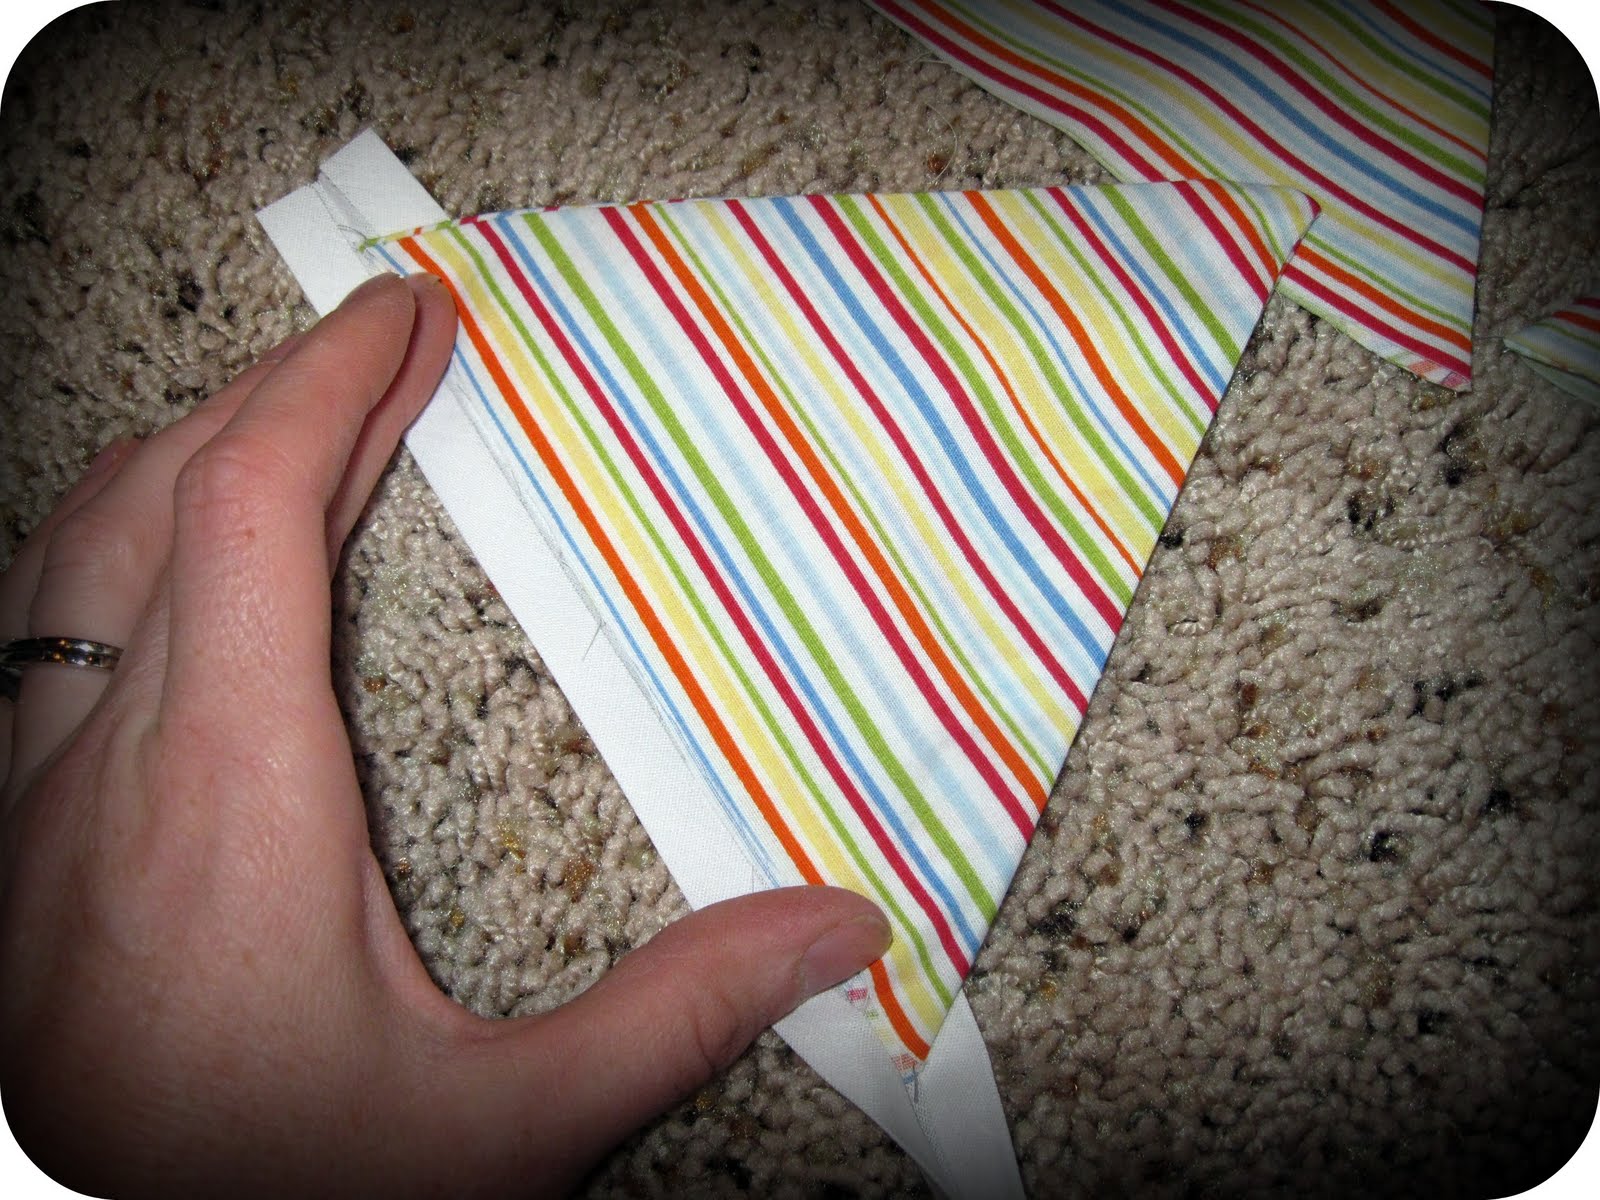
Now for the banner. Put 2 small triangle sections right side together. WIth a 1/2" seam allowance, sew along the edge of the 2 slightly shorter sides, pivoting at the corner. Leave the longer side open. Cut off the corner close to the stitching to remove fabric bulk.
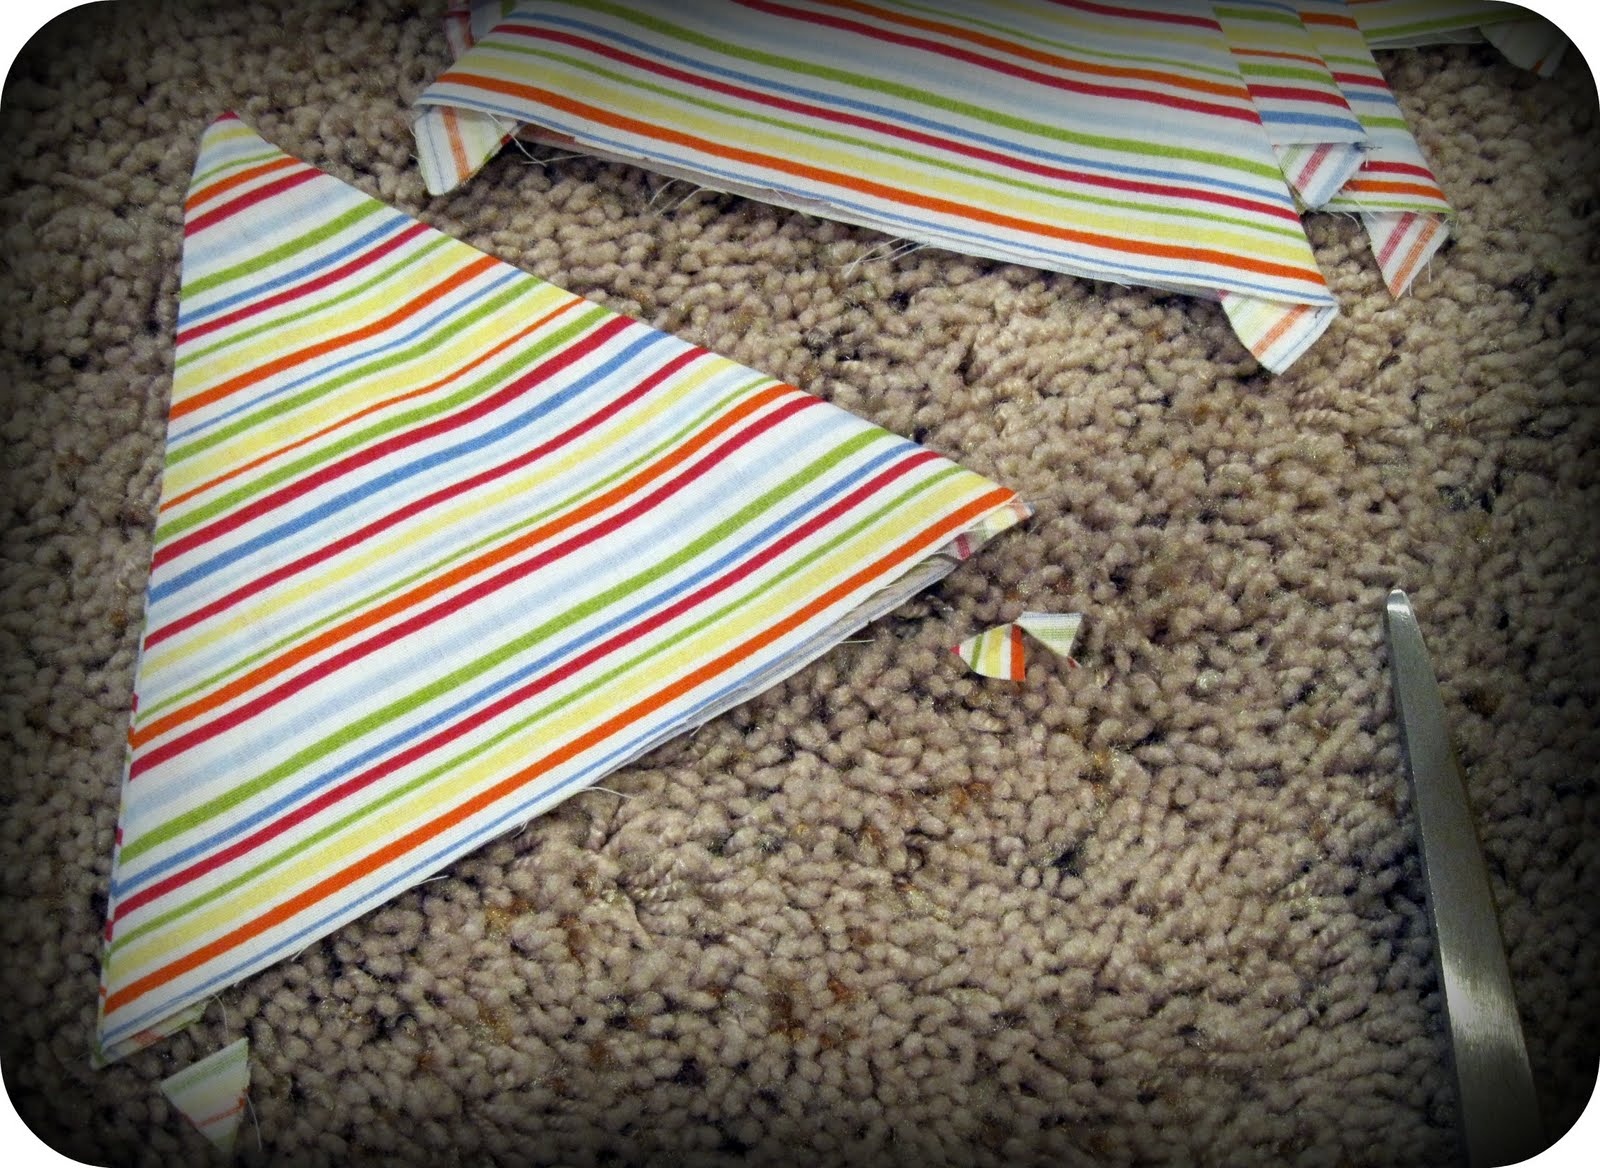
Turn inside, using a pencil or scissors to gently poke it out to a point. Press. Cut off the little points at the bottom edge. Top stitch each triangle on the two sewn edges. Open up the piece of bias tape and fold one end down a half inch. Lay a triangle piece under this end so the raw, unsewn edge is in the fold of the bias tape. Pin.
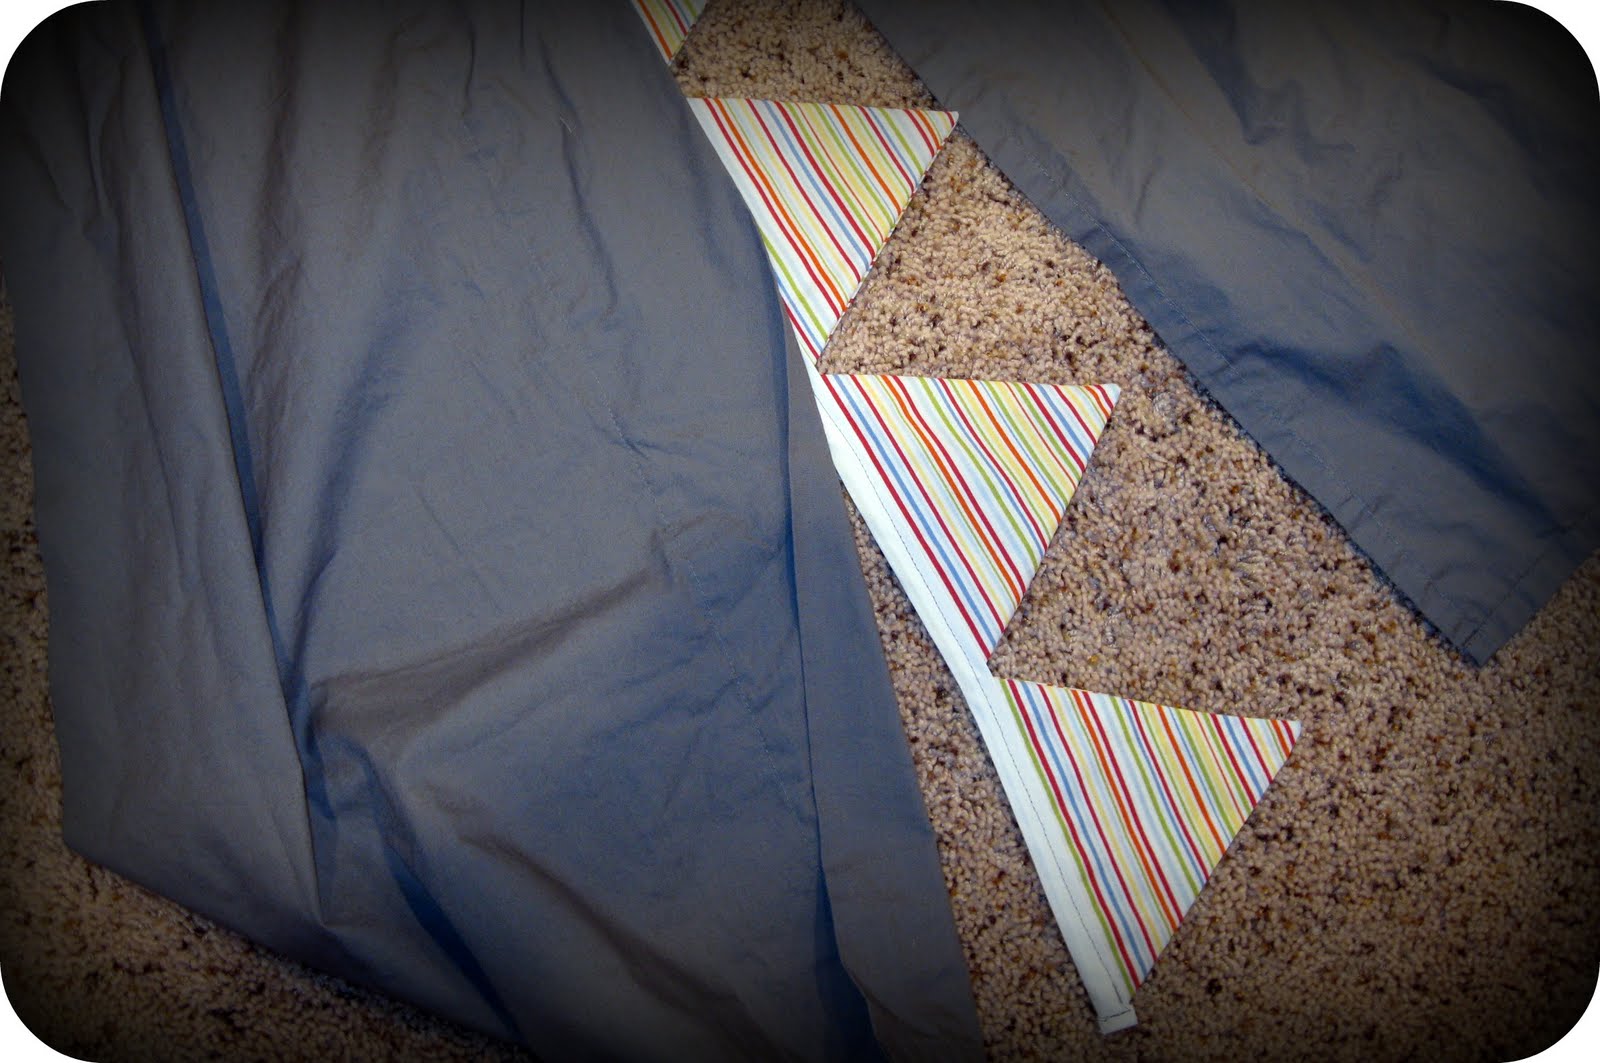
Lay the other six triangles inside, slightly overlapping the corners. Adjust so they fit just inside the 2 ends and there is an inch of bias tape left at the end that you can fold up a half-inch to hide the raw edge. Now, fold the tape over, and start stitching through all layers from one end to the other.
Pin this banner on the inside of the wider hem flap. Sew from bottom to top about 5/8” from the edge, making sure you don't catch the other door flap in your stitching. Now topstitch again next to the edge.
To prepare your poles: each should be 74-inches long. They will have markings on them from the store, so you may want to spray paint them or wind colored tape around them to make them prettier. Measure down 8” from one end of each pole and mark. Drill through both sides of the pipe at these marks. Insert the poles through the pockets of the teepee and put a cap on each end of the pole.
With the teepee and poles all bundled together, thread your cord through the drilled holes and tie it so it has just a little bit of slack. Stand your teepee up, spread the poles and adjust the tie as needed.
Furnish with a couple of good books, a little snack, and your children will have hours of fun in their new make-believe world!
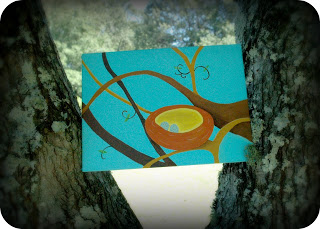
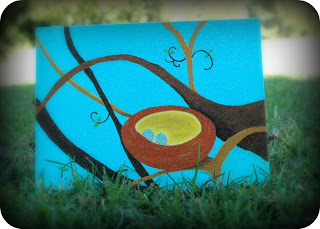
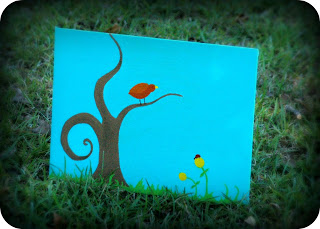
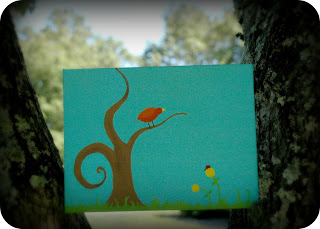
We are wrapping up our Teepee giveaway here, but never fear! We have another great opportunity for you to win something this week. Our friend at I Can Teach My Child is sponsoring a giveaway this week that includes two coordinating paintings that I (Tara) created.
If you want a chance to win the paintings, the details are all right here. Thanks, and once again, Good Luck!


