Showing posts with label family time. Show all posts

Tuesday, March 20, 2012

Easter Sunday Tradition: The Hunt for Easter Baskets is ON.

SO, while I am currently compiling a list of songs, videos, verses and illustrations to share with our kids in the weeks before Easter that focus on the reality of The Resurrection, I have already received several requests for hidden Easter Baskets.  
I decided to hide the kids' Easter Baskets the night before Easter last year, then spent a few minutes drawing very SIMPLE pictures on cardstock--very similar to something you would see on Blue's Clues.  While the kids were outside I hid the cards in familiar places all over the house.  Each clue contained a drawing of where they would find the next clue/drawing.  They caught on quickly and the energy and excitement built each time they discovered a new clue.  
This is not award winning videography, but this is what our Easter Basket Hunt looked like last year!
This fun activity did not require much time or planning at all; my kids talked about it for weeks and still remember it one year later.  
While I want to place much emphasis on the true meaning and celebration for Easter this year, I try to remember that my kids are simply kids.  This is a great chance to bond and share an experience together!
Check out many more fun spring ideas HERE.

Saturday, February 11, 2012

Valentine's Day: Baking Up Some Love.

I don't normally post about baking or cooking (especially not cooking), but I had a successful cookie experience today that is Valentine's Day-related, so thought I would share it here!
I saw a cute idea on Pinterest to replace the classic peanut butter blossom cookies with heart-shaped Dove chocolates and today we tried it.  They are cute and delicious. Success!
Around here I like to bake on Saturdays since we normally just hang out at home. I wanted to make something seasonal for Valentine's Day next week.  Click here for the peanut butter blossom recipe I prefer, or use your own.  The only difference here is to replace the traditional Hershey Kiss on top (after the cookies have baked) with a heart-shaped Dove chocolate. MMM. I may never go back to Hershey Kisses.


My original plan was to let the kids help unwrap the chocolates and roll the dough, but with runny noses all around, I decided to let them wait and only help taste-test this time.  Letting the kids help, watch, or simply enjoy the fruit of the Little Red Hen's labor in the kitchen is always a great and tasty way to spend time together.  
                      
Try them out if you get a chance!  These are great cookies to make for school, church, neighbors or friends. And don't forget to enjoy the words of wisdom found inside your Dove wrappers:

Thursday, February 9, 2012

Mommy Martyr? Silencing the Crotchety Old Lady Within.

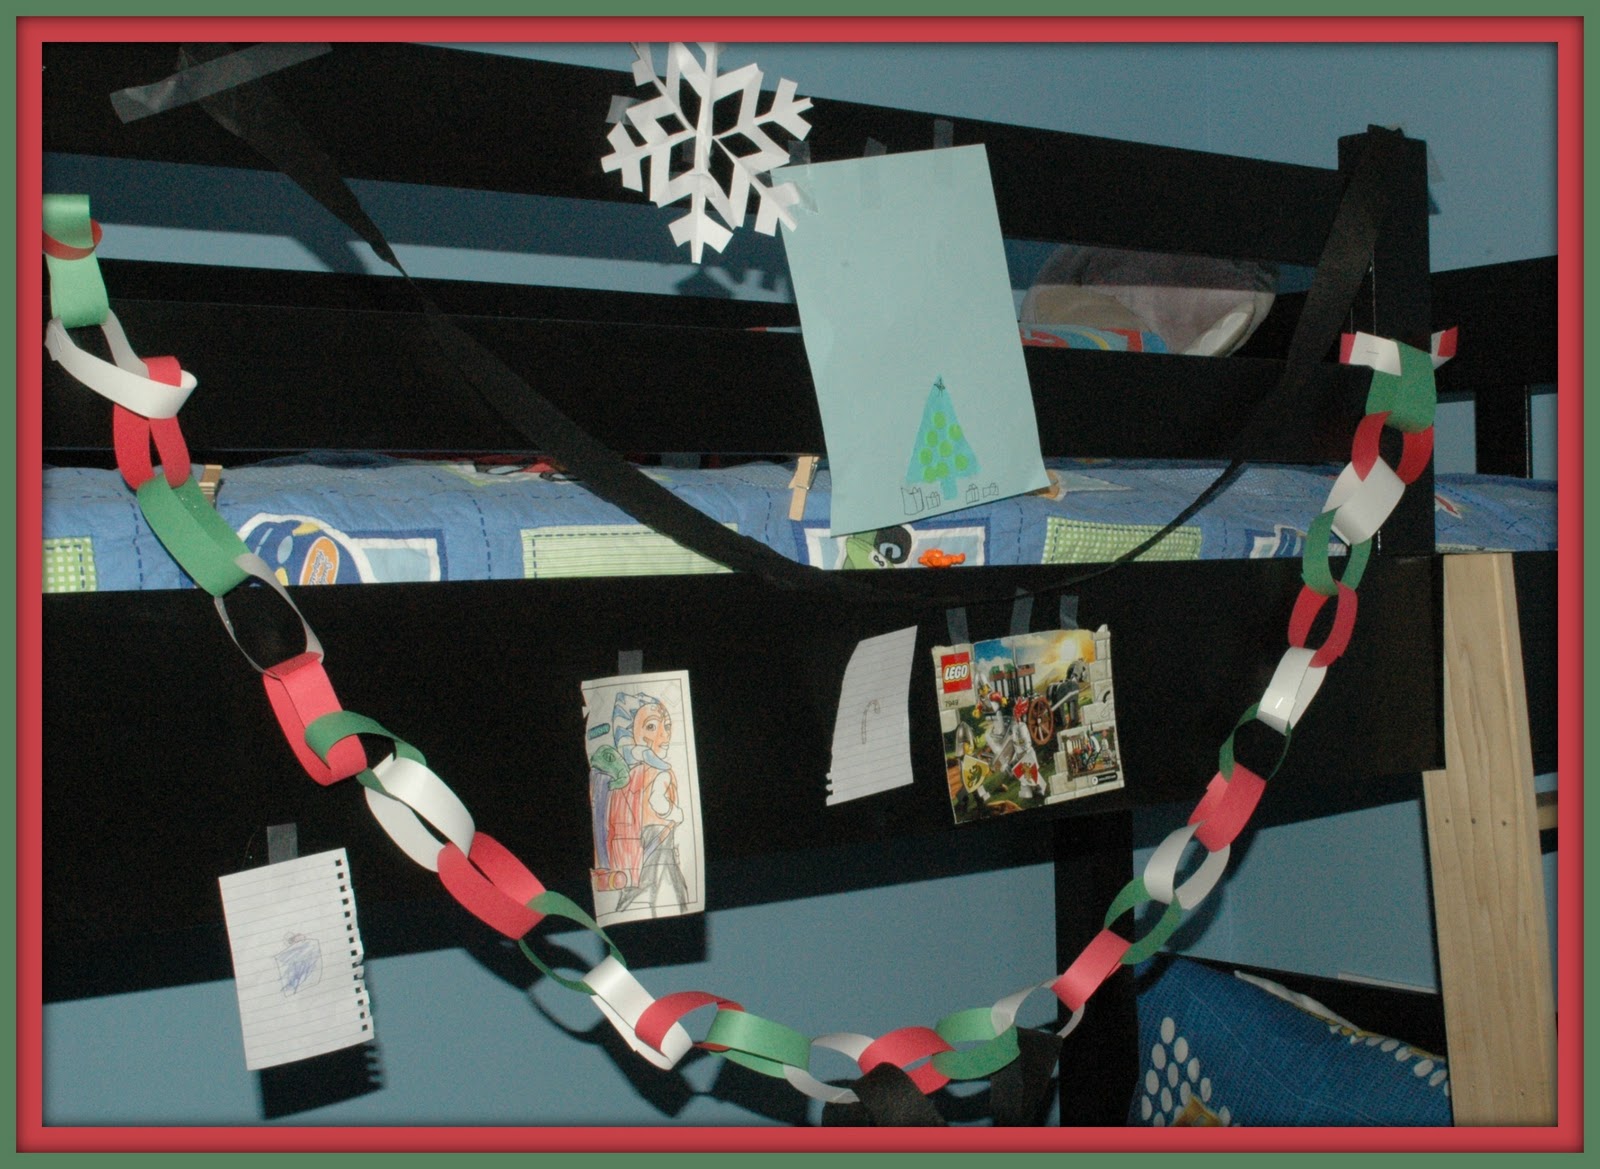
Sunday afternoon we drove home from a lovely mountain getaway with family; our legs were cramped from hours in the car and our stomachs were nauseous from winding mountain roads. And after days spent relaxing and doing nothing, my motherly instincts kicked in immediately after we unloaded the car.  So, while I was inside scrambling through the house, sorting laundry, unloading the dishwasher and putting things in appropriate drawers, I looked out the window and saw my husband joyfully pushing all 3 of our kids as high as he could on our swing set. So often my husband gets it right.

I hadn't even noticed what a gorgeous evening it was, or how urgently my 3 moppets needed to run. I joined my little family in the yard and spent some time playing. It is sad that I still have to remind myself of my true priorities so often. I am always chasing down balance, and it's tricky.  And while I certainly don't intend to play good cop bad cop with my husband, why does it happen sometimes? Because somebody has to do the laundry and put things away?

It's no secret that I like to plan; I like to keep things together and fairly controlled in my life, but sometimes I catch myself in a moment like this—looking out a window at laughing kids while I'm unpacking suitcases and worrying about messes and supper and bedtime and I realize my balance has tipped the wrong way. Again. So often I am once again the party pooper who is only worried about everyone having clean fingernails and 9 hours of sleep.

As moms, not only do we find ourselves constantly dragging the chains of housework and food preparation, but we also might find ourselves yelling about dangerous games of horseplay, plastic Light Sabers that swing dangerously close to faces, climbing to dangerous heights on chairs and ladders, and on and on and on. We are protective by nature; we want our kids safe and our houses clean. At the same time, I want to guard against turning my natural motherly instincts into a complete fun zapper. If I am so focused on safe kids and a perfect house, I might get my wish, but I might end up with kids who fearfully tip toe around their own home. And the sparks of bitterness and resentment that sometimes ignite might eventually turn me into the dreadful crotchety old lady I fear I may someday become.

Sometimes I feel the crotchety old lady welling up inside me. Many of us have her. She is the voice that loves to bombard me with facts: the laundry needs done. The floor needs cleaned. The kids are due for a bath. She is the voice that says, my workday is never done and I never get enough sleep! She is the one who rolls her eyes when nobody helps clean up the kitchen after dinner and throws a fantastic pity party because she's the only person who ever does anything around here!

And while the crotchety old lady may be telling the truth and presenting legitimate facts, she needs a new pair of old lady glasses to take a real look at the present. I love the English word for the present—because it is a reminder that NOW is a gift. And when I let the ugly voice of an embittered old lady shout negativity inside my head all day, when I inevitably become a REAL crotchety old lady someday, who will be left to listen to my whiny stories about the injustices of life? Nobody wants to listen to that. I'm afraid women are particularly guilty of this. Granted, the monotony of these years and the lack of immediate gratification is often draining. And we might not get daily recognition for our dirty work and child-rearing responsibilities, but what can I do now to focus on the present—these many gifts before me that outweigh the infinite messes and endless discipline sessions?

I am the first to admit that some days the crotchety old lady in my head wins the battle. Sure, I would love to roll around on the floor with the kids all day instead of folding laundry or I wish I could sleep in until 9 just once in my life! I am trying to silence this cranky old lady with reminders of other truths. These days are fleeting. My babies already need me less each minute of every day. I am blessed. Not only are they watching my every move, but they actually still want to play with me and sit on my lap.

Obviously I don't think we should just let our home become filled with dirty laundry and dishes and cobwebs. There's no need to make bath night a semi-annual event, but we need to balance our responsibilities to our husbands and kids in a genuine attempt to enjoy and appreciate the present. I have seen what happens when women wallow in years of self-pity over the thankless job of motherhood, and it isn't attractive. When I am especially tired, I feel myself becoming the mommy martyr, the one who doesn't have time to sit and play with matchbox cars because there is just too much to do! It's just a matter of time before the mommy martyr becomes the crotchety old lady, because the patterns and selfish thinking are already there.  


I am so guilty of this, and although one of my greatest fears is becoming the bitter, cranky old lady, I know that I need to focus on the truths of the present to keep her from eventually taking over. When it comes down to it, the crotchety old lady is my selfishness, telling me that the gifts of the present are never enough. These moments are temporary in every way; let's send the poor old lady to a place where she won't drag us down with her selfish, bitter thoughts again. 

Is there any encouragement from belonging to Christ? Any comfort from his love? Any fellowship together in the Spirit? Are your hearts tender and sympathetic? Then make me truly happy by agreeing wholeheartedly with each other, loving one another, and working together with one heart and purpose. Don't be selfish; don't live to make a good impression on others. Be humble, thinking of others as better than yourself.  Don't think only about your own affairs, but be interested in others, too, and what they are doing.
Philippians 2:1-4

Wednesday, January 25, 2012

Date Time with your Kids

I probably tell my kids at least 10 times a day I love them. I know they know. But in this season of all-things-love, I want to make sure I remind my children often how much I like them and enjoy spending time with them.

 As with all kids, ours LOVE to go out for some one-on-one time with Mommy or Daddy. My husband and I try to get a couple of hours with one of them each month. It's sweet to see just how much they anticipate and enjoy this undivided attention. Even my 2-year-old gets giddy if he gets to go in Daddy's truck—just him and Daddy--for a simple errand to the hardware store.


Often our dates involve going out for a meal or dessert together. This provides great talk time. My daughter is 4, and she is happy just to get a cookie or visit the animals at the pet store.


We've done a few more creative things with our 7-year-old. He and I enjoyed a pottery-painting date one Saturday afternoon.


And my husband took him to a high school football game last fall. The stuff that bonds daddies and sons.
 Some other ideas we have for date times this year are:
  • go for a bike ride
  • take a walk together at a park
  • go ice skating
  • take a box of donuts to a neighbor
  • go to a park and take funny/creative pictures
  • make a project together
  • plant something—flowers, seeds, a tree
  • go on a long hike
  • visit a hobby or pet store
  • visit an art show
  • make a fun video together
  • do a random act of kindness together
  • find a way to serve or minister to someone in need
Now that our kids are getting a little older, it's fun to find out what they think about the world. These are interesting conversation-starters for a date or even the family dinner table:
  • If you could be famous, what would you want to be famous for?
  • If you could invent one rule for the whole world to follow, what would it be?
  • If you could change one family rule, what would you change?
  • If you could keep your room any way you wanted, how would it look?
  • What are the qualities that make a good friend?
  • What do you think of my driving?
  • If you could decorate our home, what would it look like?
  • What do you think are the characteristics that make a good parent?
  • What is the nicest thing a friend has ever done for you?
  • What is the most enjoyable thing our family has done together in the last three years?
  • If you could have any pet you wanted, what would you choose? What would you name it?
We are trying to use this special one-on-one time to be more than just activity time together...we want to use it to build strong communication foundations with our kids. If we're not open with them now, we know we can't expect them to want to talk to us when they're 15. I'm working daily on being a better Listener to my children!

A few years back, our friend passed along some really great questions to probe the heart a little when you have some uninterrupted time alone with one child. Some don't quite work yet for our young children, but I'm hanging onto them for a few years down the road.
  • What conflicts are you and your brothers/sisters having when Mom and I aren’t around?
  • How is your heart towards your brothers and sisters?
  • Do you think your mom or I show favoritism towards one of your siblings? If so in what ways?
  • How’s your relationship with Mom? How is she doing as a mom?
  • What is God showing you about the way He made you?
  • What can I do better in leading the family to love God and love each other?
  • How are your devotions?
  • What is God teaching you?
  • In your own words, what is the gospel?
  • Is there a specific sin you’re aware of that I can help you in defeating?
  • Are you more aware of my encouragement or my criticism?
  • What’s Dad and Mom most passionate about?
  • Do I act the same at church as I do when I’m at home?
  • Are you aware of my love for you?
  • Is there any way I’ve sinned against you that I’ve not repented of?
  • Do you have any observations for me?
  • How am I doing as a dad/mom ?
  • How have Sunday’s sermons/classes impacted you?
  • Does my relationship with Mom make you excited to be married?
  • On top of these things, with my older kids, I’m always inquiring about their relationship with their friends and making sure God and his gospel are the center of those relationships. And I look for every opportunity to praise their mother and increase their appreciation and love for her.                     
                • Family Strategy questions by Rand Hummel/the Wilds
A little attention and time goes a long way...it's just hard to fit in sometimes. After the football game, my son came home with shining eyes, as well as a little hot chocolate still stuck to his upper lip. He told me it was his best night ever.  Later my husband recounted the evening to me and said he felt like even if he'd been the worst Dad in the world (and for the record, he's a fantastic Daddy!), that evening together would have redeemed him big time. It was a super special outing for both of them. And a reminder to make the effort to book these important times on the calendar before lesser things eat away our hours with our kids.

Monday, January 9, 2012

Painted Hopscotch Mat

We originally had the opportunity to guest-post this project at Living Life Intentionally last month. Posting it here in case you missed it!


Are cold, rainy, or snowy days keeping your children from running off pent-up energy outside?? Bring an outdoors game inside with a Hopscotch Mat!  I taught my kids to play hopscotch in our driveway this summer. They loved it...and of couse, I was then cajoled into hopping through many a game with them. An indoor version takes a little time to prepare initially, but then it can be rolled out in a couple of seconds for instant fun. 


Supplies needed:
  • 2 1/2 yds canvas
  • acrylic craft paints in several colors
  • stiff 1/2" paintbrush
  • a large bowl or pan--square, rectangle or circle
  • pencil
  • measuring tape
  • puffy paint (opt)
  • sewing machine OR hot glue gun
  • 4 fabric scraps and dried beans (for Beanbags) OR 4 Rocks


The canvas I bought at Walmart was 60" wide, so I bought 2 1/2 yards and cut it lengthwise to make 2 mats--one for my daughter and one for a gift.


To finish the raw edges, fold them under 1/4", then fold under again and stitch all around. If you don't sew, you could hot glue them under.


For the hopscotch squares, I decided it would take forever to tape them off in order to paint straight lines. Instead, I had this rounded-square bowl in my cupboard that would work perfectly. You could use a square pyrex dish, a rectangle dish, or a large round mixing bowl. Even a combination of shapes would make a fun design! You probably want your bowl to be approx. 10-12 inches diameter.


Measure your bowl and then determine the center of your canvas width. Make some pencil dots to mark the center and give yourself some guides for the squares. At first, I tried painting the rim of the bowl and stamping it on the canvas...but it was too thin a line and hard to hold the slippery bowl.


So then I just traced it with a pencil and painted over the pencil lines with a fat paintbrush. Much easier!


I painted the lines (with a stiff brush) as evenly as I could, knowing they would not be perfect without tape guides. Afterwards, I went back over the lines with my brush fairly dry and feathered out the edges to look like chalk dust.


Now, for the numbers. You could print out your own fun numeral font at home on cardstock to make stencils, but I opted to save time and buy a $4 set of stencils at Walmart. I love these 4" whimsical numerals.


Measure the placement if you want to be precise--I'm more of an "eyeball-it" kind of girl. Holding the stencil with one hand, I dabbed the paint inside (not too thick!) and carefully peeled the cardboard away.


Then I touched up any rough spots and filled in the gaps.


Only one thing more needed for the game: Beanbags...or rocks.


If you don't sew, just find 4 clean rocks and paint them different colors. For mine, I used 4 fun fabric scraps to make little beanbags. I cut 2 squares of each color to measure approx. 3 1/2" x 3 1/2". With a 1/2" seam allowance, they turned out to be 2 1/2" square. Stitch around 3 sides and the very edge and corners of the fourth side, leaving 2 inches open. Clip all the corners, then turn right side out and poke out corners.


Spoon in dried beans or rice so it is fairly full but not stuffed.


Now fold in the raw edges on the open side and stitch closed. One final thing you may want to do is add a few squiggles of Puffy Paint on the underside of the mat to keep it from slipping on a wood or tile floor.


If you're a little rusty on hopscotch rules, refresh your memory here or here.  And now your Hopscotch game is all ready for some energy-burning, indoor fun!

Thursday, January 5, 2012

Memory Maker: Video Interviews with Your Kids!

Aren't we fortunate to live in the age of Flip cams and iPhones and the ability to instantly capture the cuteness of our kids on video for forever memories?! All the sweet little stages and firsts and special events.

One thing I have done with my children from time to time is get one alone where he/she is not distracted, and ask some questions...just to capture their thoughts on video. The other day I took my oldest two outside and asked them each about 10 questions on the topic of Money. From some recent dialog, I knew my daughter did not have much financial understanding yet, and some of her answers proved to be pretty entertaining. They will both get a kick out of this a few years down the road!


You can have a lot of fun with this simple format...and provide some wonderful videos for long-distance family! I plan to interview my kids about growing up, goals, Daddy (Father's Day!), grandparents, siblings, work/jobs, family, and vacations. 

For kids who are a little camera-shy, try sitting a few feet to the side of the camera as you talk to them. If they are looking at you, that may help them forget the video and more freely answer your questions. A few other quick tips:
1) Use a tripod! You can get one at Walmart for as little as $20, and it's well worth the investment for nice, steady video.
2) Set the camera at their eye level. Don't "shoot down" at them.
3) Sit or kneel as you interview them so that you are on their eye level as well.
4) Frame your shot fairly tight--usually waist or chest-up is good.
5) Try shooting outdoors for better lighting and more scenic setting (the trade-off is background noise if you live on a busy street).
6) Ask open-ended questions--have 10-12 ready since they may pass on a few of them.


It's not hard to edit their answers together and make them fun to watch--if you don't already have an editing program, you may find Windows MovieMaker is easy to learn. It is a blast editing--and later watching--these priceless videos starring your favorite little actors!

I plan to do these videos on a more regular basis this year, so my goal is to interview my kids each month on one topic. Look for our February edition..."Kids on...Love!!"


Wednesday, January 4, 2012

Family Tree Calendar with Bottle Cap Accents!

If you are ready for a project with tons of room for creative variety, then today is your lucky day!
I know the new year is already here, but for those of you who didn't receive a calendar for Christmas, or for those (slightly crazy) people who want to begin a special 2012 Christmas present, then here you go.


To get started, you will need several things.
A sheet of metal. You can find this at your local Hardware store. My husband cut our metal sheet to 15"X15."
The following can be purchased online or at a craft store:

  • Bottle caps
  • Epoxy 1" bottle cap toppers like these
  • Magnets
  • Super glue & craft glue
  • Decorative craft paper (for tree) and cardstock to print numbers

After the metal sheet was cut, my husband framed it nicely with painted wood. This is optional, the metal sheet is nice by itself, but since we are trying to make this an interactive family calendar, the sharp metal edges made me nervous. If you don't have a custom framer in your home, I'm sure some decorative duct tape or something similar would work well to frame around the edges. 
Once we had our metal ready to go, I cut out my tree.  I drew a tree freehand onto a manila envelope; once I was happy with the size and shape I cut it out as a stencil. Then I traced this tree onto a large piece of black scrapbook paper with a white pencil.  I used an exacto knife and sharp scissors to carefully cut the black paper.  This is not a project that you are going to just whip out in a few hours!  It is a labor of love.
Next, I used craft glue to adhere the tree to the metal.  Not just any glue will work since it is a metallic surface.  If you have a favorite glue that will spread quickly and easily over the surface of the tree--go for it!  Carefully spread a layer of glue over the back of your paper tree and place it wherever you want it on your calendar.  Press and smooth it down as much as possible...it is slightly tricky!


While your tree is drying, you can begin thinking about how you want to decorate your family calendar.  Disclaimer: I was inspired by this neat idea in October and am just now finishing up, so don't be discouraged if you don't get around to it right away!  It will take a while to gather all the materials, etc.
First, decide how you want the Month displayed at the top. I scratched out several ideas along the way.  If you have the colorful magnetic alphabet letters on your fridge at home, then this might be an option.  You will need several uniform packets to have enough letters, but it will be bright and fun.  I also printed out and laminated the month, but I didn't like how that turned out.  I ended up using these wooden letters that I found in a packet at Hobby Lobby in the wooden crafts aisle.  They were very cheap (less than $5 for 2 packets) and I only had to super glue a magnet to the back.  Quick and done.
1st attempt using fridge magnets
2nd Attempt using wooden circle letters
Now it is time to start having fun with bottle caps.  I have been introduced to the world of bottle caps and there is no turning back.  There are now mysterious 1" holes throughout many paper products in my home thanks to this project.  If you don't have a 1" paper punch, it is definitely an investment ($10 or less) that I recommend!
For this project, I created a template to have uniform numbers on our calendar.  Like I said though, this project can be modified so much.  Feel free to let your kids track down all the numbers in magazines and punch them out so that each number is unique! If you like uniformity, then here is a printout for you:
Simply print this on cardstock and let your 1" paper punch do the rest.  If you haven't had time to collect 31 bottle caps, you can buy them at most craft stores.  I used a hot glue gun to secure all 31 numbers inside their own respective bottle cap.  When the glue was fairly set I placed a clear epoxy bottle cap cover on top.  After that I used Gorilla Glue (super glue) to attach a circular magnet to the back of each bottle cap.  This process is tedious, but each bottle cap is a mini work of art!
 
I used clothespins to hold the magnets still while the glue dried!

Now it's time to put everything together!  To finish our calendar I printed a picture of the kids and laminated it.  I used a few flat, adhesive magnets on the back, and they were ready to go! Start adding your magnetic letters and numbers and watch your calendar come to life.  To hang our calendar, I screwed an eye hook on either side of the back of the frame and tied wired ribbon through the back. 

My kids have enjoyed seeing which magnets will work on our calendar, and it will be fun to add a new magnet for each day of the month.  I plan on making (or having Kylee make...) a little bag to hold the extra numbers that are not in use until the end of the month.  I also plan on making special bottle cap magnets for days like birthdays, no school, vacation, anniversary, etc.  I want to add our family name to the top with large letters or painted directly onto the metal. I intend to decorate the tree with leaves in the Spring and snowflakes in the Winter, and the inspiration goes on and on.  


This is a fun project that the whole family will enjoy on a daily basis for many months and years to come. I'd love to hear all about your success stories and variations if you choose to tackle this calendar. Have fun!

Sunday, December 4, 2011

Short and Sweet: 5 Quick Christmas Activities!

Whether you are a fan of chaotic messes or not, the December forecasters are calling for mounds of crumpled Christmas wrapping paper, flurries of pine needles and occasional sprinkles of sprinkles. 'Tis the season for glitter and boxes and clutter. 
Embrace it and hang in there; you will have plenty of time to clean it all up in January and February when you are trapped inside your home staring at your walls.
Around here, the kids are beside themselves with energy from the combination of Christmas activities and sugar, so yesterday I tried to channel the excitement into some fun little activities for them.  Here are a few quick suggestions that will keep your little elves busy, happy, and involved in some fun this season.
Yesterday my kids came up with the idea of creating their own Christmas Party in their rooms.  Of course the party required decorations, which is where I came into play. The first thing we did was:


1. Make a decorative paper chain.
The paper chain has been around for many centuries and many holidays, but the timeless joy created by a few simple pieces of construction paper, scissors and staples (or tape) is classic.  It took me 5 minutes to cut strips of paper and staple them into this chain. This was nothing fancy, but the kids thought I was a super hero.


2. Glue and Glitter: Don't be scared of it.
You are going to be vacuuming up pine needles and dried leaves and cookie sprinkles for the next 4 weeks anyway--this is the perfect time to let the kids go ahead and break out the glitter.  If your kids are big enough to use the Elmer's to write something on paper, let them do it! Otherwise, make some signs for your Christmas Party or personalize (and glitterize!) those impersonal Christmas cards you know you will be sending out shortly.


3. Paper Snowflakes. Remember those?
We might assume that everyone knows how to make a paper snowflake, but this might be the first year for your child to experience the joys of folding, cutting and opening a wonderful paper snowflake. It's exciting and unique every time!  If you forget how to do it or want a little help, here is a great sight with some templates.  Simply print, fold and cut. 


4.  "I'm already tired of wrapping presents!"
You might be tired of wrapping presents, but it will turn into hours of fun for your kids!  My kids are planning to exchange gifts at their little party, so I simply provided them with some paper (those useless, oblong leftover scraps are the best!) some tape and scissors and let them wrap up random toys and books in their rooms. I gave my daughter an empty box to fill with little toys so it would be easier to wrap. They enjoyed the wrapping and are even more excited to let each other open the special gifts tomorrow!


5. Tripping over Amazon boxes?
Create the Polar Express!  Last week I counted 6 various boxes throughout the house that were the result of Cyber Christmas shopping. While I gathered the boxes to throw them away, I decided I might as well let the kids play in them for the rest of the day.  We didn't even decorate them, we simply lined them up and the rest is left to the imagination of your little ones.  If they have wrapped up their little presents, it might be fun to let them have a Christmas train and push their "train" filled with gifts around the house.


**More Bonus Thoughts**
If you have a Light Bright in your home, tucked away in the tallest shelf of your closet with the glitter and the Easy Bake Oven, now is the time for Light Bright to shine.  You will already be busy vacuuming up pine needles and cookie sprinkles, so you might as well be on the lookout for those tiny lights that are sure to scatter and hide across your carpet.  Pull out the green, red and white lights, and be prepared to see some smiling kids.
Finally, a word about tinsel and bows from Dollar General.  Remember, our kids are only little for a few years.  If you are willing to clean up some messes, you will reap the reward of fond childhood memories with your kids.  This year I got a packet of tinsel for $1 and it was by far one of the best dollars I have spent in a while.  The kids LOVED placing tinsel on the tree--the strands that are splotched all over our tree and the pieces that have gracefully fallen to the ground are marks that we live in a home filled with kids.  If you are unwilling to let them decorate the main tree, maybe you can let them toss some tinsel on a little tree in their room (or in the yard!) And although it is nice to carefully decorate and wrap each present and put all that Pinterest pinning to use, if you are willing to set aside a few gifts to let your kids help wrap (Grandparents, cousins, etc.) they will love being involved.  I picked up a large packet of sticker bows at Target for $1 and my kids really enjoyed removing the stickers and matching up bows with the gifts.
Enjoy making a mound of memories this season!

“And the Grinch, with his Grinch-feet ice cold in the snow, stood puzzling and puzzling, how could it be so? It came without ribbons. It came without tags. It came without packages, boxes or bags. And he puzzled and puzzled 'till his puzzler was sore. Then the Grinch thought of something he hadn't before. What if Christmas, he thought, doesn't come from a store. What if Christmas, perhaps, means a little bit more.” 

~Dr. Seuss

Tuesday, October 18, 2011

Harvest Hullabaloo: Make a Memory. Carve a Pumpkin!

Have you ever carved a pumpkin with your kids? It may not seem like a big deal to pick up a pumpkin. It doesn't take much to get your hands covered in messy pumpkin-goo, and it won't take long to make a few holes and place a candle inside, but to your child it is a fabulous memory-maker and a wonderful family tradition!
We have been carving pumpkins with our kids for at least the past 4 years. Sometimes we go to a pumpkin patch and select the perfect pumpkin for our family, but if funds (or time) are limited, they are just as happy with an equally perfect pumpkin thrown in the cart from our super-center. Kids really don't care.
The main thing is to create a memory with your kids, and the #1 rule is to have fun and don't worry about the mess. Tell yourself up front that it's a bath night and let them get involved in the process!
If at all possible, I have discovered the joys of pumpkin-carving outside. It is much easier to enjoy the process if everyone can dig their hands into the pumpkin, whether you are planning to keep your pumpkin "guts" or whether you are planning to launch them into the shrubs.
Before I begin basic pumpkin carving 101, let me recommend a few tools for the job. Of course any old knife and any kitchen spoon will work as a pumpkin carver and scraper, but if you are willing to splurge on the tiny carving sets (knife and scraper) sold in most convenience stores, you will save yourself a lot of time and energy.  It's important to scrape the inside as cleanly as possible.
I also discovered a GREAT use for an art tool I had lying around.  If any of you are really looking to take pumpkin carving to the next level, or if you have linocut printmaking in your past, track down your Speedball Linozip set like I did. It was so easy and fun to peel away the layers using my old printmaking tool!
Once you have carefully cut the top off your pumpkin and removed the insides (it worked really well to store ours on a cookie sheet!) then it's time to become an artist.  We normally download a free template, if you do a quick search you can find all kinds of ideas for your pumpkin.  My husband chose to use a Darth Vadar template this year, and right now my daughter is really into Swan Lake Barbie. I found a coloring page printable online and added some black and orange in Photoshop to help me see how it would look on the pumpkin.
I normally cover the backside of my printed template with a thick layer of pencil, tape it to my pumpkin and trace a heavy line (using the carbon copy method).  My husband prefers to tape his template to the pumpkin and poke small holes through the paper where he wants to carve through.  Either method works depending on how detailed you want to be!
Once our drawings were lightly traced onto the pumpkins we went to work carving. My husband used the carving tool to make all his cuts and was finished in about 15 minutes.  I made all my deep cuts, then went back in and peeled back the layers of skin from my pumpkin. There are several tutorials online for how to do this effectively. I wish I had watched one of them before carving, but it was still fun and my daughter was thrilled! 


My husband's Darth Vadar! We lost one of the eyes, but he still looks intimidating--especially at night!

We will not be entering any pumpkin carving contests anytime soon, but we had a great time digging our hands in the pumpkins and choosing the perfect thing to carve for and with our kids.  I would highly recommend making this a family tradition--this is the perfect week for you to go discover your very own Great Pumpkin rising out of the pumpkin patch.  We'd love to hear your favorite pumpkin carving or any tips you might have!
Leaves

by Elsie N. Brady

How silently they tumble down

And come to rest upon the ground

To lay a carpet, rich and rare,
Beneath the trees without a care,
Content to sleep, their work well done,
Colors gleaming in the sun.


At other times, they wildly fly

Until they nearly reach the sky.

Twisting, turning through the air
Till all the trees stand stark and bare.
Exhausted, drop to earth below
To wait, like children, for the snow.