Showing posts with label sewing. Show all posts

Tuesday, March 13, 2012

Pretend Play: Felt Mail Envelopes

My daughter needed a project one recent rainy day while her older brother was busy with school. Since she had just recently learned to sew buttons onto scrap fabric, I thought a "real" button sewing project would be fun for her...such as felt Mail Envelopes that the kids could use for pretend play afterwards.

These are super easy to whip up, whether you use a sewing machine or hot glue gun.

I cut 4 different colors of felt into 7" wide by 12" long rectangles. Then I angled one end to make it look like an envelope flap.


The button was to go on the end that still had square corners, about two inches down from the edge and centered. She chose her favorite buttons from my little jar and got to stitching. She was super careful and made sure the needle went back in the same side it came out...great progress from her first lesson!


Next I folded the end (with the button) up a little more than a third and stitched the side edges together. Hot glue would work great too, or a young seamstress could even hand stitch those seams.


Then I folded the Flap side down and cut a slit to fit over the button.


Finally, we cut out little felt Stamps and hot glued/stitched those on the front of our envelopes. 


They've had fun writing notes and delivering mail to each other. Best perk of this project: my sweet little love notes!


Wednesday, November 23, 2011

Make a Family Memory Match Game

A unique and meaningful gift for your young child or a niece/nephew is a Family Memory Match Game using pictures of relatives. This is especially great for kids who don't get to see extended family all the time. It's easy, but will take a couple of hours to put together.


If you are with family this Thanksgiving weekend, try to get some good individual or couple shots of each relative. This will save much time in sorting through old family-gathering pictures to find usable head-shots of grandparents, cousins, and uncles/aunts (uh yes, I do speak from experience!)

I made an easy little drawstring fabric bag to hold the game, but you could pick up a paper mache box at Hobby Lobby to paint if you don't sew. This is for a set of 24, but just add more cards if you have a larger family.

For a game with 24 cards, you need:
12 photos, 2 copies of each
2-3 sheets of scrapbook paper
photo adhesive
paper cutter (or very large circle/square punch)
laminator (or run them to an office supply store to be laminated)
fabric (14" x 11")
30" cord or ribbon
Note: If you are fortunate enough to have a 2.5" or 3" large circle or square punch, this project will go much faster! I cut mine with a paper cutter--this was the most time-consuming part of project.

Cut your photos into 2.5 x 2.5" squares
Now, cut your paper into 3x3" squares--same number as your photos.
Use the adhesive to attach the photos to the white side of the paper.
Laminate the squares and cut around each. I snipped the corners so they were not eye-hazards.


For the bag, fold the fabric and cut so the long side is 11" and the short folded side is 6.5". Snip a little of the corner off of each top outside edge--this will allow the drawstring to work. To finish the cut edges, fold and fold under again. Stitch down each angle.


Open the fabric and fold the top under, then fold under again 3/4-inch. Press. Sew. This will be the casing for the drawstring.
Fold the bag with right sides together and stitch the side seam and bottom. Clip the bottom corner. Turn right side out.


Use a safety pin to guide the cord through the casing. Once it's in there evenly, stitch across the center of it a couple of times to keep it from coming out.


You could have fun posing some creative personality shots!  This will be a thoughtful and well-used child's gift.  


Friday, July 22, 2011

Make Your Own Puppet Theater!

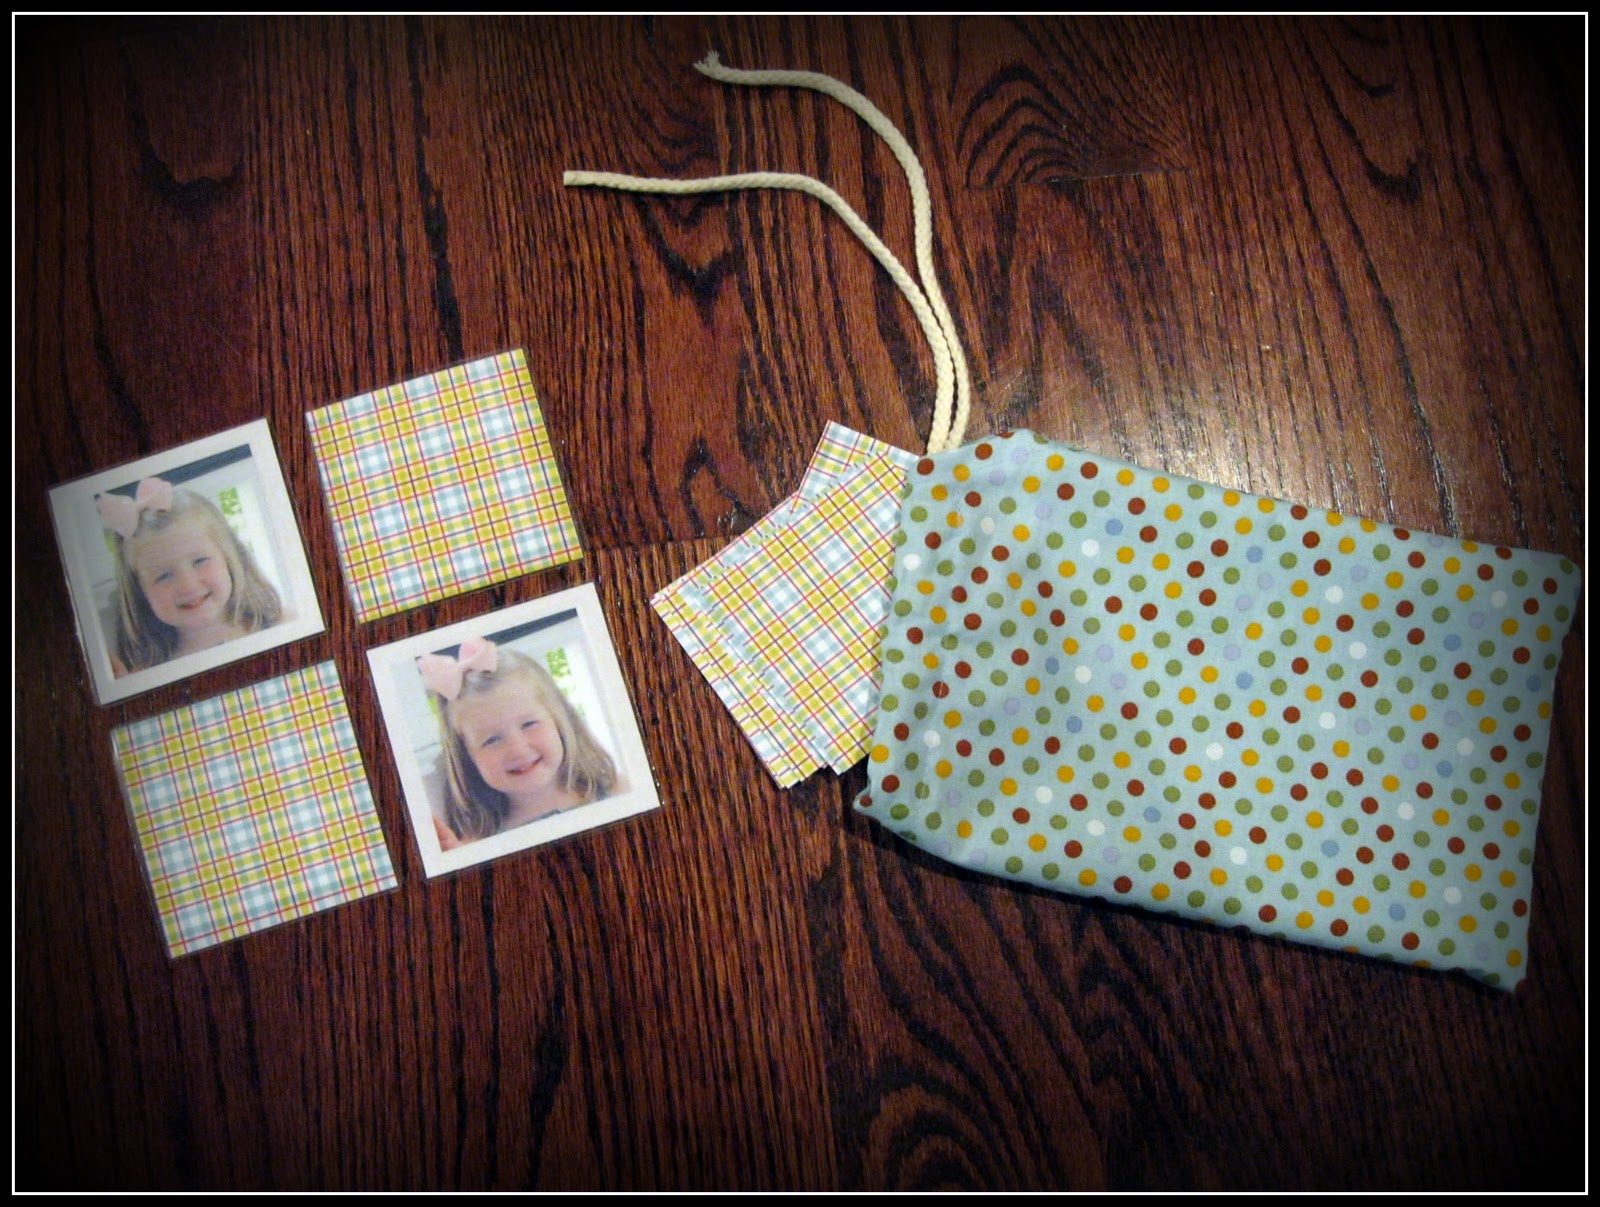
If you don't WIN this puppet theater in our puppet theater giveaway which ends next Friday (July 29th), you can learn how to make your own! You can make your own puppet theater (a great gift idea!) with just a few supplies: three types of fabric (we used 2 yards of red, 1/4 yard of turquoise, and ¾ yard of black dot), 1/4 yard fusible interfacing, a 3/8" wooden dowel, and a tension rod for hanging.  


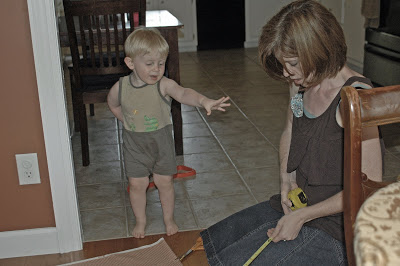
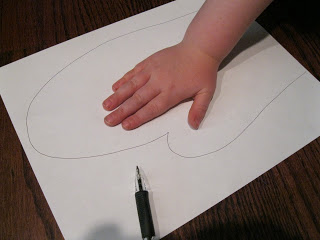
The two-year-old "helper" is optional.

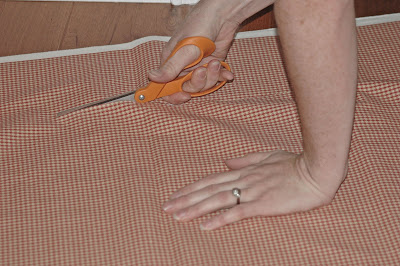
For the main curtain, we used the full 2 yards length of red and cut it to 38” wide. This allowed a one-inch hem on each side to fit a standard 36” doorway.


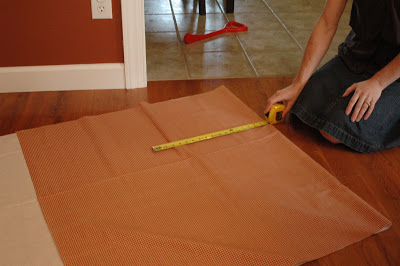
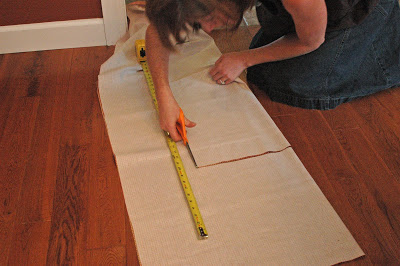
If you're wondering why we are using a measuring TAPE, it's because we like to keep you on your toes.
For the window, fold the fabric in half lengthwise to make sure it is centered, then measure 16” from the top. This allows the curtain to skim the floor and preschool age children to reach the window on their knees. You may want to make a lower opening for younger children.


We wanted our window to be 22" wide x 18" high.
Since the fabric was folded, we cut in from the fold just half that width, which was 11 inches.
Then we cut the opening 18” high.


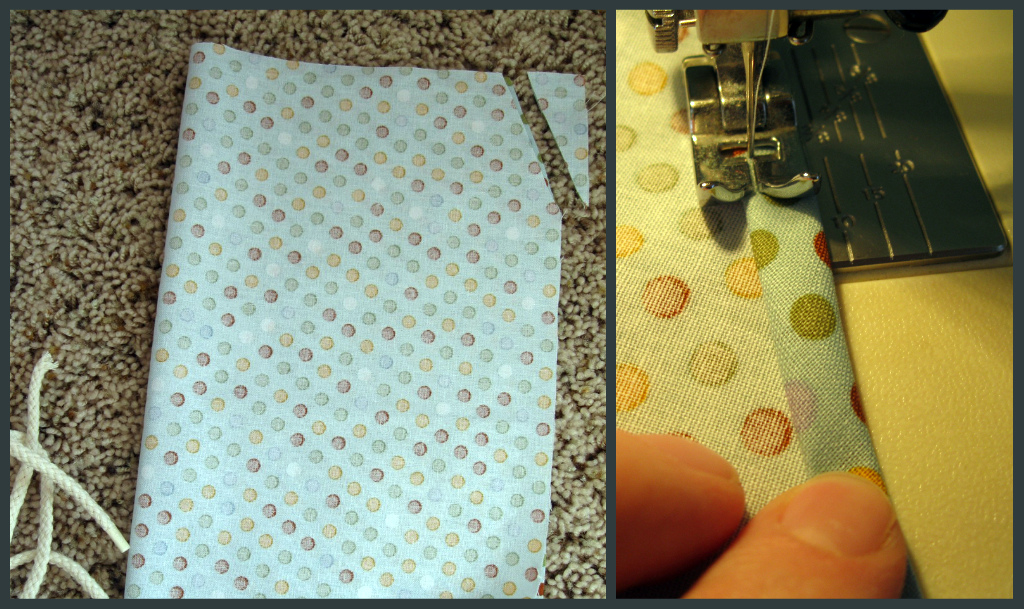
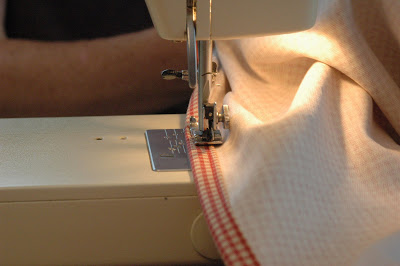
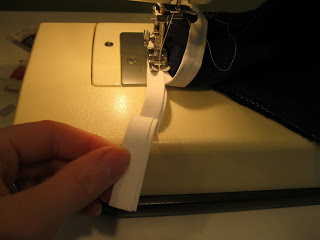
Now turn the edge under approx 1/2", and then turn under another 1/2" and stitch around the puppet theater on the two long sides and the one short bottom side. For the top we needed to make a rod pocket. Turn the edge under a 1/2”, then turn under about 1.5” and stitch. This allows a tension rod to be slipped through for hanging the theater.

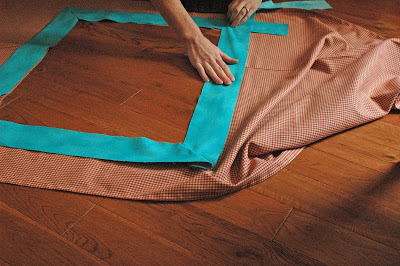
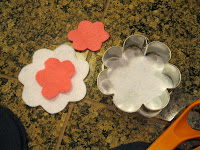
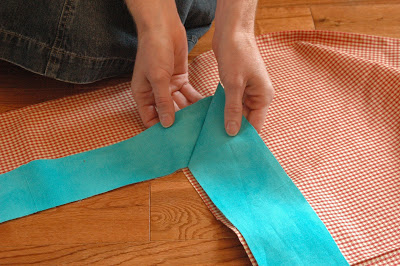
 For the window edging, cut four strips of cloth, each 3” wide. Two of ours were 28” long (22” width of window plus 3” of overlap on each side) and two were 24” long (18" high plus 3" of overlap on each side) for the height of the window. We ironed fusible interfacing to the wrong side of each turquoise strip to add stability.
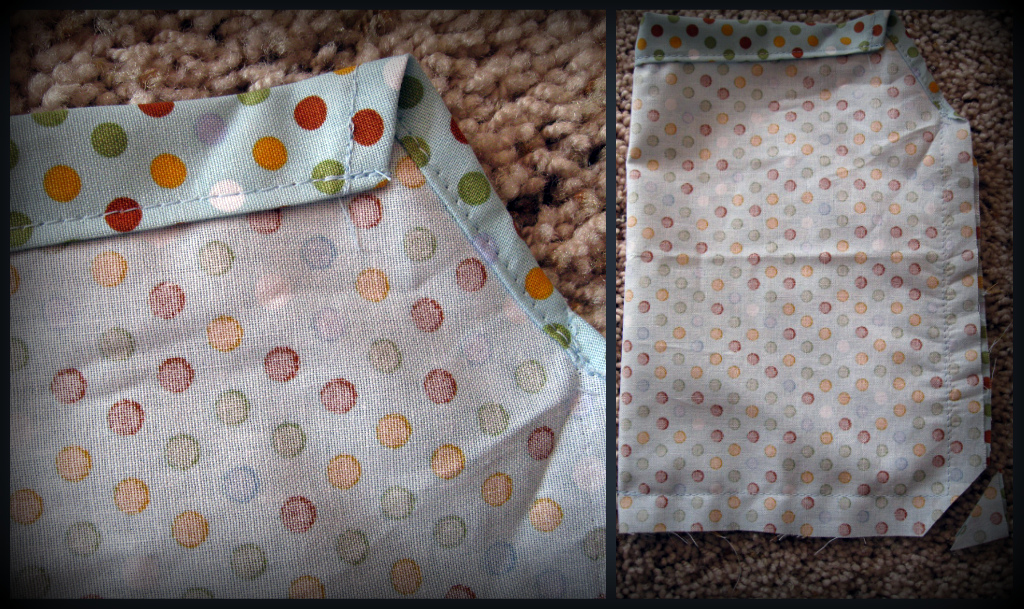
Then we sewed the strips together, making mitered corners.


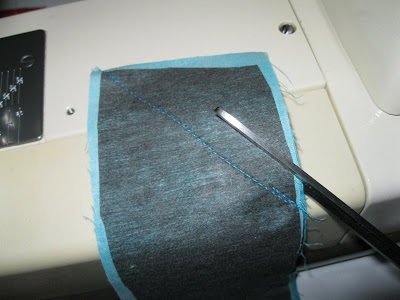
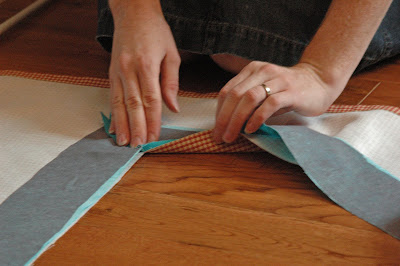
To do this, put the long and short right sides together and sew diagonally from the outer corner across to a point that is 3” in from the edge. Trim the extra fabric to remove bulk. Repeat this with the other 3 corners so you have a rectangle when finished.
Press the seams flat.


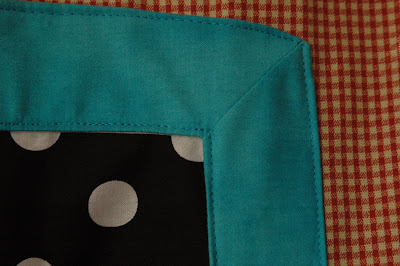
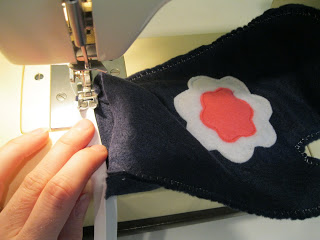
Now pin the edging to the BACK of the puppet theater so the right side of the edging is next to the wrong side of the theater. Sew around the rectangle and theater about 5/8" from the inner edges. Snip into the corners, turn the edging over so it shows on the outside, and press it flat.
Turn the outside edge of the rectangle under about 5/8” and press.


You will now stitch the frame around the inside edge and the outside edge.

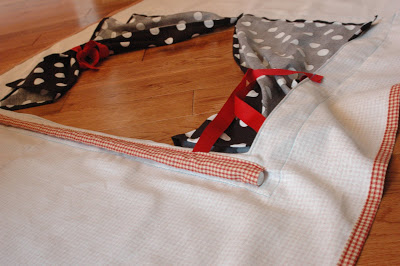
For the curtains, cut 2 rectangles that are approx 16” wide x 25” high. Hem all four sides. Sew them to the back of the window so they meet in the middle. Cut 2 lengths of ribbon approx 24” long each. We used grosgrain and seared the edges with a lighter to keep from fraying. Sew one ribbon on each side of the window—-sew it in the middle of ribbon length so two ends hang down and form a tieback for each curtain.


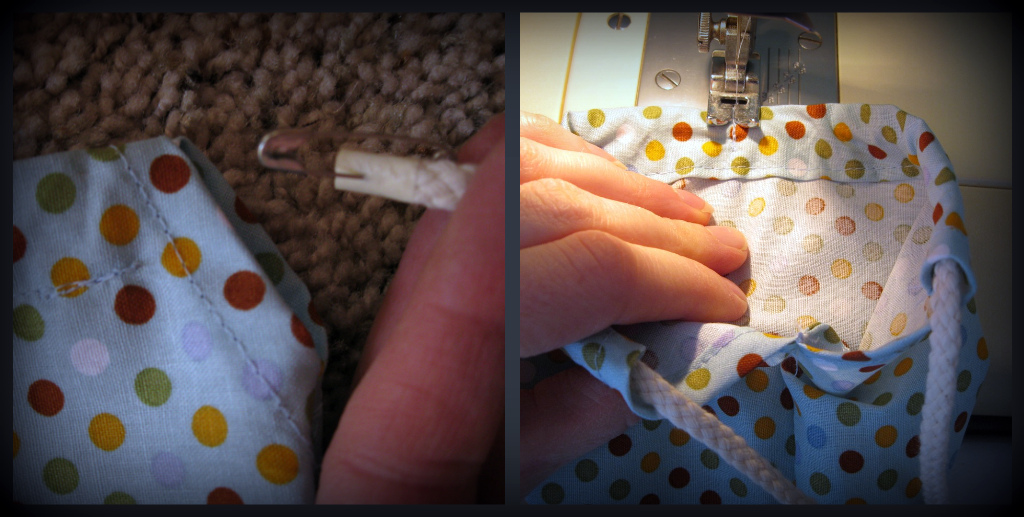
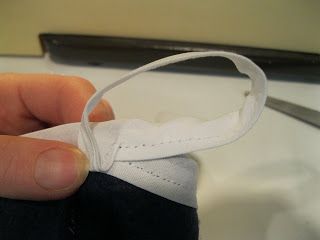
We added a little rod pocket on the back of the theater to slip in a dowel rod and keep it hanging straight...otherwise the window sags (wop, wop). Just cut a strip of the leftover theater-colored fabric approx. 4" wide by 30” long. Hem the short edges if desired, then turn in the long edges and stitch together to hide all raw edges. Now sew along the long edge onto theater back, below the window.
We slipped in a 3/8”dowel rod that was 27” long.


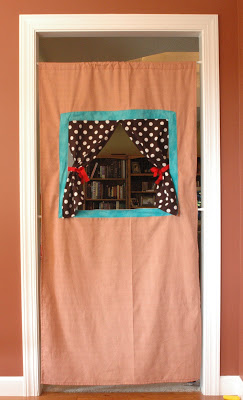
Hang your curtain from a tension rod...and let the puppet shows begin!


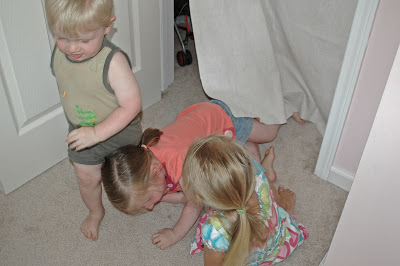
And...if you have toddlers, they will love running THROUGH the curtain.
Multi-purpose fun. We like that in a toy.


Linking up to these great parties:
Join  us Saturdays at tatertotsandjello.com for the weekend wrap 
 up           party!

Monday, June 20, 2011

Play Kitchen Oven Mitts


The toy my daughter uses almost every day is her play kitchen. I thought maybe she could use some little oven mitts to help her handle her “hot” meals. These were quick and easy to make. I sewed mine, but you could use craft glue or a hot glue gun to put them together as well.


To start, I had her put her hand on paper and traced around it in a large oven mitt shape. Leave a good inch or more all around the hand and up the wrist a few inches. Then cut 4 of this pattern from felt. I used felt cut from a bolt at Hobby Lobby. It's a little thicker than felt squares, but the squares would work too.


Using a cookie cutter, I traced and cut 2 large flowers from white felt, then I cut 2 smaller flowers from pink felt. Stitch (or glue) the flowers onto the outsides of 2 of the mitts.


Put one embellished and one plain mitt together, and stitch. I used my sewing machine blanket stitch with contrasting thread. A simple zigzag stitch or even a straight stitch would be great too. Leave the end open where the hand goes in.


I had some white seam binding that I sewed around the hand opening. This is an optional step.


Once it overlapped I cut it, leaving a 4-inch tail, and kept sewing down to the end.


Then I formed a loop (for hanging) with the tail and sewed the end to the back of the mitt.


Finally, I sewed a little button on each for a flower center. Next time I would do this before sewing the mitts together—it would be a lot easier.


All set for some pretend baking!

These are NOT meant to handle actual hot dishes, but fabric stores do sell an insulated quilted-type material that is intended for real oven mitts if you want to make a lining to insert. Then they would be a great gift for a little girl with an Easy Bake oven.