


We had a perfect, extra-heavy square box around, and I pulled out the craft tub with fabric scraps, felt, lightweight wire, beads, chenille stems, a catalog, glue gun, and cardstock.
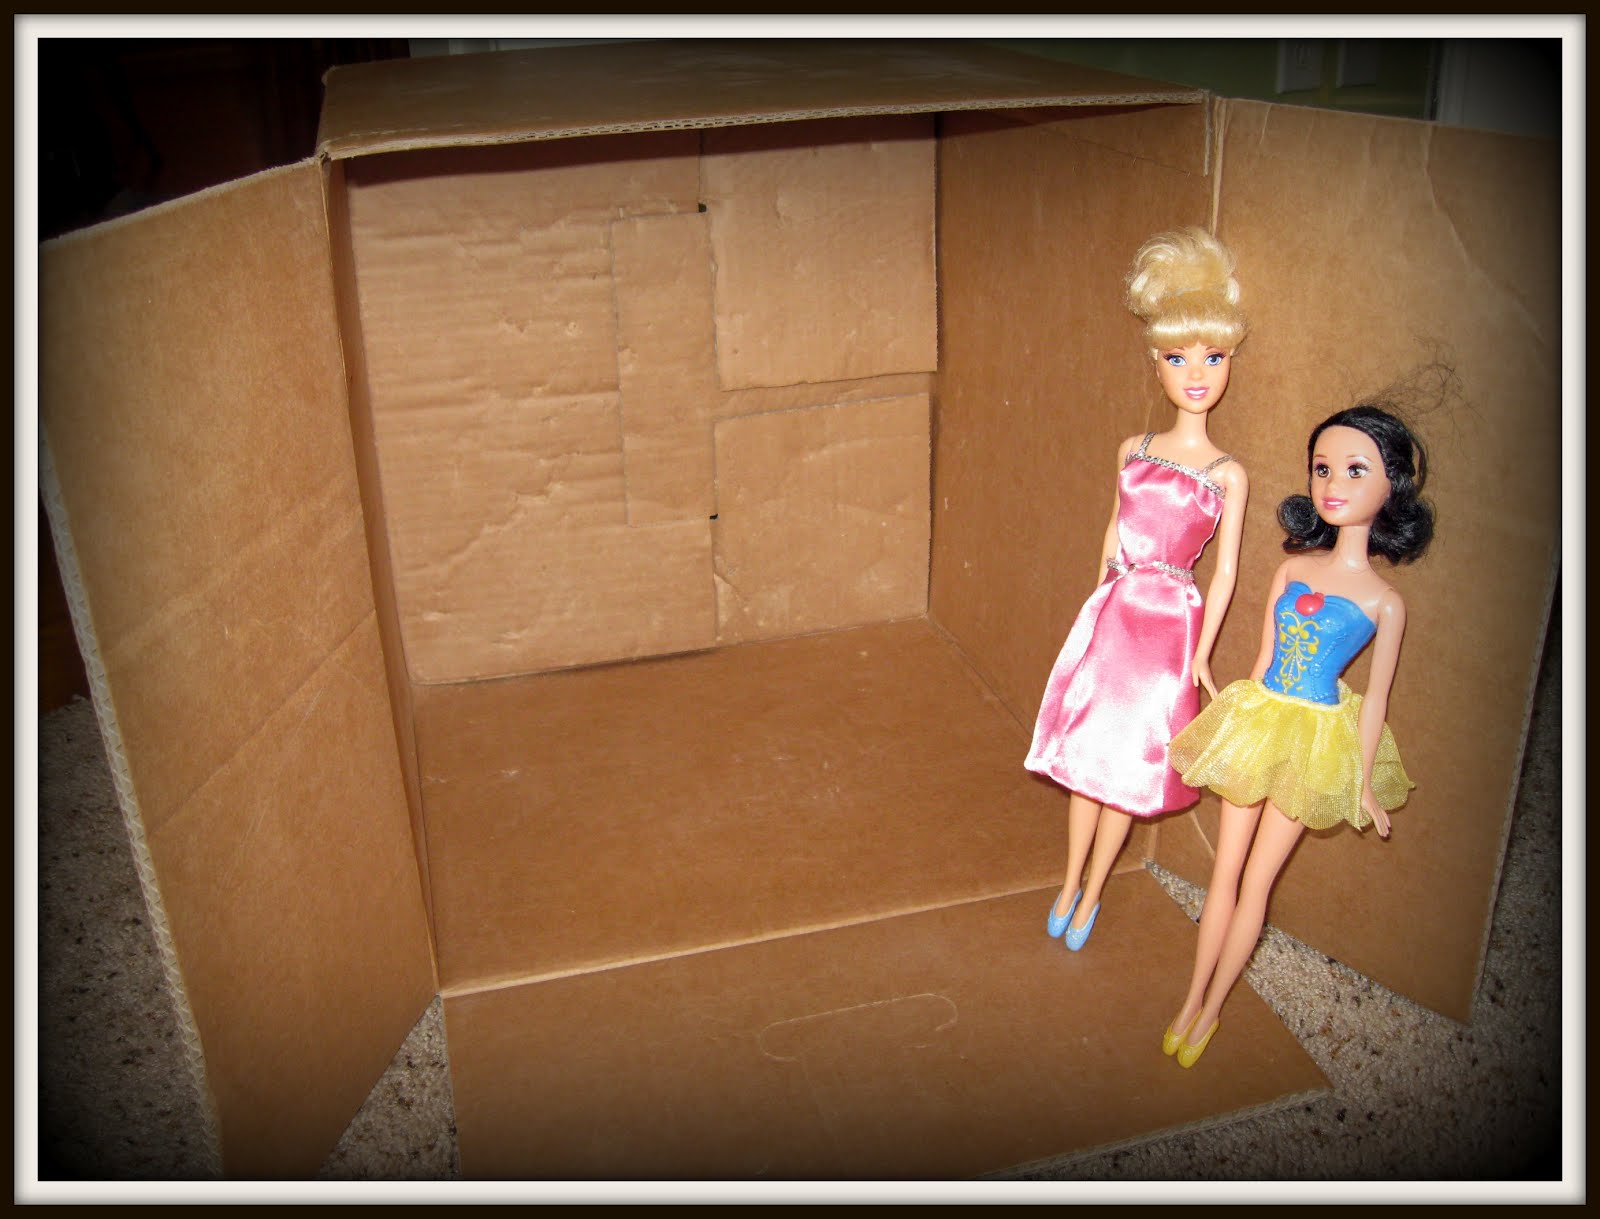
We turned the box on its side and cut off the top flap. She wanted the sides left for doors, and the bottom flap was left to extend the floor. For windows, I had her trace around a rectangle of scrap paper and then I cut them out with box cutters.
Now for the fun: decorating!!
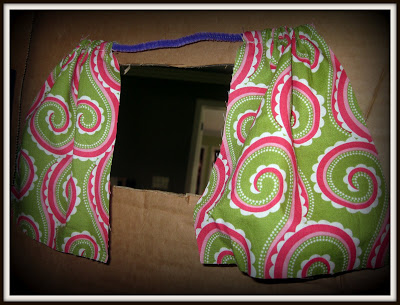
She chose her favorite fabrics and we cut 2 rectangles of each. I turned the top edge under 1/2" and quickly stitched it to form a "rod pocket." Then I had my daughter thread both curtains on a chenille stem. I poked holes above and to each side of a window and poked the stem through.
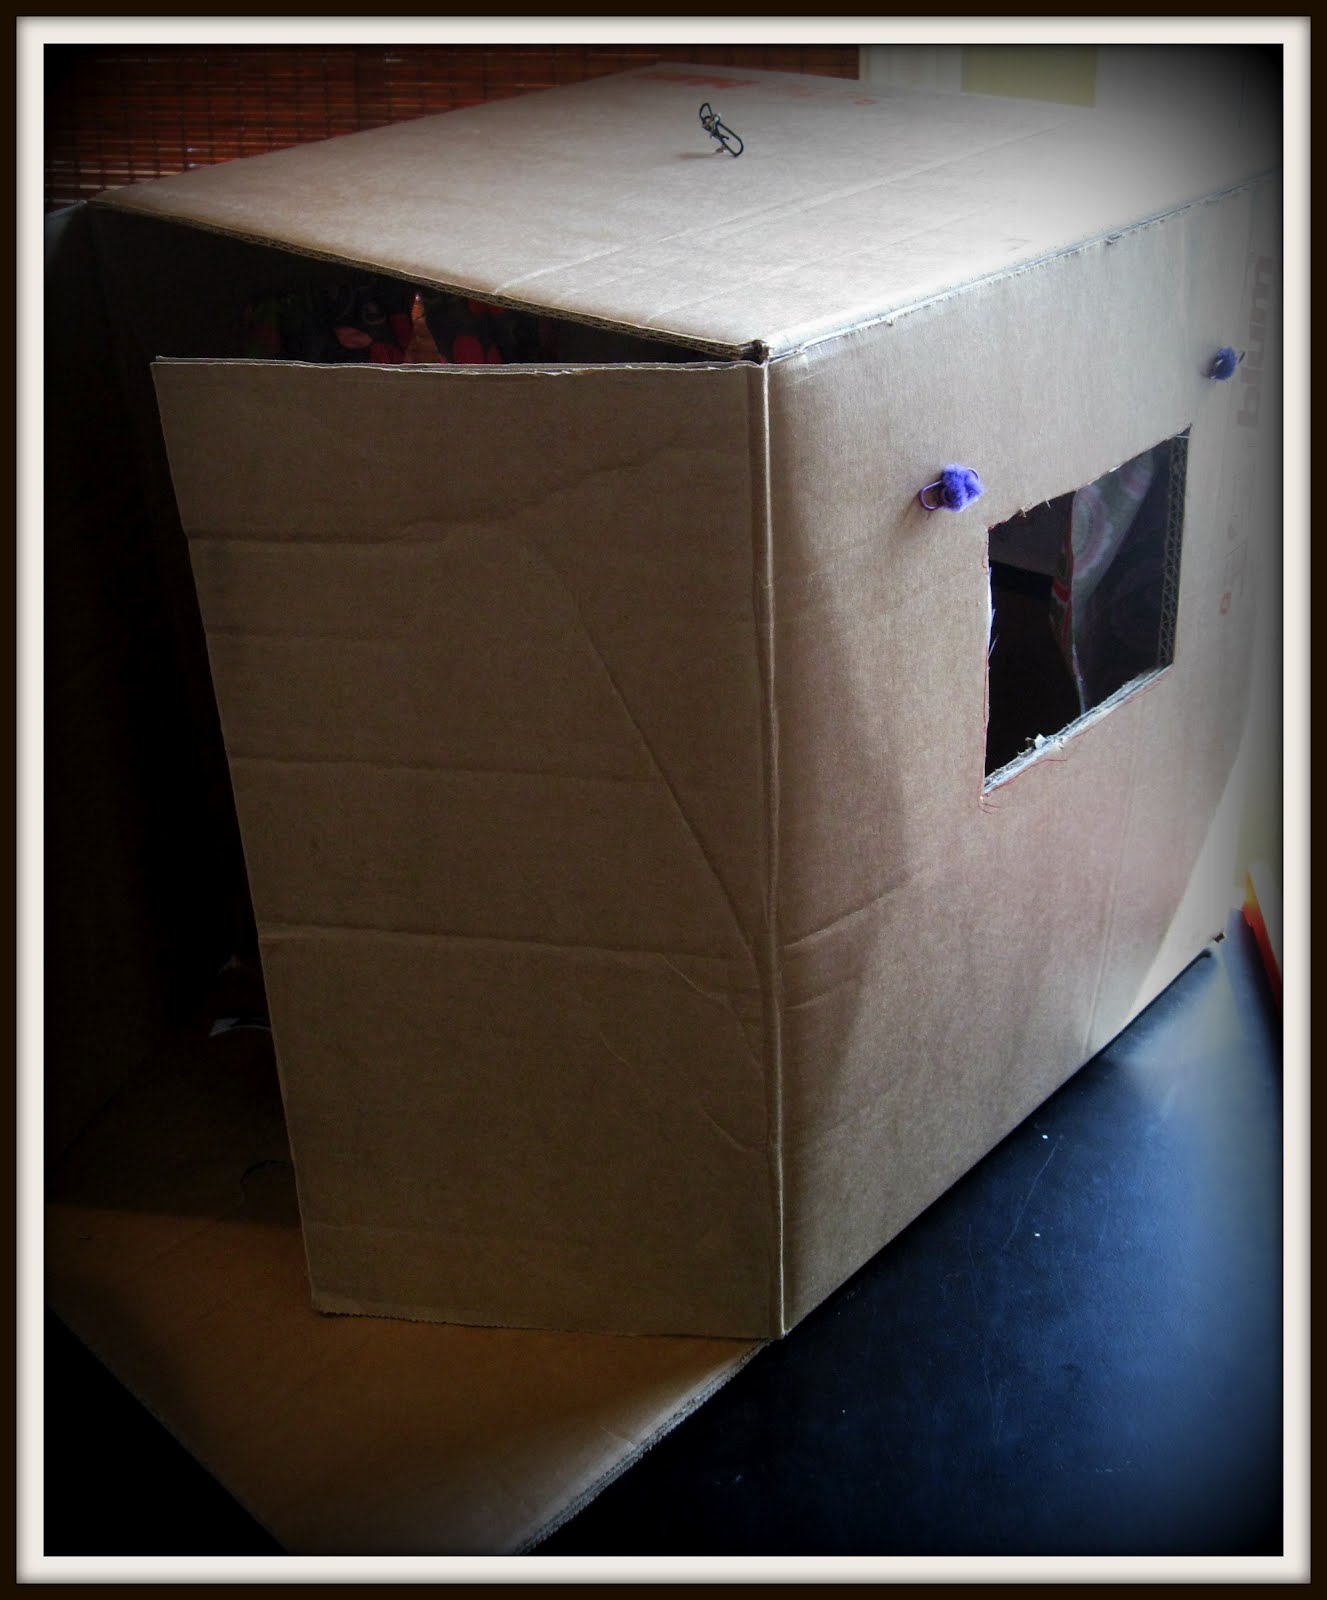
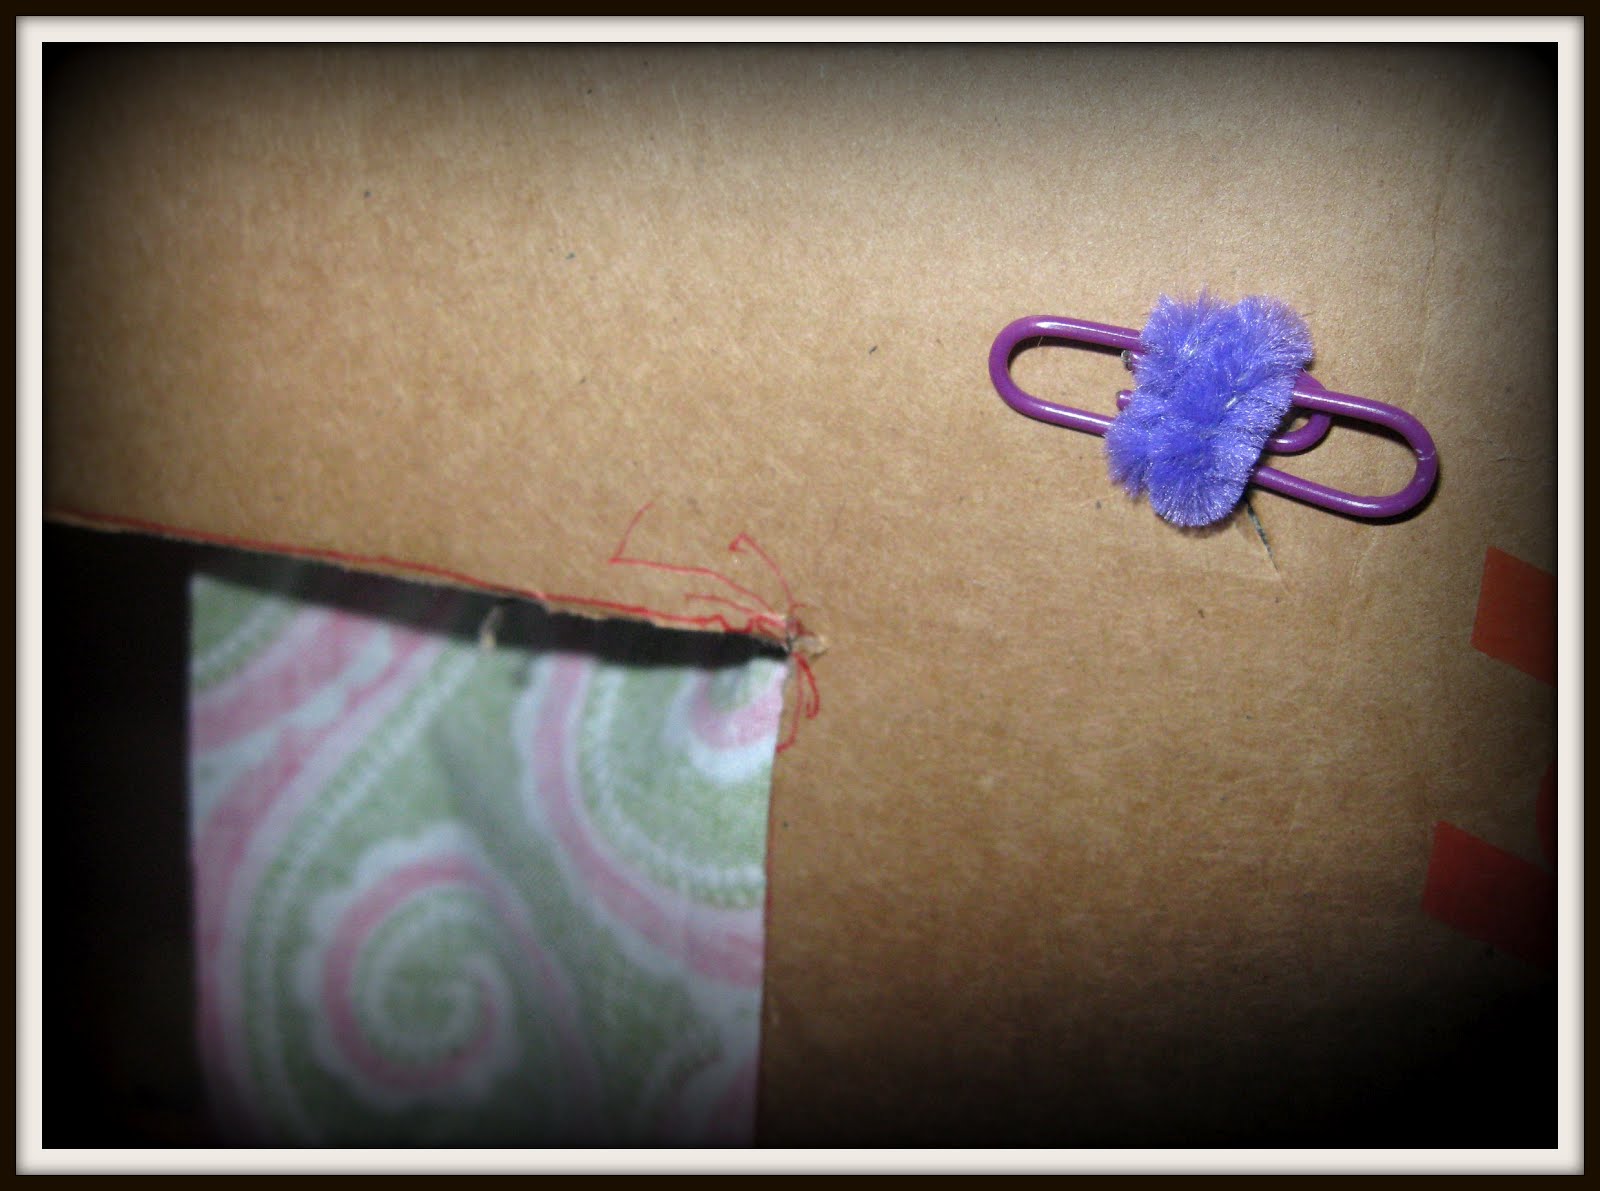
Then on the outside, I hooked the stem through a paper clip on each end, which I had my daughter wind up tight to the box to hold the "curtain rod" securely in place.
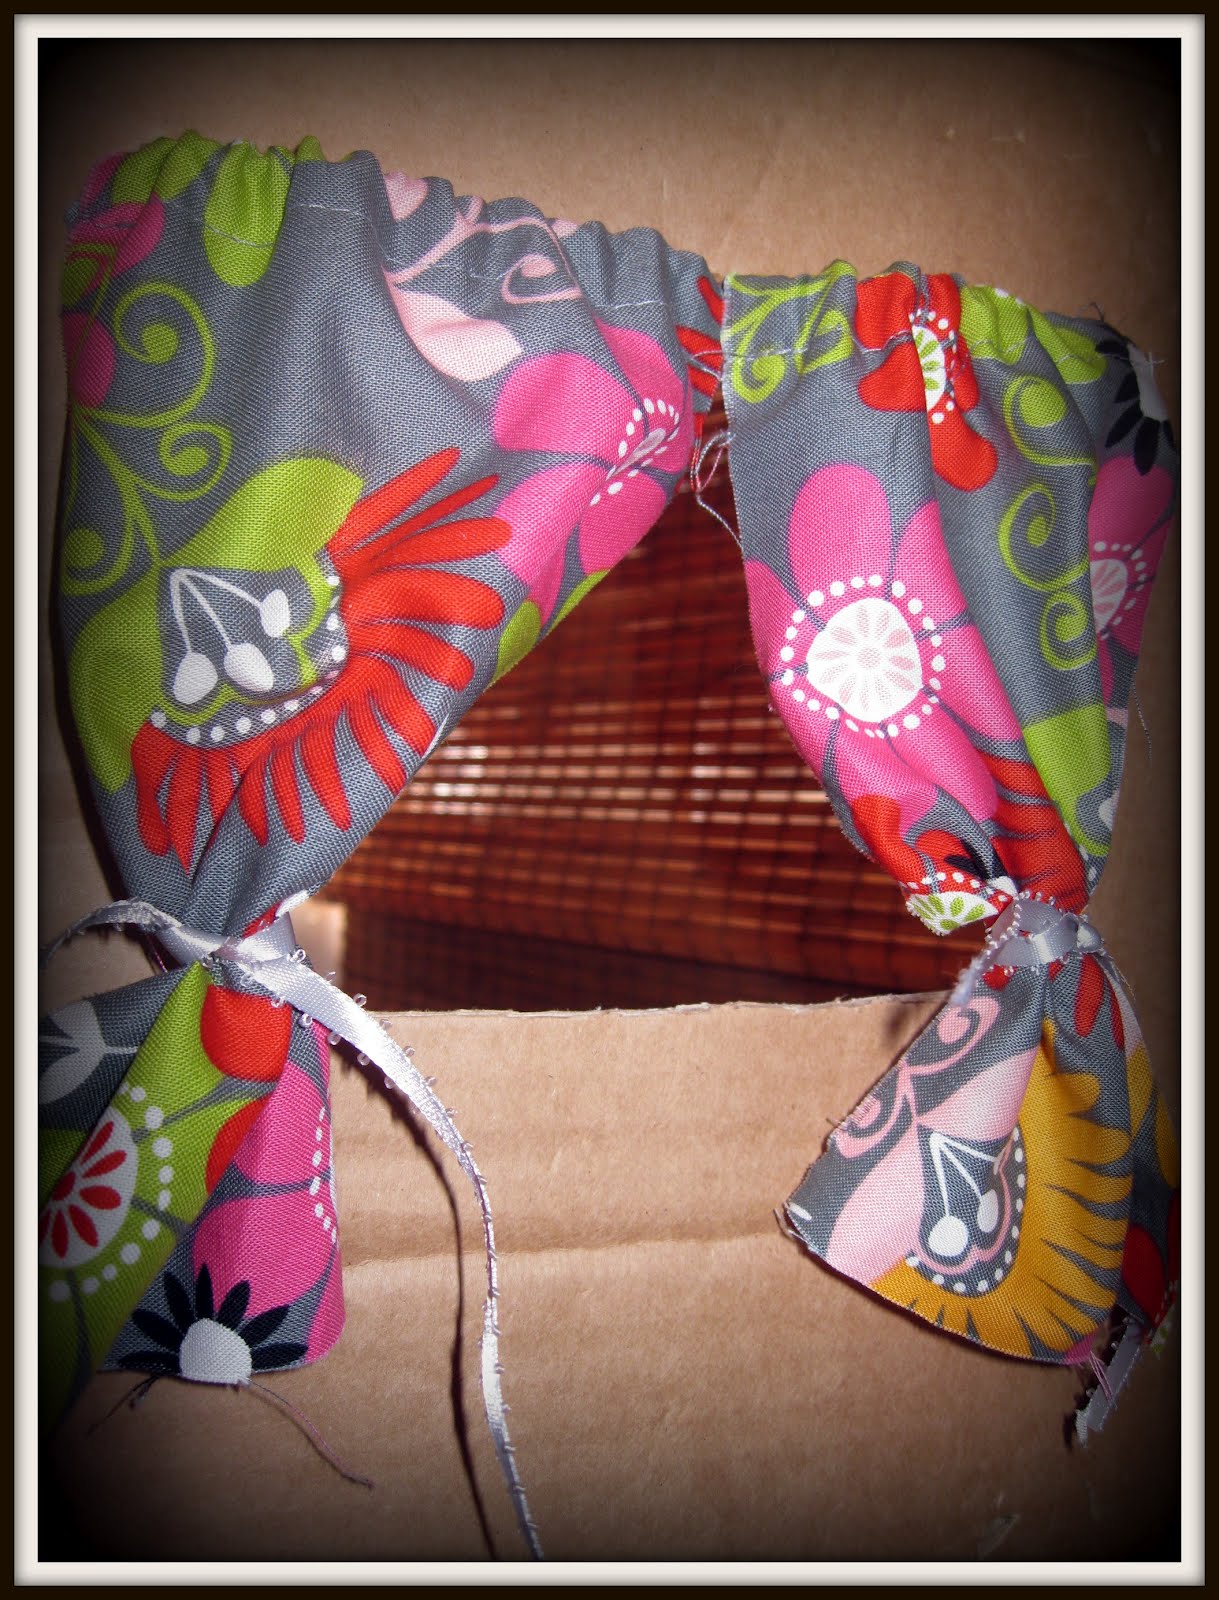
Now the curtains could be opened or closed. She found a piece of ribbon and made tie-backs for one set.
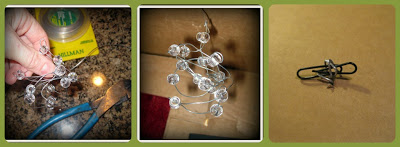
For a mod little chandelier, we threaded a length of light-gauge wire through clear pony beads, looping it through each bead once, then coiled the length a few times to look like a light. A three-inch length of the wire was attached to the top and then poked through the ceiling. Again, we wrapped the wire around a paper clip to fasten it tight on the outside of the box. Admittedly, there was a little disappointment when it was discovered the light wouldn't actually work.
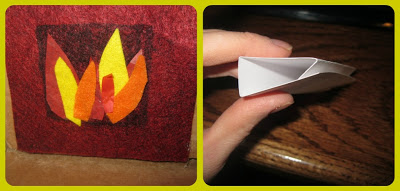
We had a piece of brick-colored felt that made a great fireplace. We cut it in half lengthwise, then used a black marker to draw a square at the bottom. We cut little "flames" out of red tissue paper, and yellow & orange felt (use what you have!). They were hot-glued over the black square to make a cozy fire.
For a mantle, we cut a rectangle of white cardstock and folded it to make a right triangle that could be glued in place. It took a couple of tries to get the angle right (my math teacher was right--I really WOULD use geometry after 9th grade!), but we finally got a straight shelf.
My daughter was then put in charge of Art for the room.
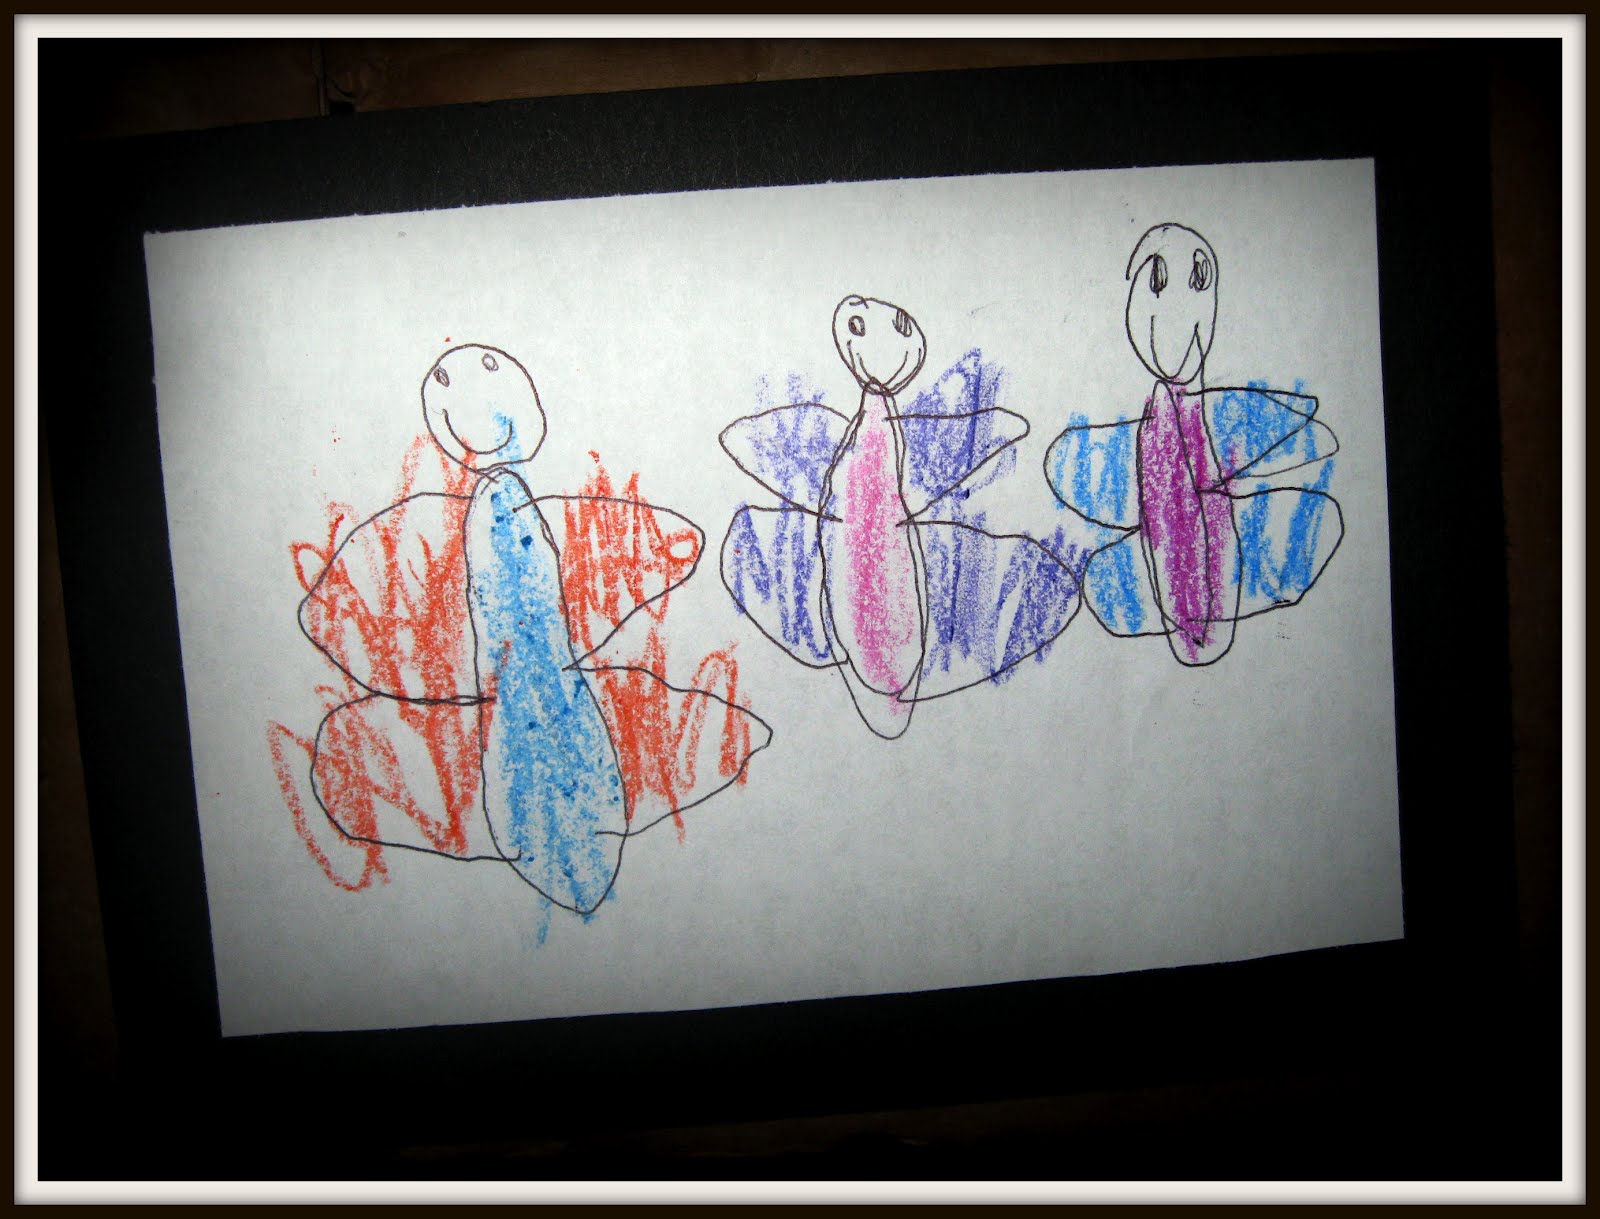
She drew a butterfly picture, which I "framed" by gluing it to black cardstock.
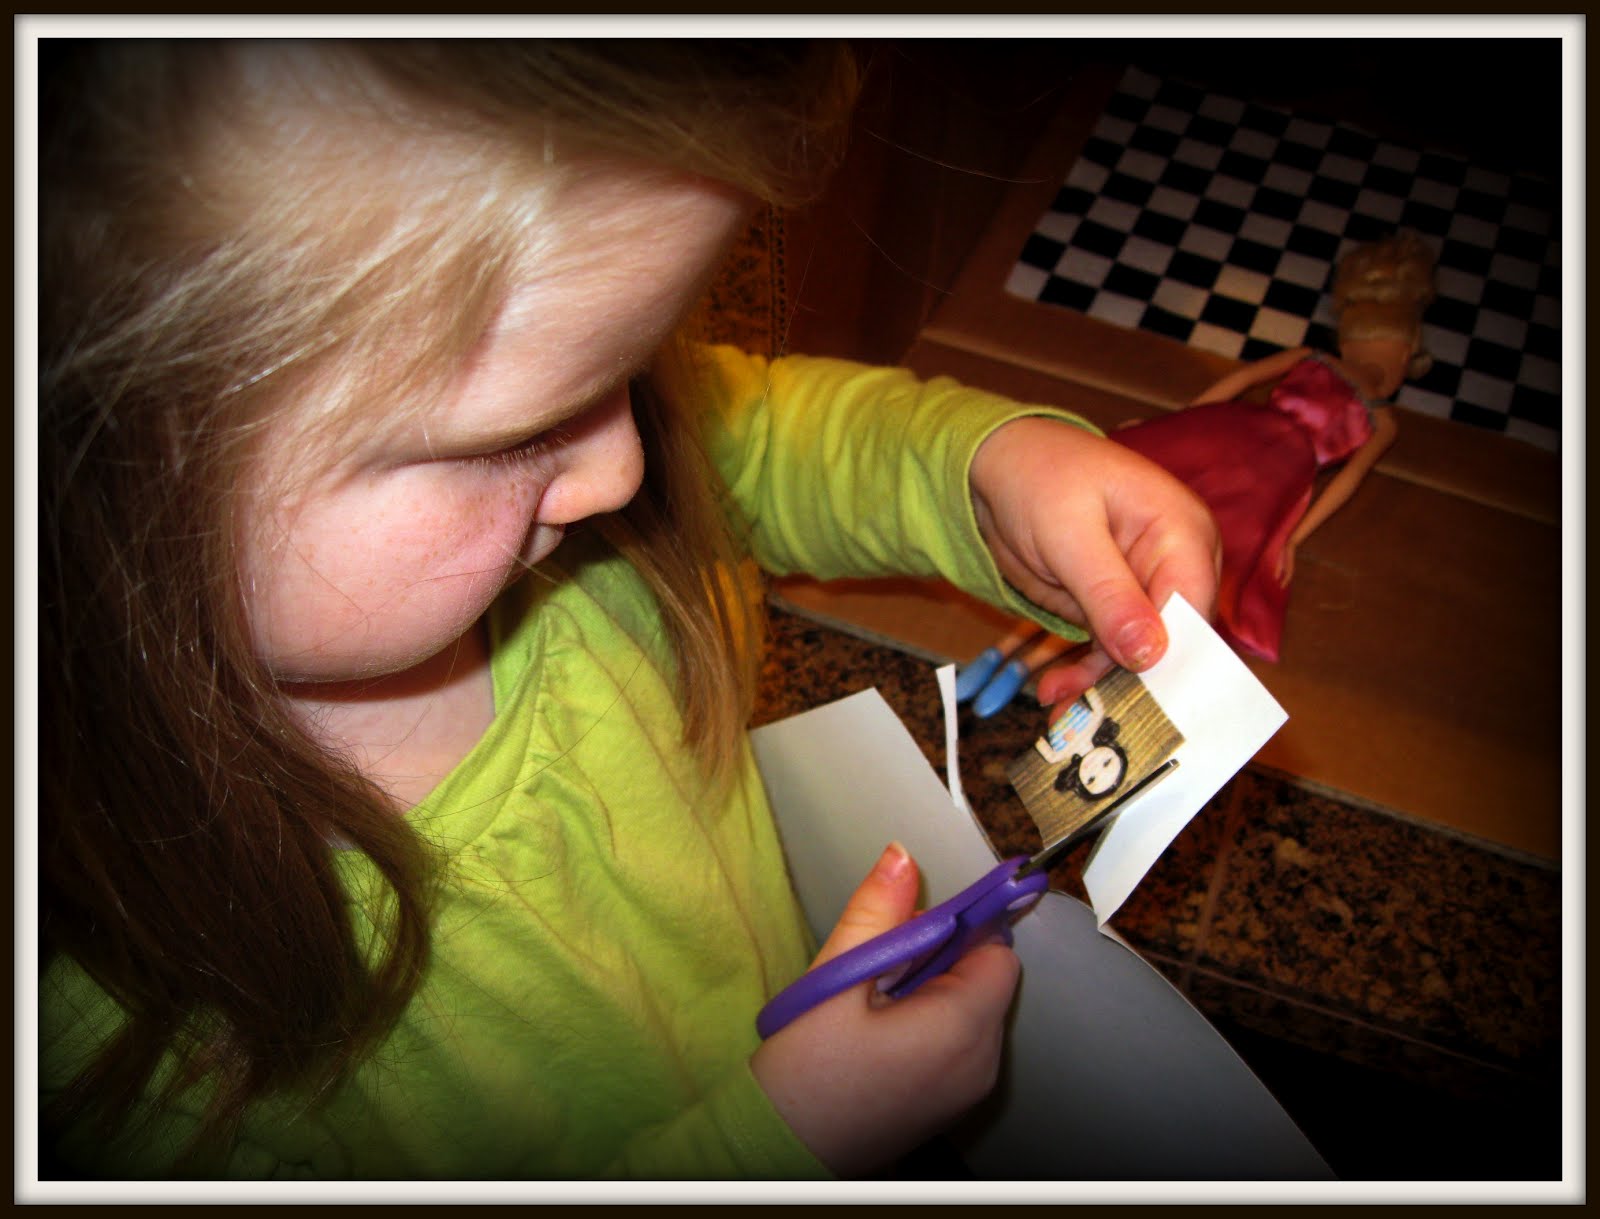
Then we shot a photo of one Barbie to hang over the mantle...I guess she's the tenant.
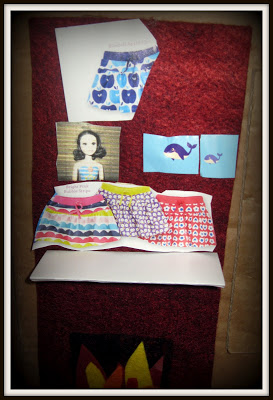
Cut-out catalog pictures function as more fireplace art.
The piece of checkered felt made a perfect area rug. Now we just need to make some cardboard furniture using Tara's clever suggestions here.
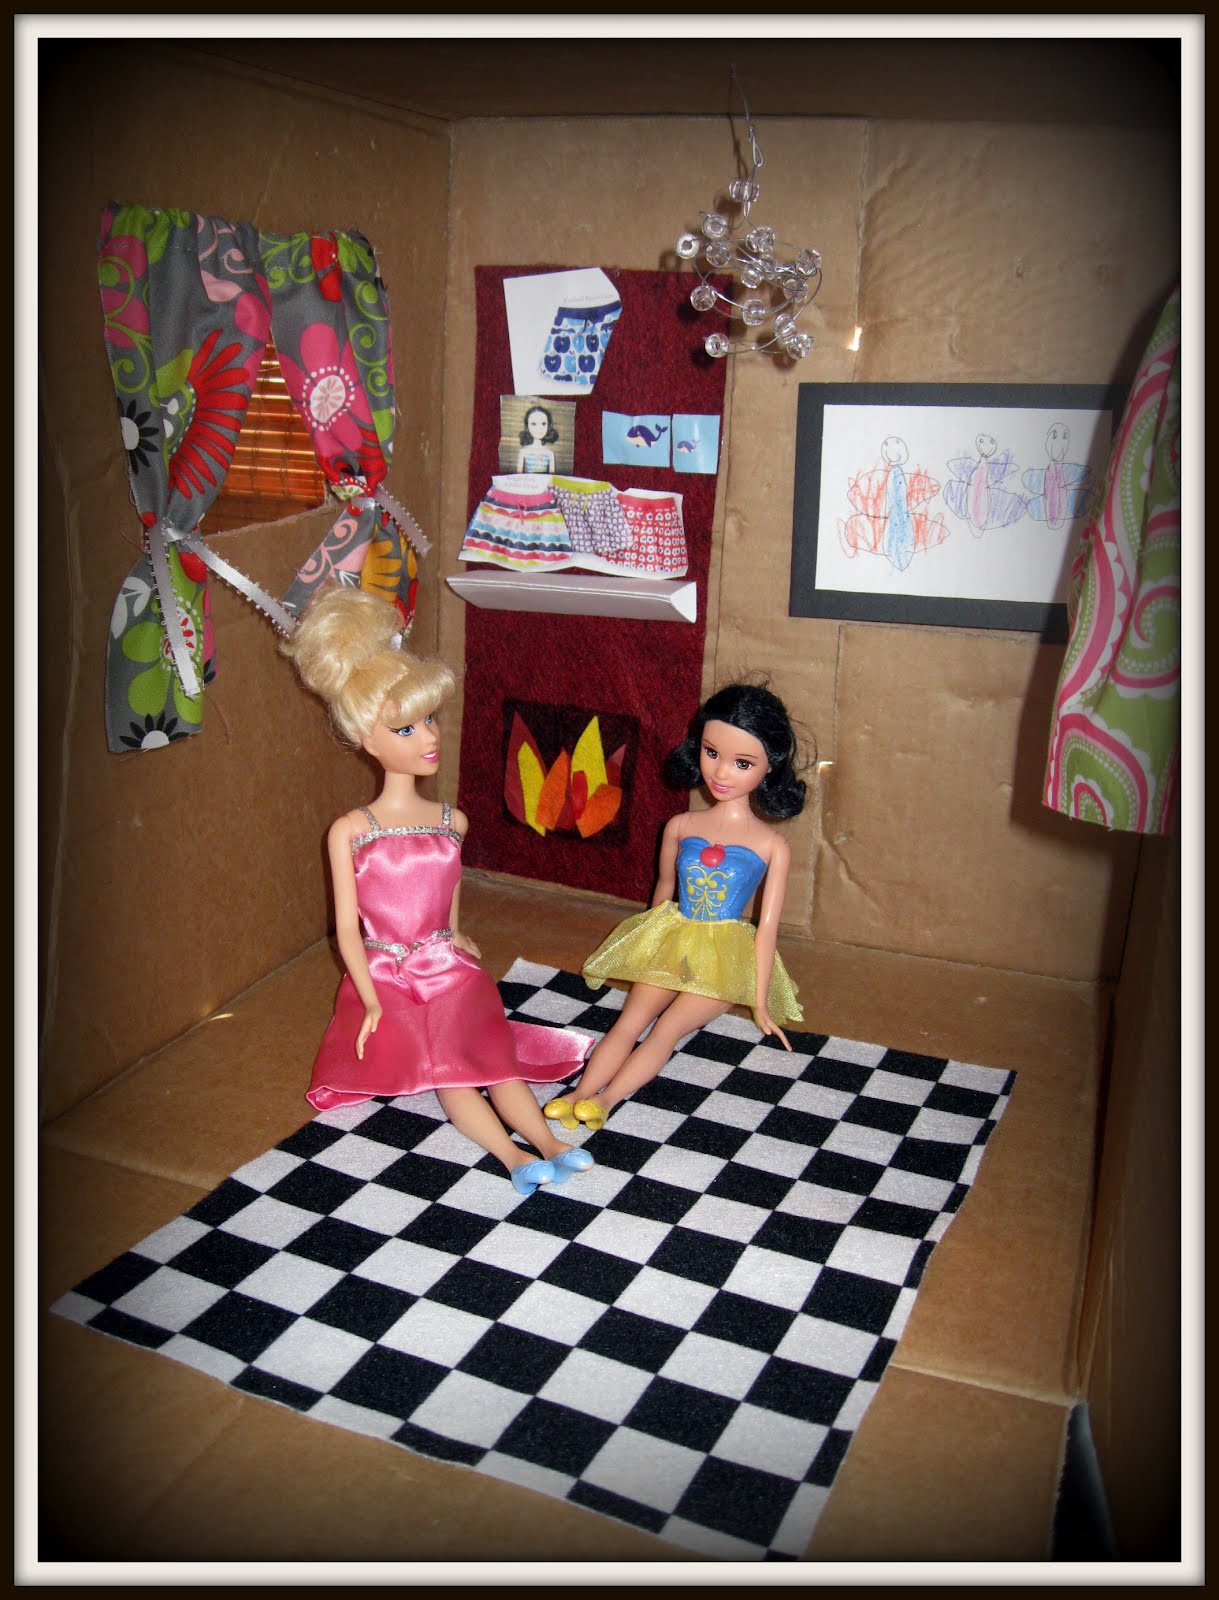
The Barbies, homeless until now, are quite enamored with the new digs, although I overheard the blonde say she wants her own place too. Guess I better go search out another box....