Showing posts with label pretend. Show all posts

Tuesday, March 13, 2012

Pretend Play: Felt Mail Envelopes

My daughter needed a project one recent rainy day while her older brother was busy with school. Since she had just recently learned to sew buttons onto scrap fabric, I thought a "real" button sewing project would be fun for her...such as felt Mail Envelopes that the kids could use for pretend play afterwards.

These are super easy to whip up, whether you use a sewing machine or hot glue gun.

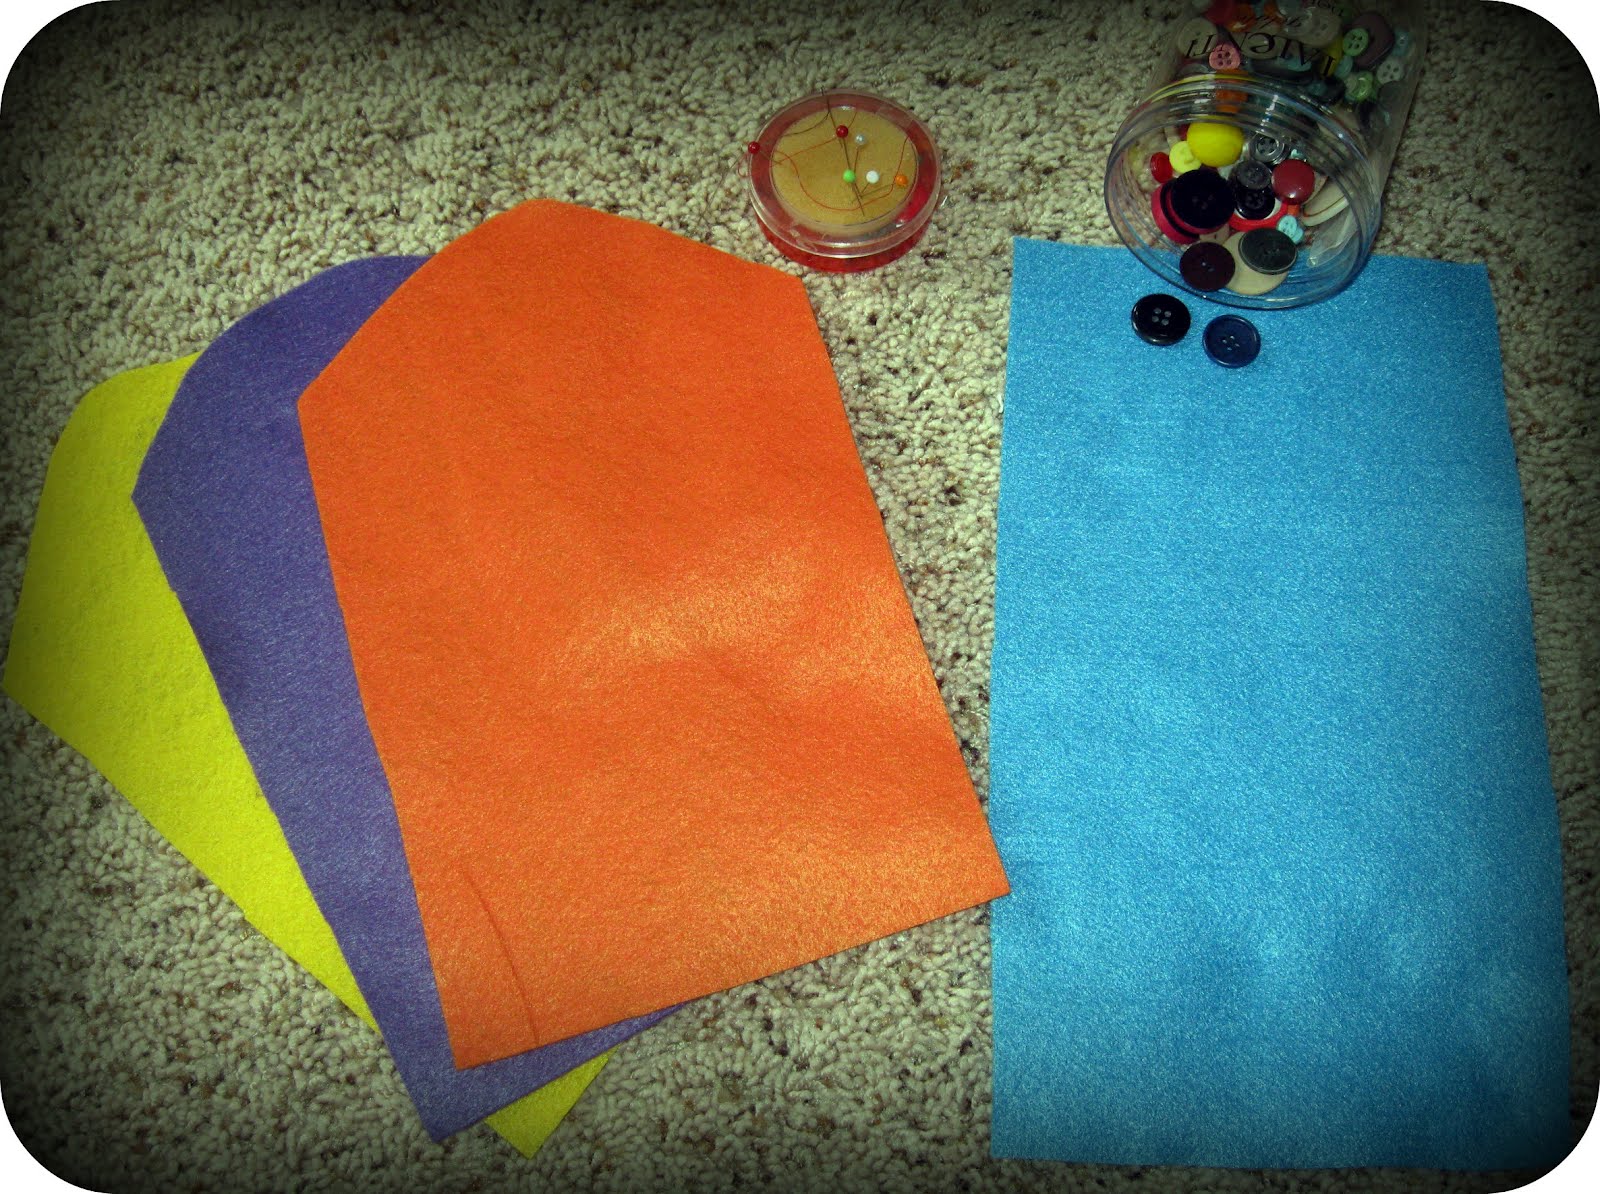
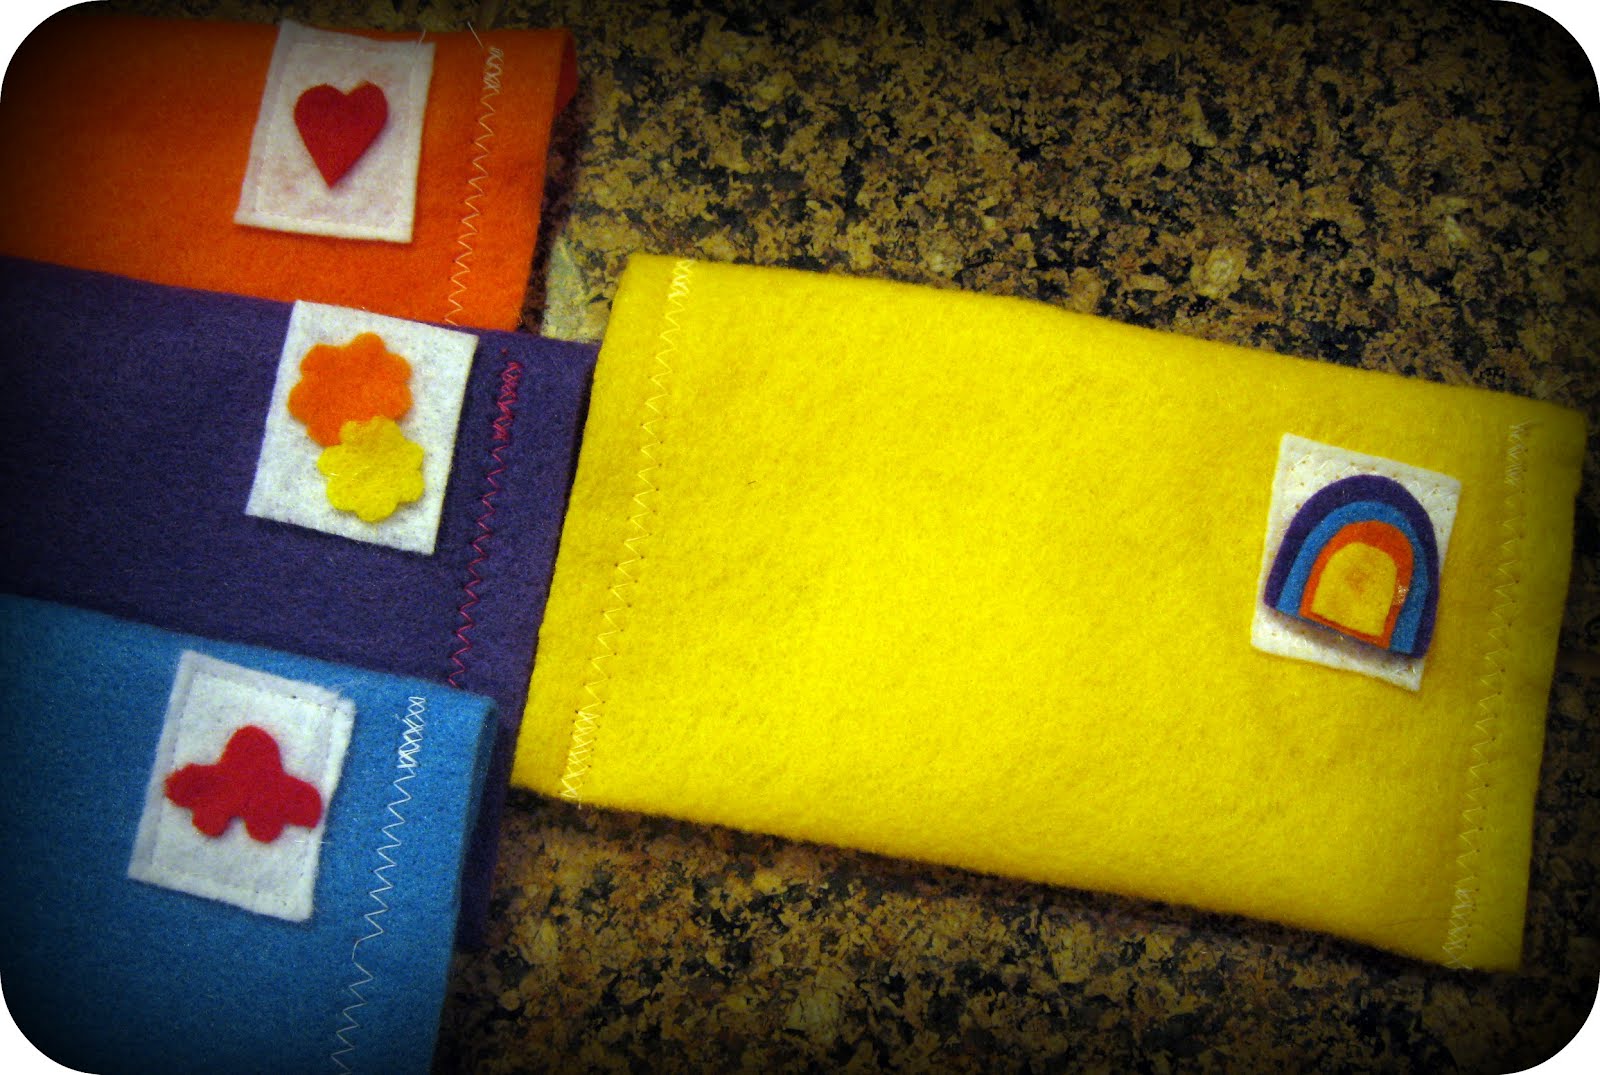
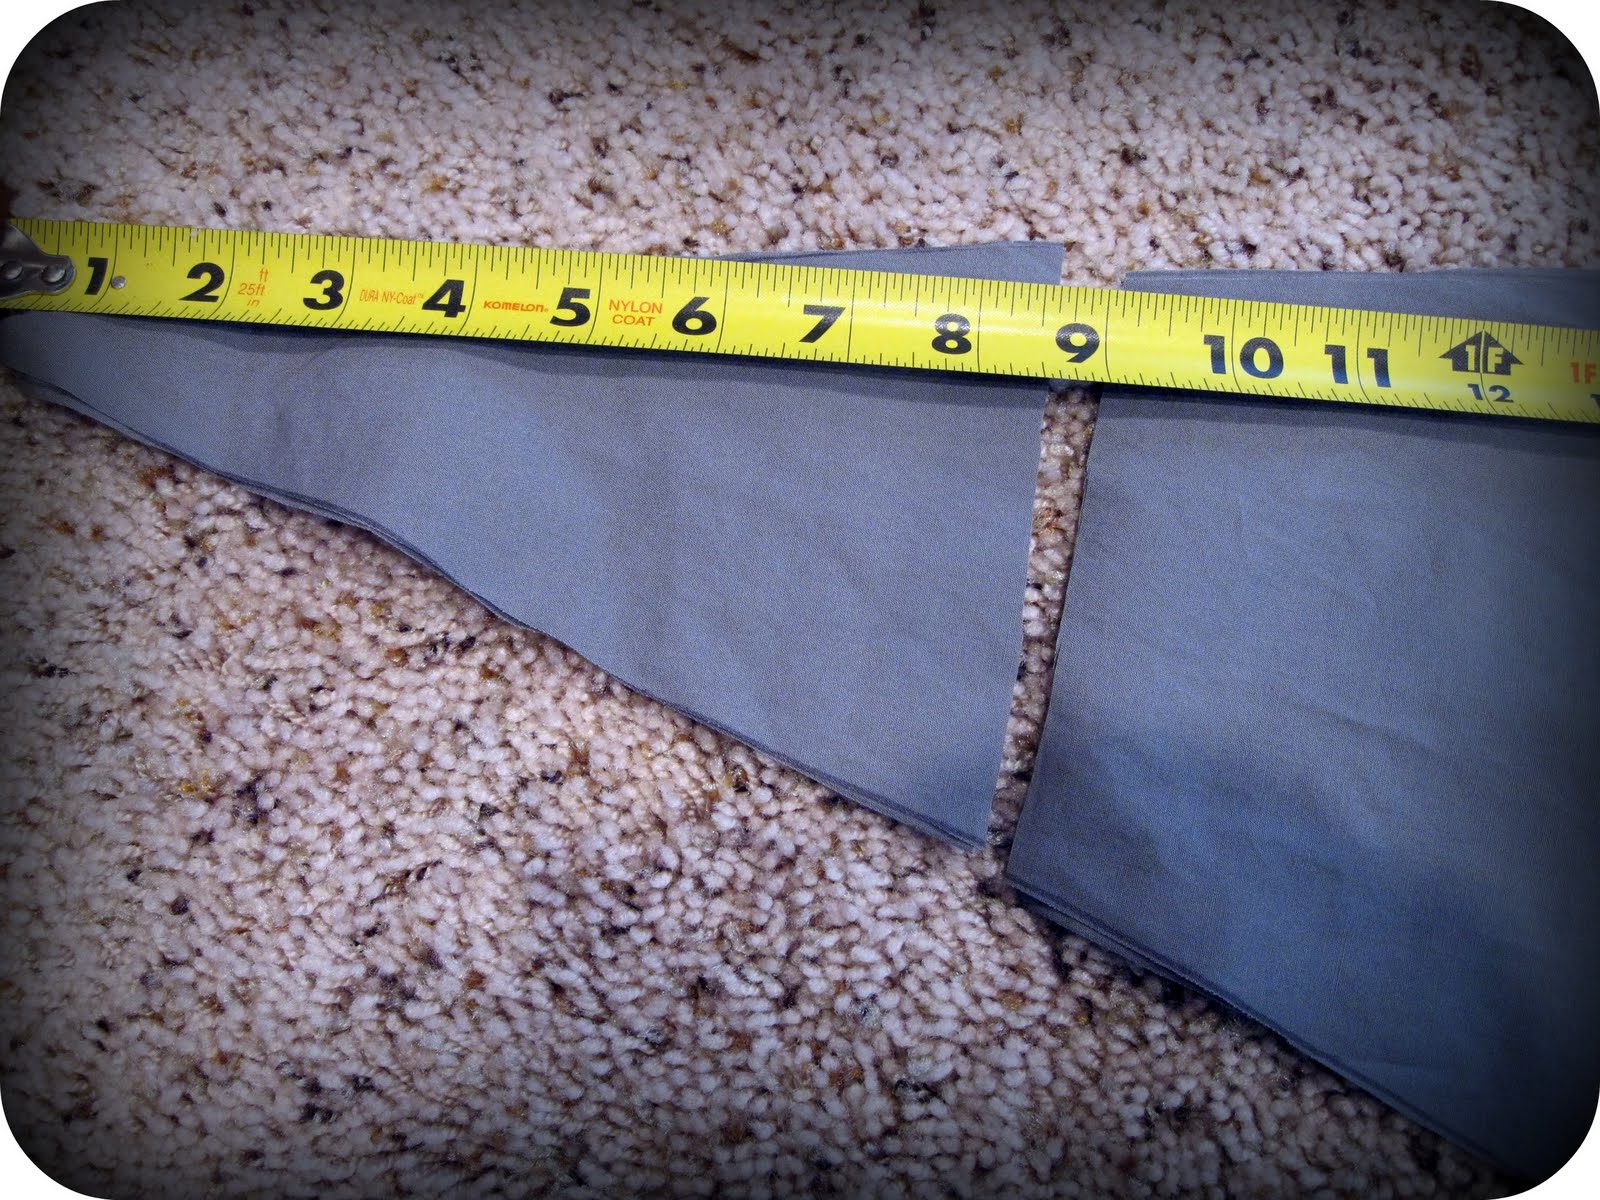
I cut 4 different colors of felt into 7" wide by 12" long rectangles. Then I angled one end to make it look like an envelope flap.


The button was to go on the end that still had square corners, about two inches down from the edge and centered. She chose her favorite buttons from my little jar and got to stitching. She was super careful and made sure the needle went back in the same side it came out...great progress from her first lesson!


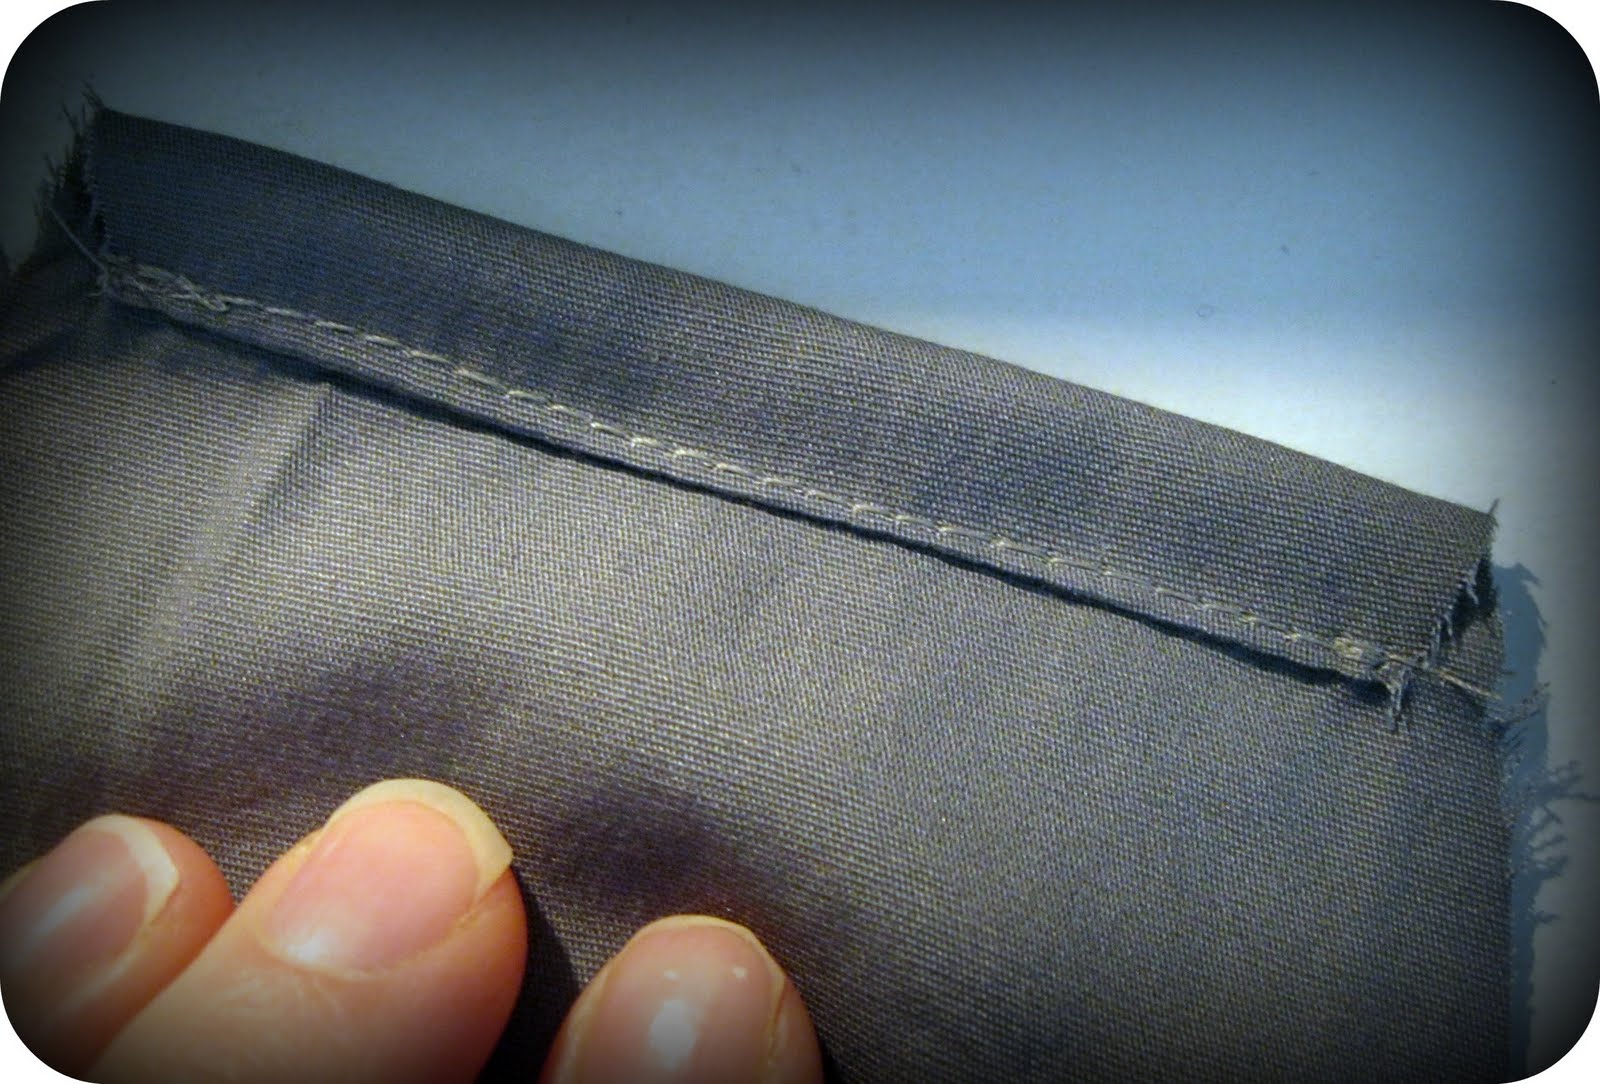
Next I folded the end (with the button) up a little more than a third and stitched the side edges together. Hot glue would work great too, or a young seamstress could even hand stitch those seams.


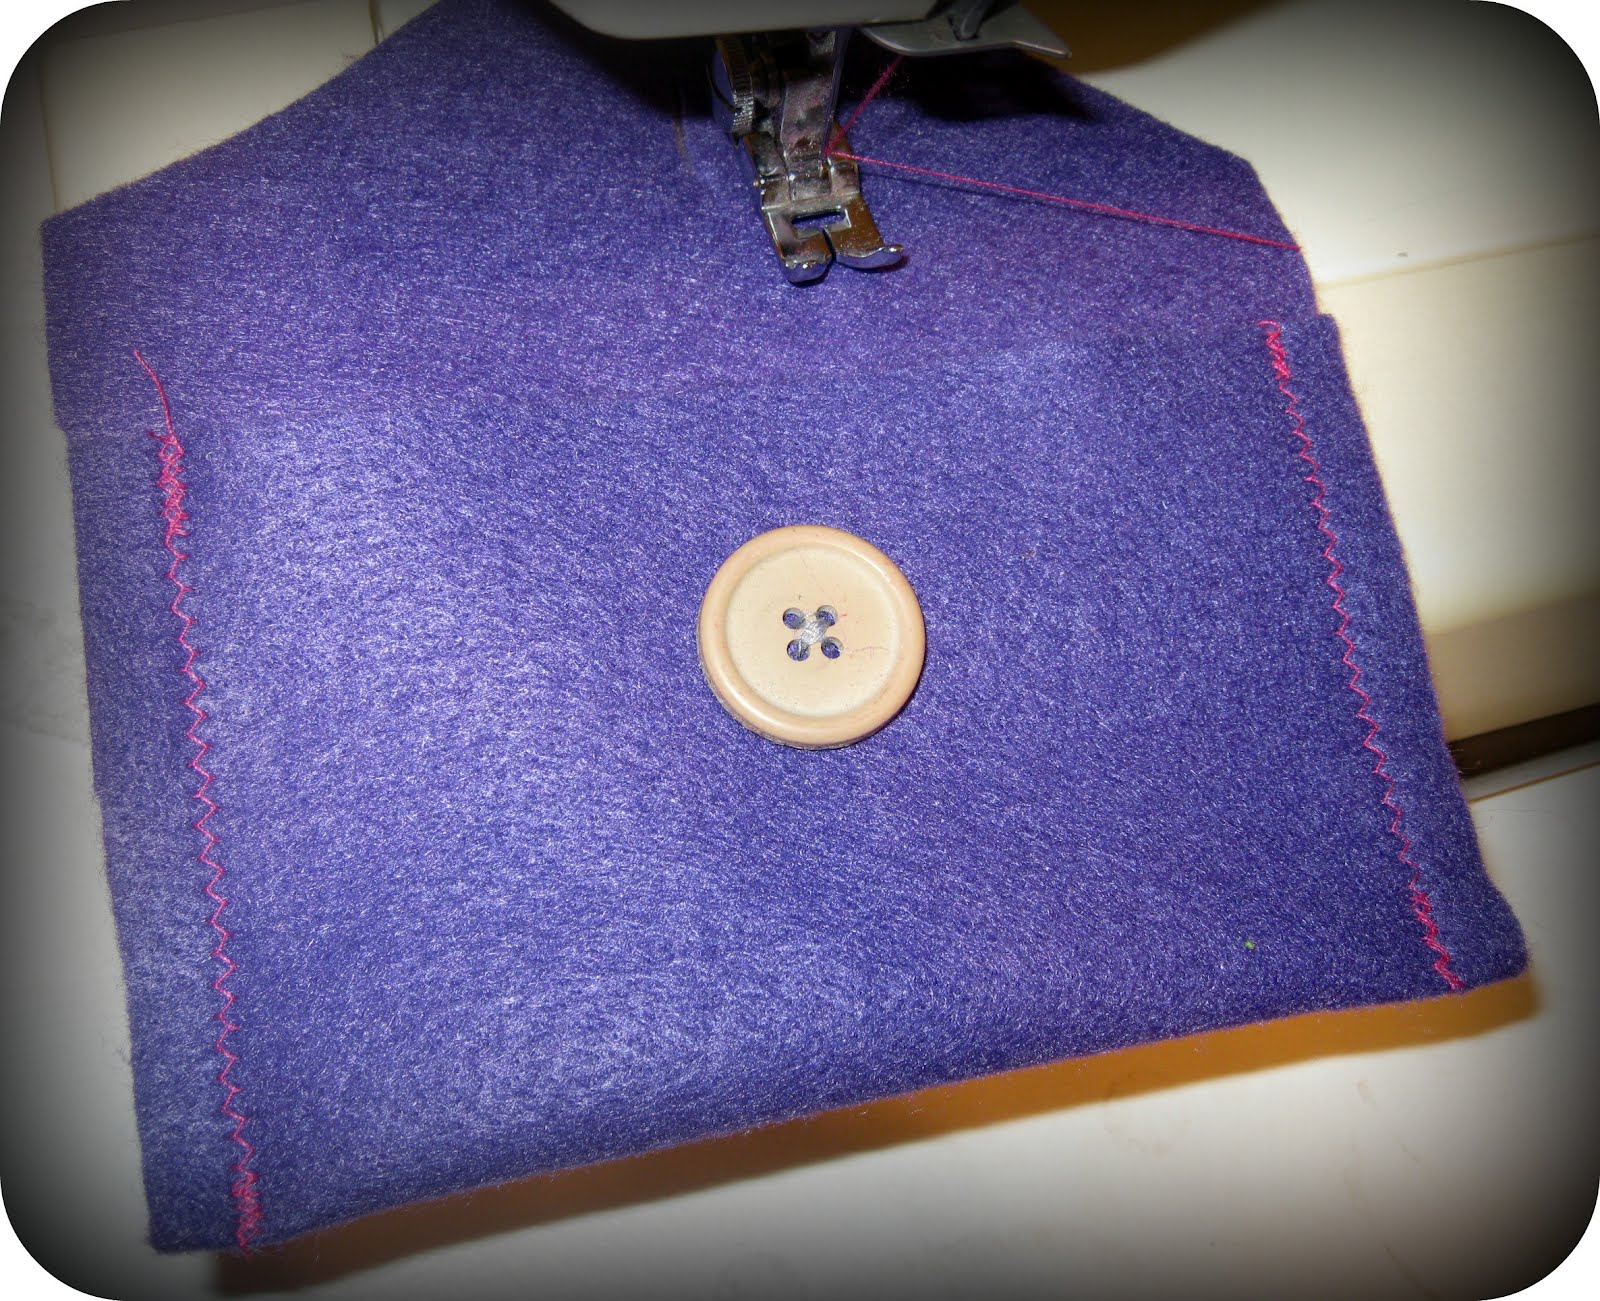
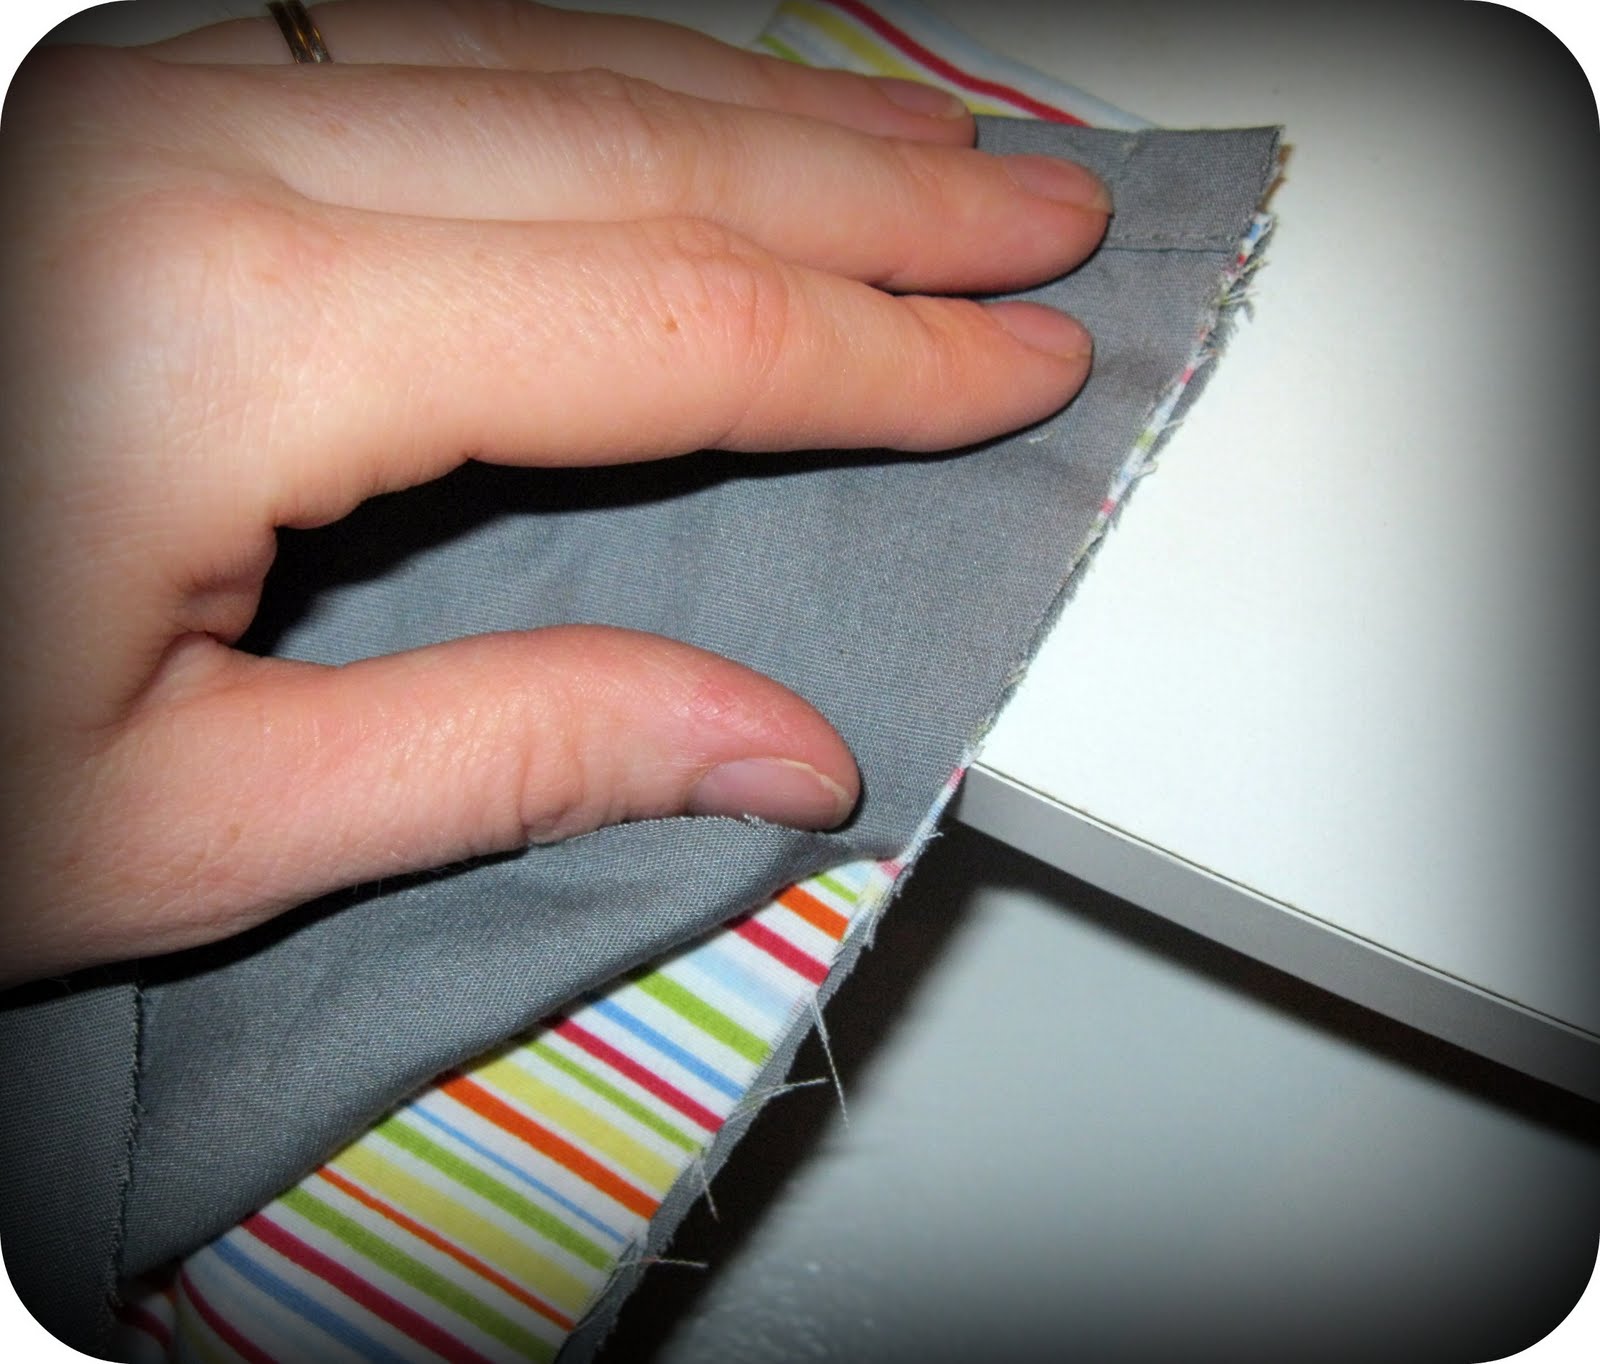
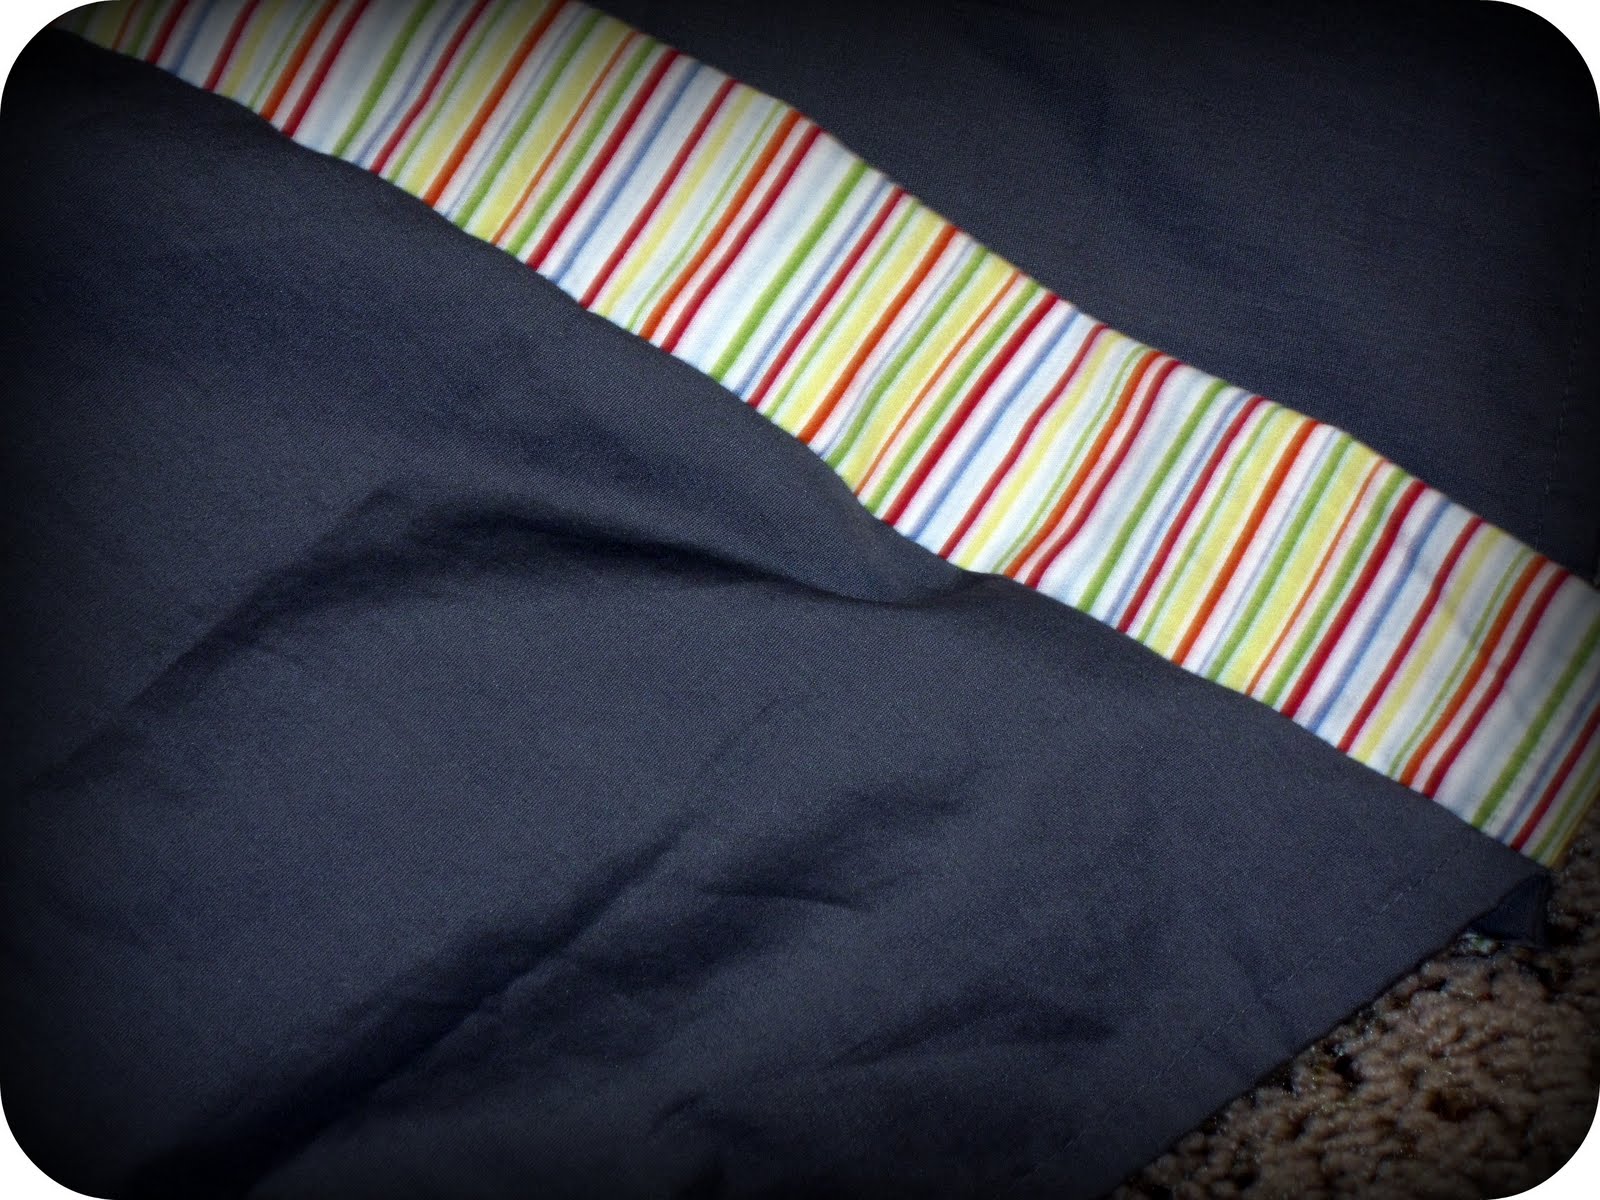
Then I folded the Flap side down and cut a slit to fit over the button.


Finally, we cut out little felt Stamps and hot glued/stitched those on the front of our envelopes. 


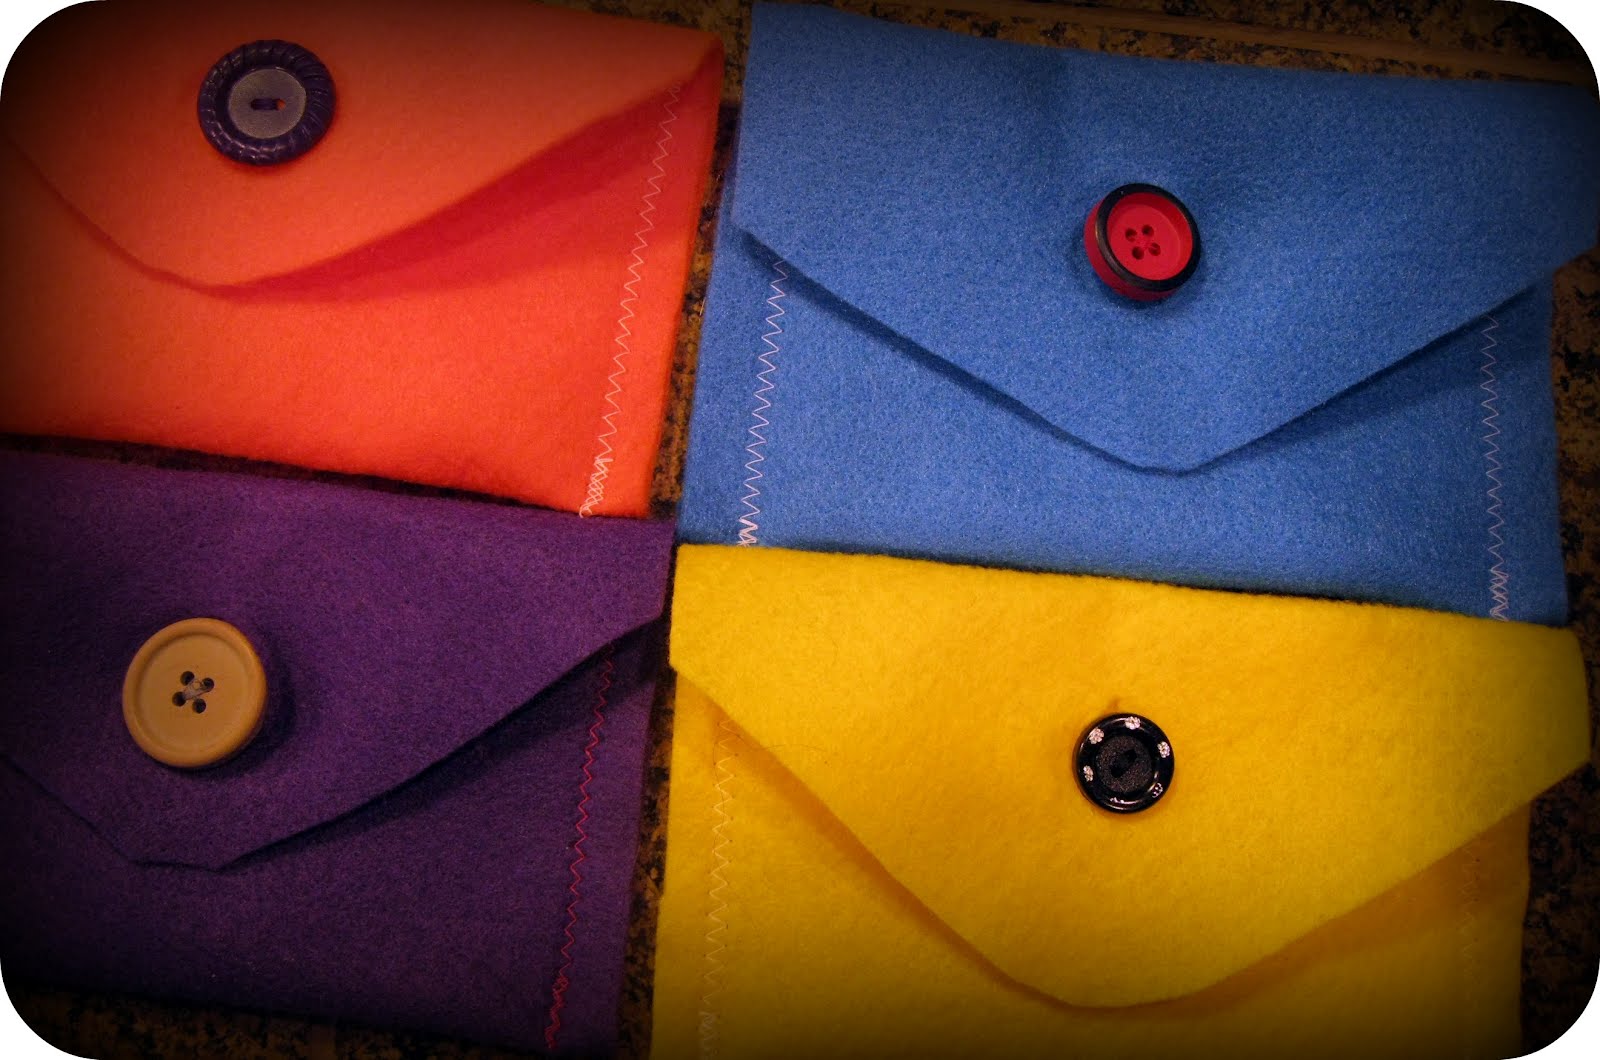
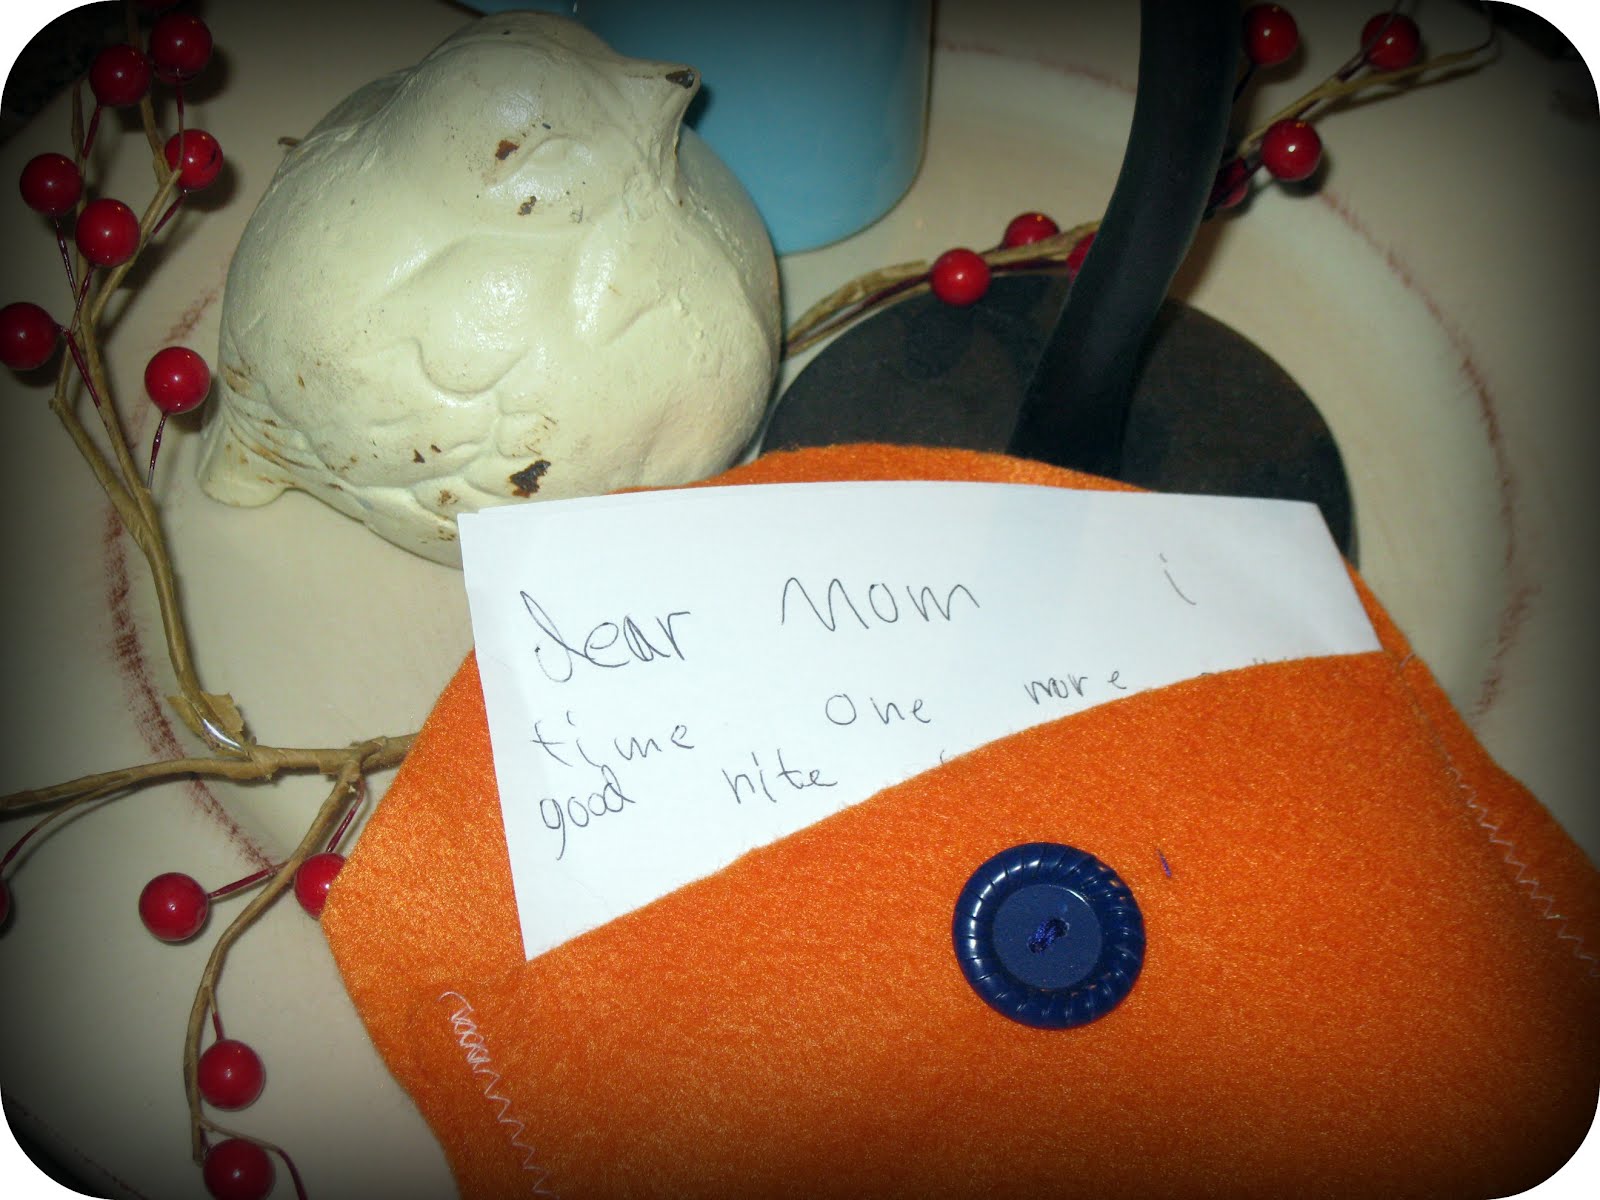
They've had fun writing notes and delivering mail to each other. Best perk of this project: my sweet little love notes!


Monday, September 26, 2011

Imagination Booster: Lunch on a Pirate Ship

One day while running errands, we found a wide, sturdy cardboard box just begging for an adventure. So we brought it home, and after studying it on all sides this morning, decided it would be a PERFECT pirate ship.


I cut off most of the top flaps, leaving one short one for the front deck, then bent one long flap to make the hull, taping it all together with clear packaging tape. After much deliberation, we settled on a not-too-scary name for our vessel...The Sea Wolf

We added a dowel for the mast and my son created a Pirate flag from cardstock. And LOTS of glue.

I taped one side for durability, then hole punched it twice for the dowel to run through.


Everyone promptly ran to find their best pirate dress-up clothes...stripes, bandanas, eyepatch, jeweled swords...typical pirate duds.

I wasn't sure what pirates ate for lunch...but decided tuna "fish" sandwiches cut with cookie cutters, and cucumber Sea slices with cream cheese to hold fish crackers and seaweed (cilantro) were just the thing for Captain Mario, Pirate Pinkey, and our Little Messy Matey. 


So me 'n' these here scurvy scallywags drug our sorry keesters out t'th'ship'n'had us a grand great adventuaaarrr! 


Wednesday, September 21, 2011

Make Your Own Play Teepee!


Note: If you aren't into sewing, there is good news! TheMudPieMakers has opened an Etsy shop...we have custom teepees available for order! See side bar for a link.


A play teepee is a super-fun hideout, reading corner, or ready-made fort for pretend play! And I promise it's not hard to make. If you have a sewing machine and can sew a basic straight line...and you can find a free afternoon...you can make this! It will take 3-4 hours. It is fairly inexpensive as well...actually, it could be pretty much free if you repurpose a used twin sheet and are lucky enough to have bamboo growing in your yard.

I had neither of those, so my cost was $20, which included 2 sheets from Walmart ($5 each) and PVC pipes from Home Depot ($10).
Gather Materials:


  • 1 flat solid color twin sheet


  • 1 patterned twin sheet or 2 yards of any 45”w cotton fabric for contrast banner and pole pockets


  • matching thread


  • 37” length of single fold bias tape


  • 5 PVC or bamboo poles, each ¾” thick and 74 inches long


  • 10 caps for the PVC pipes


  • 1 shoelace or 24” length of cord or twine to tie the poles together


  • a drill with a 1/4” bit
Prewash your sheets.
Lay the solid-color sheet on the floor and use a measuring tape and pen to mark the triangles that will be the 5 sides of the teepee.


The far right triangle on the diagram, which is at the top of the sheet (where the big hem is) may vary a little in size...that's ok. It will form the door flap. Use a straight edge to draw lines between the marks. Now cut the triangles.


Lay out your contrast fabric. Cut 5 strips that are 60” long by 5.5” wide. These will form the pole pockets.


Cut a small triangle pattern piece for the banner that is 7x7x7.5" and 6" tall.


Cut 14 of them. These will form the pennant banner that is on the door flap.


Start sewing. *All seam allowances are 5/8” unless noted.

To make the front door section, overlap the 2 smaller triangle pieces. They should overlap 3" to 6", depending on length of your sheet. You will have to turn over the piece on the right so that the wrong side is up. The back of the hem will show in front, but it's not noticeable.
Overlap the two pieces (left wider hem piece over right piece) just enough so that together the bottom edge measures 36”. Make sure the overlap is same at top and bottom.


Pin together and mark a line 3 feet up from the bottom. This will be the top of the door.


The overlapped top piece can be cut to a point to match the bottom layer--up near the point. Now stitch along the upper edge and then along the overlap until the 3-ft mark.


Stitch across that line to attach the two layers and make the top of the door flap. It's a good idea to zigzag stitch this seam to reinforce it...it will get pulled on when doorflaps are opened.


Now, on this and the other four triangles, measure 9" from the top point down each side, mark and then cut that piece off the top.


Hem the top edge by folding it down 1/4” then 1/4” again and stitching. The bottom edge is already hemmed for you.


To sew the pole pockets, first hem the short ends of each, turning the end under 1/4” and then 1/4” and stitching. Do this to both ends of each strip.

Next, you will fold the pockets in half lengthwise with the WRONG sides together. Put this long strip between 2 of the teepee sides so that the RIGHT sides of the teepee pieces are on the inside, against the pole pockets. All the raw edges should be even.


The pocket piece should be just a 1/2” to an inch shorter than the teepee pieces on each end. Pin and then stitch all the way down. As you sew, you may need to gently stretch the bottom piece to make sure your top and bottom edges end up even. Be sure to reinforce the edges a good bit where you start and stop your seam-—I stitched back and forth about 6 times over a couple of inches at both ends to make sure it wouldn't easily pull apart with use.
Repeat this step 5 times, so that you end up with the pockets showing on the outside of the teepee.


If you like, go ahead and zigzag stitch or serge the edges of those long seams to neaten them up inside.


Now for the banner. Put 2 small triangle sections right side together. WIth a 1/2" seam allowance, sew along the edge of the 2 slightly shorter sides, pivoting at the corner.


Leave the longer side open. Cut off the corner close to the stitching to remove fabric bulk.


Turn inside, using a pencil or scissors to gently poke it out to a point. Press. Cut off the little points at the bottom edge. Top stitch each triangle on the two sewn edges.
Open up the piece of bias tape and fold one end down a half inch. Lay a triangle piece under this end so the raw, unsewn edge is in the fold of the bias tape. Pin.


Lay the other six triangles inside, slightly overlapping the corners. Adjust so they fit just inside the 2 ends and there is an inch of bias tape left at the end that you can fold up a half-inch to hide the raw edge. Now, fold the tape over, and start stitching through all layers from one end to the other.


Pin this banner on the inside of the wider hem flap. Sew from bottom to top about 5/8” from the edge, making sure you don't catch the other door flap in your stitching. Now topstitch again next to the edge.


To prepare your poles: each should be 74-inches long. They will have markings on them from the store, so you may want to spray paint them or wind colored tape around them to make them prettier.

Measure down 8” from one end of each pole and mark. Drill through both sides of the pipe at these marks. Insert the poles through the pockets of the teepee and put a cap on each end of the pole.


With the teepee and poles all bundled together, thread your cord through the drilled holes and tie it so it has just a little bit of slack. Stand your teepee up, spread the poles and adjust the tie as needed.


Furnish with a couple of good books, a little snack, and your children will have hours of fun in their new make-believe world!

Thursday, August 4, 2011

Pretend Play: Breakfast on a Cruise Ship.


Yesterday we enjoyed a lovely morning on a cruise ship...and didn't even leave home for it. A scrapbook-paper-porthole on the wall and a couple of clipart seagulls circling over the table helped set the scene. Then I donned my white shirt, black bermudas, white gloves, and became a Cruise Ship Attendant for our morning o' fun.


I confess my first-hand knowledge of cruise ships is pretty much...nil. I have heard that your towels get folded into all kinds of nifty little animals each time you come back into your cabin, but I do not have those kind of folding skilz. So I kinda had to wing it as to the whole Cruise Ship scene.


The table was set with white tablecloth, lots of glassware (gulp!), and cloth napkins. Definitely a first at my breakfast table! I dusted off some cute little juice glasses and prepared a carafe of OJ.


Our breakfast menu included boiled eggs served in egg-cups, toast & jam, cut up fruit, and a yogurt parfait bar for the kids to make their own concoctions. Huge hit! And it was all served with silly Cruise Attendant antics. Oh, I meant to play some perky classical music in the background, but forgot to start the CD.


The kids loved it! After serving their breakfast (pretending to walk on a ship that was rolling slightly), I told them some of the activities that were available for their enjoyment today...

  
First up...Bingo on the ship deck. Happily, we each won a round.


Next we tried a little Art activity. This was a Stained Glass Butterfly project, an idea I found
here
 

They turned out really pretty, and I learned a valuable lesson: washable markers are not as washable as expected when the one-year-old colors on the table and himself.


Finally, we left the ship on a little excursion and “rowed over” to a deserted island to enjoy a relaxing siesta. I made a blanket fort over a card table in our living room and set out books with special snacks and refreshing lemonade. We all piled in and read several stories together and talked about living on a deserted island. The consensus was that none of us would like it much...there was no access to ice cream.


It was such a fun morning! Have to confess, I don't always give my children a solid chunk of devoted, undivided attention and play time like I ought to—there's always laundry to throw in, floors to sweep, email to check. This Pretend Cruise was a blast for all of us.

...Even if there was not a single Swan towel in sight.


Linking to these great parties:

Tuesday, July 26, 2011

Wooden Spoon Puppets!


There are some crafts that are easy enough for me! This is one of them. Do you have 4 zillion wooden spoons in your junk drawer? If so, this is the perfect craft for your family.  And it is especially appropriate for this week since you will need some puppets if YOU win our door frame puppet theater in our giveaway going on right now. Check it all out HERE!


The first thing you will need for your wooden spoon puppet is... a wooden spoon. If you don't want to ruin your precious pampered chef spoons, then go buy a packet of 4 from Wal-mart for less than a dollar. These are cheap puppets!


I decided to give mine a quick coat of spray primer since my first attempt (not pictured) was a flop. The spoons absorb lots of paint!  I filled the table with every crafty thing I could find: pom-poms, ribbon, paints, pipe cleaners, yarn, glue, and some crazy eyes that I picked up just for this project. 


The kids (and special guest Grandma) had lots of fun painting, gluing and designing his/her very own special person.  We all used a little paint, but each puppet is very unique--there is no right or wrong way to  make these! Soon, it was time for a quick puppet show in the door frame puppet theater...


The post-spoon puppet mess!

This was my four-year-old's special spoon! She had lots of fun.

"Introducing... our puppets!"


The End.


Don't forget to enter to WIN THIS FREE PUPPET Theater. There are only a few days left!!!