


If you are ready for a project with tons of room for creative variety, then today is your lucky day!
I know the new year is already here, but for those of you who didn't receive a calendar for Christmas, or for those (slightly crazy) people who want to begin a special 2012 Christmas present, then here you go.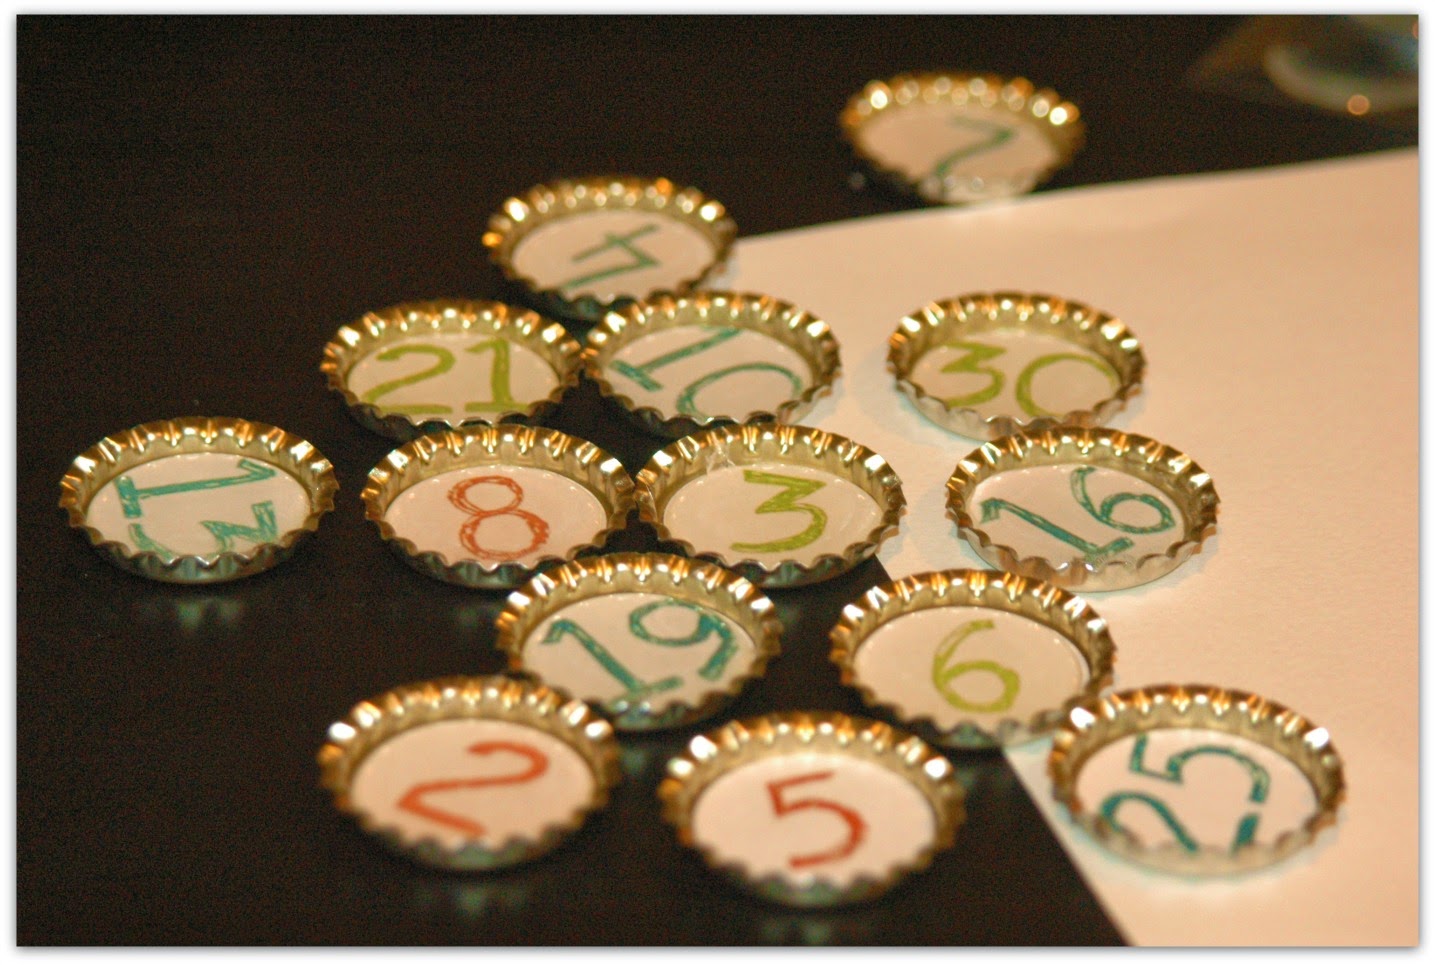
To get started, you will need several things.
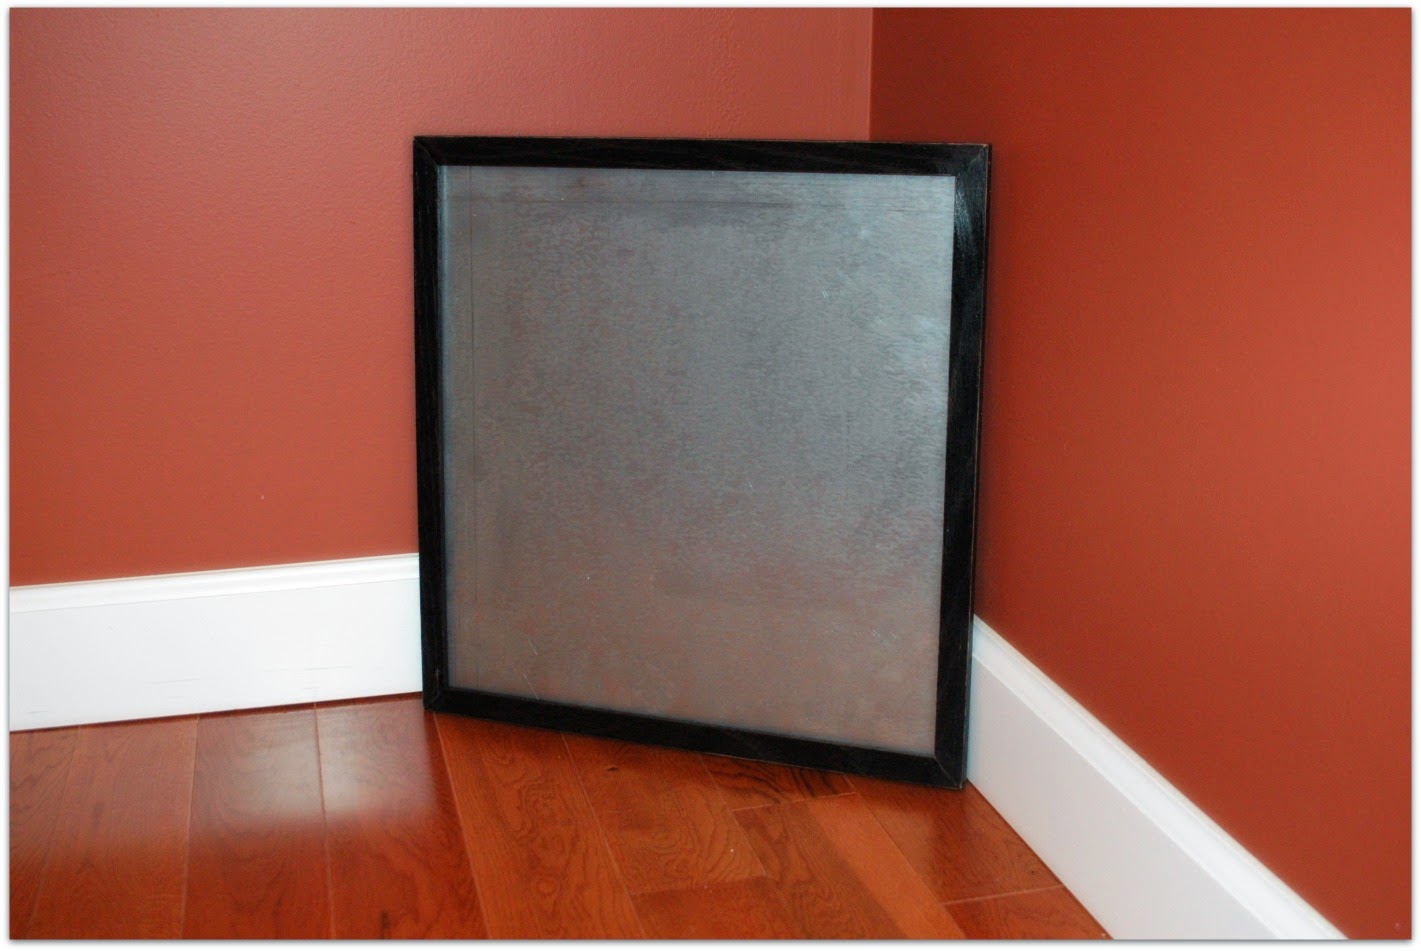
A sheet of metal. You can find this at your local Hardware store. My husband cut our metal sheet to 15"X15."
The following can be purchased online or at a craft store:
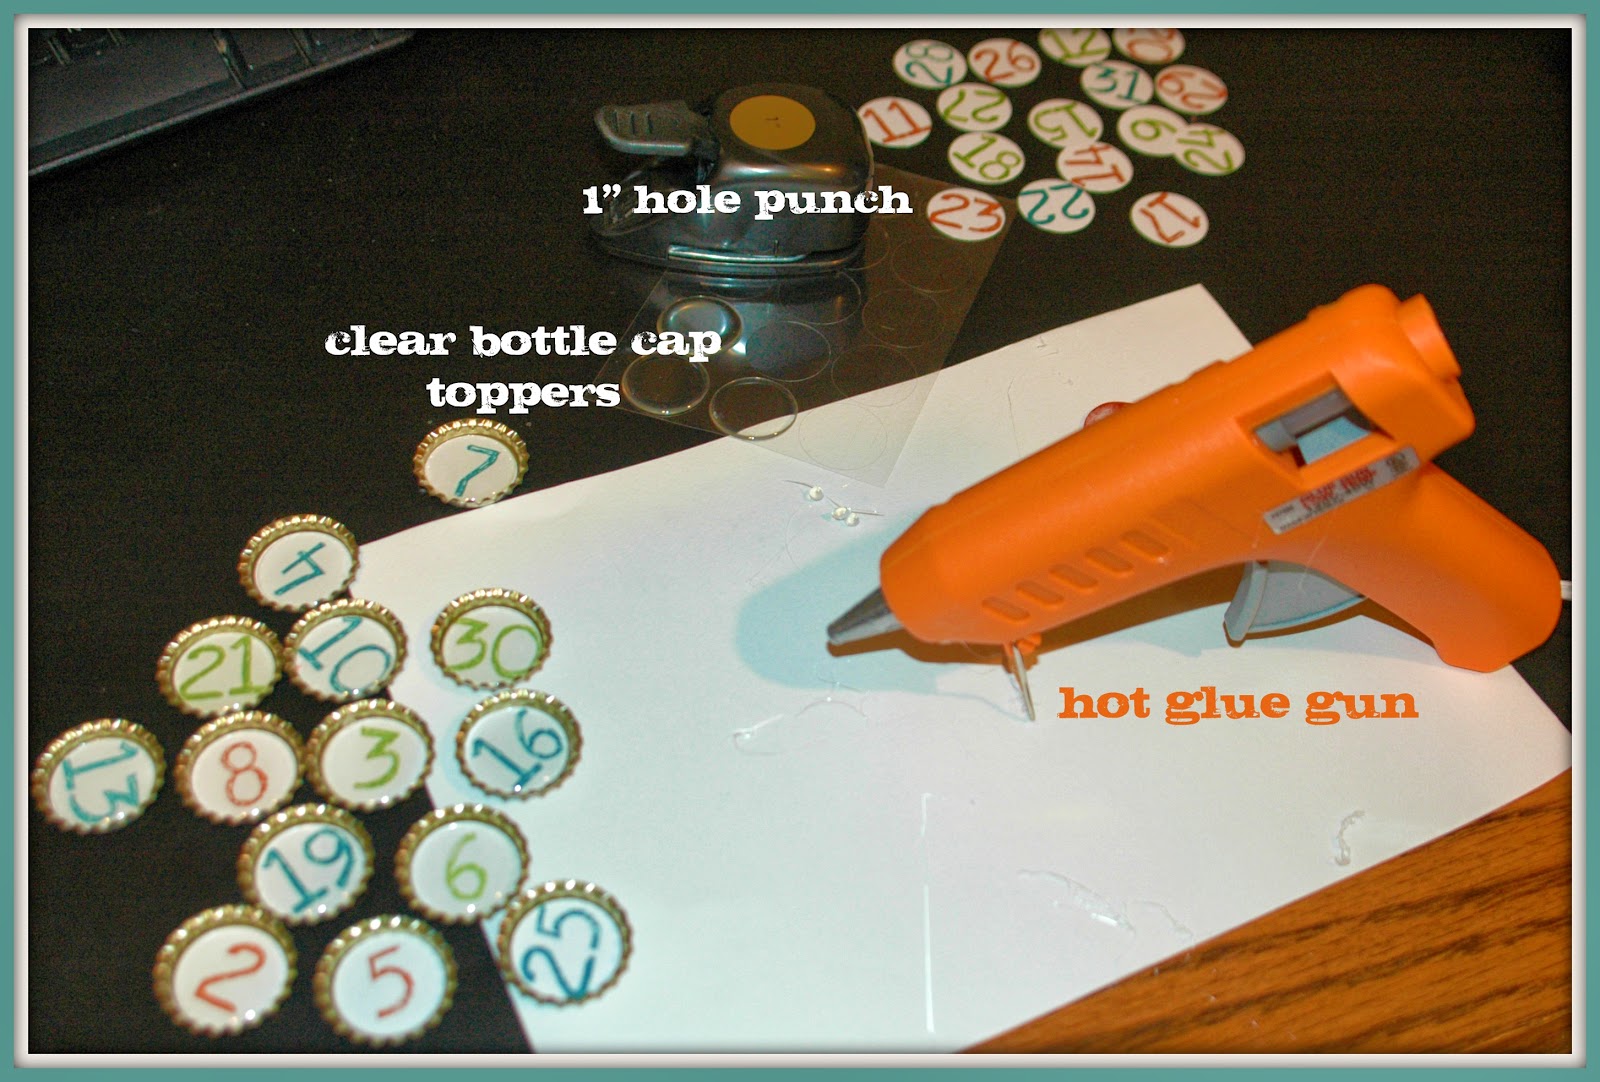
- Bottle caps
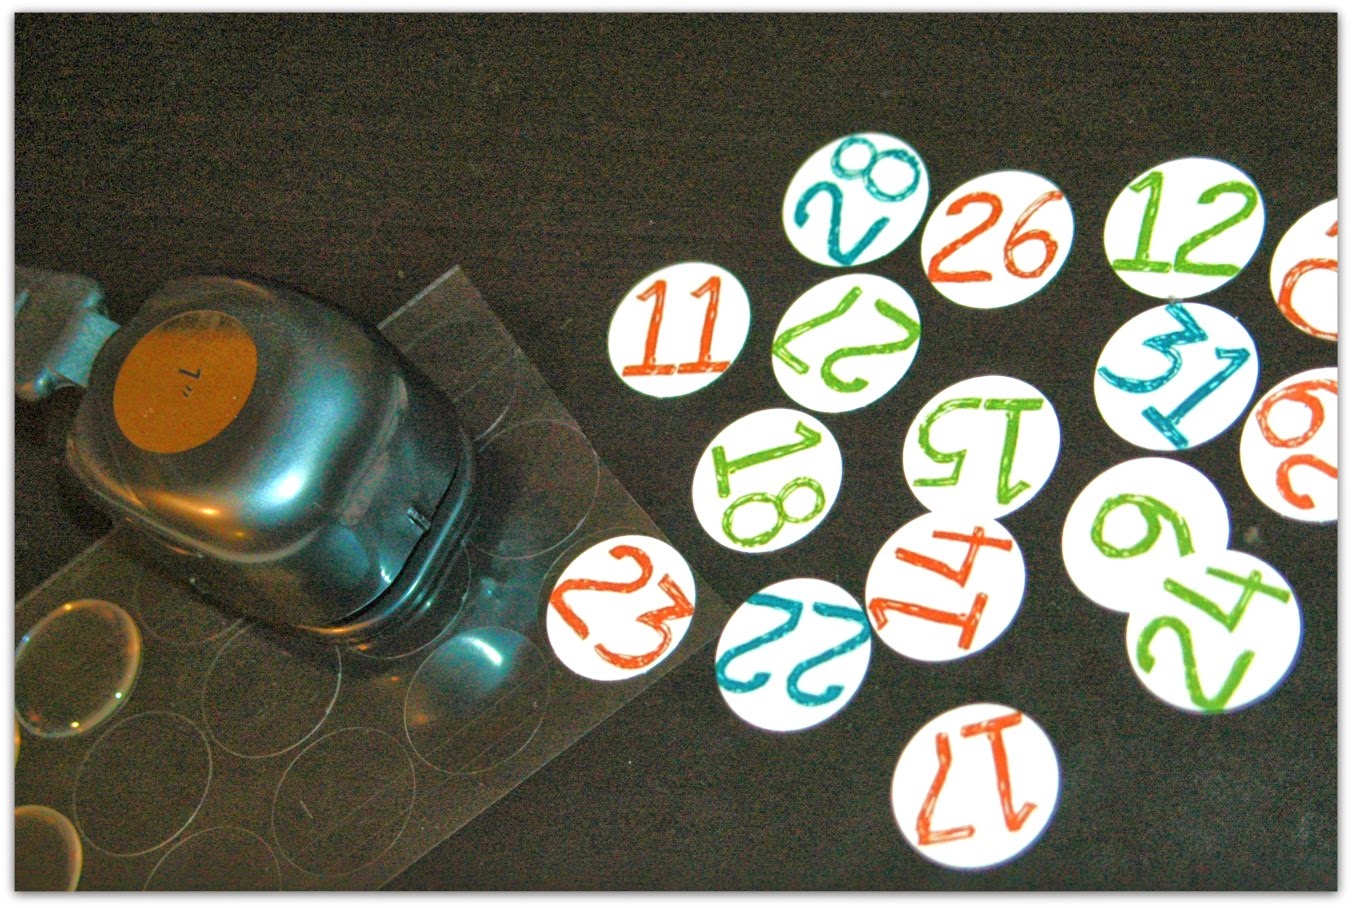
- Epoxy 1" bottle cap toppers like these
- Magnets
- Super glue & craft glue
- Decorative craft paper (for tree) and cardstock to print numbers
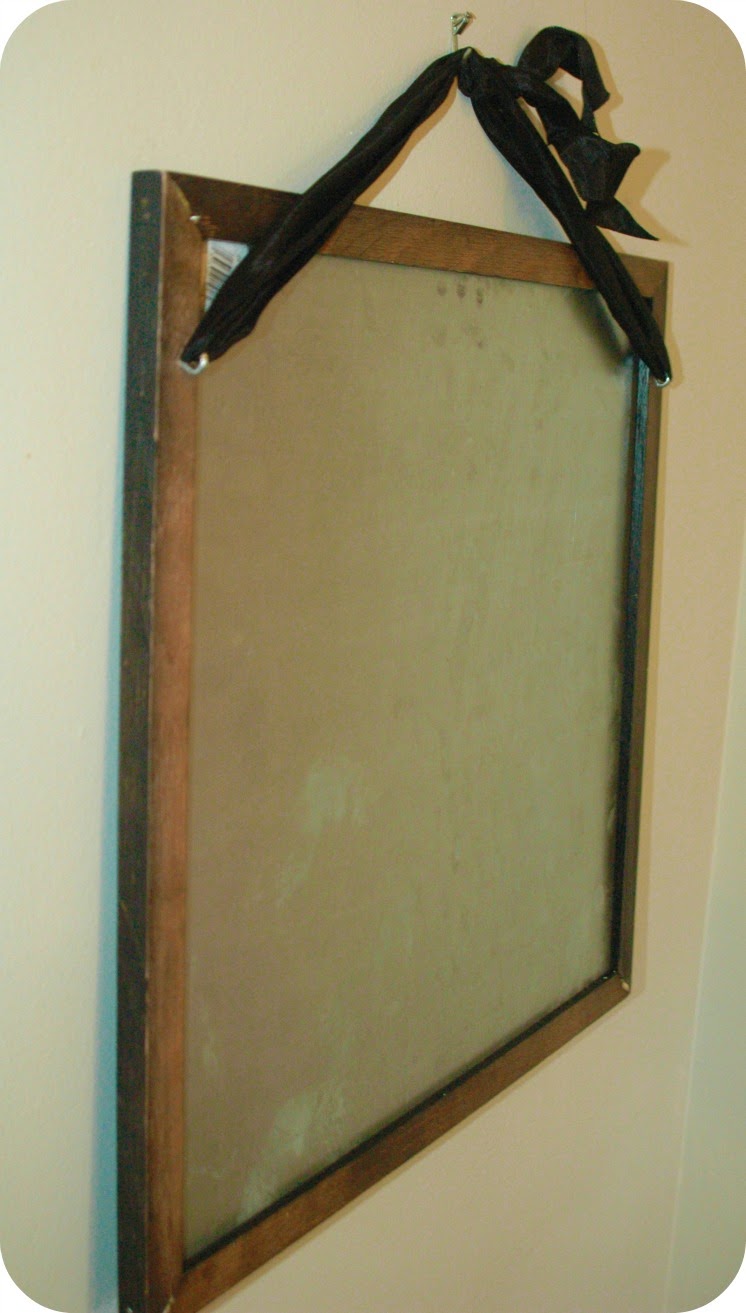
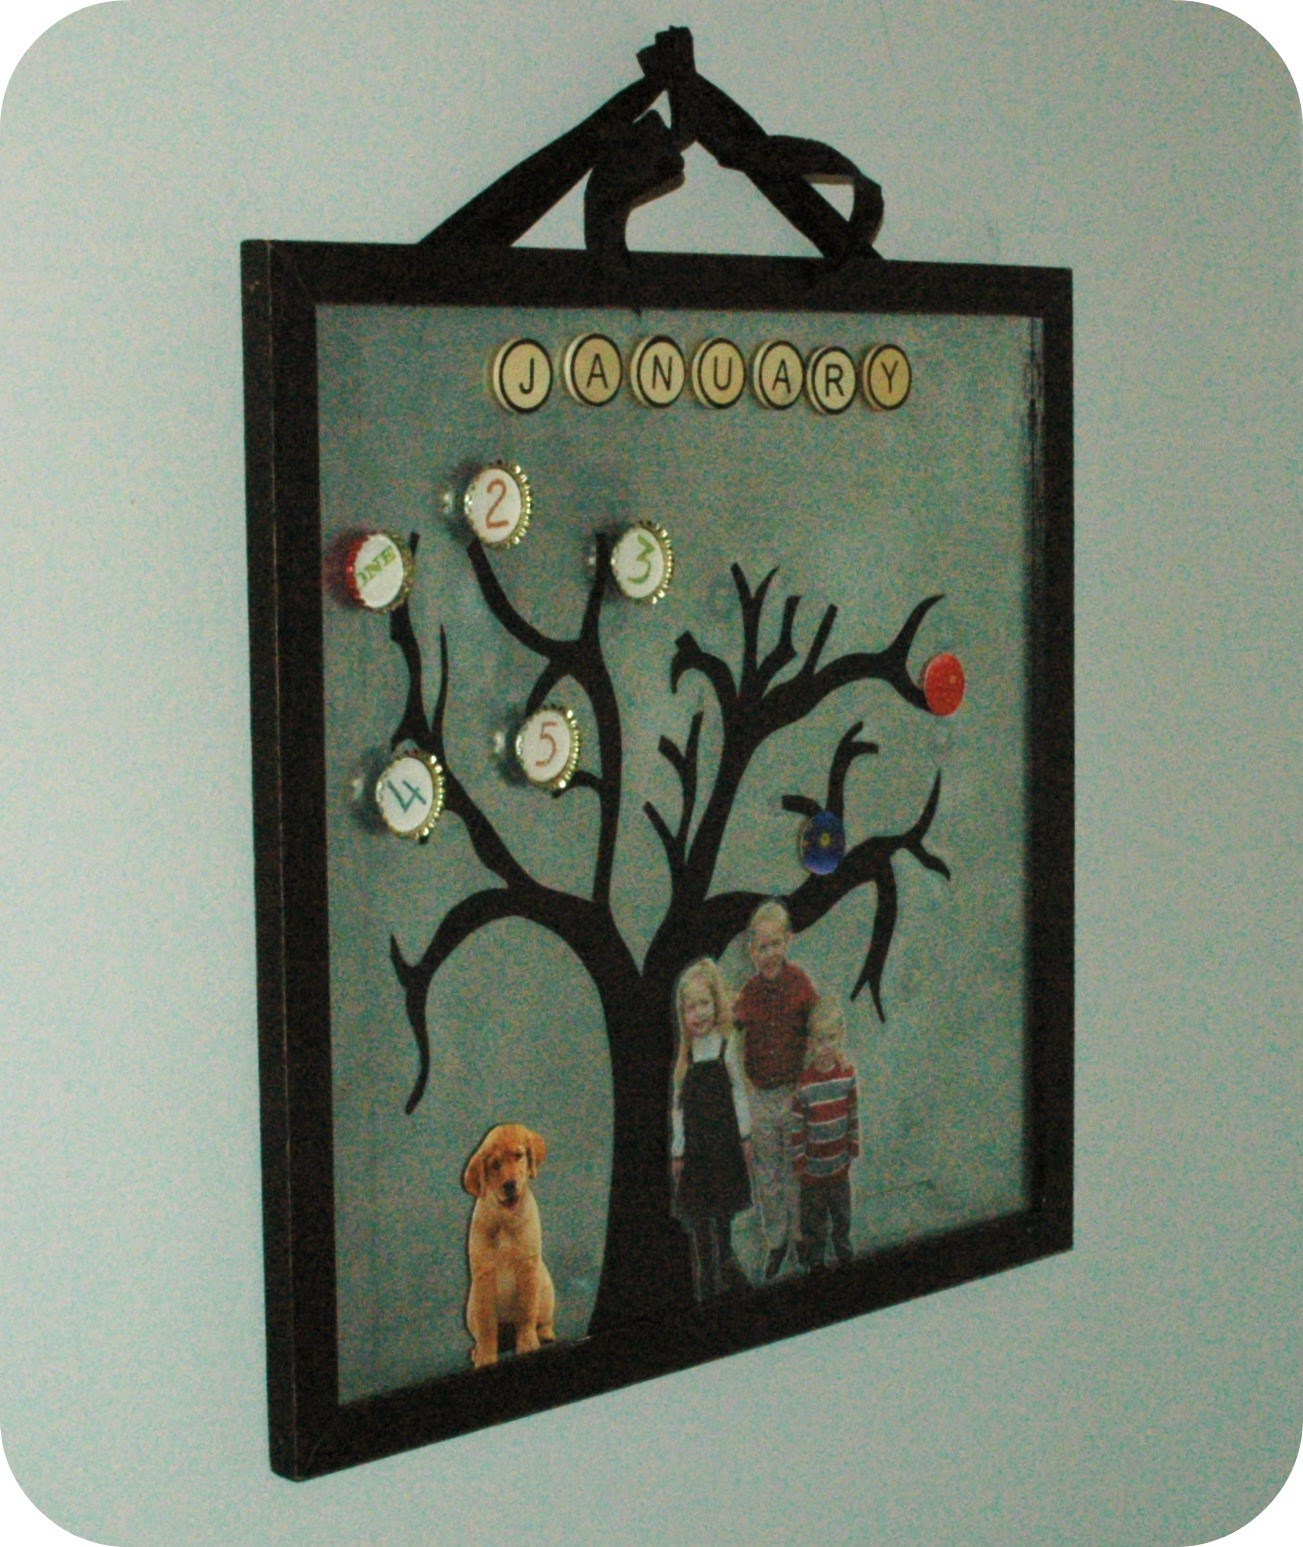
After the metal sheet was cut, my husband framed it nicely with painted wood. This is optional, the metal sheet is nice by itself, but since we are trying to make this an interactive family calendar, the sharp metal edges made me nervous. If you don't have a custom framer in your home, I'm sure some decorative duct tape or something similar would work well to frame around the edges.
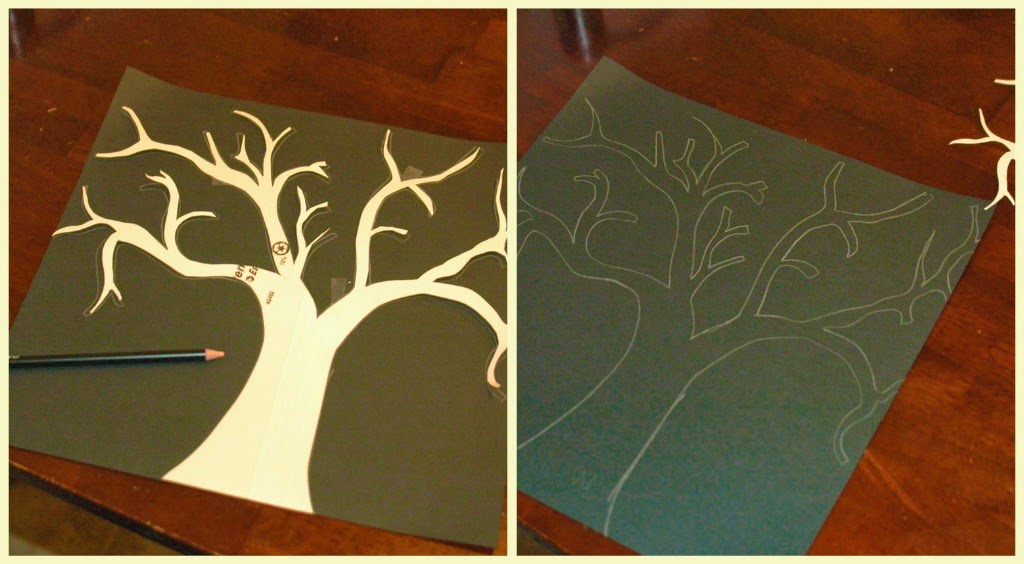
While your tree is drying, you can begin thinking about how you want to decorate your family calendar. Disclaimer: I was inspired by this neat idea in October and am just now finishing up, so don't be discouraged if you don't get around to it right away! It will take a while to gather all the materials, etc.
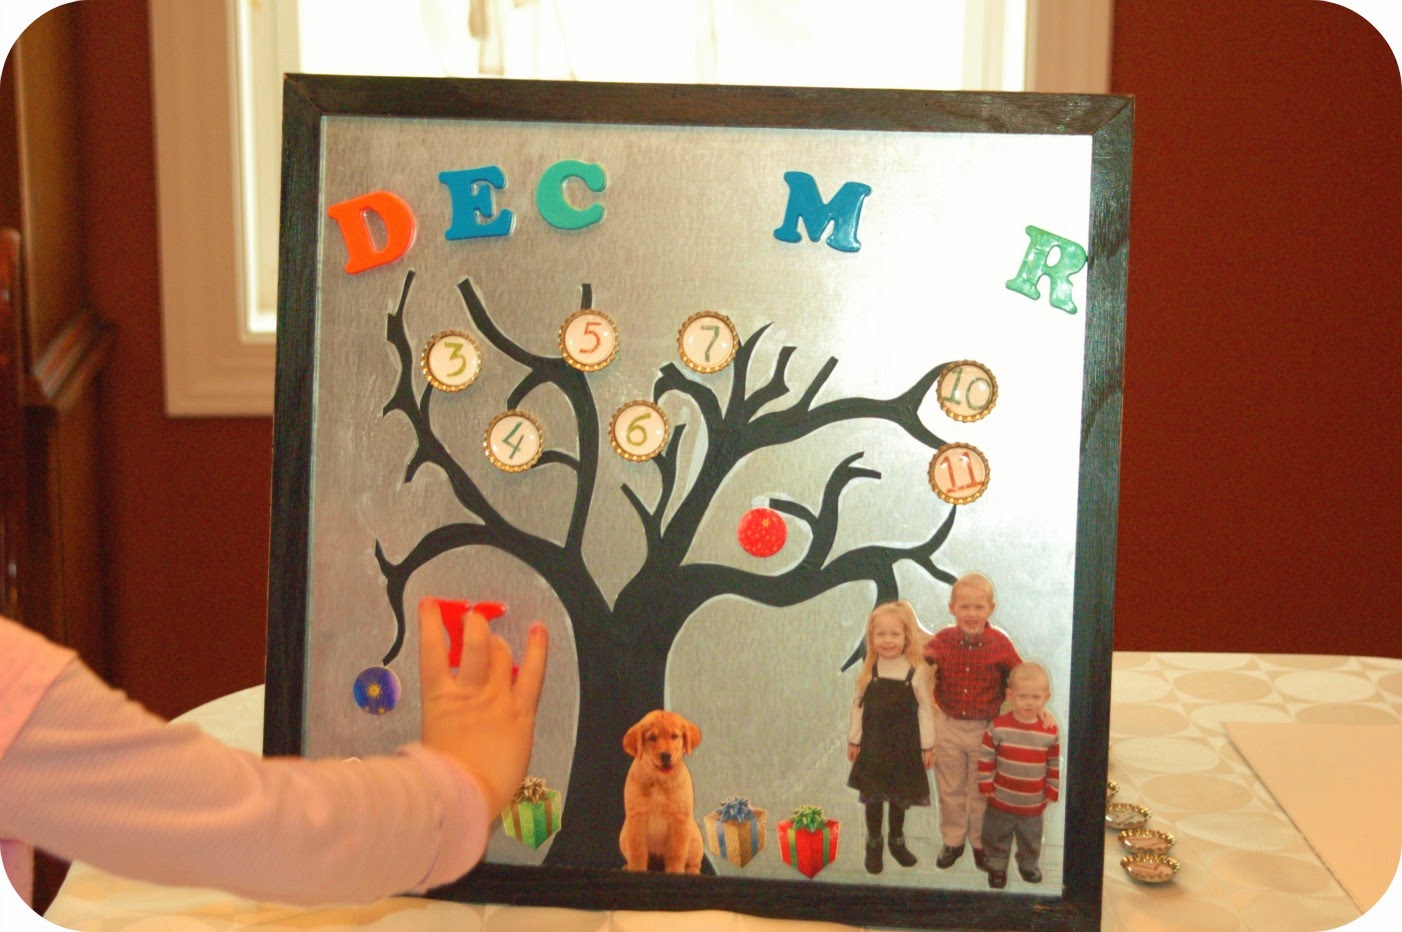
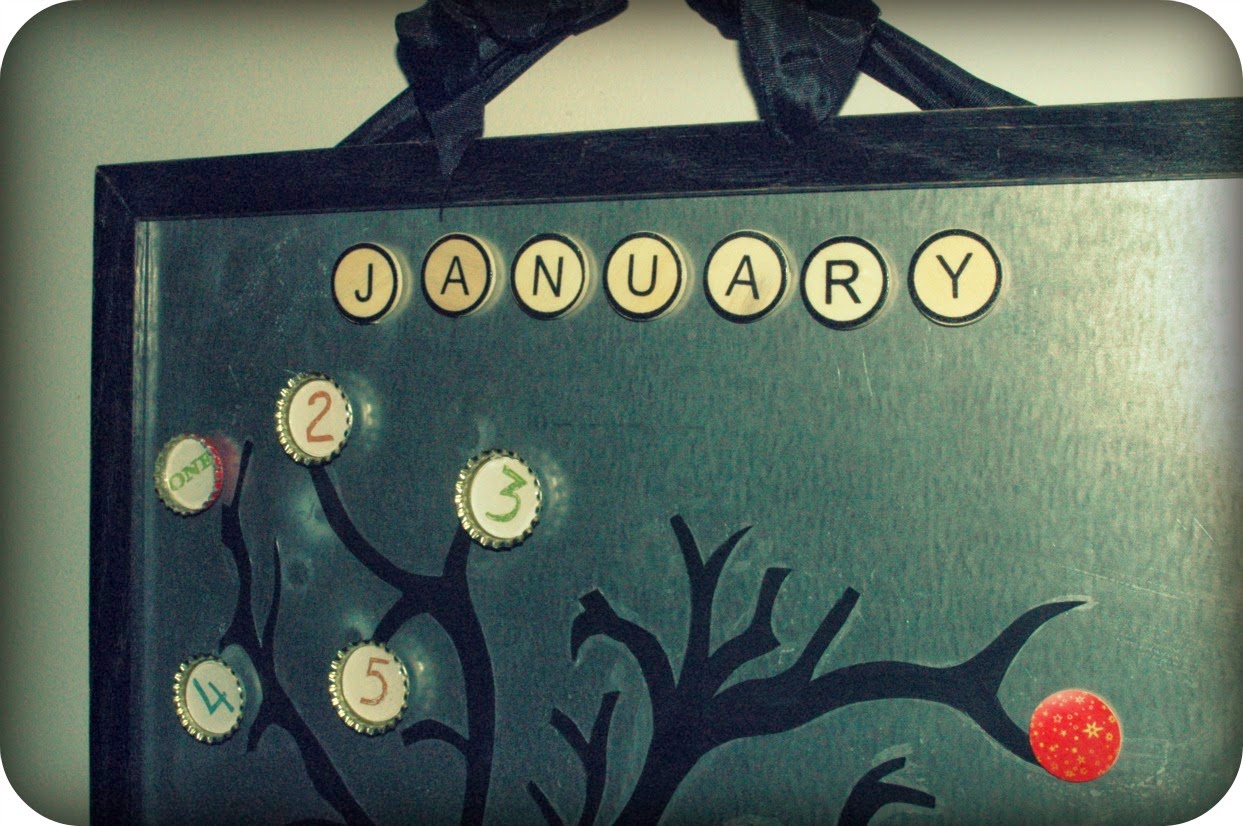
First, decide how you want the Month displayed at the top. I scratched out several ideas along the way. If you have the colorful magnetic alphabet letters on your fridge at home, then this might be an option. You will need several uniform packets to have enough letters, but it will be bright and fun. I also printed out and laminated the month, but I didn't like how that turned out. I ended up using these wooden letters that I found in a packet at Hobby Lobby in the wooden crafts aisle. They were very cheap (less than $5 for 2 packets) and I only had to super glue a magnet to the back. Quick and done.
 |
| 1st attempt using fridge magnets |
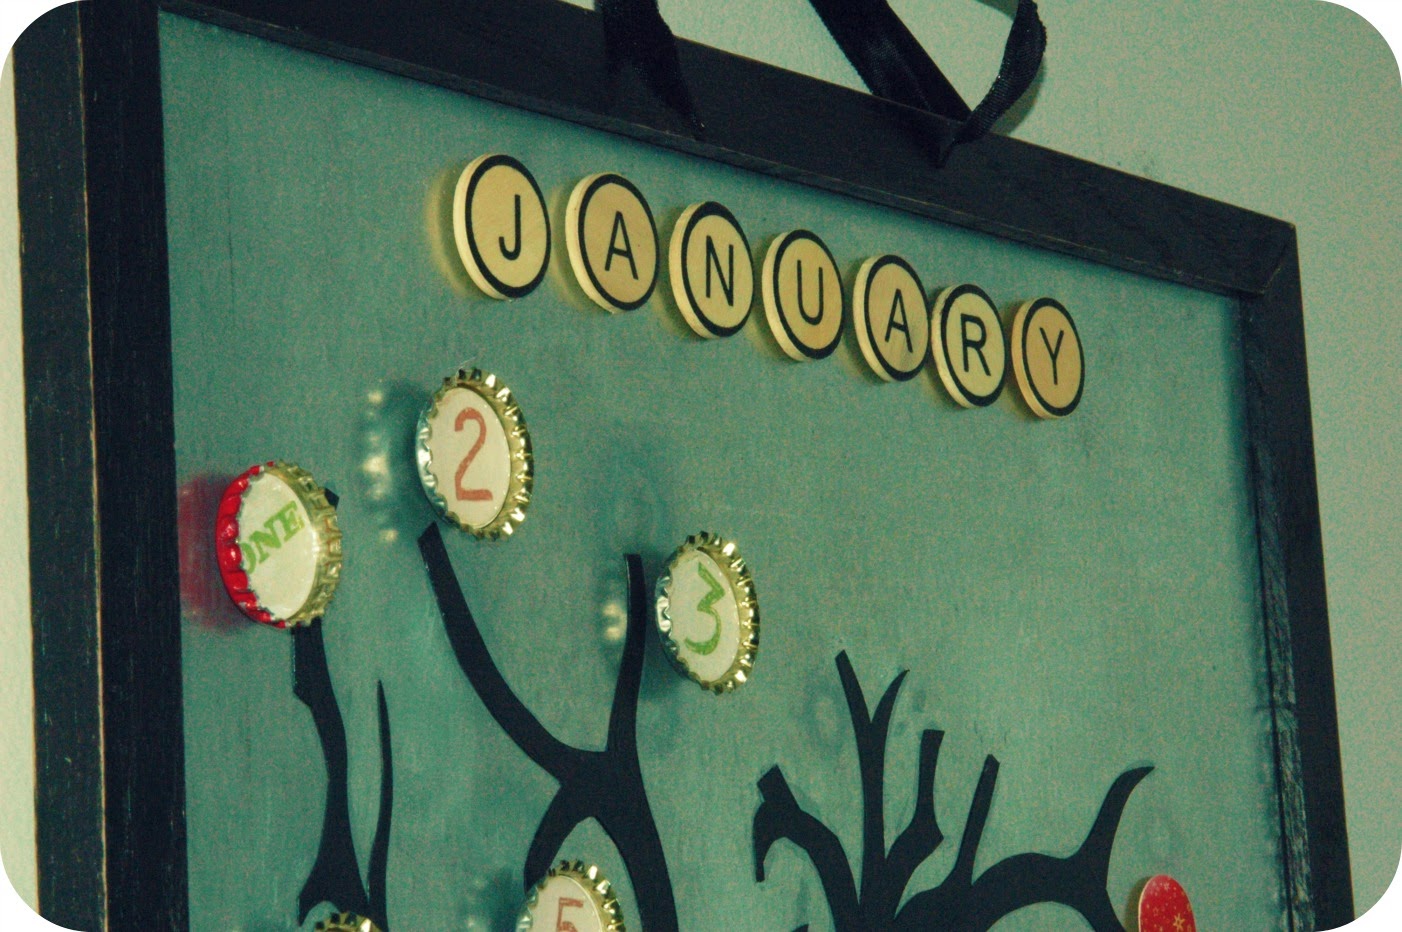 |
| 2nd Attempt using wooden circle letters |
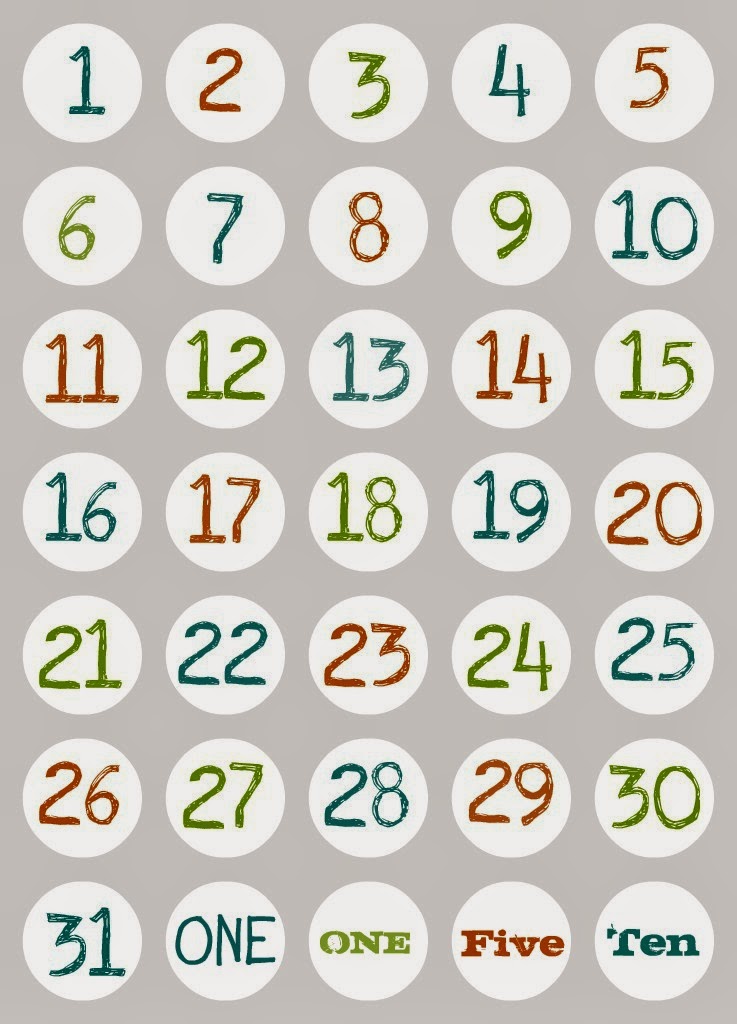
For this project, I created a template to have uniform numbers on our calendar. Like I said though, this project can be modified so much. Feel free to let your kids track down all the numbers in magazines and punch them out so that each number is unique! If you like uniformity, then here is a printout for you:
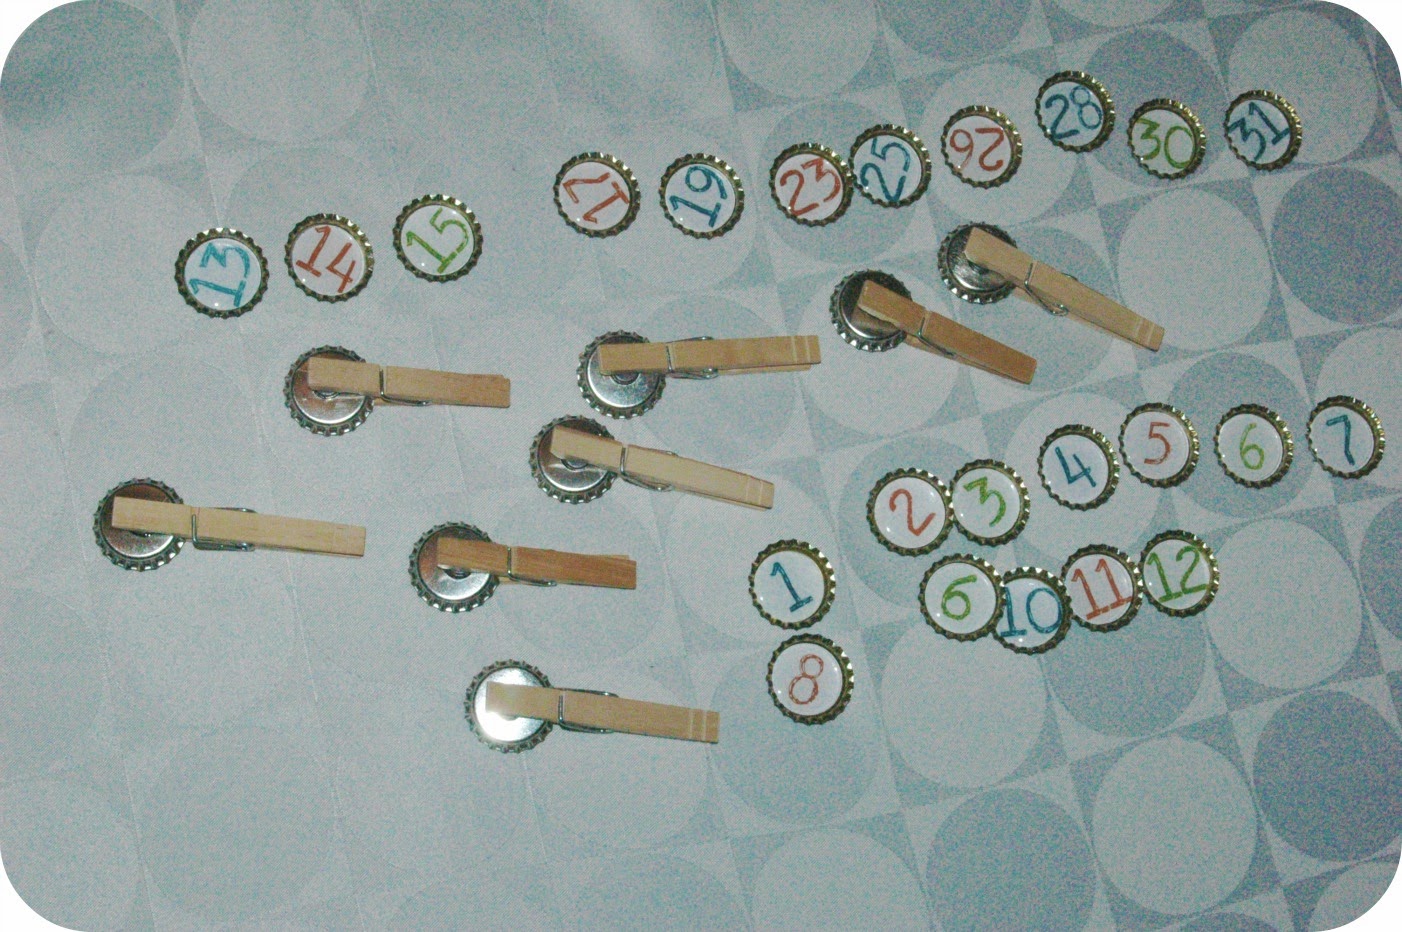 |
| I used clothespins to hold the magnets still while the glue dried! |
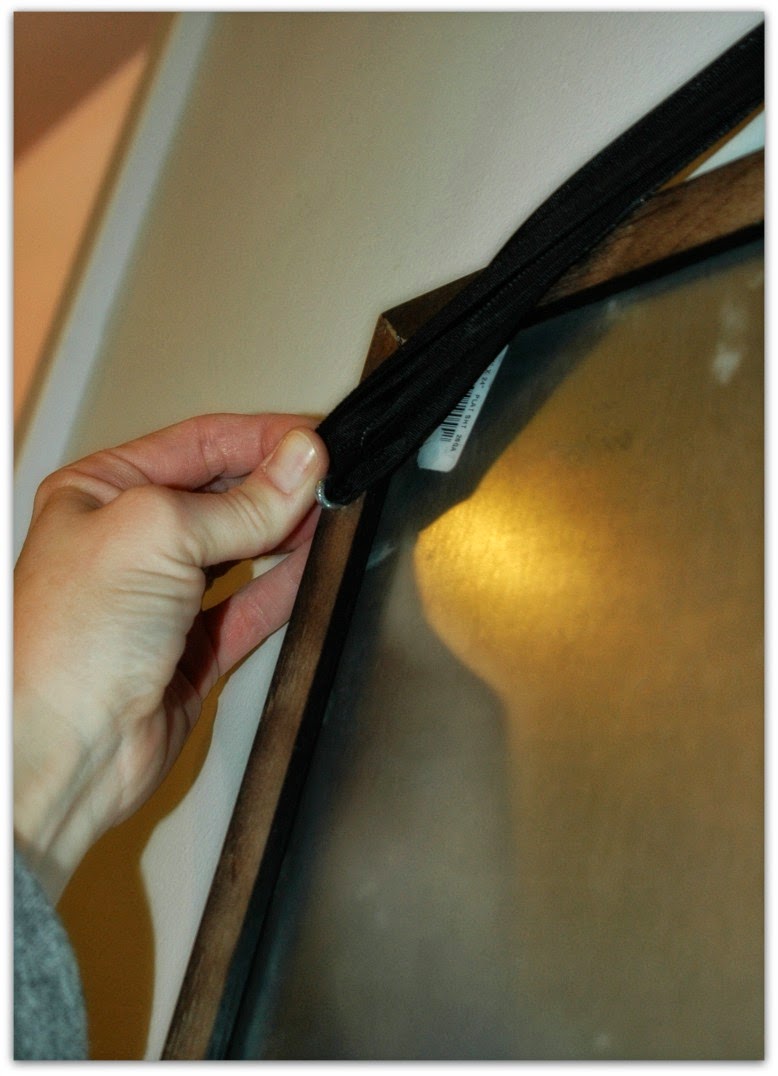
Now it's time to put everything together! To finish our calendar I printed a picture of the kids and laminated it. I used a few flat, adhesive magnets on the back, and they were ready to go! Start adding your magnetic letters and numbers and watch your calendar come to life. To hang our calendar, I screwed an eye hook on either side of the back of the frame and tied wired ribbon through the back.
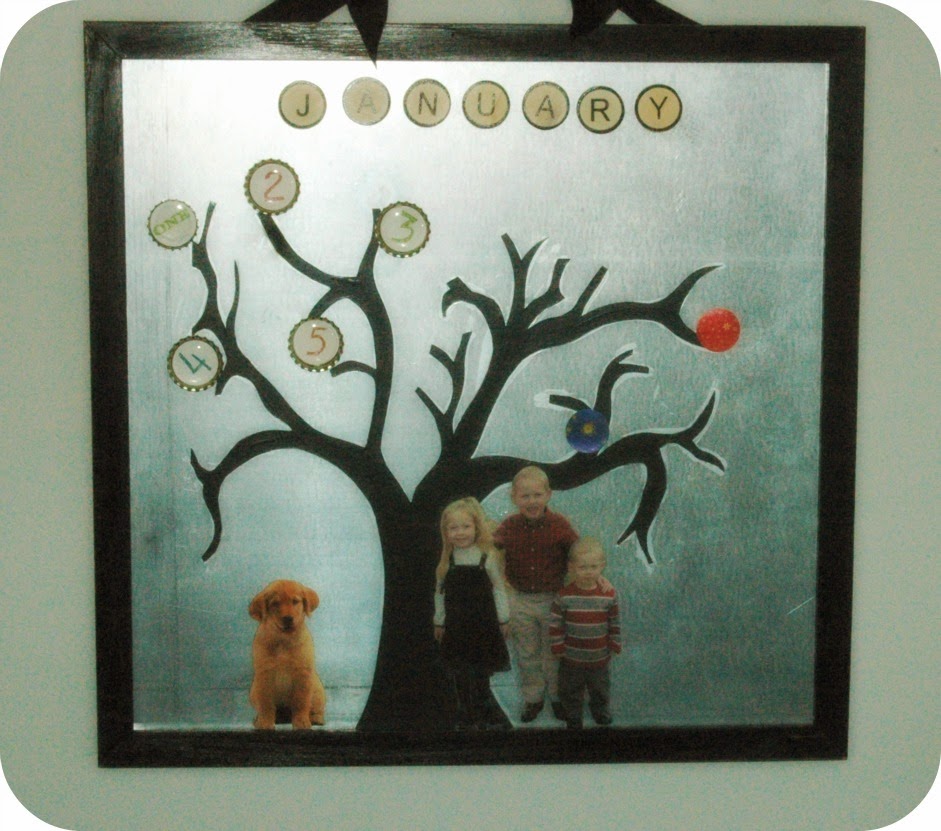
This is a fun project that the whole family will enjoy on a daily basis for many months and years to come. I'd love to hear all about your success stories and variations if you choose to tackle this calendar. Have fun!